
Resin
Resin transforms your DIY ideas into unique jewelry and decorative items, combining transparency, colors, and poetic inclusions. Discover our two-part epoxy resins and UV LED resins, as well as molds, dyes, and bases to bring all your creations to life—from your first attempt to your most polished pieces.











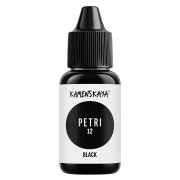
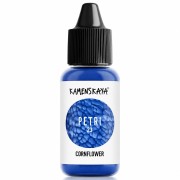
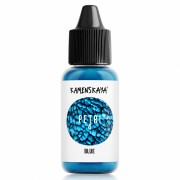
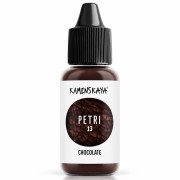

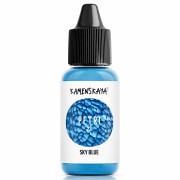

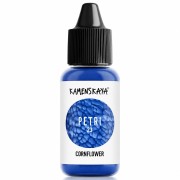
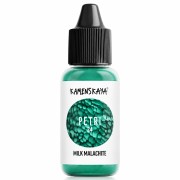
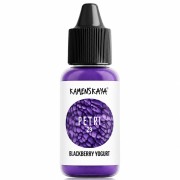
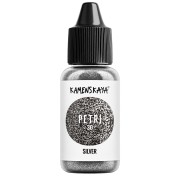

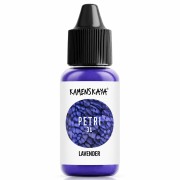
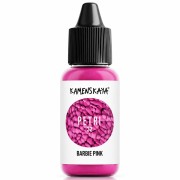

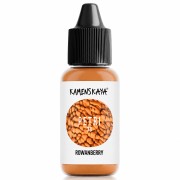















Choosing the Right Resin for Your Creations
Resin is an ideal material for creating jewelry andpersonalized items. There are several types of resin, and for beginners, it can be difficult to know which one to choose.
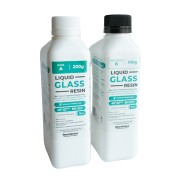
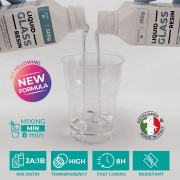
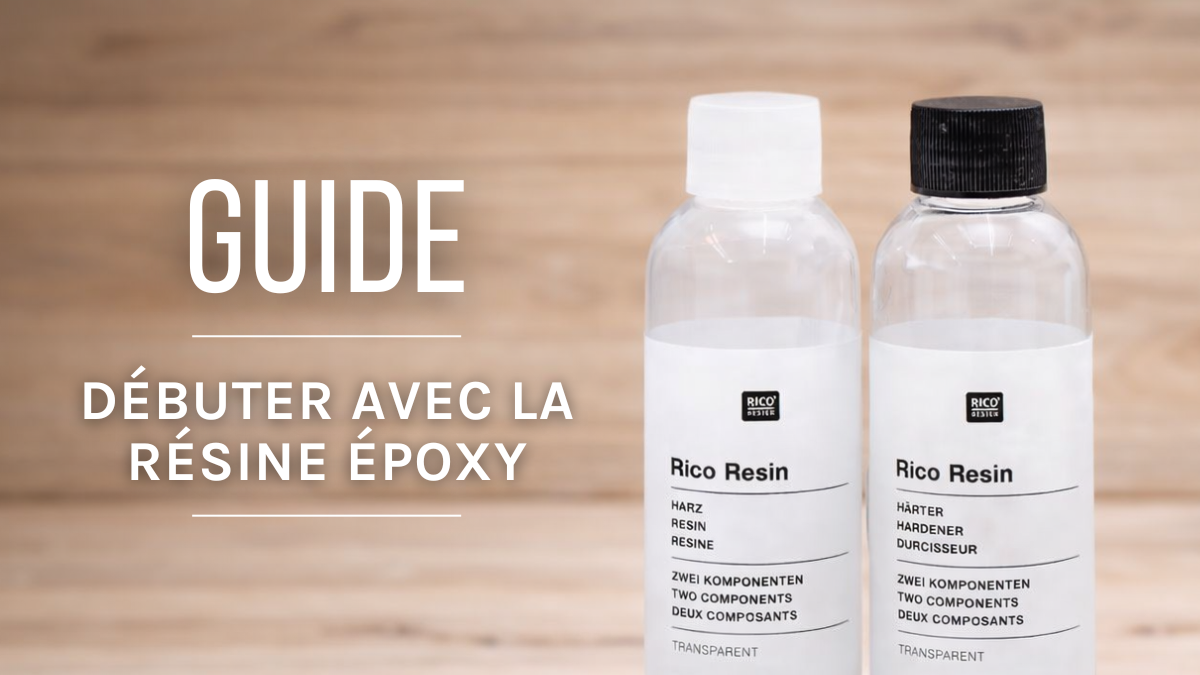
- Epoxy resin is called a two-part resin because it is prepared using two components: the hardener and the resin. It requires 24 hours to cure in the open air, away from light and dust.
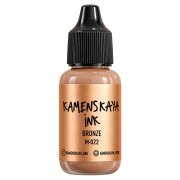
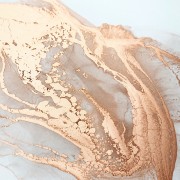
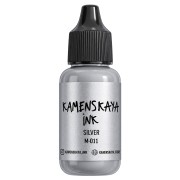
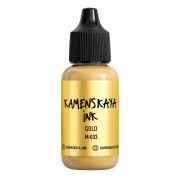
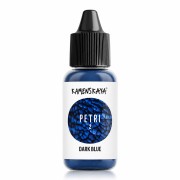
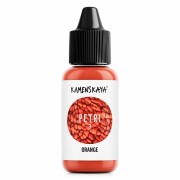
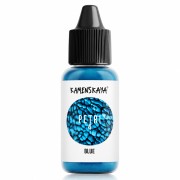
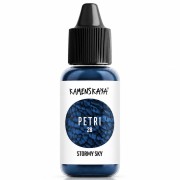
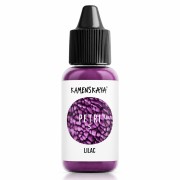
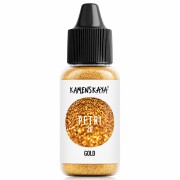
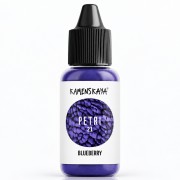
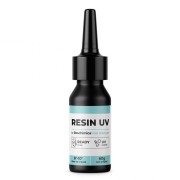
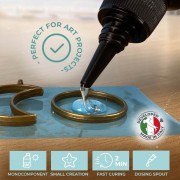
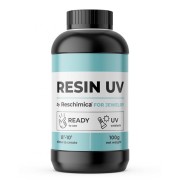
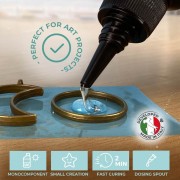
You can color it with alcohol-based inks for marbled effects or with dyes designed for resins. - UV LED resin is ready to use and sets quickly; it dries in just a few minutes when cured under a UV lamp.
You can color it with dyes suitable for resins. - UV resin does not cure under a UV LED lamp but with another type of lamp, such as those used for nail art, or simply by exposing it to the sun’s UV rays for an extended period.
These resins are transparent and colorless; they are ideal for glazing, inclusions, and molding.
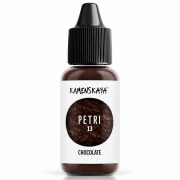
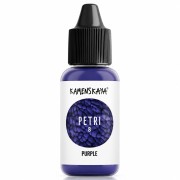
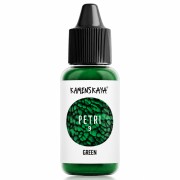
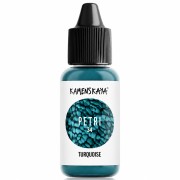
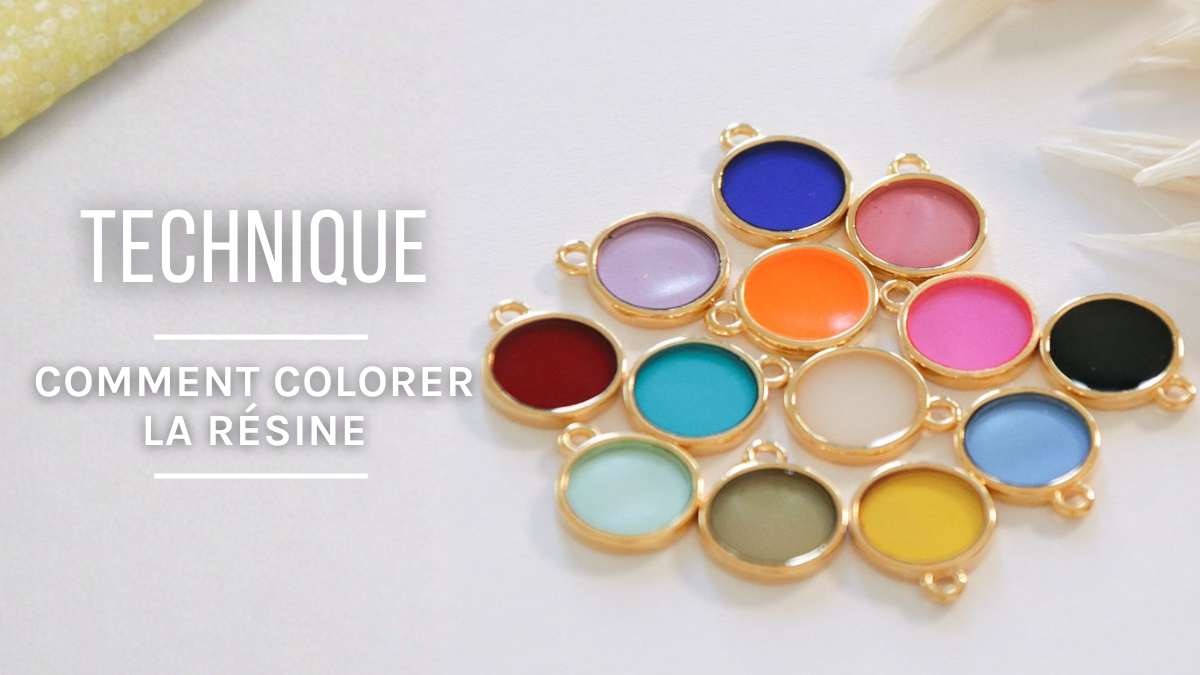
Using resins inks and dyes, you can color them to your liking.
Note, however, that epoxy resin is preferable for large surfaces or for objects that you plan to polish afterward to achieve a professional finish.
UV resin, on the other hand, is your ideal choice for creating small, intricate pieces.
Making Resin Jewelry
Once you’ve chosen your resin, it all comes down to having the right materials:
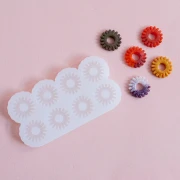
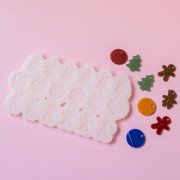
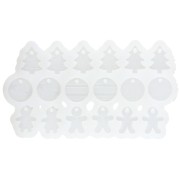
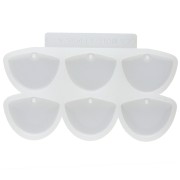
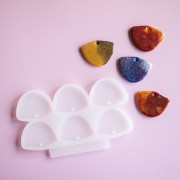
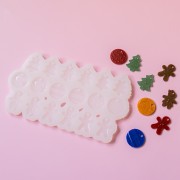
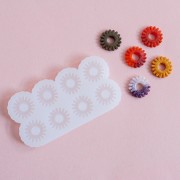
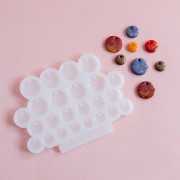
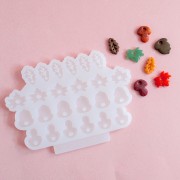
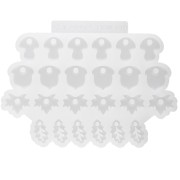
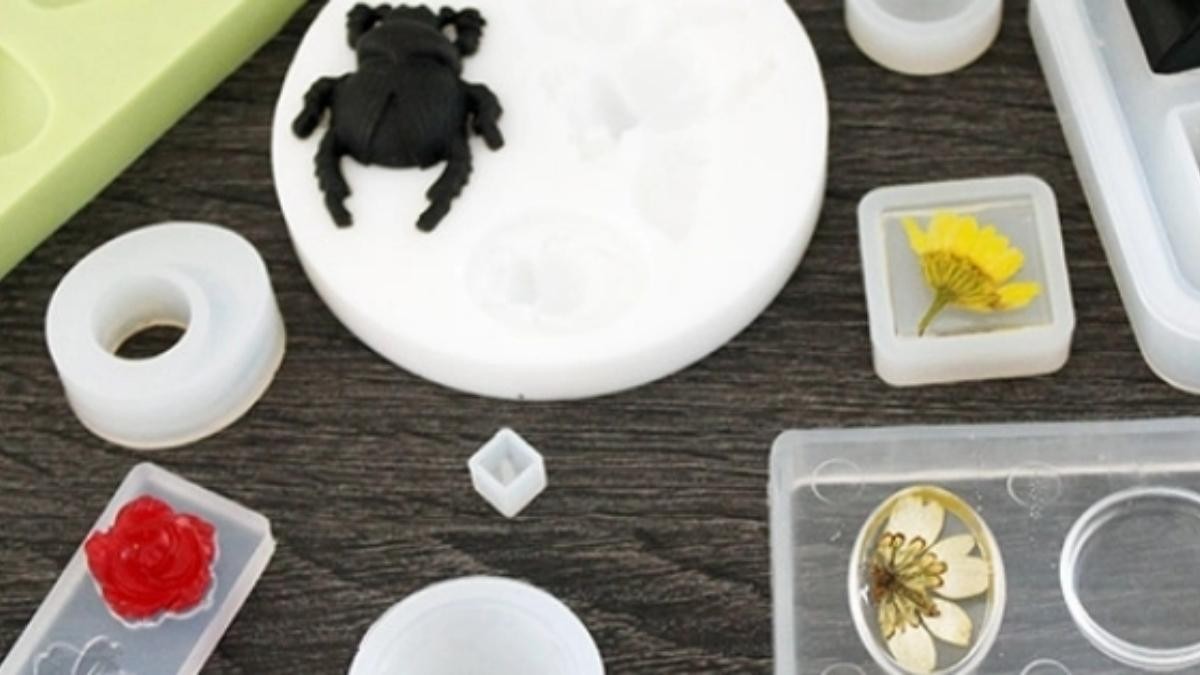
- Silicone molds to shape pendants, rings, earrings, or beads caps
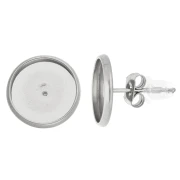
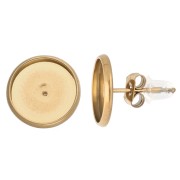
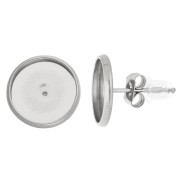
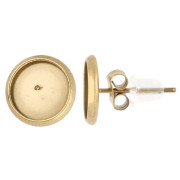
- Resin-ready bases (rings, spacers, cabochons) for setting and assembling your creations
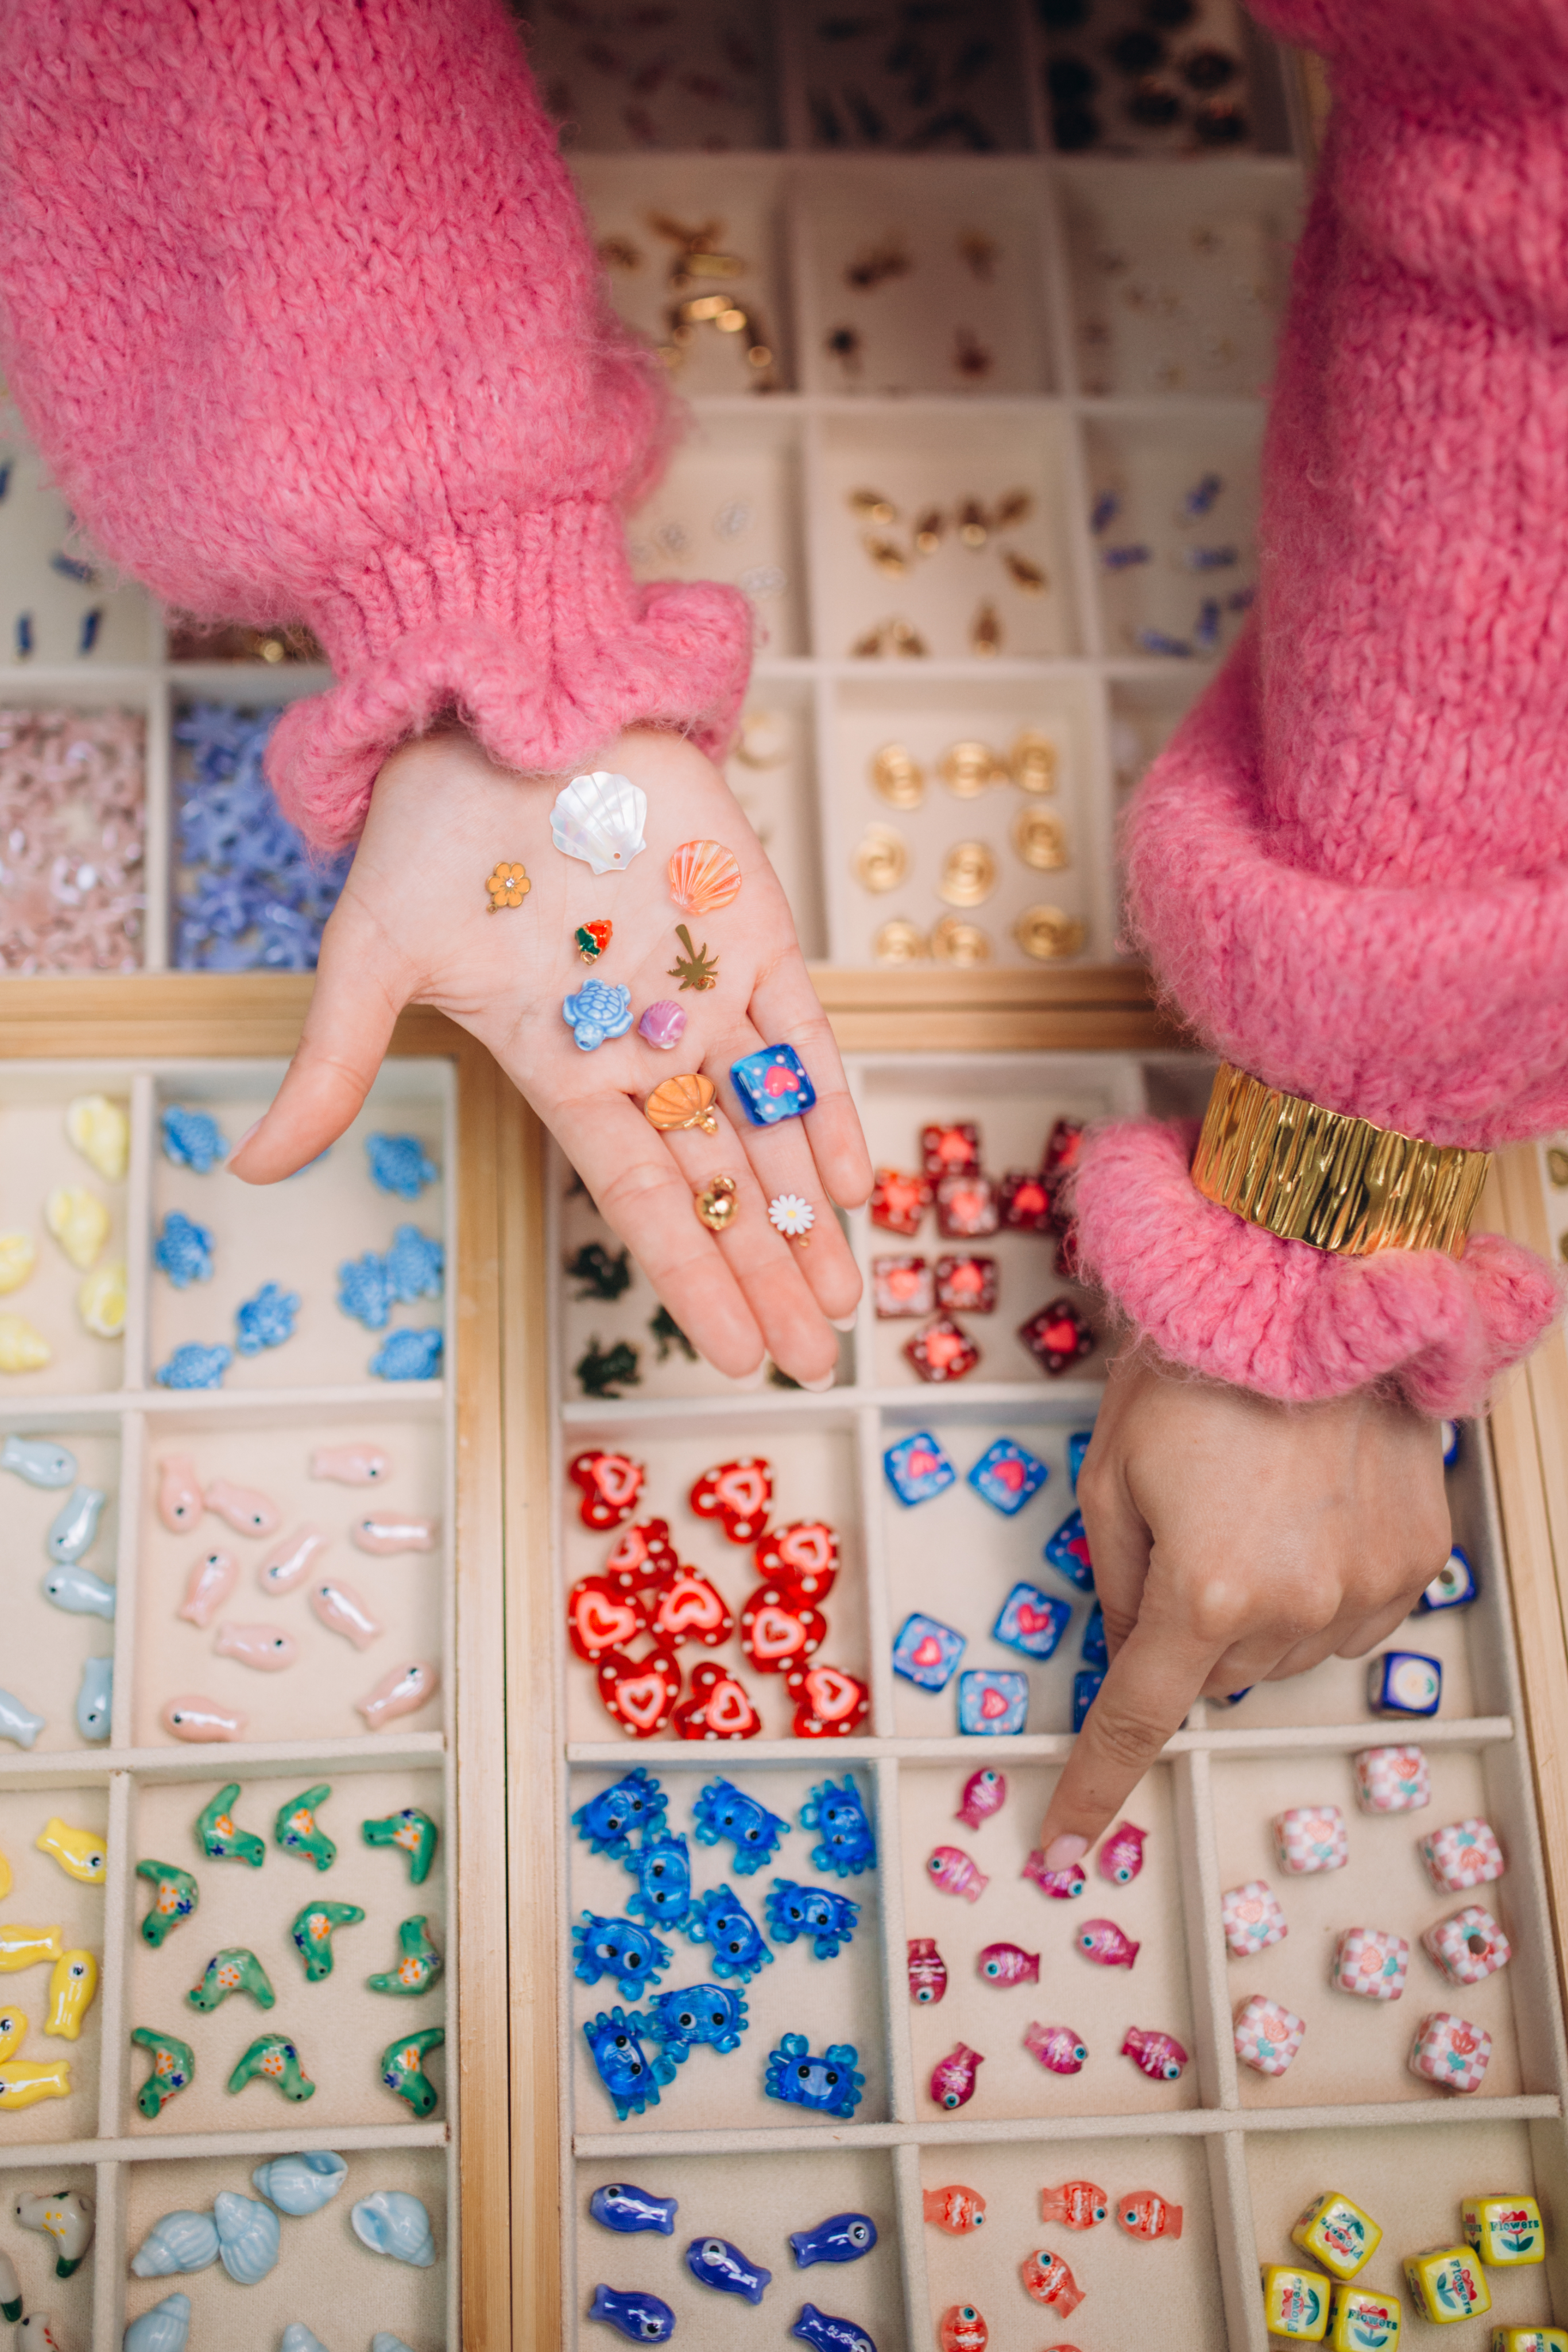
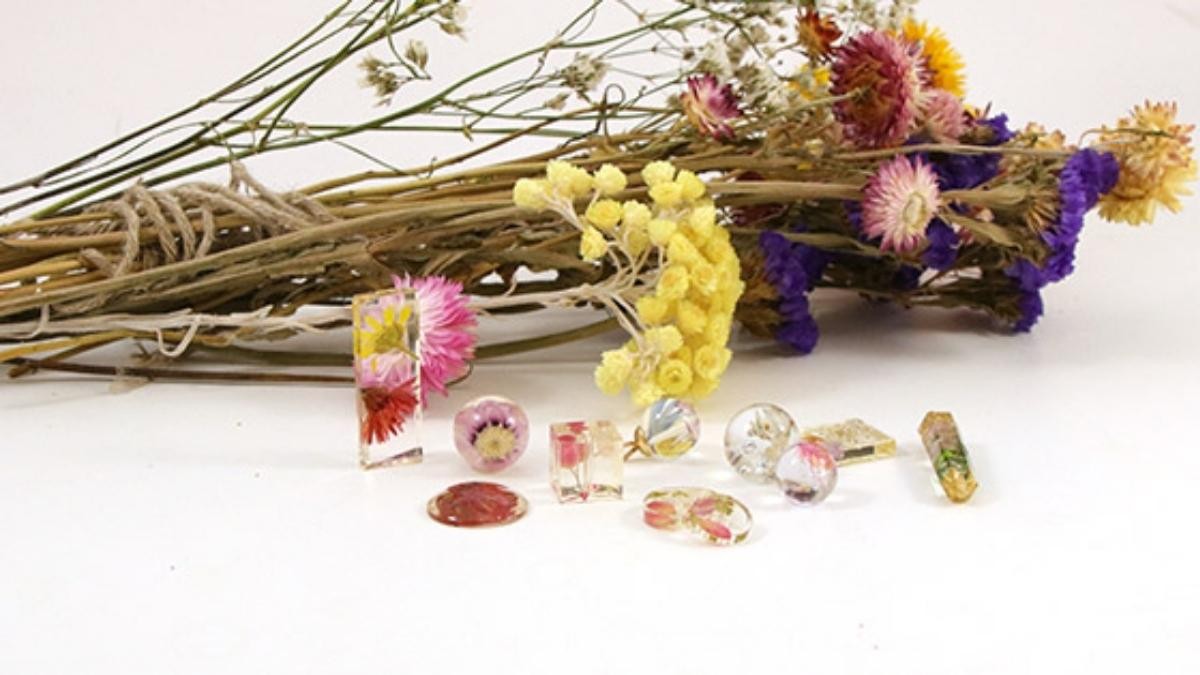
- Resin accessories such as stickers, dried flowers, or seashell fragments to personalize each piece
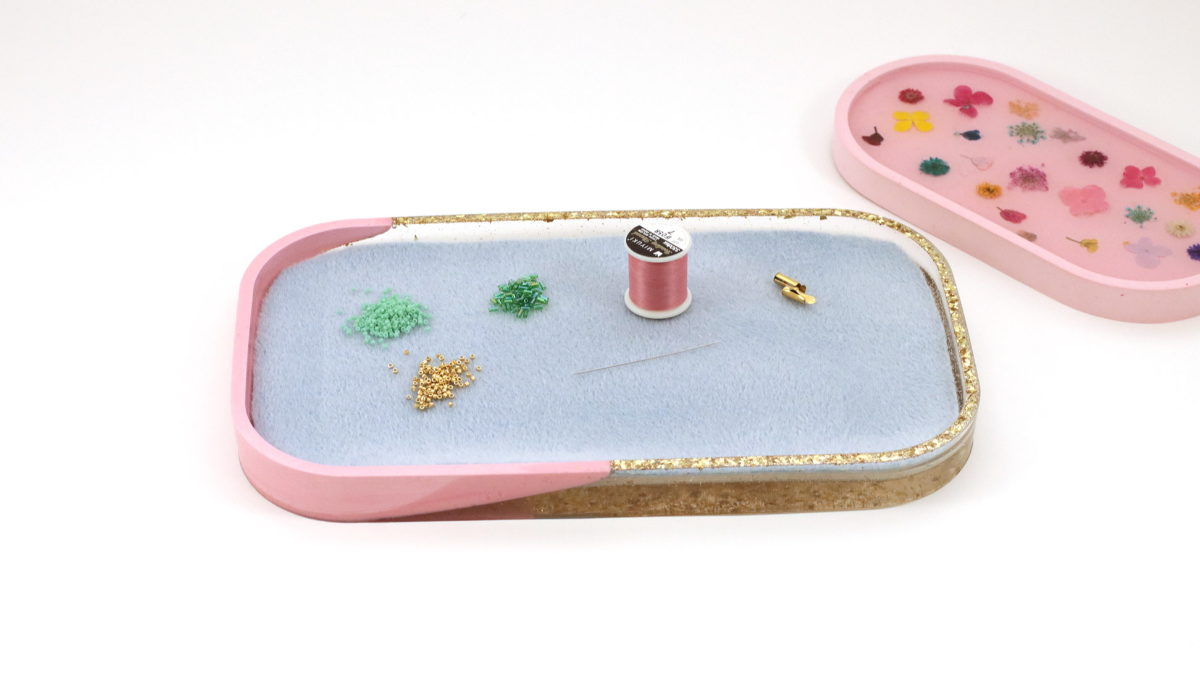
- Microbeads and glitter for shimmering effects or “shaker-style” creations
If you’re just starting out, we recommend learning how to use resin first before you begin.
Learn how to color resin, choose your molds, and use a mold or a base.
Our favorite resin techniques
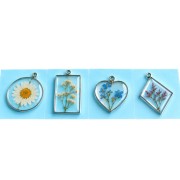
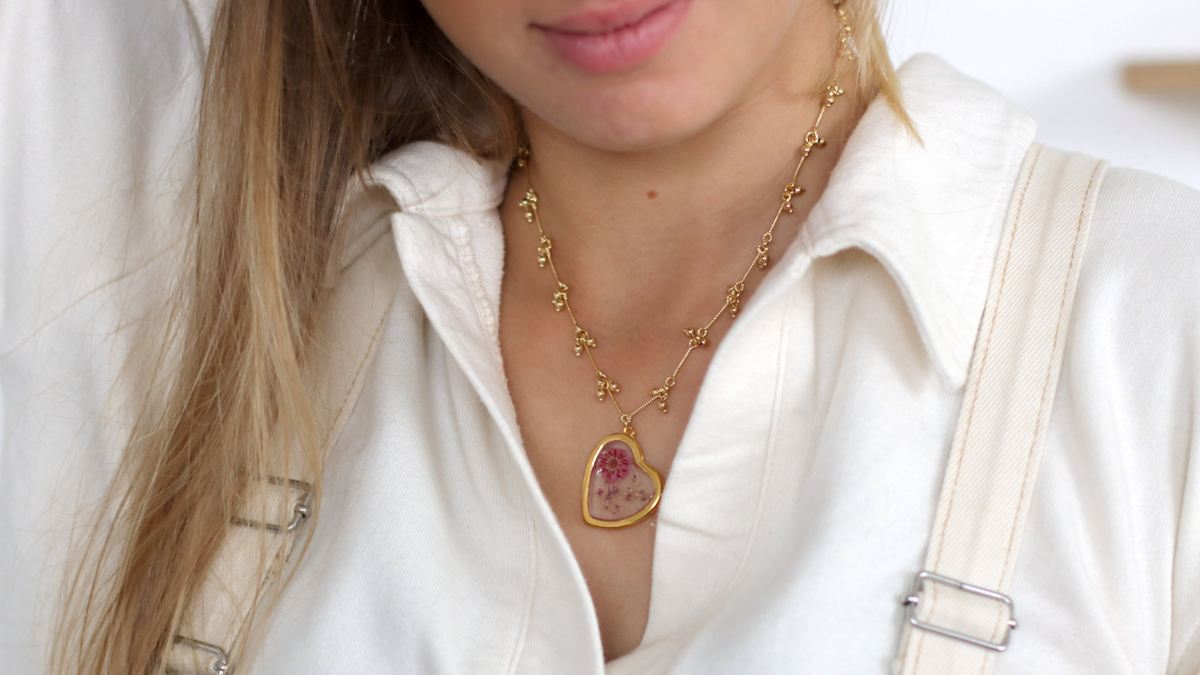
- Inclusions: It’s trendy to embed dried flowers in resin, which lets you create lightweight, poetic, and bohemian jewelry.
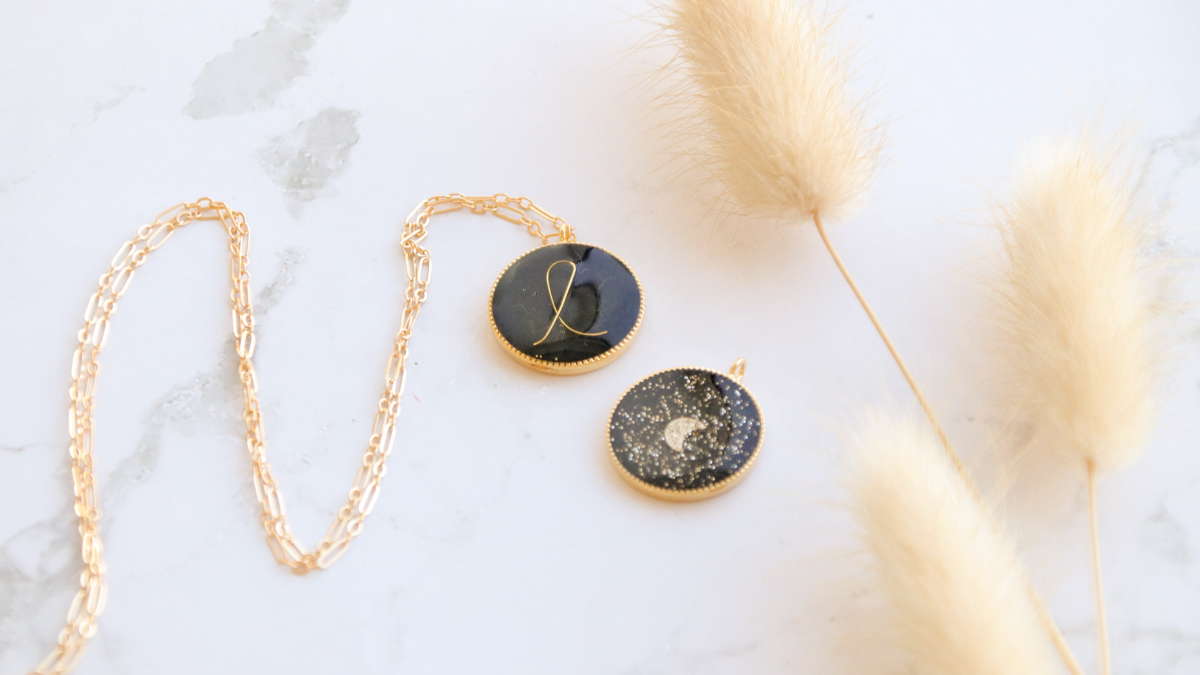
Here’s how to make a resin pendant.
You can also use glitter, rhinestones, microbeads, seashells, and many other elements. - 3D effects: using stickers designed specifically for this purpose.
- Coloring components: Create your own “epoxy jewelry” by adding touches of colored resin to your components.
- Kneading technique: an effect created using inks.
- Resin bonding
: Glue elements together using resin. - Glazing: Use your resin as a varnish. Simply pour your resin and use a stick to spread it out.
- Shaker: a decorative resin object filled with liquid containing glitter or any other small, movable element.
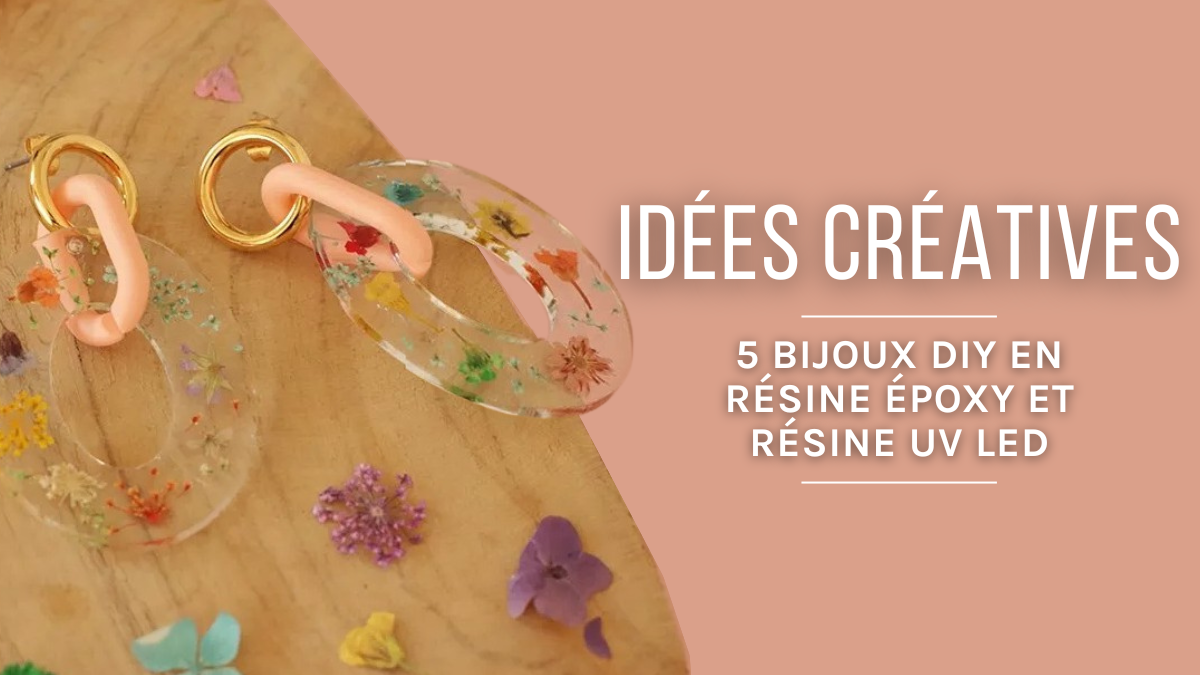
Now it’s your turn to create beautiful resin jewelry! Looking forideas for resin jewelry and decorative items you could make? Get inspired by our resin jewelry tutorials.
What is the difference between epoxy resin and UV-LED resin?
Two-component epoxy resin requires precise mixing with a hardener and about 24 hours to dry, making it ideal for large pieces and polished finishes. UV LED resin, on the other hand, is ready to use and cures in just a few minutes under a UV LED lamp, making it perfect for small, quick projects. You’ll find more details in our fact sheet on the subject.
How do you color resin?
Coloring techniques may vary depending on the type of resin, but you can use stained-glass paint, alcohol-based inks, pigments, acrylic paints, etc.