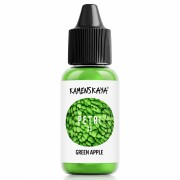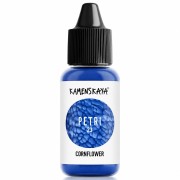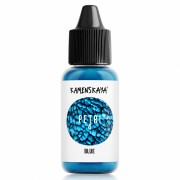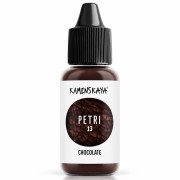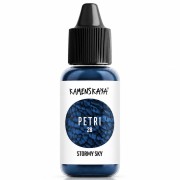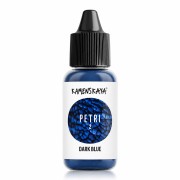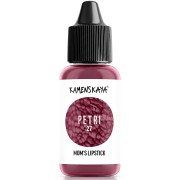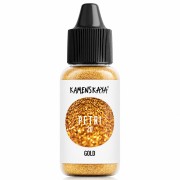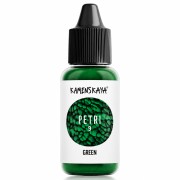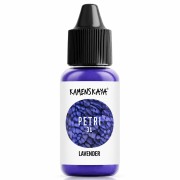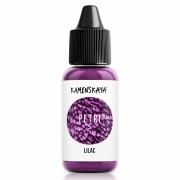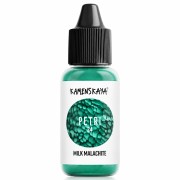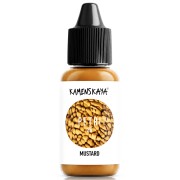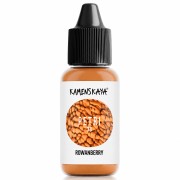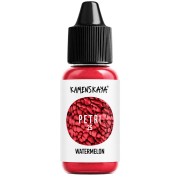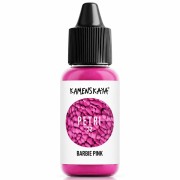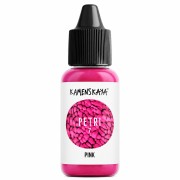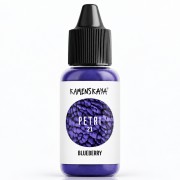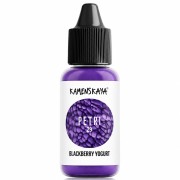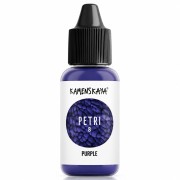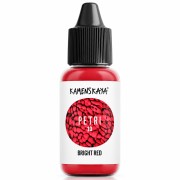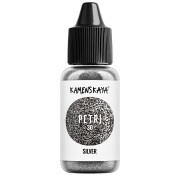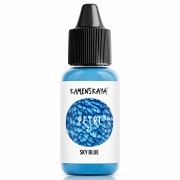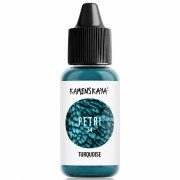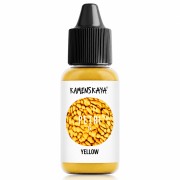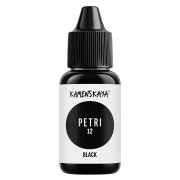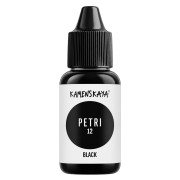
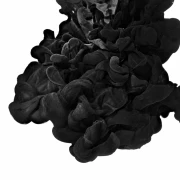
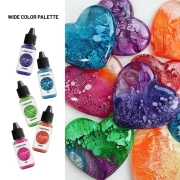


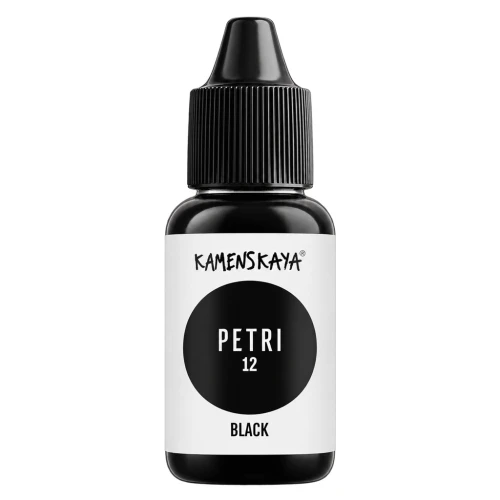


Enhance your creations with this Kamenskaya Black alcohol-based ink, which is ideal for creating striking contrasts and smoky effects in resin.
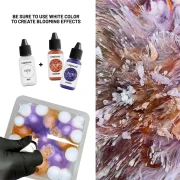
This deep shade allows you to darken a composition, create areas of contrast, or achieve highly graphic marbled effects. Its liquid texture makes it easy to mix into the resin, but because of its intensity, it’s best to start with small amounts and adjust as needed. To create a Petri effect, use only special white Petri paint with the translucent shades and alternate the drops to create branching patterns. The resin can be left for a few minutes to thicken if the pigments sink too quickly. The ink contains alcohol: do not use a burner.
What is the difference between standard alcohol-based ink and special Petri-effect alcohol-based ink?
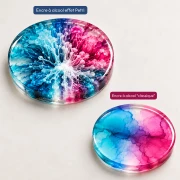
Standard alcohol-based inks are used to color the resin and create marbled effects, color gradients, or swirling patterns. Kamenskaya “Petri Effect” alcohol inks forresin, on the other hand, have been specially formulated with alcohol, pigments, and polymers to achieve the Petri Art technique. They allow you to create more intricate patterns, with colored filaments that sink into the resin and spread out deep within it.
Why use it with a special white Petri-effect ink?
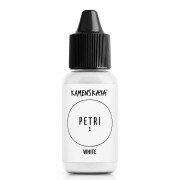
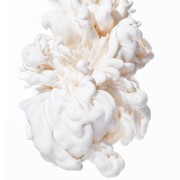
The white ink plays an essential role in creating the Petri effect! Unlike conventional white ink, which is used simply for coloring, the special Petri white ink acts as a “sinker.” When applied after the drops of colored ink, it pulls them toward the bottom of the resin, creating branches, filaments, and stunning depth effects.
What can you create with this black ink?
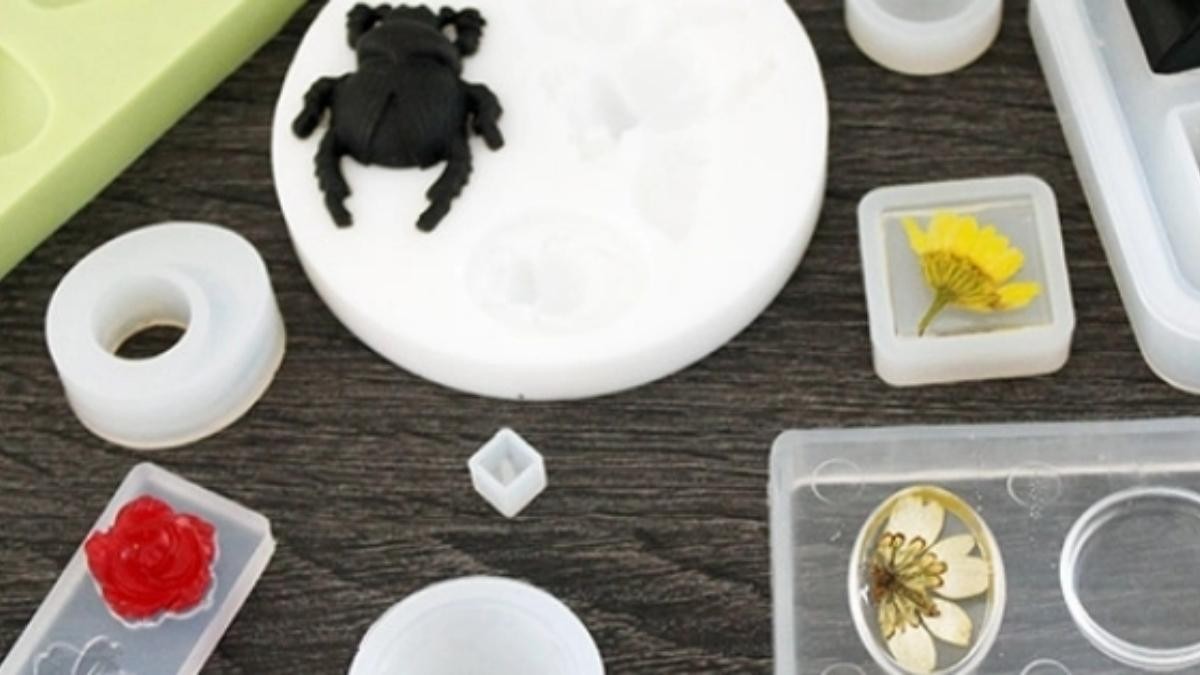
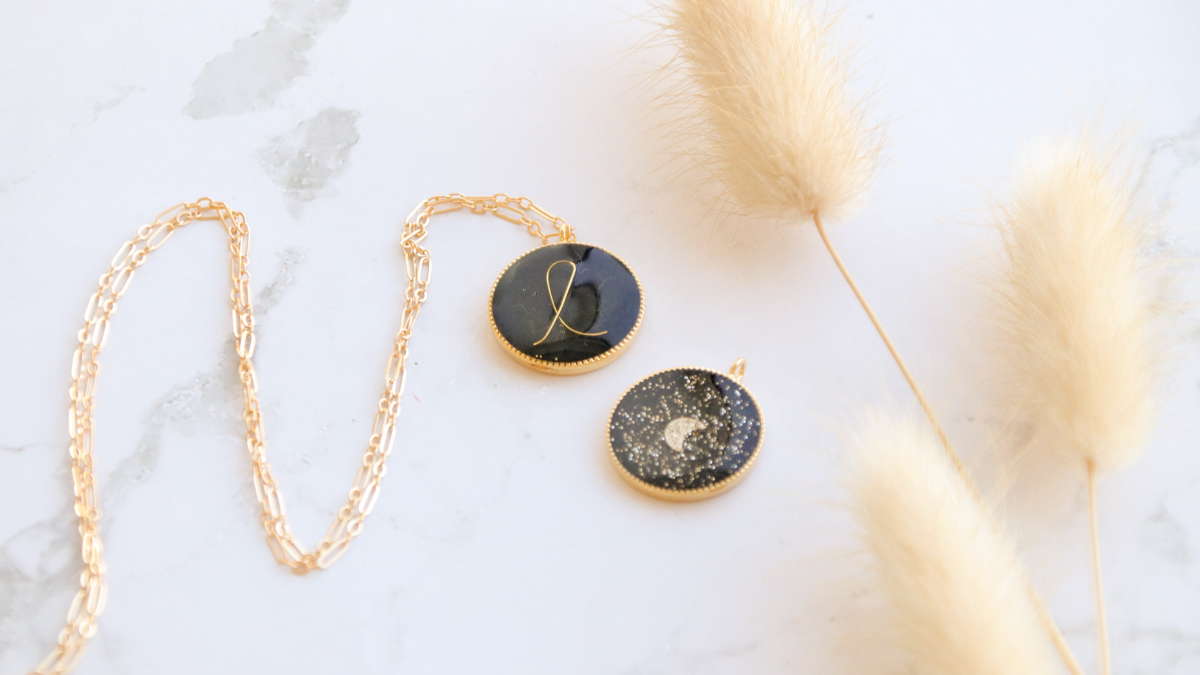
Pair it with white for graphic designs, with gray for a mineral-like effect, or with metallic inks for a more luxurious contrast. It’s perfect for pendants, rings, cabochons, or small decorative items. Our tutorial on making a multicolored resin ring can give you ideas for working with colored areas on a small scale. To explore the main coloring options, also check out our guide on how to color resin.
Tips for use:
- Use a resin with a curing time of no more than 24 hours.
- Mix the resin thoroughly with the hardener to prevent defects in your finished piece; stir slowly to avoid trapping excess air bubbles inside.
- Pour the resin in a thin stream to minimize air bubbles within the resin layer.
- Work on a flat surface and cover it with a protective material to keep it secure.
- You can begin working once the bubbles rise to the surface and you’ve removed them.
- After each drop of color, use white. The white color blends with the colored paint, creating effects within the resin’s thickness.
- Use only special white paint designed for marbling, with luminous, translucent shades. Only this paint has a composition that allows you to create marbling effects with these inks.
- Shake the paint jars regularly before applying each drop to ensure the mixture is uniform.
- Do not let the paint fall near the silicone edging, as this prevents it from sinking into the resin.
- If the resin is too runny, wait 20 to 30 minutes before starting to work with the paint. This will increase the viscosity, and the paint won’t sink too far to the bottom. The more runny the resin is, the more likely the paint is to sink to the bottom.
Both beginners and experienced creators can adjust the ratio to achieve the desired effect. Our resources provide tips and tricks for preparing the resin, managing contrasts, and finishing your creations neatly.
Details:
Volume: 15 ml
Sold in 15 ml bottles