Average Grades
Free shipping on orders over 50€ up to 500g
French Online shop for beads and accessories for the creation of DIY jewellery and other creative hobbies
Log-in
0
Shopping cart
Shopping cart
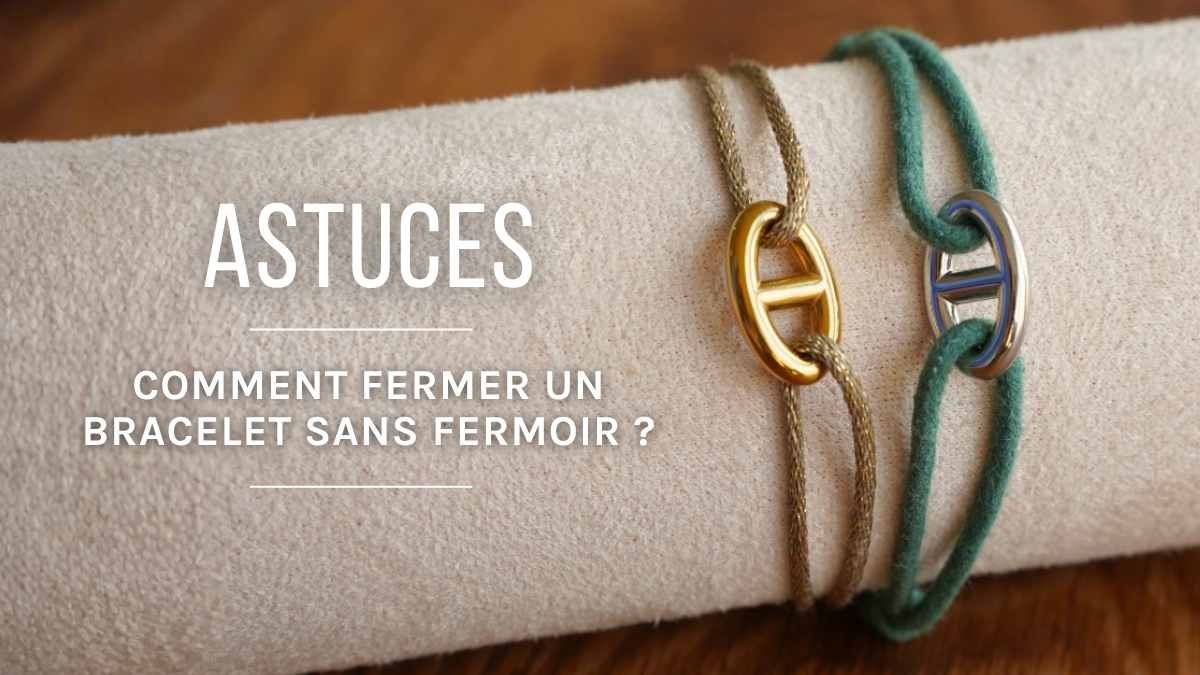
There are several techniques for finishing a bracelet without a metal clasp, depending on the material used. With elastic thread, a surgeon's knot is sufficient; with cord, slip knots or a macramé closure provide an adjustable fit; and memory wire eliminates the need for a clasp entirely. The key is to adapt the technique to the type of thread and the weight of the beads.
Would you like to make a bracelet that’s easy to put on, without a clasp or metal fastener? There are several techniques for creating a closure directly using the thread, cord, or structure of the jewelry.
The choice depends mainly on the type of bracelet you’re making. A beaded bracelet strung on elastic thread isn’t finished the same way as a cord bracelet or a woven beaded bracelet.
From the surgeon’s knot to the slip knot, discover the different ways to neatly finish your creation.
This is probably the simplest technique for beginners in jewelry making.
The elastic cord allows you to slip the bracelet directly onto your wrist. Therefore, no clasp is needed.
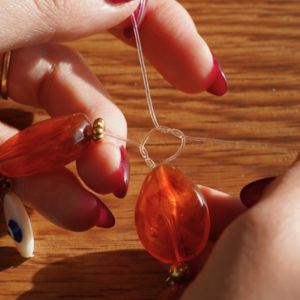
Once all the beads are strung, tie a secure knot for elastic cord. The surgeon’s knot is particularly well-suited because its extra loops minimize the risk of the two strands slipping against each other.
To finish your bracelet:
Avoid using just a simple knot. It’s more likely to come undone when the elastic is regularly stretched.
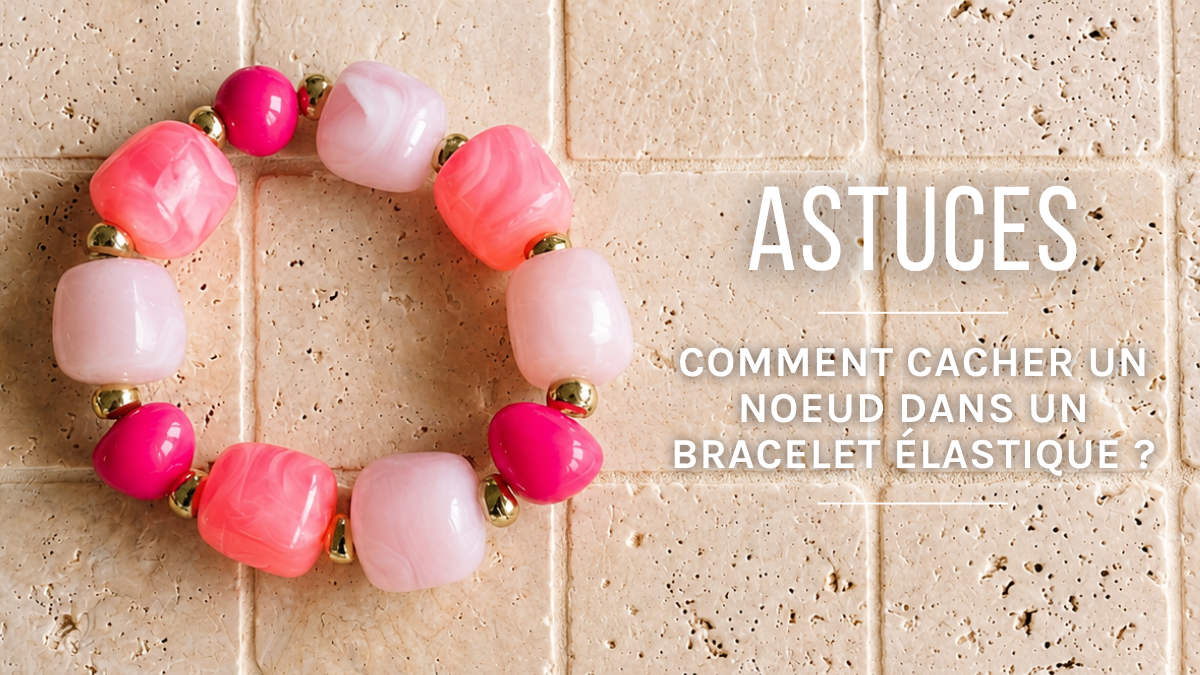
For a more discreet finish, you can then hide the bracelet’s knot inside a bead with a hole wide enough to accommodate it, or use a suitable bead cover.
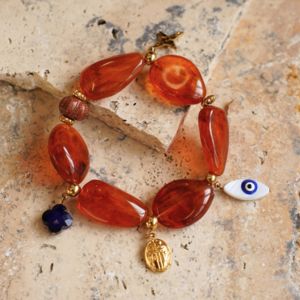
Are you using waxed cord, polyester thread, cotton cord, or thread designed for micro-macramé? The slipknot is a particularly practical solution.
It allows you to create an adjustable bracelet that you can loosen to slip your hand through and then tighten around your wrist.
A common method involves crossing the two ends of the cord and then tying a slip knot on each strand. Each knot can then slide along the opposite cord.
Note: This technique is primarily intended for cords.
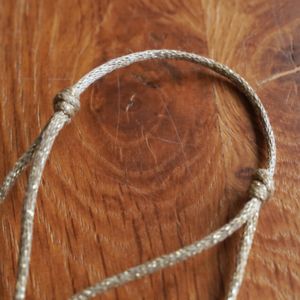
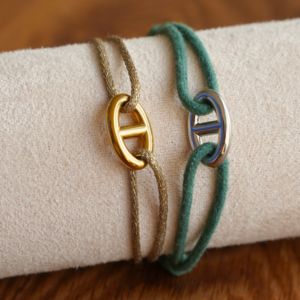
For a more refined finish, you can tie a few flat macramé knots around both ends of the bracelet.
This creates a small sliding section that serves as the clasp. This system is popular for fashion bracelets, bohemian jewelry, and certain bead designs.
The macramé sliding clasp has several advantages: it’s adjustable, decorative, and doesn’t require a lobster clasp.
Be sure to leave enough length at both ends of the bracelet so you can open it wide. You can also add a small bead to the end of each cord. This gives it a neater finish and makes the bracelet easier to handle.
This technique can also be used to finish certain woven bracelets. For a Miyuki bead weave, for example, cords can be added to the ends before creating the sliding section.
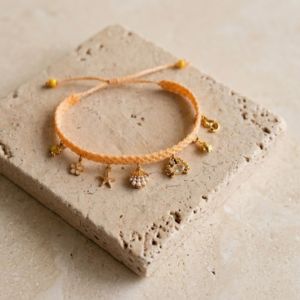
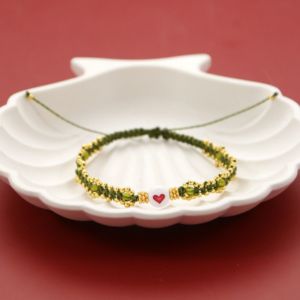
Wondering how to make a beaded bracelet without a clasp while avoiding the need for multiple knots? Depending on the type of thread used, a stop bead can be a great alternative.
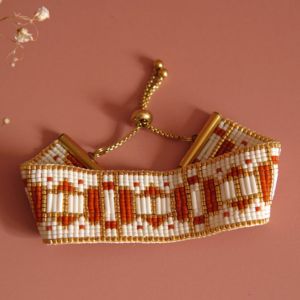
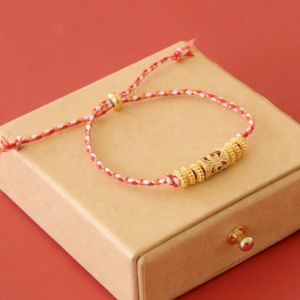
It’s not just a decorative bead. It usually has an internal mechanism that applies tension to the thread and holds the two ends of the bracelet together, as shown in this tutorial.
The principle is simple:
The sliding bead allows you to tighten or lengthen the bracelet without using a clasp.
Before choosing this method, however, make sure the diameter of the bead’s hole is compatible with that of your cord. A cord that’s too thin may not be held securely, while one that’s too thick may not fit through.
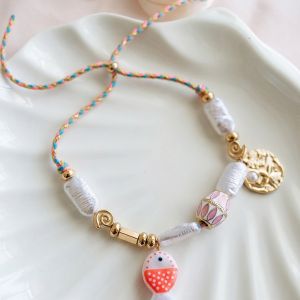
Another option: eliminate the clasp entirely.
Memory wire naturally retains its spiral shape. It allows you to create a clasp-free bracelet using memory wire that wraps directly around the wrist.
This solution is particularly useful for bracelets made with many beads. It also makes it easy to create multi-strand designs.
To make your bracelet:
The bracelet is then ready to wear. Simply wrap it around your wrist.
Since memory wire is much stiffer than traditional jewelry wire, use appropriate cutting pliers. Avoid cutting it with your usual pliers for flexible wires, as you could damage the blades.
To make a beaded bracelet without a clasp, start by choosing the stringing method based on the look you want to achieve.
The most important thing, then, is to choose a clasp suited to the type of thread and the weight of the beads used.
Not all techniques are suitable for every design.
Your bracelet | Recommended Technique | Main advantage |
Bracelet on elastic cord | Simple and discreet | |
Thin cord bracelet | Easily adjustable | |
Macramé bracelet | Adjustable and decorative | |
Beaded bracelet on cord | Quick to adjust | |
Multi-strand bracelet | No clasp |
Choosing the right cord for a clasp-less bracelet is just as important as the closure technique. Check its diameter, strength, and compatibility with the holes in your beads before you begin.
A few precautions can help ensure a more durable creation.

The surgeon's knot is particularly well-suited for bracelets made with elastic cord. It provides a tighter hold than a simple knot thanks to the extra loops created during the tying process.
The technique depends on the type of string used. For elastic string, tie a surgeon's knot. For cord, use one or two slip knots. You can also use a bead or memory wire to make a bracelet without a clasp.
After tying and securing your surgeon's knot, you have several options for hiding it:


Credits
Perles & Co, Internet & E-Commerce company [17/09/2026] Any reproduction, representation, adaptation, in any form whatsoever, even partial, is prohibited, except for reproduction for private use not intended for collective use, representation in the family circle (art. L 122-5 CPI) and online publishing on condition that the source is mentioned and a link is included to the corresponding page of our site www.perlesandco.com.

