Average Grades
Free shipping on orders over 50€ up to 500g
French Online shop for beads and accessories for the creation of DIY jewellery and other creative hobbies
Log-in
0
Shopping cart
Shopping cart
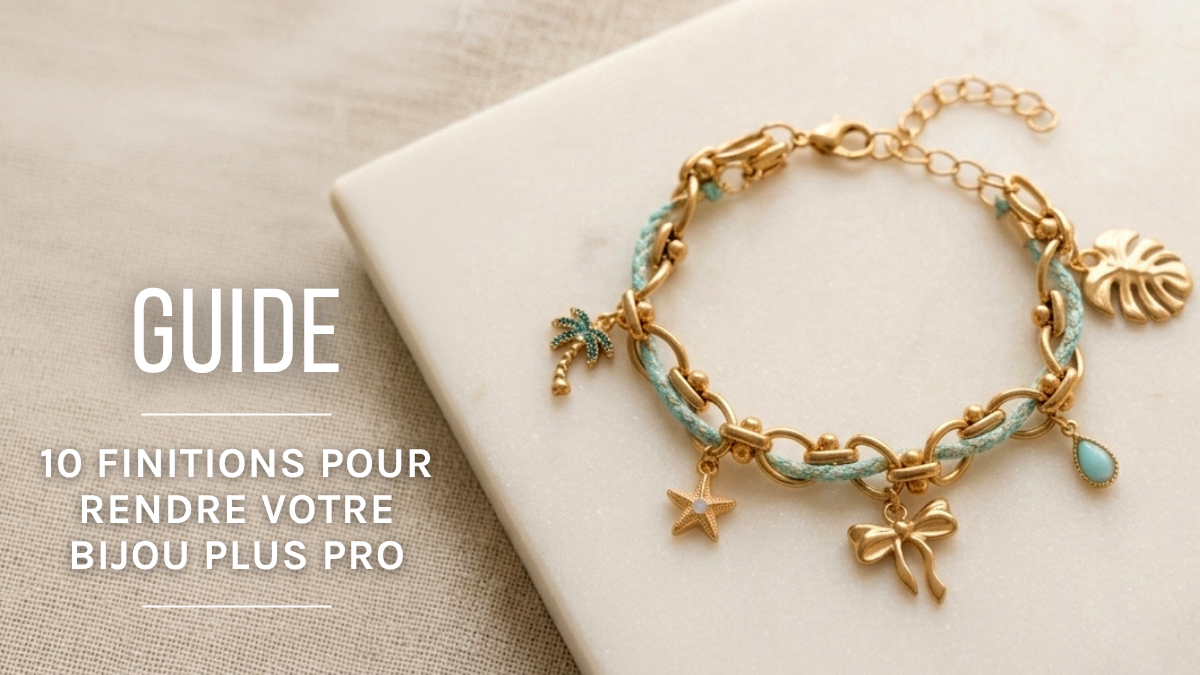
The quality of a piece of handmade jewelry often comes down to the finishing touches: a ring that doesn’t close properly, an uneven clasp, or a visible wire are enough to give away a poorly executed assembly. These 10 checkpoints will help you correct the most common mistakes and achieve a cleaner, sturdier, and more professional result. Just a few simple techniques to master—but they really make all the difference.
You’ve chosen beautiful beads, come up with a lovely color combination, and spent time on your creation. Yet, once your piece is finished, something doesn’t quite sit right. It seems less crisp, less balanced, or simply less polished than you’d imagined.
Good news: it’s usually not the design that’s the problem. The difference often lies in the details.
A slightly warped ring, a loop that’s too big, a visible wire, or a poorly proportioned clasp are enough to alter the overall look of a piece of jewelry. Conversely, a few well-executed finishing touches can immediately result in a more harmonious and durable creation. Whether you’re just starting out in jewelry making or looking to perfect your assembly techniques, here are 10 things to check before considering your piece finished.
This is the number one mistake, and it’s immediately obvious. Many beginners pull the two ends of the ring outward. The result: the ring becomes oval-shaped and will never close properly again.
The correct method is lateral twisting: use two pliers to rotate one end to one side and the other end to the opposite side.
Everything is illustrated in detail in our technical guide on how to open and close a ring.
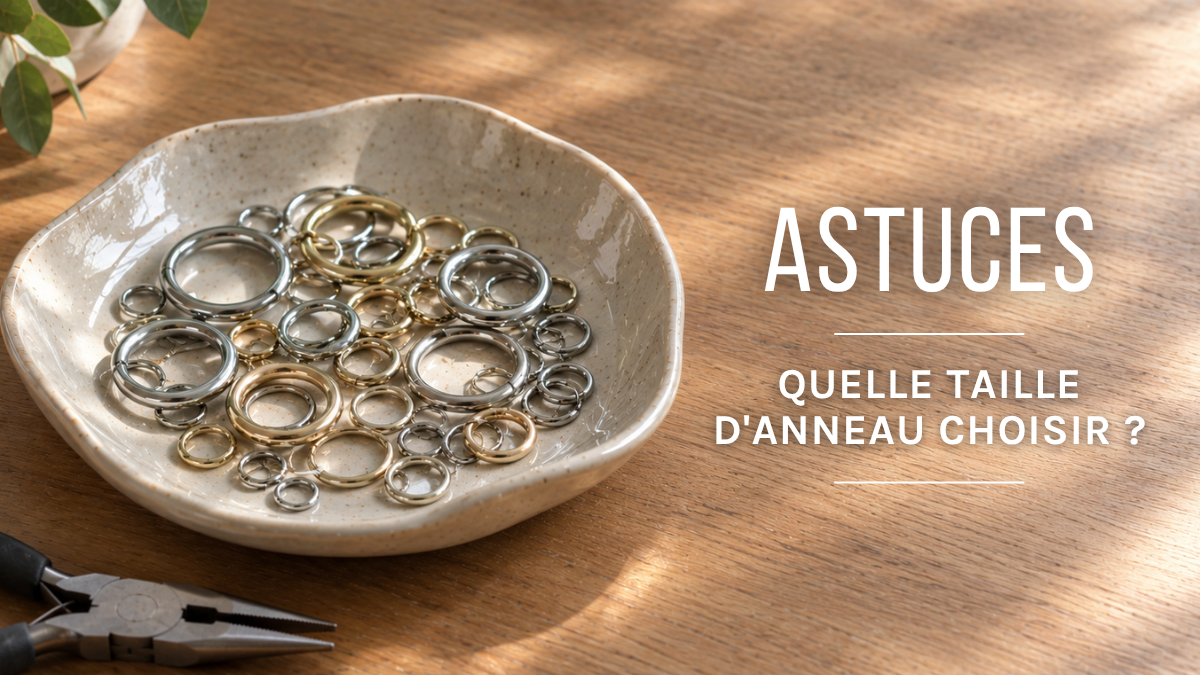
Our designer’s tip: Also remember to adjust the ring’s diameter and thickness to match the weight of your piece. A very thin ring isn’t suitable for a heavy pendant.
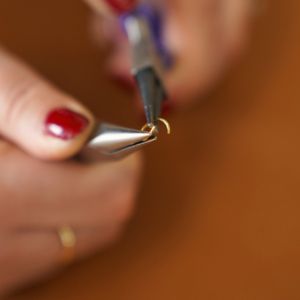
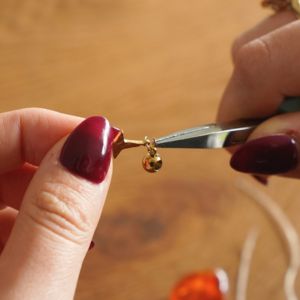
Are you making earrings or charms with studs? Take a close look at your loops.
Are they truly round? Do they all have the same diameter? Are they spaced at the same distance from the bead?
Irregular loops quickly give the impression of imbalance, especially on a pair of earrings.
To create a clean, even loop, first bend the wire at a 90° angle, trim the excess, and then form the loop using round-nose pliers. When working with a series of identical charms, try to consistently position the wire in the same spot on the pliers to ensure a consistent diameter.
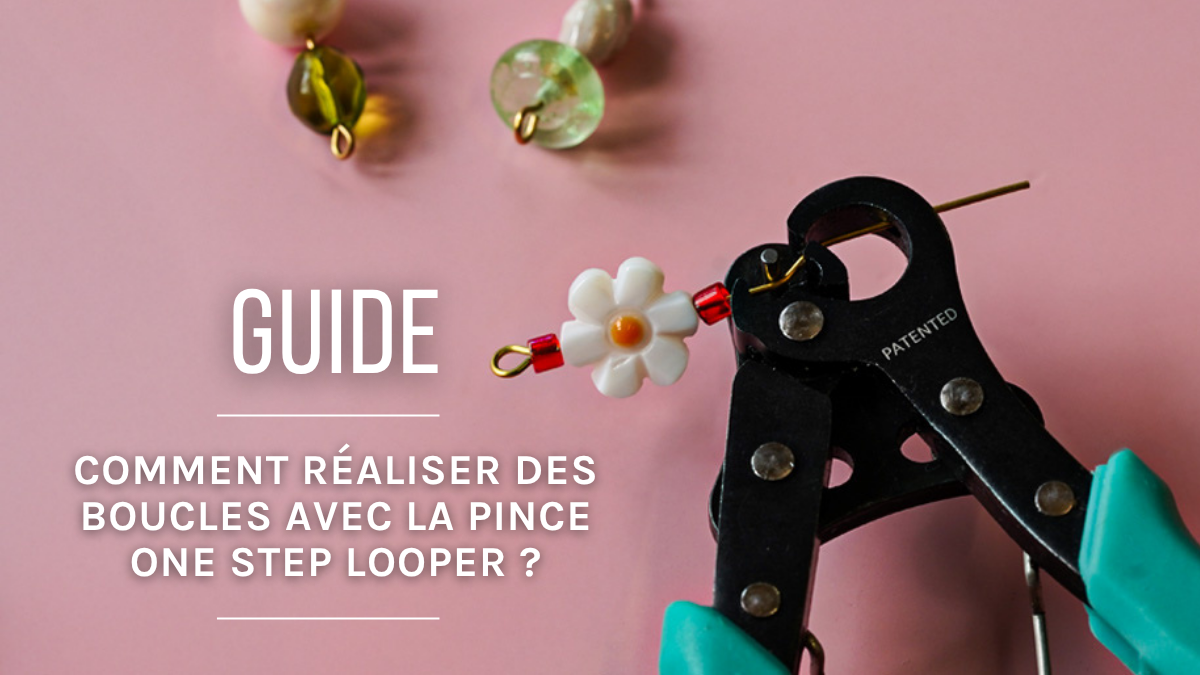
For jewelry subjected to greater tension, the pigtail loop provides a more secure fastening. If you haven’t quite mastered the technique, the Looper pliers for forming loops will be your best friend.
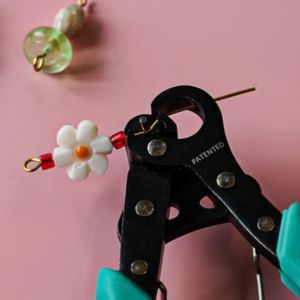
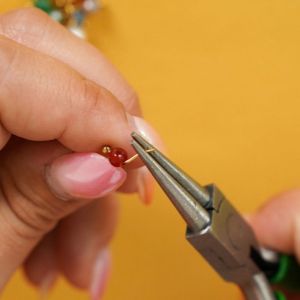
The crimp bead is the quintessential jewelry-making finish. Thread the bead, pass the wire through the clasp’s ring, thread it back through the bead, then flatten it with pliers (everything is detailed in our technical guide).
The step many designers forget? The bead cover. It snaps shut over the flattened bead and provides an invisible finish, just like on fine jewelry.
Two things are important to keep in mind when using it:
The clasp isn’t just functional—it’s an integral part of the design. A large Lobster Clasp on a very thin chain can visually throw off the balance of a necklace. Conversely, a clasp that’s too small may be difficult to use or unsuitable for the weight of the piece.
Also pay attention to consistency among the various findings: clasp, rings, extension chain, end caps, and connectors.
For example, avoid mixing gold-plated brass with gold-plated stainless steel: they won’t have the same gold finish when the piece is first made, and they won’t age the same way over time.
A good habit: check the back of the jewelry as well. A well-finished piece should look clean when you turn it over.
A visible knot, even if tightly tied, always gives away a homemade assembly. The knot cover encloses it within a small metal shell fitted with a ring.
Here’s how: place the knot (or the Crimp bead) inside the shell, add a dot of glue, and gently close it using nylon-tipped pliers. Then attach the ring to the clasp.
Discover the complete method in “How to Use a Knot Cover with Rings” and browse our selection of metal knot covers or our 925 Sterling Silver knot covers.
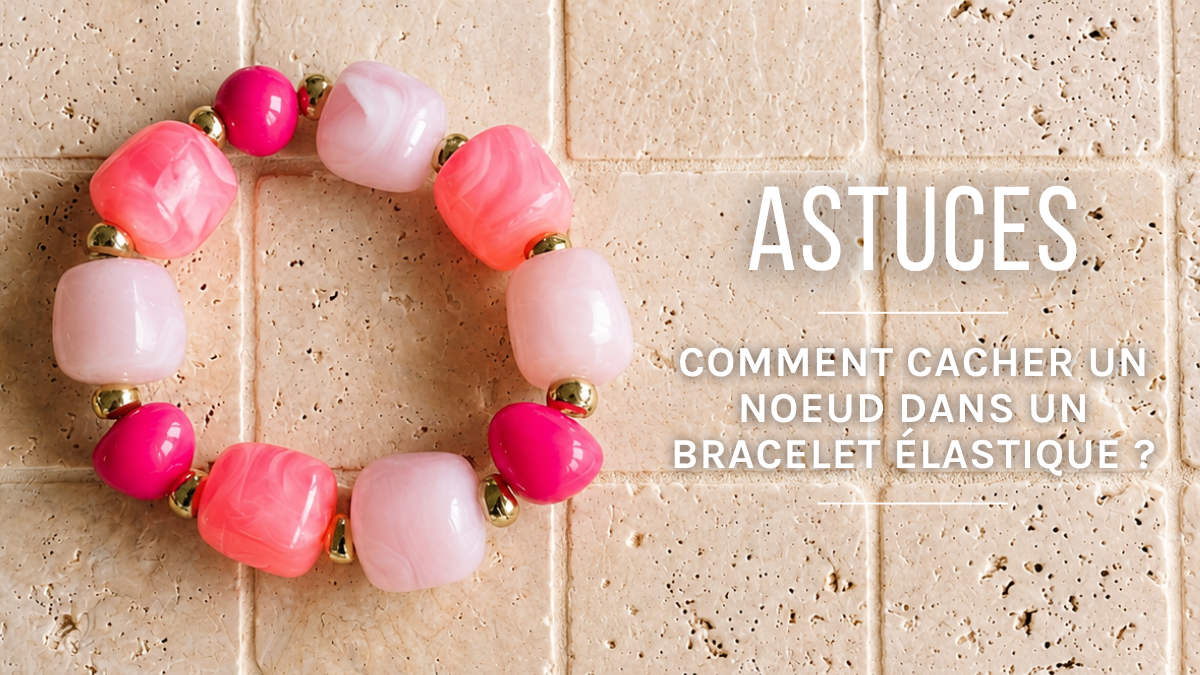
On an elastic bracelet, the knot must be tied tightly and then concealed whenever the design allows. Depending on the thread and the project, it may slide into the bead, in which case you won’t need a knot cover. Here are 3 easy tips to neatly hide your knot.
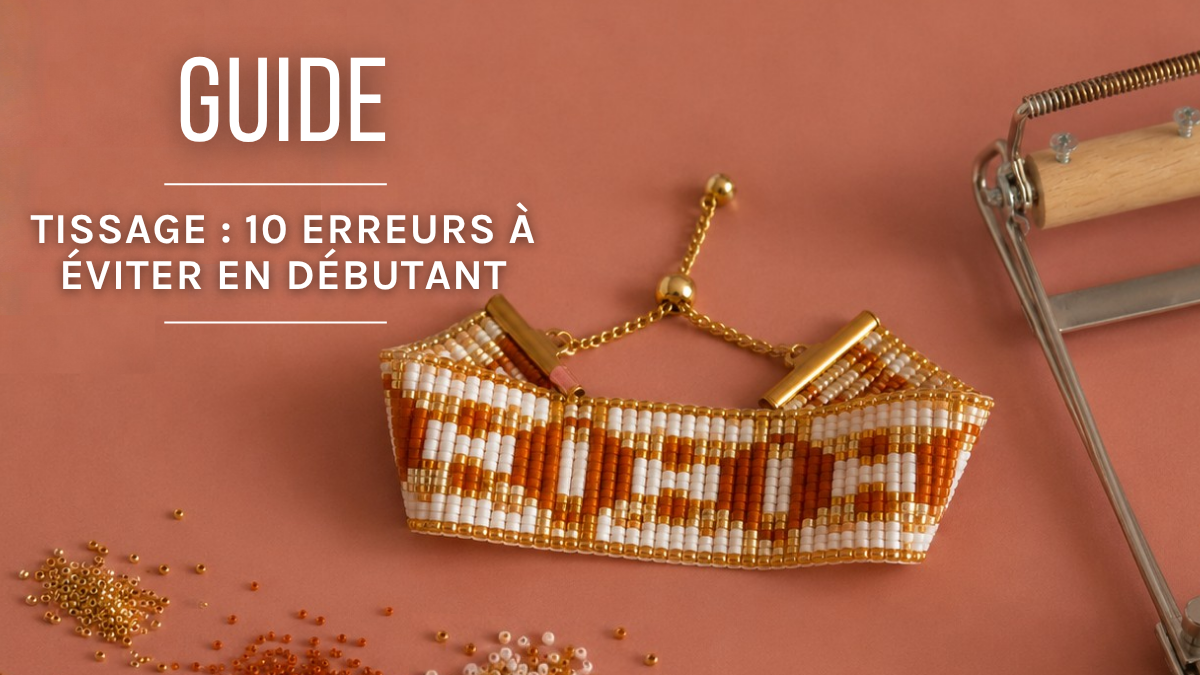
For weaving projects, carefully thread the cord through several beads before cutting it.
A cleanly cut and knotted cord is still just a knotted cord. A cord slipped into a cord end becomes a finished piece of jewelry.
Two types to know:
The right approach: Measure the diameter of your cord before buying. Our guide “Which End Caps for Which Cords” provides the exact matchings, and the fact sheet “How to Use an End Cap” details the process step by step.
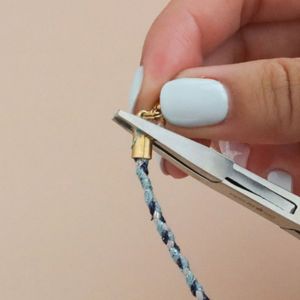
A wire sticking out by 2 mm will prick your skin and be noticeable. Get into the habit of cutting flush with precision wire cutters, then gently flattening the end with flat-nose pliers.
For beaded jewelry, the real trick is this: thread the excess wire through two or three adjacent beads before cutting. The wire disappears into the piece.
No more protruding wire = a professional-looking piece of jewelry. A simple step that makes all the difference!
Sometimes, all the technical elements are assembled correctly, yet the piece still seems unbalanced. Lay it flat and examine it.
On a necklace, does the pendant actually hang in the center? Are the beads spaced symmetrically? Are the charms spaced evenly? On earrings, are both sides exactly the same length?
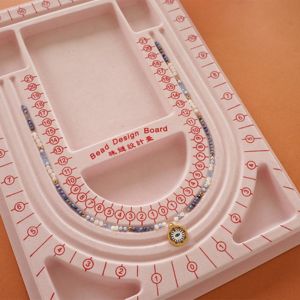
To help you with necklace design in particular, you can use an assembly tray.
For an asymmetrical design, the rule still applies: the asymmetry must appear intentional.
Before permanently fastening your piece of jewelry, take a few seconds to check the overall visual balance.
More glue does not mean a stronger bond. Glue that oozes around a cabochon or a stone can, on the contrary, ruin a perfectly crafted piece:
For small components, use an applicator tip that allows for precise application.
On a flat-headed pin, a simple clasp is sufficient for a lightweight charm. But as soon as there is tension (dangle earrings, charm bracelets), it opens.
The pigtail knot wraps the wire around itself: it can no longer open, and the even coiling is a true mark of craftsmanship. Plus, it will give your creation a very sturdy finish!
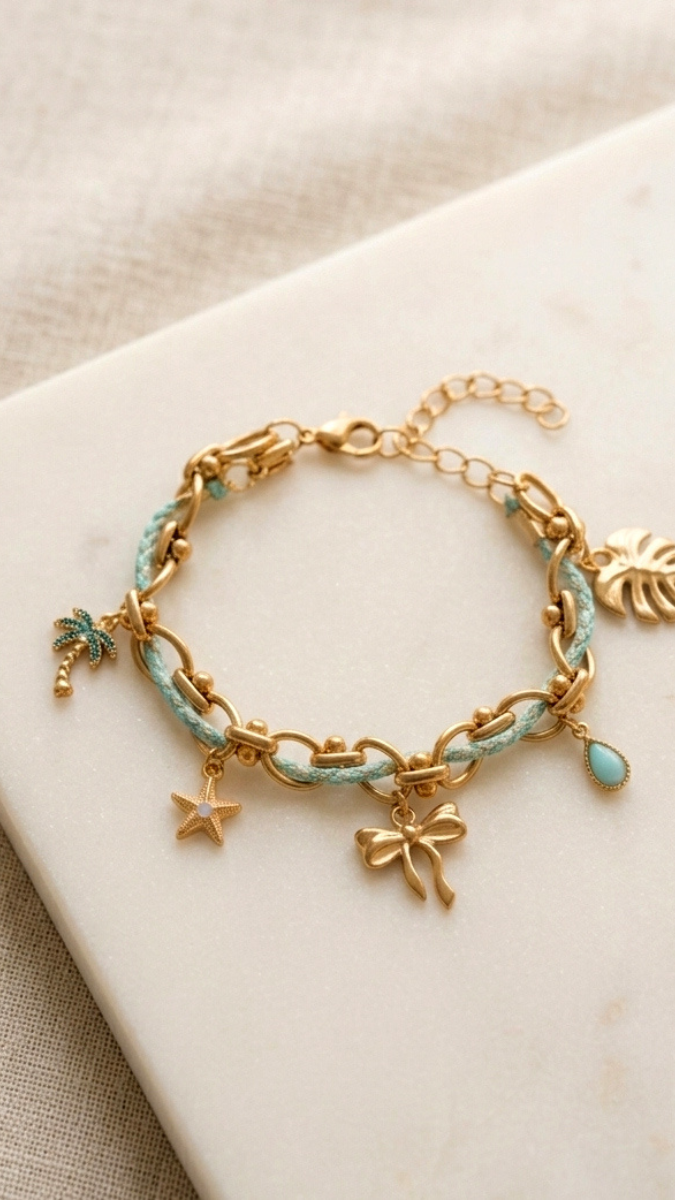

Use two pliers and open the ring by rotating it sideways rather than pulling its ends apart. To close it, reverse the motion until both ends are perfectly aligned and there are no visible gaps.
Place a bead cap around the crimp bead you want to use, then gently close it with the appropriate pliers. Once closed, it looks like a small metal bead and hides the wire setting.
No. The varnish should be chosen based on the material and the desired effect. It may be appropriate for certain creations made of polymer clay, wood, metal, or other compatible materials, but it is not a universal finish. Always check the product's compatibility and perform a test before applying it.
In the vast majority of cases, the problem lies in the finishing touches, not the design. Loose clasps, visible knots, loose threads, and mismatched metal parts are the four most common causes. Correcting these four issues is usually enough to transform the look of a piece.
Closing the connecting rings. This step is part of almost every assembly process, and an oval or slightly open ring is immediately noticeable. You can learn how to do it in less than ten minutes using two pliers.

Credits
Perles & Co, Internet & E-Commerce company [24/09/2026] Any reproduction, representation, adaptation, in any form whatsoever, even partial, is prohibited, except for reproduction for private use not intended for collective use, representation in the family circle (art. L 122-5 CPI) and online publishing on condition that the source is mentioned and a link is included to the corresponding page of our site www.perlesandco.com.

