Average Grades


Apprentissage perle fantaisie culture à la main
1 Answer
Show answers

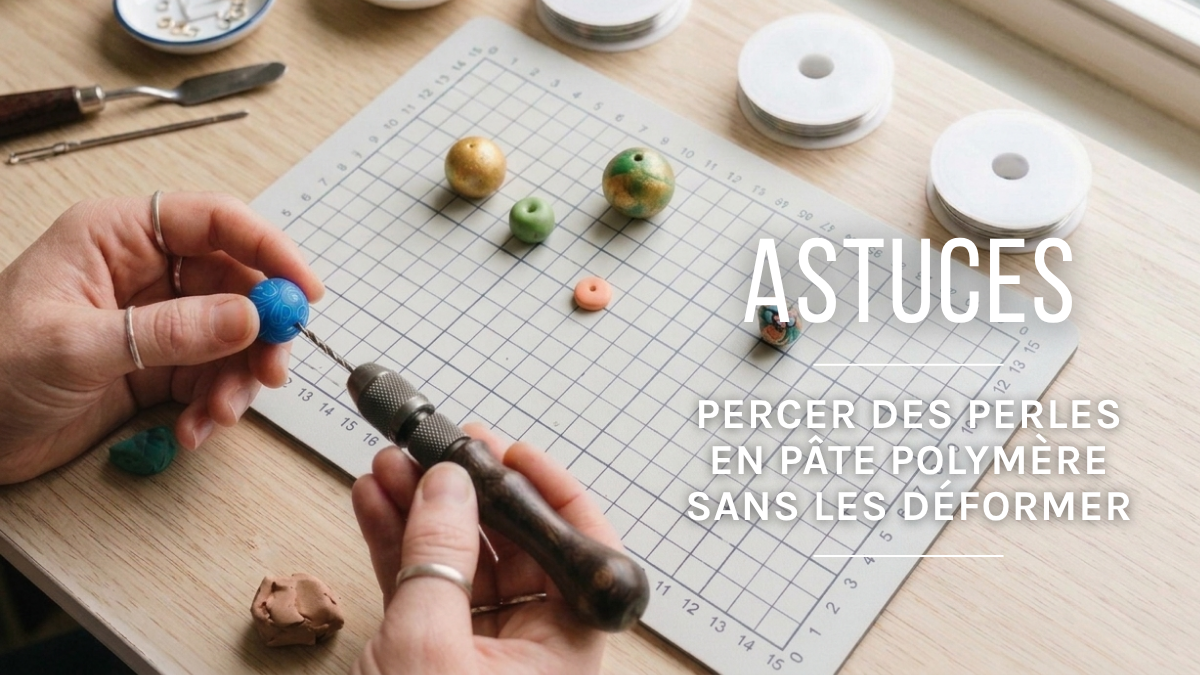
Drilling holes in your polymer clay beads before firing requires a fine needle and a twisting motion, without applying excessive pressure, to prevent any warping. After firing, a Dremel with a fine drill bit produces a clean result, provided you work slowly. You can also combine the two methods: drill a pilot hole before firing, then enlarge it after firing.
Drilling is often the most dreaded step in making polymer clay beads: one wrong move, and the bead can become oval-shaped, crack, or lose its original shape. Good news: with the right method and the right tools, you can create a clean hole without distortion, whether you drill before or after firing. We’ll walk you through both approaches, their advantages, and the mistakes that most commonly damage beads.
An unfired polymer clay bead remains flexible, even after being refrigerated. It deforms as soon as pressure is applied to it. There are three common causes:
This is the most common method for drilling holes in raw polymer clay beads, provided you follow a few rules:
An ultra-fine needle leaves a clean pilot hole, which you can enlarge after firing to the desired diameter.
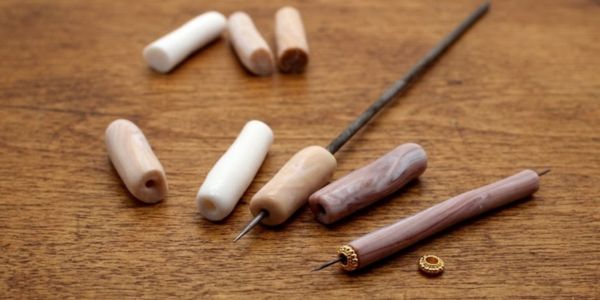
Some artists also recommend keeping a finger pressed against the intended exit point. As soon as you feel the tip pierce slightly through to the other side, stop pushing from the entry point and finish the hole by rotating the needle from this exit point.
Drilling the bead after firing is the best way to eliminate the risk of deformation, since the clay is already hardened. However, it requires a few more tools:
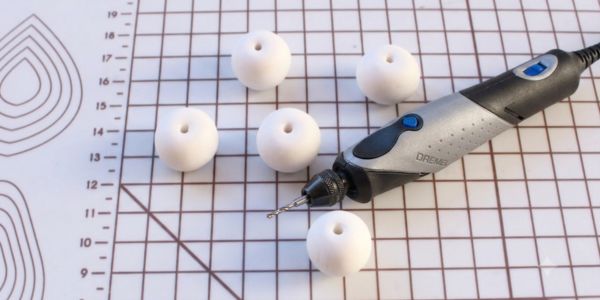
Good to know: If you left a guide hole before baking, this step simply involves enlarging it—ensuring precise alignment and zero distortion.
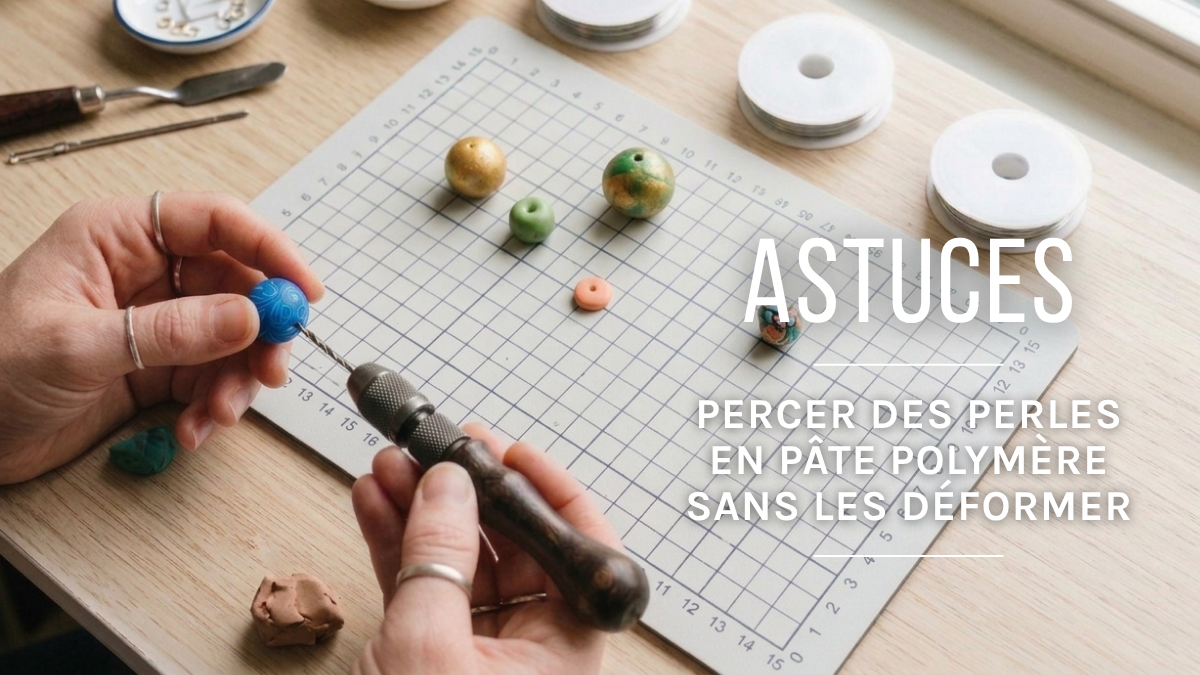
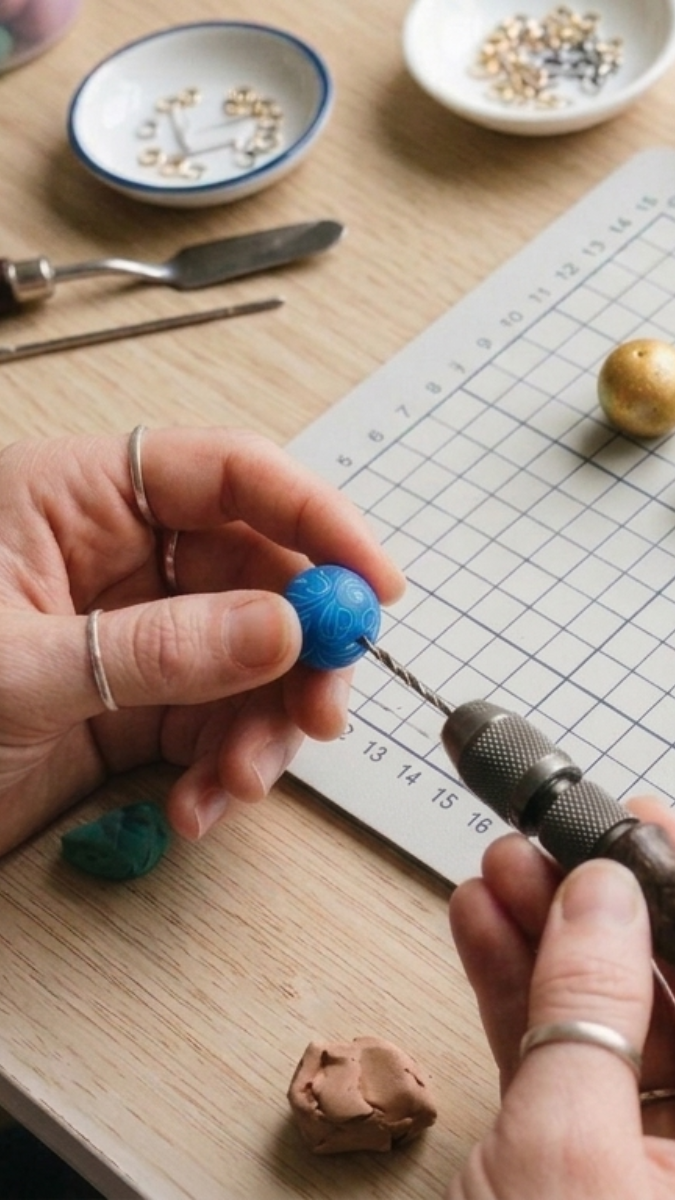

After firing, for guaranteed results without warping. Before firing, only if you have mastered the technique of using a fine needle with an exit mark.
The thinner the tool, the less it distorts the raw clay. The diameter will depend on your project.
Leaving it for 10 to 15 minutes firms up the raw clay, but the effect is limited with very pliable clays.


Credits
Perles & Co, Internet & E-Commerce company [30/07/2026] Any reproduction, representation, adaptation, in any form whatsoever, even partial, is prohibited, except for reproduction for private use not intended for collective use, representation in the family circle (art. L 122-5 CPI) and online publishing on condition that the source is mentioned and a link is included to the corresponding page of our site www.perlesandco.com.