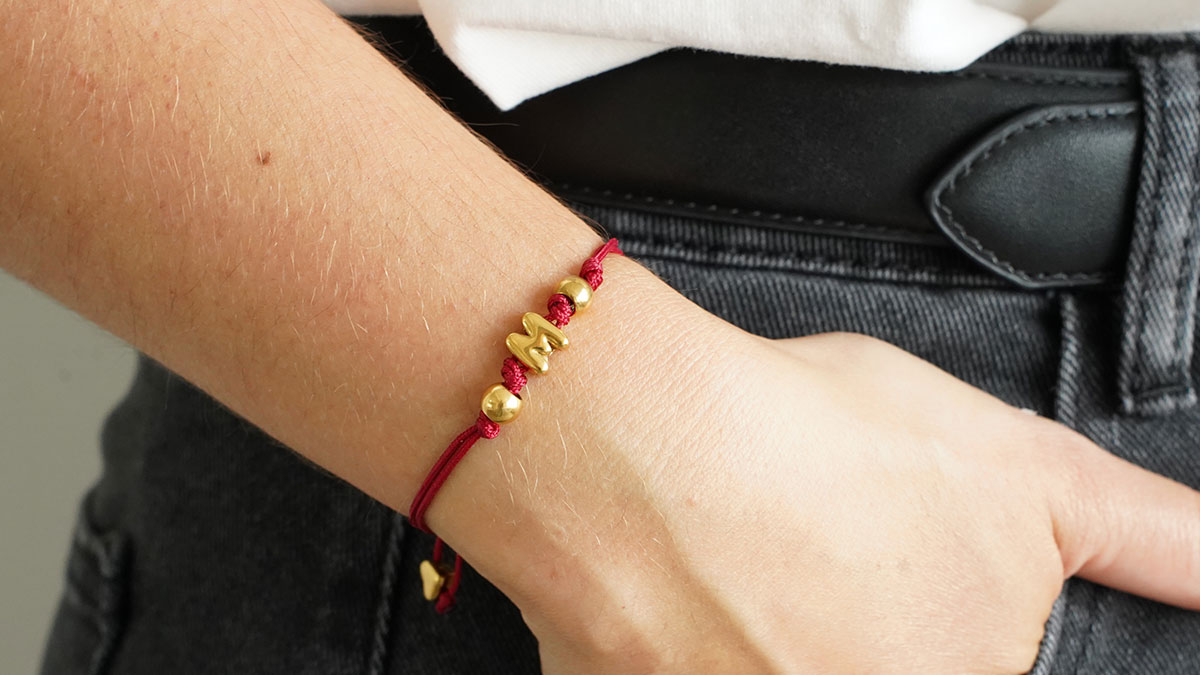
Cut about a foot of wire. Wrap a small piece of tape around one end of the wire. If you don't know how to do this, go to our"How to string beads on a frayed wire" datasheet to see a step by step video. String your beads: 3 gold washers, 1 tube bead, 3 gold washers.
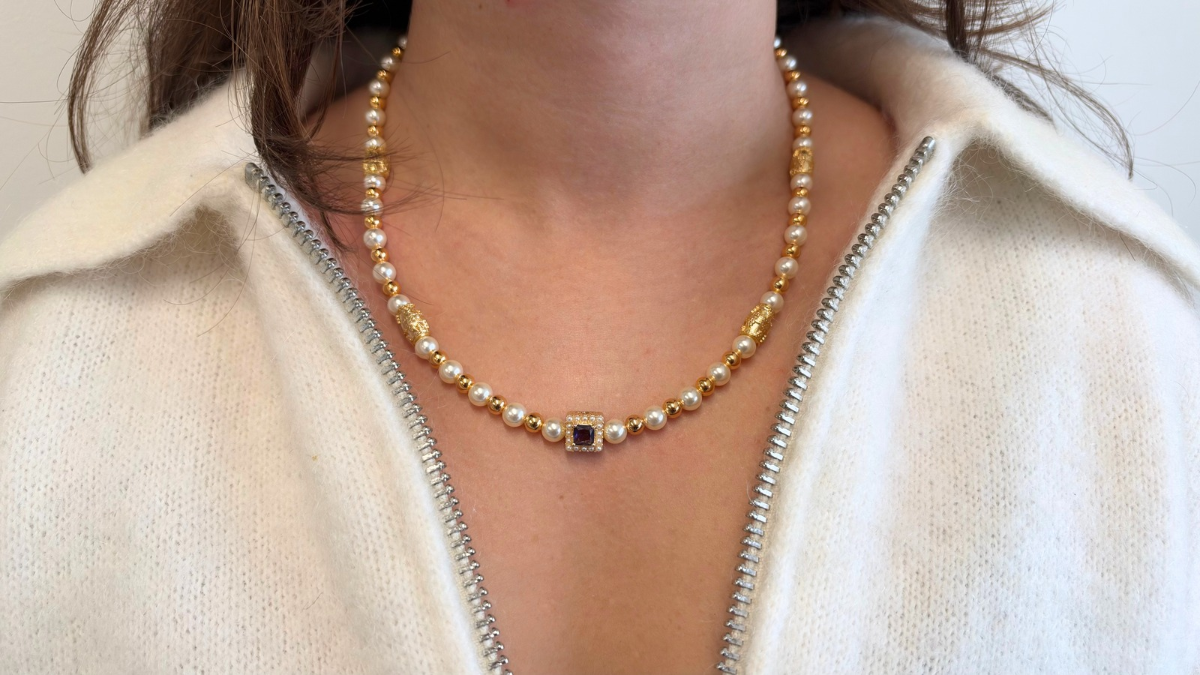

How to make an adjustable bracelet with a braided cord?
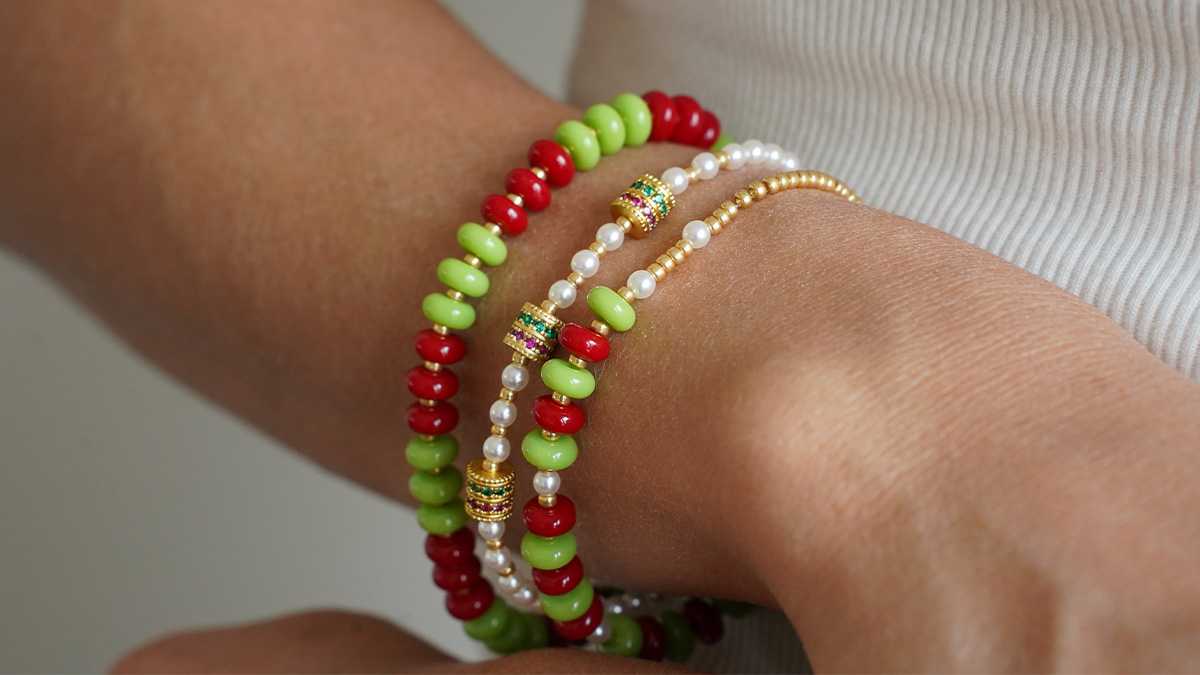
Are you looking for a DIY gift idea for women or ideas of small jewels to sell on the Christmas markets ? We think you might like this easy jewelry tutorial. Thanks to its adjustable closing system, you can create bracelets without knowing the wrist size of the person you are going tooffer it to. All you have to do is make new knots on the two pieces of wire and cut them to make the bracelet shorter. Even without this, the bracelet will be quite wearable and pretty. The person can adjust the size of the bracelet themselves.
This is a low budget gift idea. Indeed, it will only cost you a little more than 6 euros if you make only one. The wire is sold by the meter, but you can make 3 bracelets with this amount of wire. Count about 30-33 cm per bracelet to be large. The stopper bead and the washers have a decreasing price from 5. So if you buy the material for 6 bracelets, they will cost you less than 6 euros.
These cords exist in other colors. You can find them at the bottom of the page in the variation section. Looking for an idea to present them or to pack them? Also find the pretty drawer box and display ideas below.
Making your own jewelry is an easy hobby. You won't need to buy jewelry clips or glue for this tutorial. All you'll need is some tape and a pair of scissors. But why tape? We'll explain that right away.
This tutorial was shared as a short video on our instagram account @perlesandco and Facebook @Perles and Co. Feel free to check it out!
Tutorial steps
Center the beads on the wire and tie a knot on each side of the beads to hold them in place.
Put a piece of tape on the second end of the cord. Thread one side of the cord through the stopper bead. Grab both sides of the cord between your thumb and forefinger. Both fingers against the bead. Then pinch to pull the cord on both sides of the bead to enlarge the rubber hole. Pass the other end of the cord through the bead in the opposite direction, so that the cords cross each other in the bead. You can also put them in the same direction, this also works.
Remove the pieces of tape and tie a tight knot on each piece of wire.


You have a question about this tutorial? Ask it to our team and the people who have already tested it. The Perles & Co community is here to help you!
Credits
Perles & Co, Internet & E-Commerce company [30/09/2022] Any reproduction, representation, adaptation, in any form whatsoever, even partial, is prohibited, except for reproduction for private use not intended for collective use, representation in the family circle (art. L 122-5 CPI) and online publishing on condition that the source is mentioned and a link is included to the corresponding page of our site www.perlesandco.com.