Average Grades
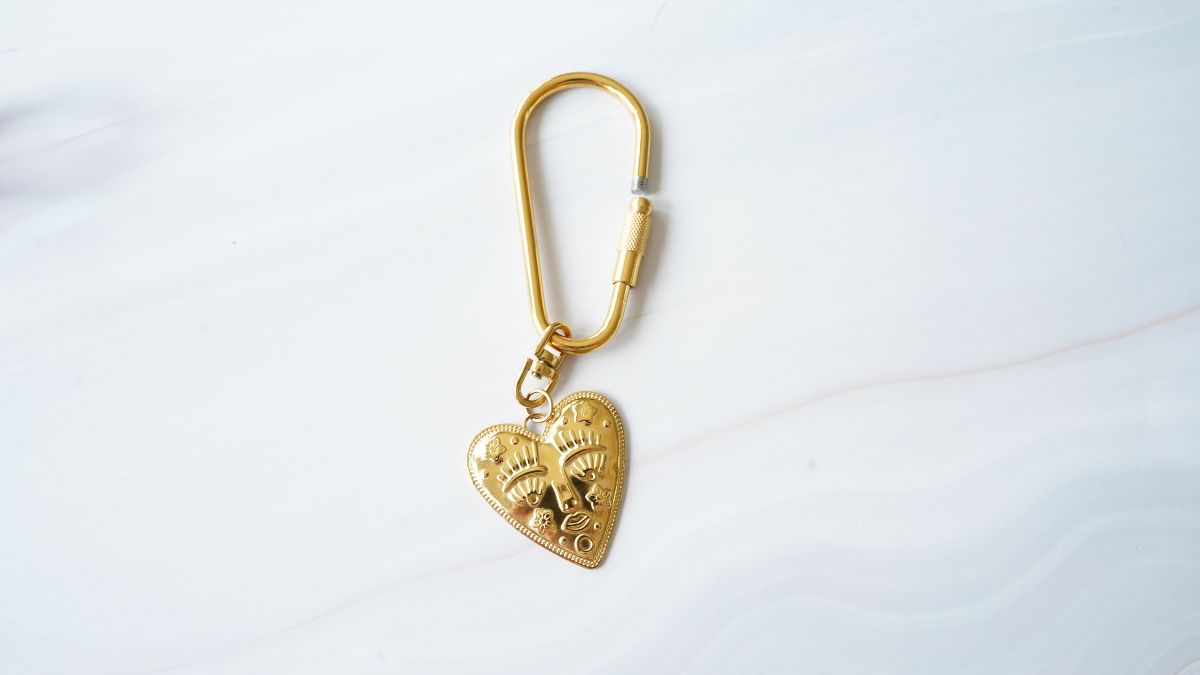
Take your carabiner and unscrew it.
Next, take a swivel connector and attach a small ring to it. Insert the heart charm into the ring, then close it carefully.
Finally, slide the assembly onto your carabiner.

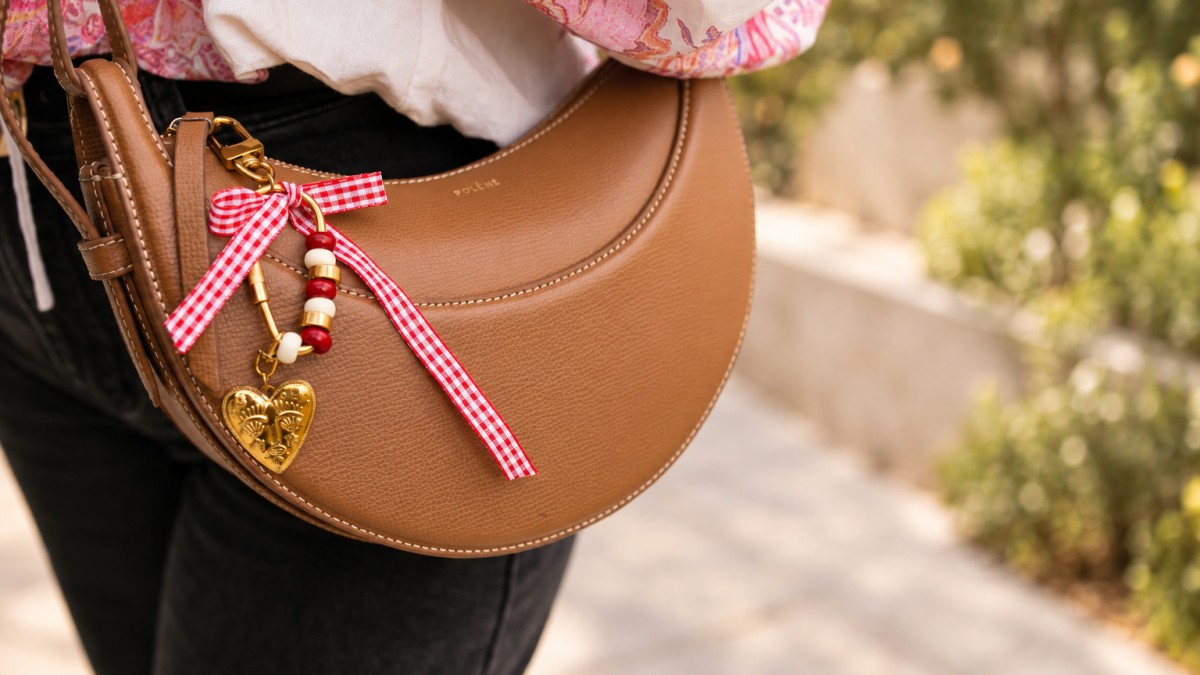
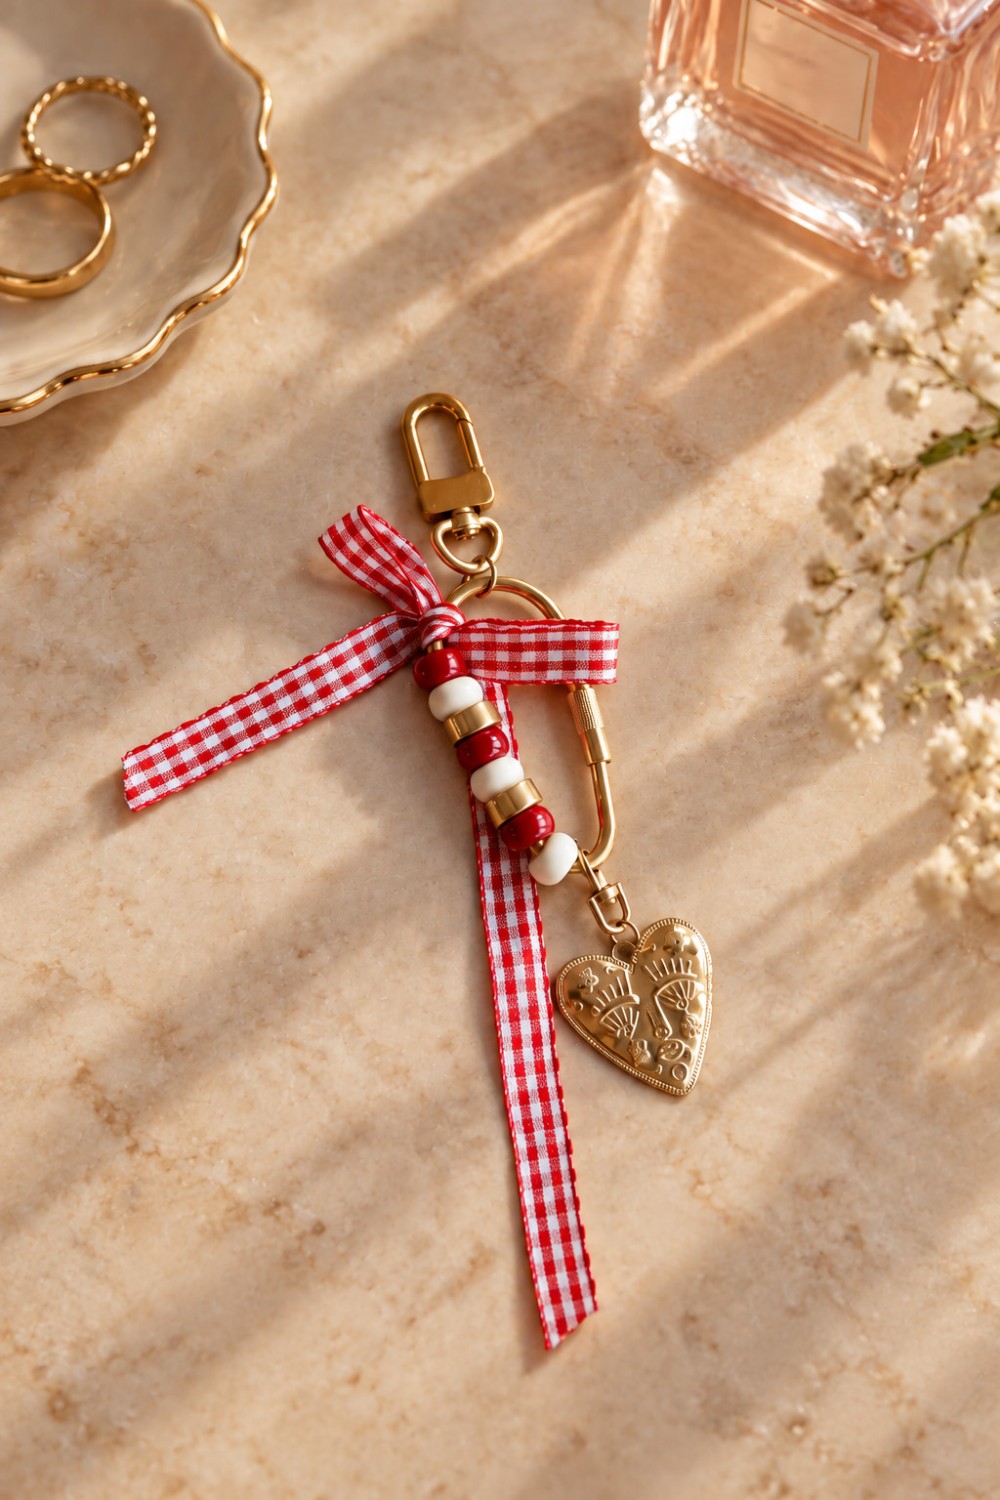
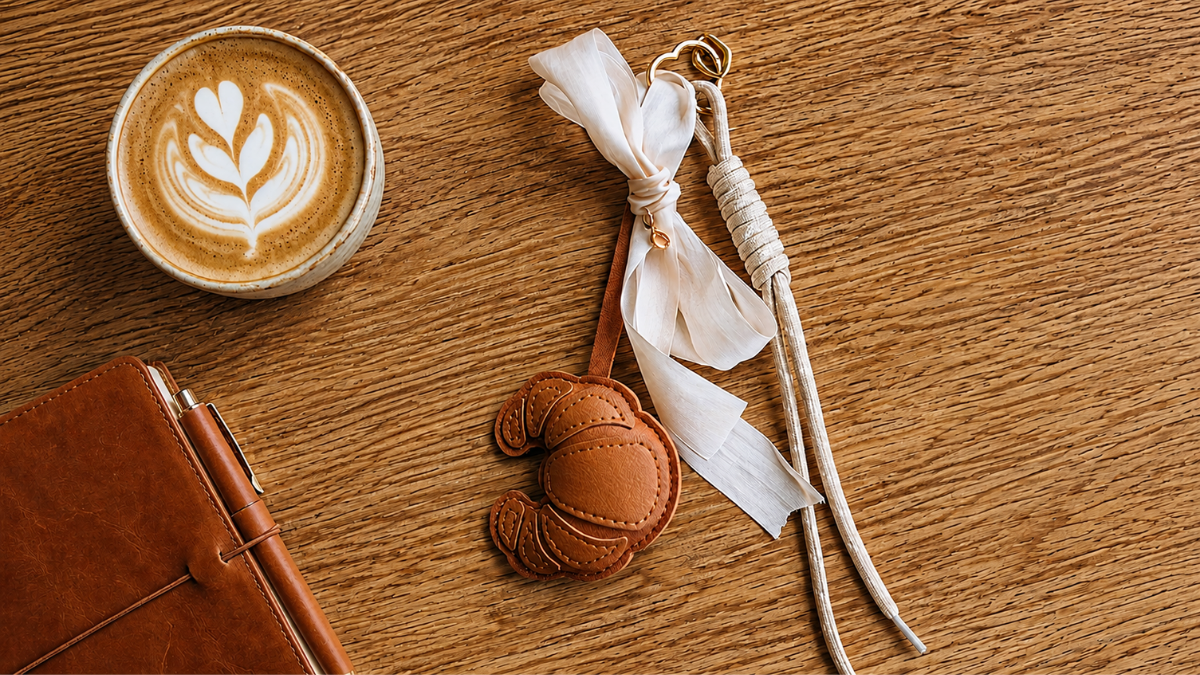
Want to make a unique and trendy keychain? Check out this pretty handmade keychain in red, white, and gold—perfect for personalizing your set of keys or accessorizing your purse. This quick and easy DIY project combines resin beads, gold keychain findings, anda pretty red-and-white gingham ribbon to create a charming accessory.
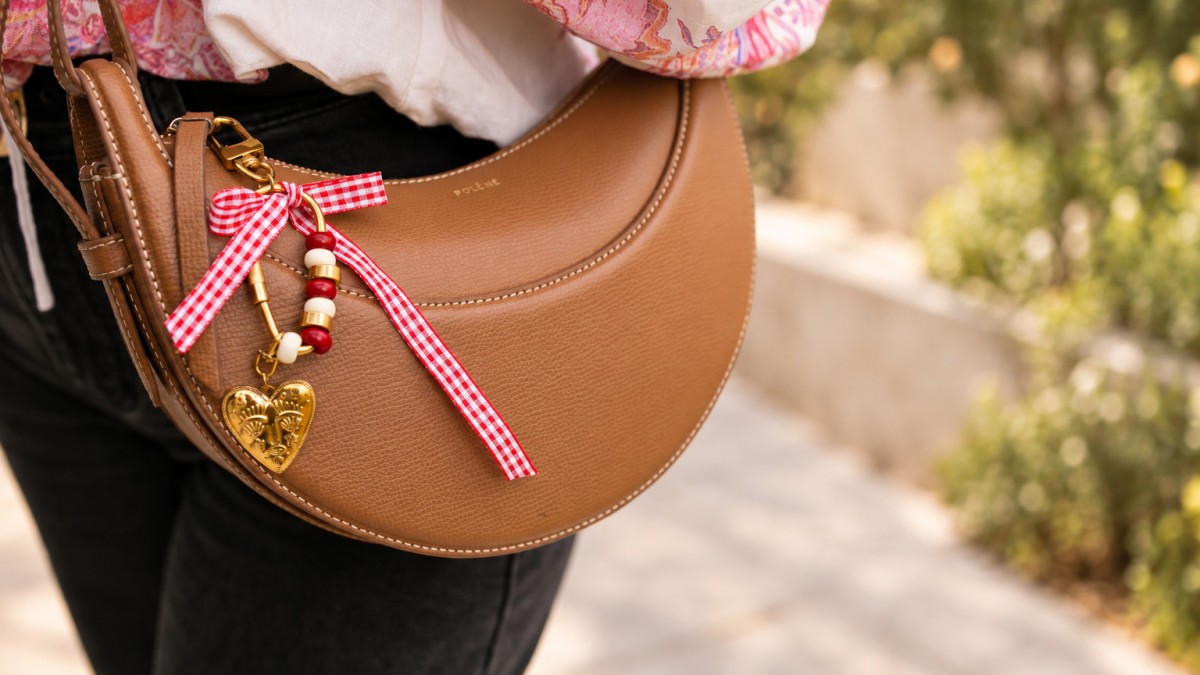
This DIY keychain is a perfect creative idea for fans of handmade jewelry and crafts. The combination of red and cream beads with gold spacers adds an elegant touch to this creation. The gingham ribbon adds a rustic, retro flair, while the gold heart charm provides the perfect finishing touch.
Easy to personalize, this handmade keychain can be customized to your liking: change the colors of the resin beads, the type of ribbon, or even the stainless steel charm to create a one-of-a-kind piece. You can also make several matching keychains to give to your loved ones. It’s an excellent DIY gift idea for a birthday, a celebration, or simply to spread some joy.
This tutorial is suitable for both beginners and jewelry-making enthusiasts. With a few craft supplies and a little time, you can easily make a practical and personalized accessory.
So, are you ready to get started on creating this personalized keychain? Grab your beads, ribbon, and findings, and create a beautiful handmade accessory to attach wherever you like!
And if you follow this tutorial, share your creations on Instagram, TikTok, or Facebook by tagging @Perles & Co—we love seeing your custom designs and the creative takes from our community!
Take your carabiner and unscrew it.
Next, take a swivel connector and attach a small ring to it. Insert the heart charm into the ring, then close it carefully.
Finally, slide the assembly onto your carabiner.
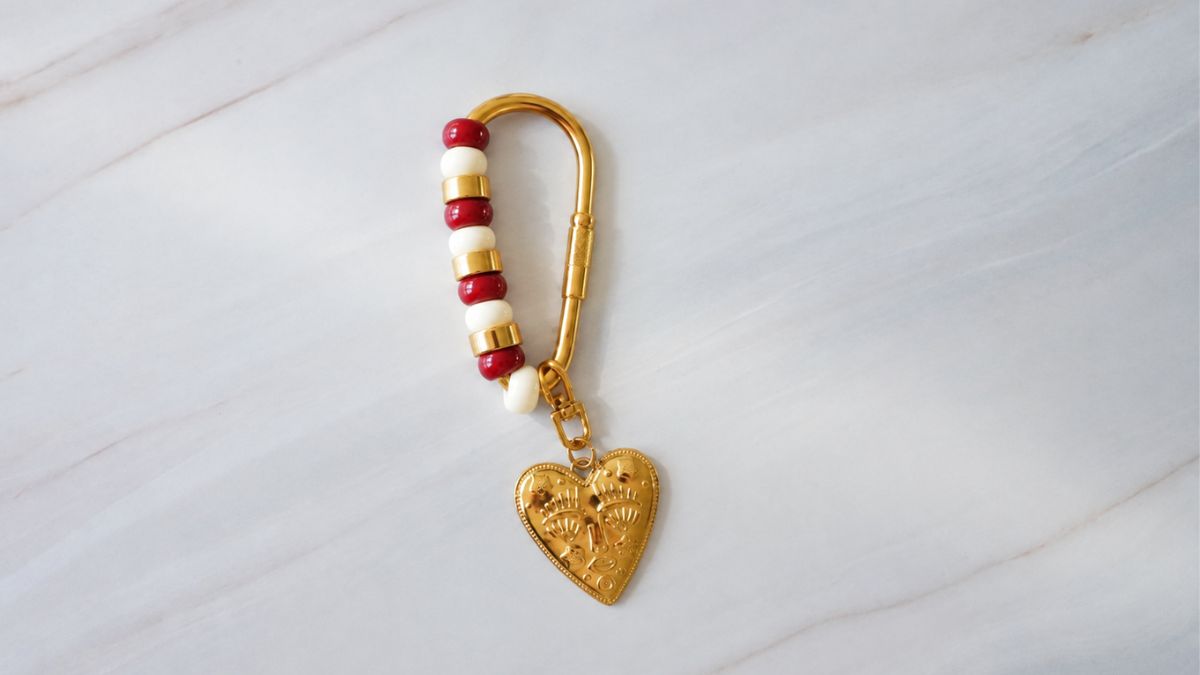
Next, add the beads, alternating them: one ivory bead, one red bead, then one gold bead. Repeat this sequence until the flat side of the snap hook is completely filled.
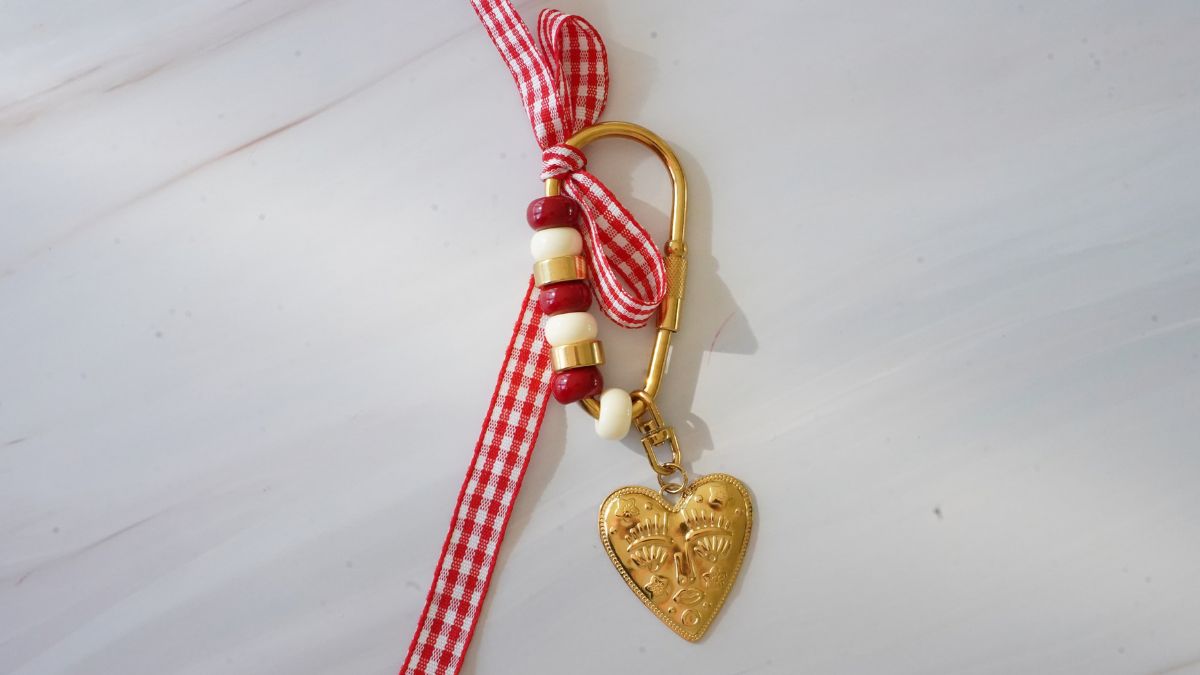
Now take the red-and-white gingham ribbon and tie a pretty bow. Here, we’ve placed it in the top-left corner, but you can certainly choose the spot you like best depending on the look you’re going for.
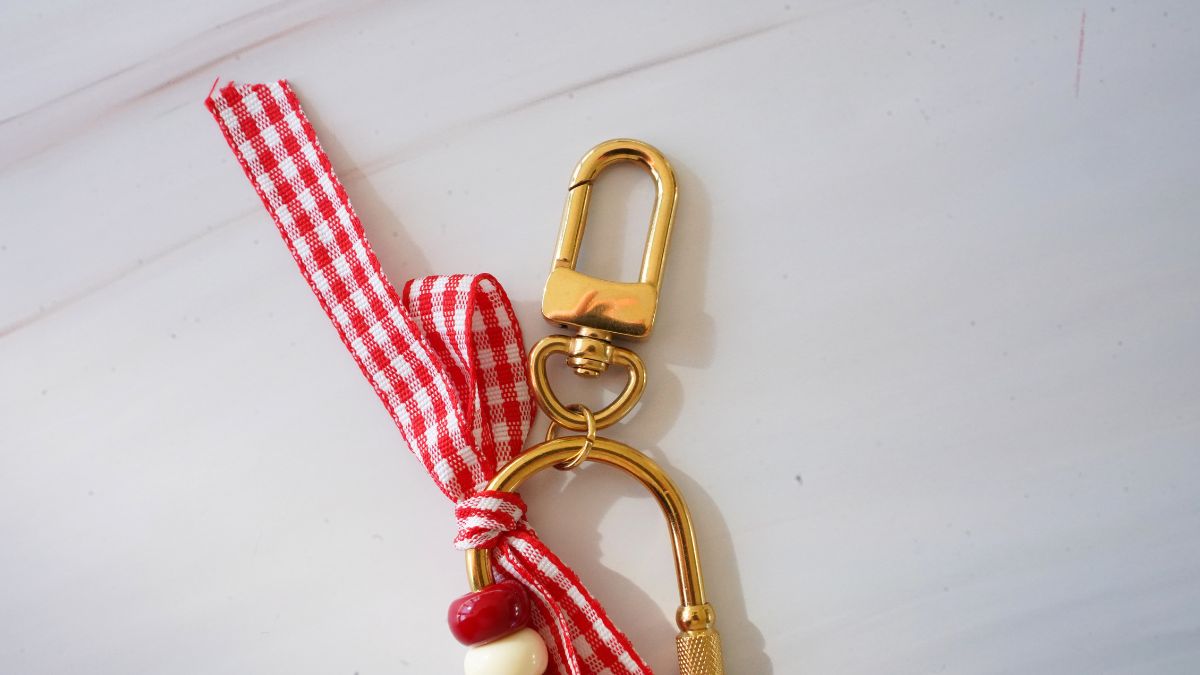
To finish your keychain and be able to easily attach it wherever you like, take a large open ring and insert it into the bottom part of your Lobster Clasp. Next, attach the screw-on Lobster Clasp, then carefully close the ring using two flat-nose pliers. Your keychain is now ready to accompany you on your most beautiful walks!

You have a question about this tutorial? Ask it to our team and the people who have already tested it. The Perles & Co community is here to help you!
Credits
Perles & Co, Internet & E-Commerce company [05/10/2026] Any reproduction, representation, adaptation, in any form whatsoever, even partial, is prohibited, except for reproduction for private use not intended for collective use, representation in the family circle (art. L 122-5 CPI) and online publishing on condition that the source is mentioned and a link is included to the corresponding page of our site www.perlesandco.com.