Average Grades
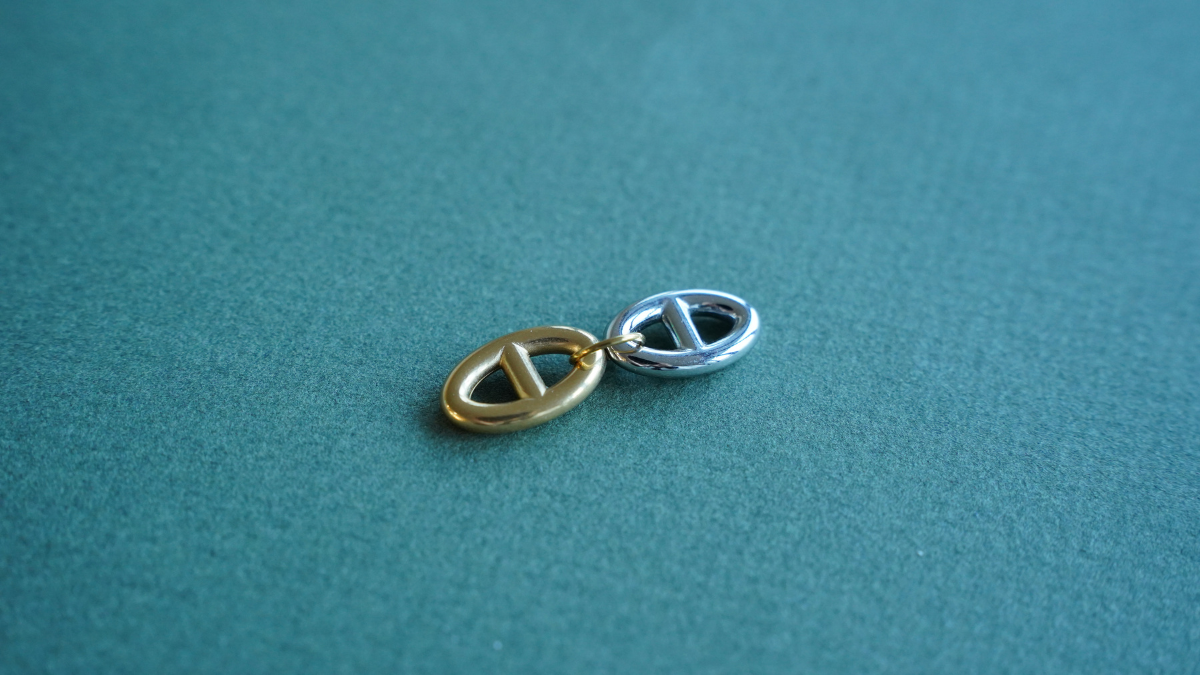
Here, I alternate the links: a silver link, then a gold link. I also use different rings at each step, depending on the link I’m assembling.

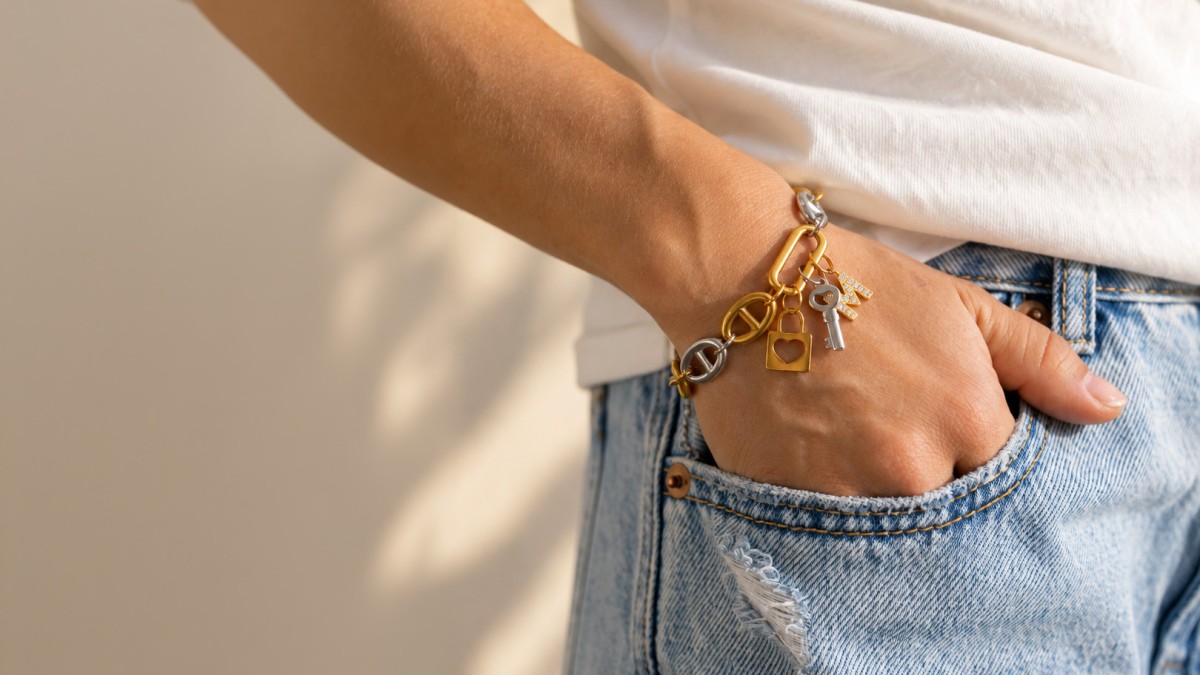
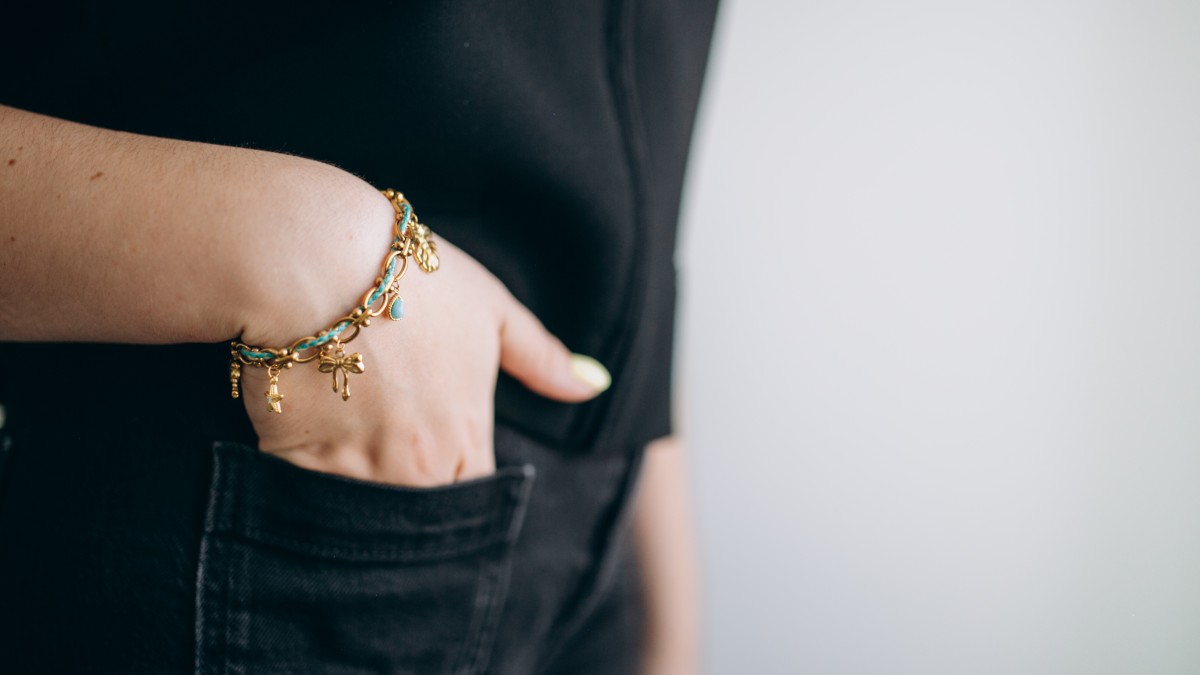
This tutorial provides step-by-step instructions for creating a two-tone, chunky-link bracelet that combines gold and silver elements. Charms—such as an initial, a key, and a padlock—allow you to personalize the piece however you like. Whether worn alone or layered, this good-luck charm bracelet is as easy to make as it is to customize.
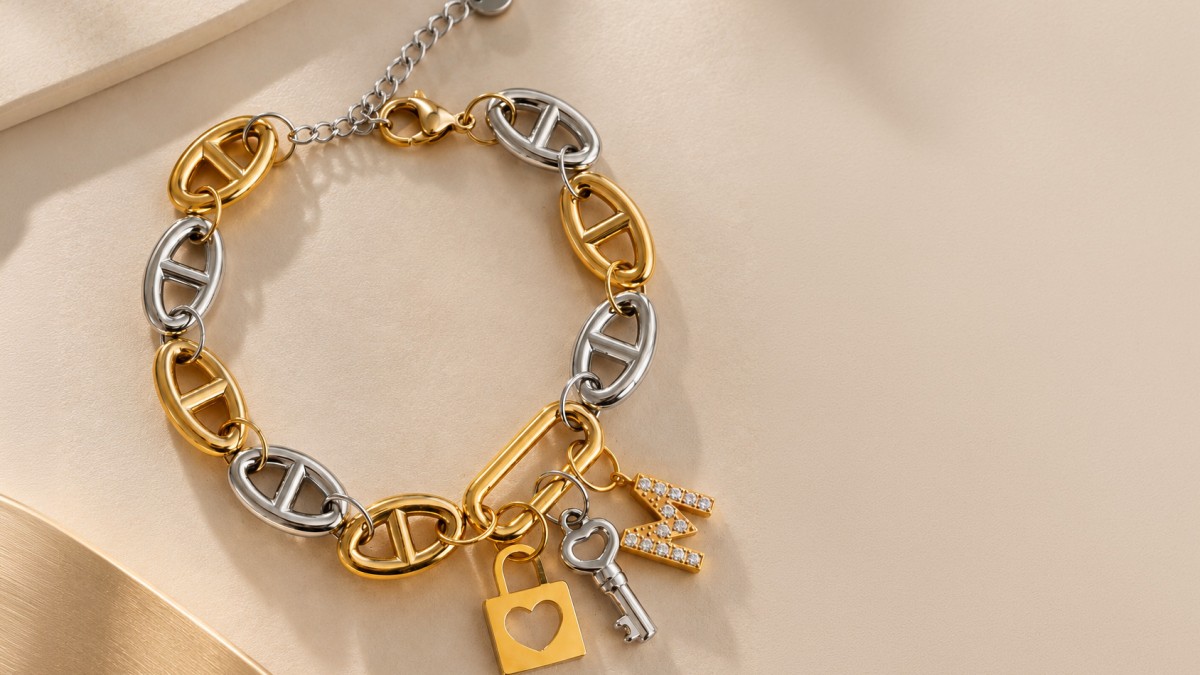
Want to create a trendy, graphic bracelet that’s easy to personalize? In this tutorial, learn how to make a two-tone, chunky-link bracelet by combining gold and silver elements. This mix of finishes instantly adds contrast and gives the piece a very modern look. The idea is to alternate gold and silver links to create a steady visual rhythm, then add a rectangular element in the center that will serve as an attachment point for the charms.
This type of bracelet is ideal if you love customizable jewelry. Thanks to the open rings, you can easily change the design, add or remove a charm, or adjust the length of the bracelet. If you’re just starting out, you can use our tutorial to learn how to properly open and close a jump ring: see the technique for opening a jump ring. The method involves rotating both ends of the jump ring with two pliers, without pulling it apart, to avoid deforming it.
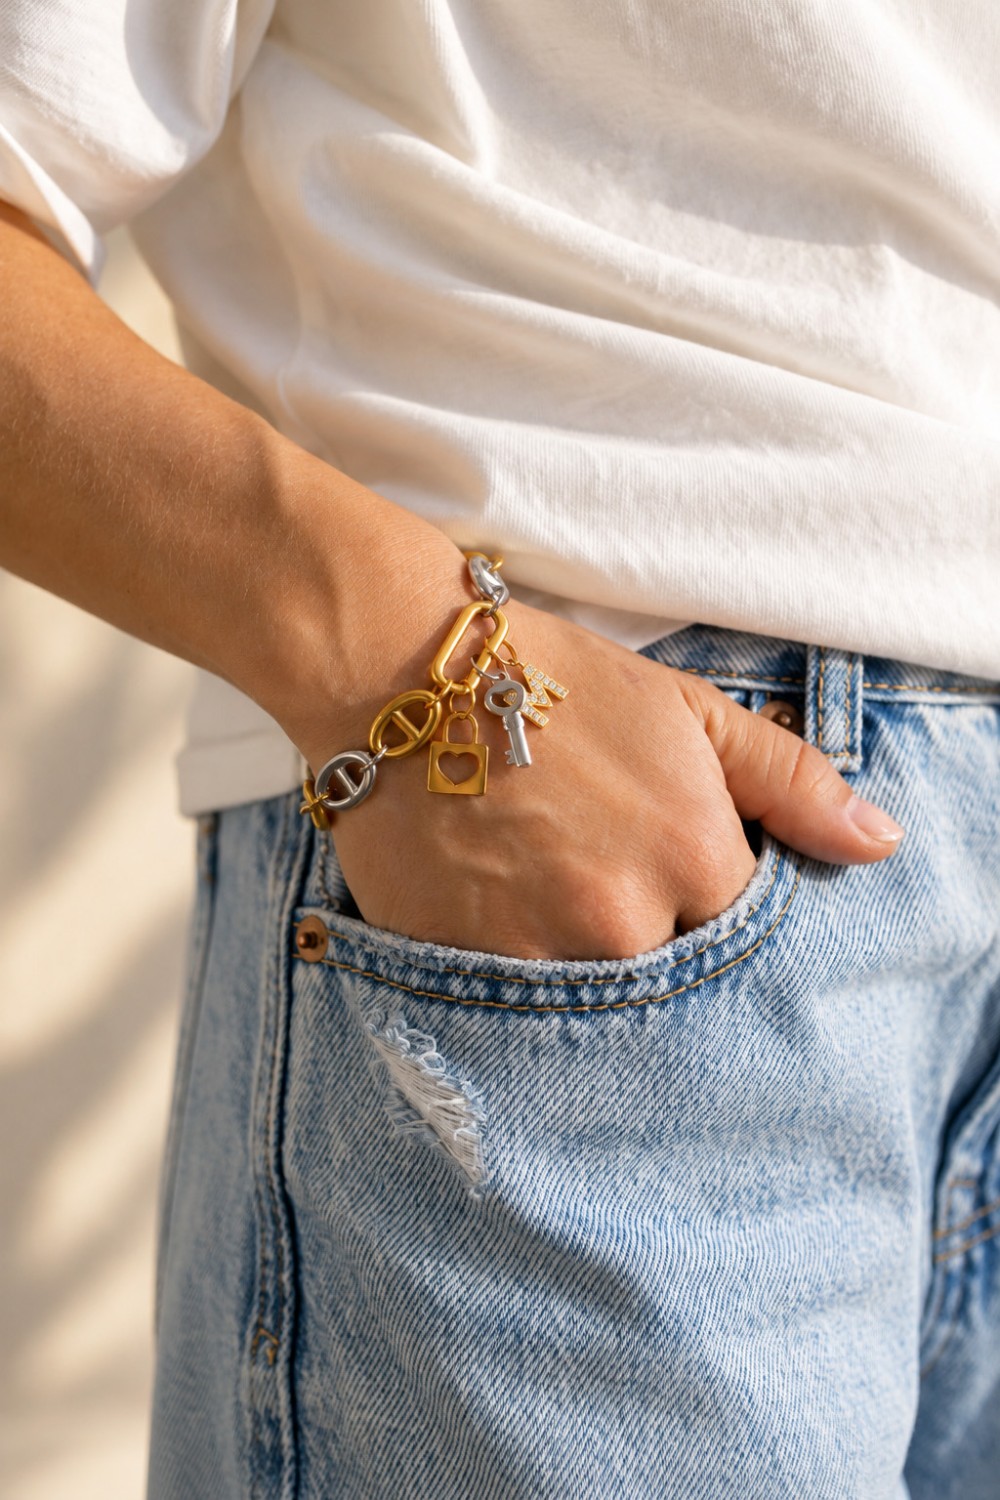
In the center of the bracelet, several charms create a charming talisman-like effect: an initial with a rhinestone setting, a small key, and a padlock. You can, of course, replicate this exact arrangement or choose symbols that hold special meaning for you. Heart, star, letter, medallion, flower, or lucky charm: explore our selection of stainless steel charms to design your own version.
The mix of gold and silver tones also makes it easy to pair this bracelet with the jewelry you already own. You can combine it with a silver watch, a gold ring, or other thinner bracelets to create a modern layered look. If you like this style, check out our other stainless steel bracelet ideas as well .
Did you make this necklace? Share your creation on Instagram by tagging us @perlesandco or on our Facebook page —we love seeing what our community creates and sharing it with others!
Here, I alternate the links: a silver link, then a gold link. I also use different rings at each step, depending on the link I’m assembling.
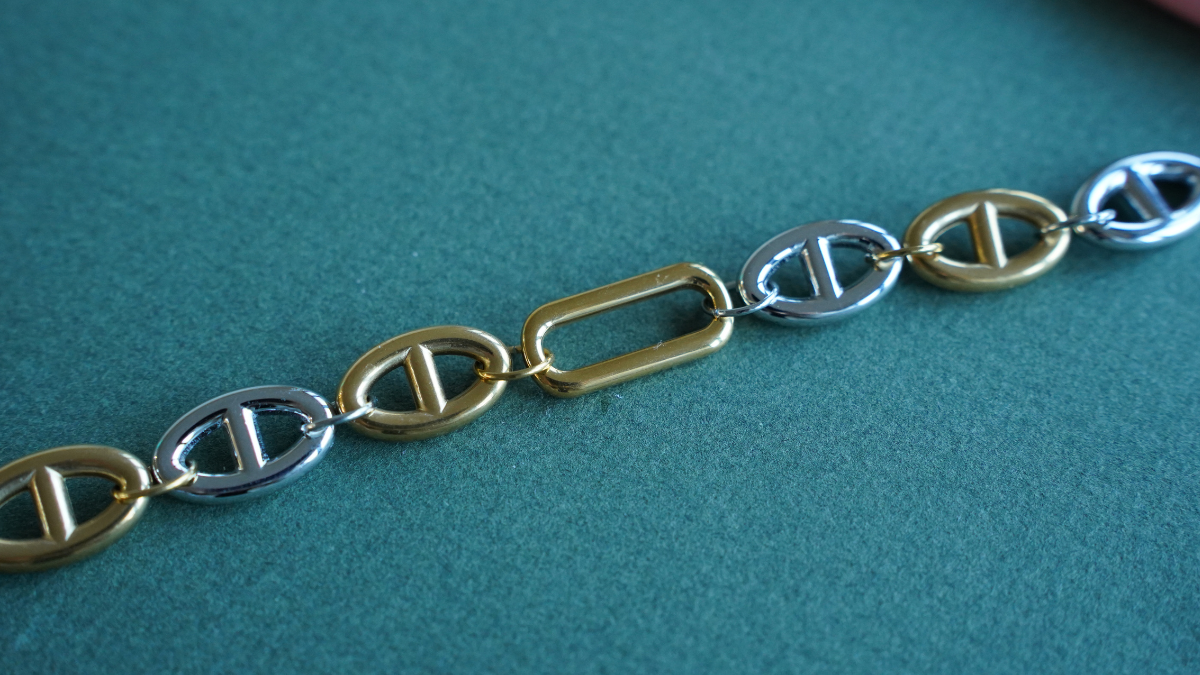
Next, I attach the rectangular pendant to the bracelet using a jump ring.
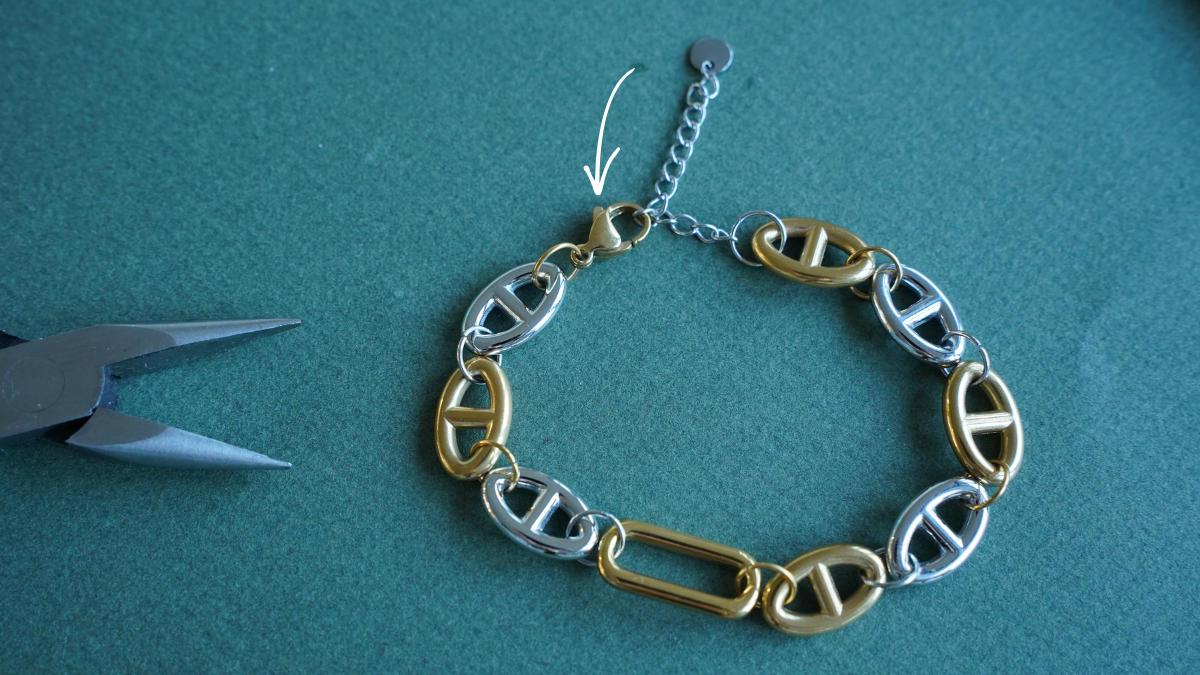
Next, I attach the extension chain to one of the bracelet’s links using an open jump ring, then I add the clasp on the other side.
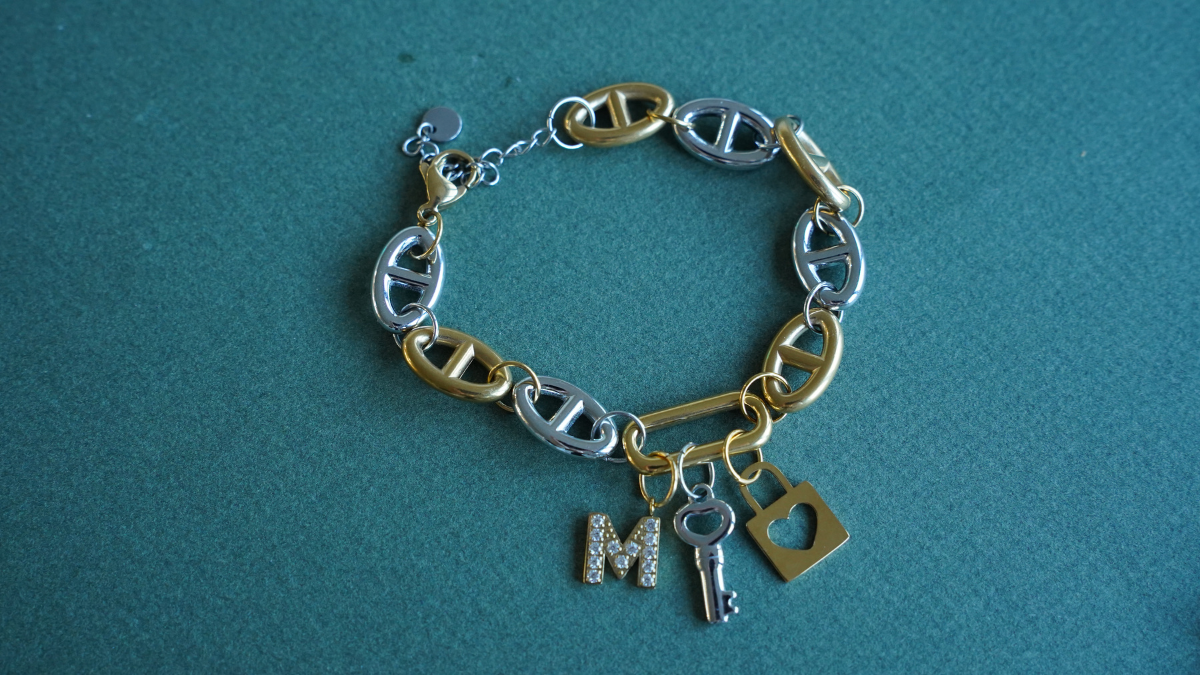
Finally, on the rectangular pendant in the center, I attach three charms using open rings.
And there you go—the bracelet is finished!

You have a question about this tutorial? Ask it to our team and the people who have already tested it. The Perles & Co community is here to help you!
Credits
Perles & Co, Internet & E-Commerce company [22/10/2026] Any reproduction, representation, adaptation, in any form whatsoever, even partial, is prohibited, except for reproduction for private use not intended for collective use, representation in the family circle (art. L 122-5 CPI) and online publishing on condition that the source is mentioned and a link is included to the corresponding page of our site www.perlesandco.com.

