Average Grades
Que suggérez-vous pour terminer un bracelet en peyote pair avec un fermoir entièrement réalisé en perles ou avec bouton, càd sans fermoir métallique ni macramé) ?
1 Answer
Show answers

Miyuki bracelets made using the Peyote stitch offer several finishing options, including matching end caps and clasps, which should be selected before ordering the beads. End caps specifically designed for Peyote stitch are available in various sizes and add a decorative touch while ensuring the bracelet’s durability. For maximum customization, consider using elastic thread or creating a bead-based clasp, although this requires some experience with the weaving technique.
Just like bracelets made on a loom, Miyuki bracelets made using the Peyote stitch can be finished in several different ways. You can finish the bracelet with a pointed end on each side or leave it as a continuous strip. You can also create a bead-based clasp. There are several clasps compatible with Peyote stitch, but it’s best to decide on one before ordering the beads for your bracelet. This prevents you from having to place multiple orders and also avoids ending up with a bracelet that doesn’t fit the available clasps. Special end caps and clasps are available, but not in all sizes! You can always decrease the number of beads on each side of the bracelet to fit a smaller clasp or end cap, but it’s best to plan for this in advance.
Please note that we’re talking specifically about Peyote weaving here, not loom weaving. We’ve already created a video and an article on the 6 ways to finish a bracelet on a loom.
Calculating the width of a Miyuki bracelet is very easy. Multiply the height of a single bead by the number of beads across the width of the bracelet. For example, for a bracelet made with 11/0 Miyuki Delica beads that’s 13 rows wide, we’ll calculate 1.27 mm × 13, since 11/0 Delica beads are about 1.27 mm tall. This gives us 16.51 mm, or about 17 mm. Always round up to the next millimeter for a more realistic result, or even add an extra 1 or 2 mm if the bracelet is very wide.
These are weaving end caps designed by Perles and Co specifically to finish a Peyote-stitched bracelet. They attach to a finished bracelet with a pointed or inverted-pointed end and add a decorative touch to the bracelet. They feature a loop for attaching a clasp. They are currently available in only 3 sizes: for 21-row, 13-row, and 7-row bracelets. We have several weaving patterns available in these sizes. Here are 3 examples:
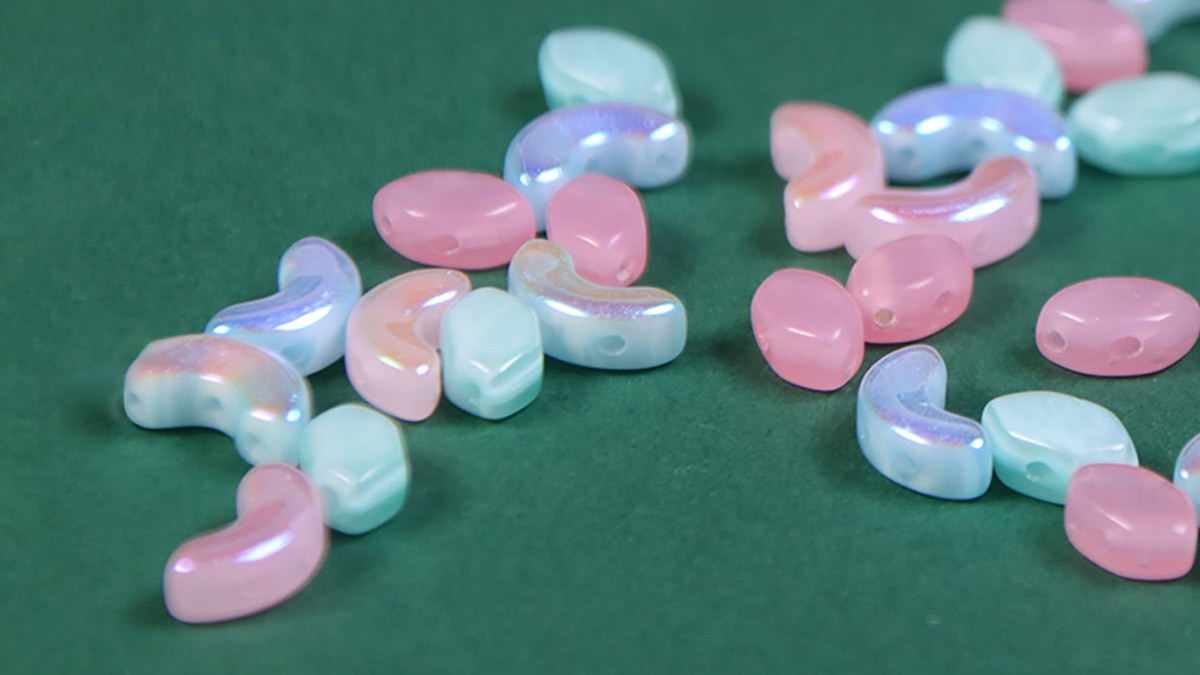
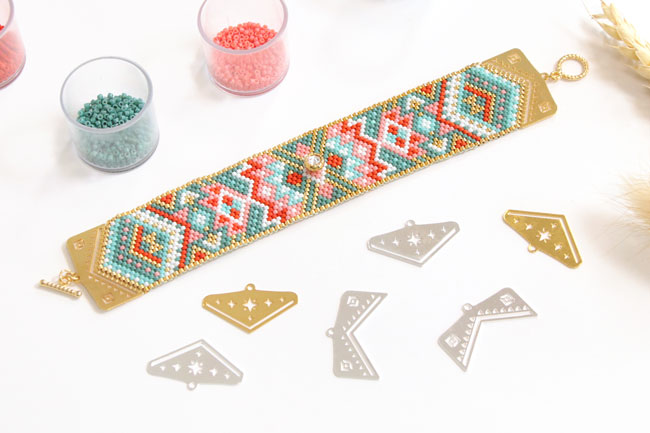 21-row turquoise and pink Miyuki bracelet using the Odd Peyote stitch
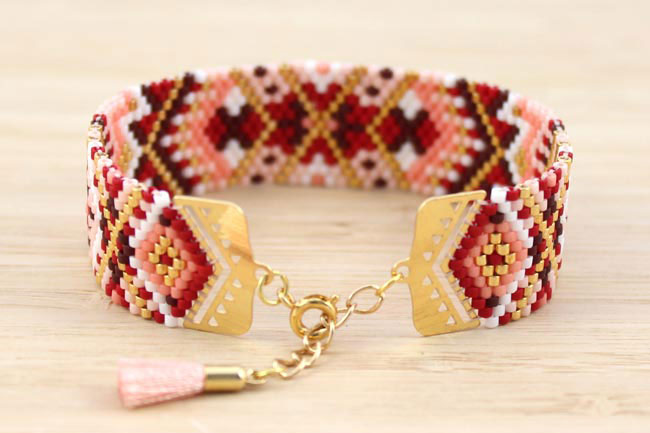
13-row Miyuki bracelet with Peyote-woven end caps
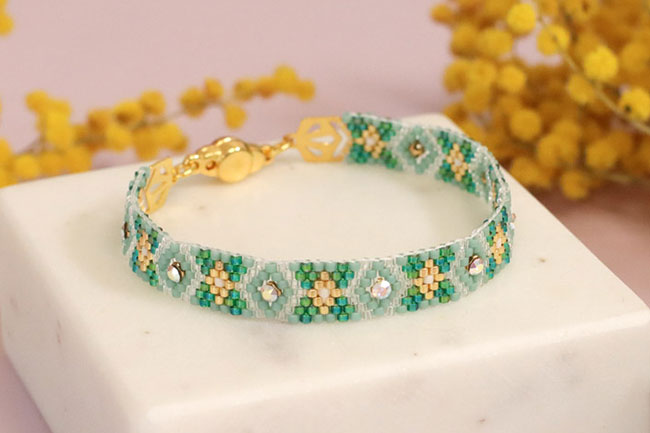
7-row Miyuki bracelet in Odd Peyote
To attach the end caps, it’s best to use 0.12 mm Fireline Crystal thread or weaving thread that matches the color of the end cap. Fireline will hold up better over time.
The angle of the end caps’ tips is designed to match the angle formed by the beads. They are also compatible with brick stitch. They will not work with loom weaving or other weaving techniques, as the tip must have a specific angle.
They are available in fine gold plated brass, fine silver, Rose Gold, and 925 Sterling Silver.
When you finish the Miyuki bracelet with a pointed end, you can place a ring on the last bead of the pointed end. This technique is the easiest, but also the most fragile. You must ensure that the last bead is securely fastened. Thread the string through it a second time. You should use a thin ring, 3 or 4 mm in diameter, with a thread diameter of 0.5 to 0.7 mm. This method works well for earrings but will be too fragile for a bracelet.
You can also sew a closed ring or a chain directly to the last bead. You’ll also need to thread the string through the bead and the ring several times. With this technique, the string may wear out and break after a few months or years. This technique is best suited for very thin bracelets.
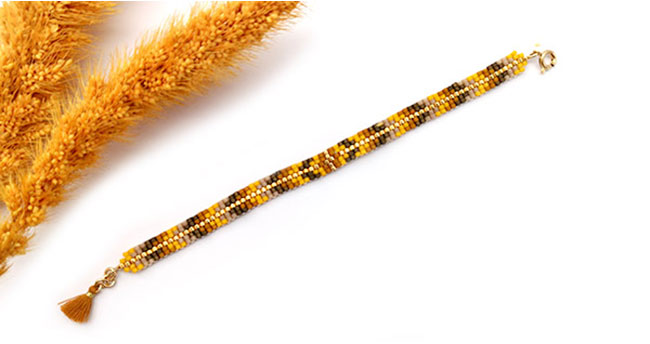
Double and Single Peyote Mix Bracelet Weaving
You can use tube-style weaving tips on a loom for Peyote bracelets, but you’ll need to make a small adjustment to the weaving pattern first. This is because the tubes slide over the last row of beads. These beads are perfectly aligned in loom weaving, which makes it easy to slide the tube over the row of beads. However, in peyote weaving, the beads are staggered, so the beads straddling the last row will block the tube from passing through. The trick is to attach a new bead after each bead in the last row using the ladder stitch technique. You can then slide the tube end over these beads you’ve just added.
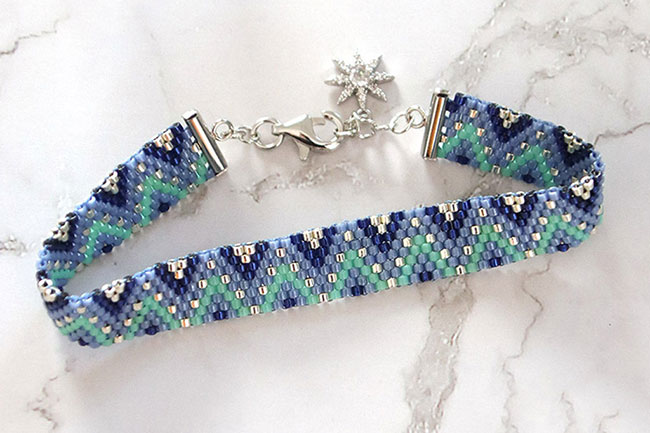
Blue and Silver Miyuki Peyote Bracelet
Based on the same principle, there are clasps with the same system of tubes that slide over the beads: these are called Beadslide clasps.
You can glue your weaving onto a metal cuff or bangle. There are various styles available. Be sure to plan the weaving to fit the bangle, rather than the other way around, as sizes are limited.

Gold Miyuki Bangle in Odd Peyote Stitch

Miyuki Bead Bangle Woven Using the Even Peyote Stitch
To avoid adding a clasp to your peyote-stitch bracelet, you can use elastic thread for the last 4 to 5 centimeters of the weaving. Using elastic thread for this type of weaving is a bit tricky, which is why we don’t recommend it for beginners. You must avoid rethreading the needle through the cord and maintain even tension throughout the weaving without pulling it too tight. Click on the photo for more information on this method for finishing a Miyuki bracelet.
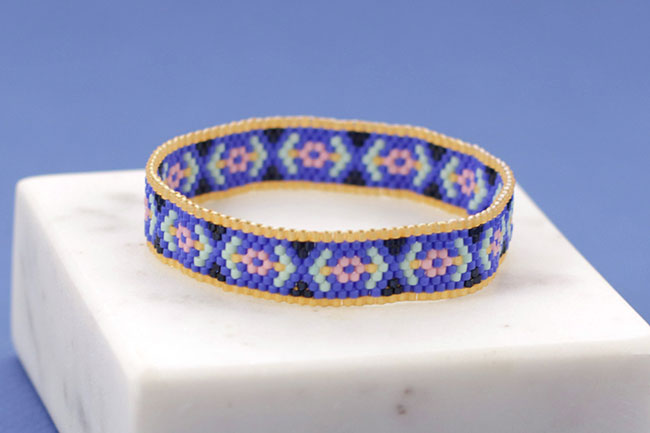
Tutorial: Blue Elastic Peyote Bracelet
It’s possible to make a T-shaped Miyuki bead clasp using various weaving techniques. This requires you to be comfortable with bead weaving and to have already mastered several techniques. The tube is made using tubular brick stitch, and the ring is made using circular tubular peyote stitch.
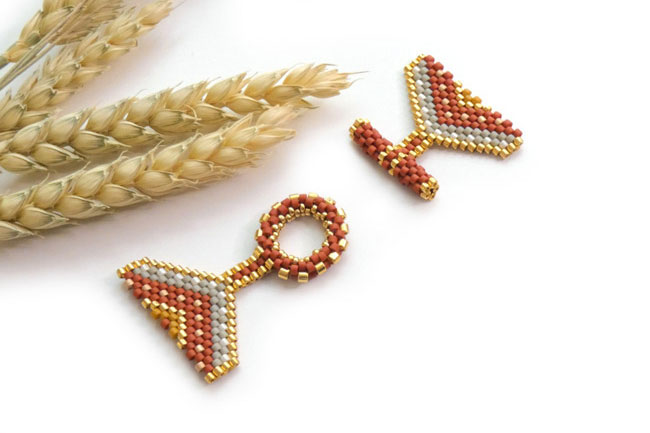
There are plenty of other ways to finish a peyote-stitch bracelet, as well as many different types of clasps and end caps. Some can be used as end caps for both loom weaving and peyote stitch. This is the case with this type of end cap from the Cymbal Beads line, for example:

Wide peyote-stitch bracelet made with Miyuki Delicas 11/0 beads
This type of magnetic clasp can also be used for both techniques:

Hiilos clasps as well. These are interchangeable magnetic clasps. You slide compatible end caps—which resemble weaving end caps but without the ring—into them. These end caps are attached to the weave and can be slid on and off the clasp as many times as you like. This way, you can reuse the same clasp and change the weave however you like. These clasps are particularly useful for creating multi-strand bracelets—for example, by adding small, delicate bracelets to your weave.
The finish is the same as for the special weaving end caps.




Credits
Perles & Co, Internet & E-Commerce company [22/03/2023] Any reproduction, representation, adaptation, in any form whatsoever, even partial, is prohibited, except for reproduction for private use not intended for collective use, representation in the family circle (art. L 122-5 CPI) and online publishing on condition that the source is mentioned and a link is included to the corresponding page of our site www.perlesandco.com.