How to form drops with copper wire?
Welcome to episode 2 of our beginner's jewelry course. The aim of this course is to teach you the basic techniques for creating jewelry. These mini lessons are accessible to all and are illustrated with a trendy jewelry project each time. The difficulty will gradually increase. Some of the materials and tools left over from previous lessons can be reused in subsequent lessons, so that you can gradually build up your skills as you work on the projects that come your way.
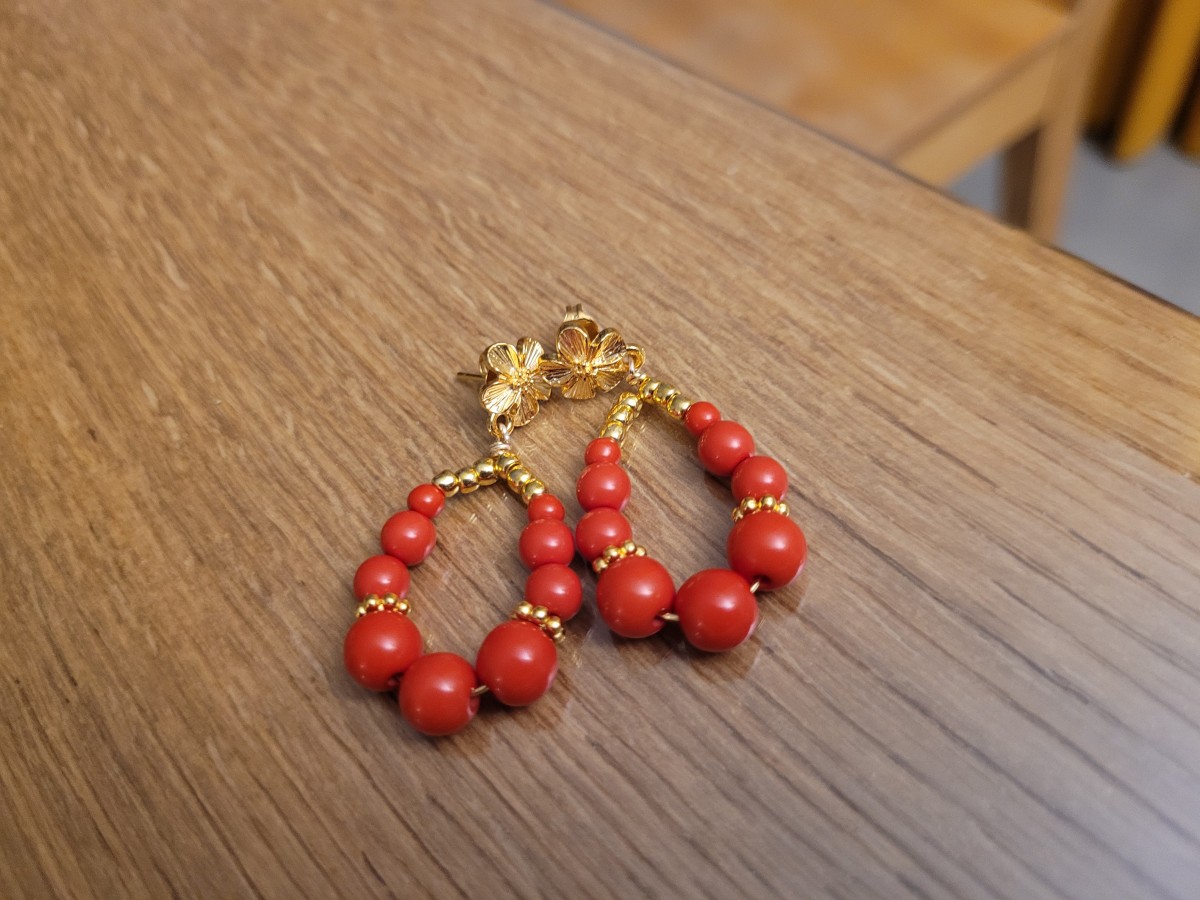
The first lesson was devoted to elastic bracelets. Today, for the second lesson, we'll be making a pair of earrings from pearls and wire. To make them, you'll also need a set of 3 basic jewelry pliers: round-end pliers, flat-end pliers and cutting pliers. These three basic pliers are the minimum you'll need to make jewelry other than elastic bracelets and necklaces.
1- How to choose beads for earrings?
Aside from aesthetics and personal taste, there are a few things to keep in mind when choosing pearls. The first, which we sometimes tend to overlook, is weight. It also depends on individual sensitivity, but as a general rule, an earring weighs less than 6g. You can, of course, make heavier ones, but they'll be a little more unpleasant to wear all day long.
In our earring tutorial video, each earring weighs 2.42 g (excluding the weight of the wire). The weight indicated on each product page corresponds to the unit weight of the pearl or jewelry primer.
If you're about to create gemstone earrings, be sure to check this weight. The best way to get a better idea of the composition of your earrings is to make a life-size sketch and measure the sizes with a small ruler. This will save you a lot of disappointment in the future!
As explained in the first lesson, remember also to check that the diameter of the pearl hole is big enough to fit over the wire.
2- Choosing the right jewelry pliers
We have several basic models of pliers available on the site. Some come in kits of 3 or more. The key is to choose pliers that fit your hands. Some of these pliers are very small and are perfect for slipping into a bag for a trip, but they won't necessarily be pleasant and practical if you want to make several pieces of jewelry a week.
In our list of materials, we've chosen affordable pliers suited to the hands of the majority of our customers.
If you're looking for better quality or pliers for larger hands, these may not be the best choice. As these 3 types of pliers are widely used in costume jewelry, there are many small variations from one to another. For example, some designers choose flat-nosed pliers with angled tips, instead of the classic flat-nosed pliers. After that, it's up to you to experiment with other pliers.
Don't hesitate to ask any questions you may have at the bottom of the page, and we'll do our best to help you with your needs and budget.
Here's an example of quality pliers for large hands:


3- Choosing the right wire for jewelry-making
There are different wire materials: copper, brass, gold filled, silver 925, stainless steel. Depending on the material, we can offer you different hardnesses and options. Some materials have more options available than others. The wire used here is copper wire, galvanized gold-plated (i.e. a layer of gold) and coated with an anti-tarnish varnish to protect the gold. This is one of the highest-quality wires among the less expensive options.
If you want an even higher-quality, more precious wire, choose flexible Gold Filled 0.64 mm in diameter. For silver-plated wire, use the same copper wire in silver-plated version, or0.6 mm semi-hard 925 silver. Silver oxidizes, but does not rust, and can be cleaned with suitable products. Some metals are naturally more flexible than others. Read our article on the difference in hardness between metals to find out more.
The softness/hardness ratio is very important for our pearl drop earrings project. We need a strong wire that will hold its teardrop shape well enough and whose hoop won't deform, but must be flexible enough to be able to wind it. This is all the more important when you're a beginner, as forming wire is not that easy. Other projects, on the other hand, require a rigid wire with little deformation. This is particularly true of weekly bracelets, which we'll probably see in a future lesson.