How do I make a weekly bracelet?
How to make a bracelet semainier gold yourself?
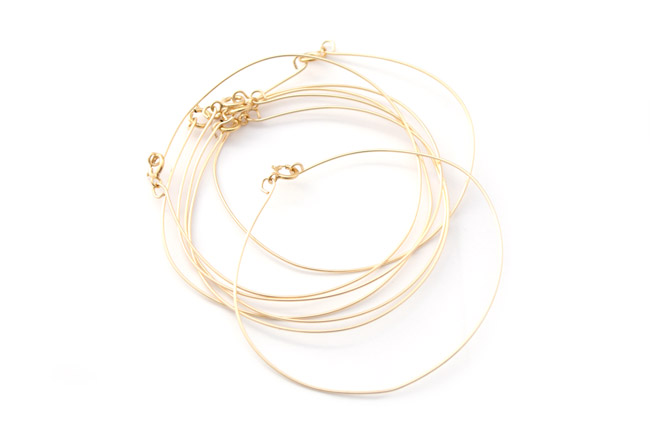
We see them on the wrists of all the influencers right now. Weekly wristbands are the top of the trend! What is a weekly bracelet? It is a set of 7 simple and fine bracelets attached or worn together. We see gold wire or 925 silver wire . It is a very elegant bracelet to carry stacking or accumulation with other bracelets. As they are fine and minimalist jewelry most of the time, it is then very easy to associate them with other jewels, for example this other word bracelet written with a gold filled gold thread . Do not want to create? We also sell gold plated semi-finished rings already ready.
In this tutorial we will show you how to create your own set of bracelets in 14k gold filled gold thread for less than 30 euros! It's a very easy tutorial but you have to stay focused to avoid spoiling the thread! Attention in the list of material, we put a wire of 1.5 m. Depending on the size of your wrist this may not be enough. To check take the size of your wrist + 3 cm and do the following operation: 150 / (wrist size + 3) =? If the result is less than 7 you will have to take a second thread. For normal to fine wrists, only 1 thread should suffice.
You can also do this tutorial with memory wire . The bracelets will deform much less easily and will keep a basic round shape. But this thread does not exist in gold or silver 925. Attention money is very flexible. You will need to take a thread a little thicker.
The Gold Filled is a process from the United States that involves covering a brass base with a thick layer of gold. This layer is much thicker than the gold plated and therefore more resistant to wear.
1. Measure your wrist with a wire or tape measure and add 3 cm to this length. Cut a piece of Gold filled wire of this length.
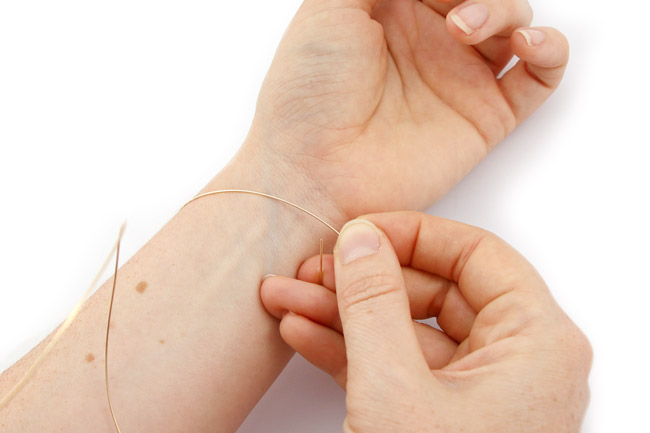
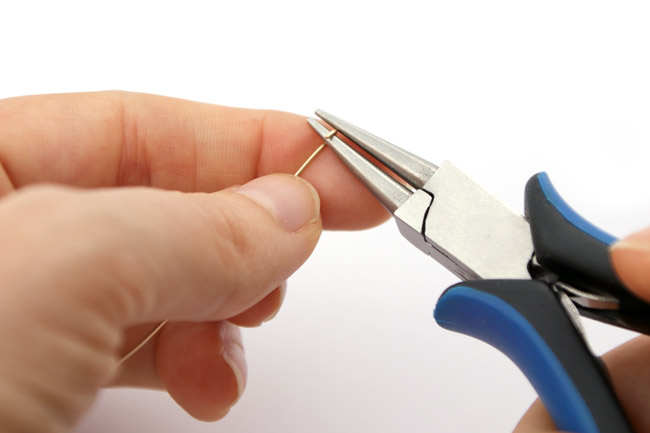
2. Using a round-nose pliers, form a loop at the end of the wire by turning the wire in the opposite direction of its curvature. Form the bracelet by hand and around a small cylinder. Make a loop on the other side and add the clasp.
3. Close the bracelet and flatten it slightly to give it a slightly more oval shape.

4. Do the same with the other 6 bracelets, keeping the same length each time.
5. Add the charms by opening and closing the rings. To open the rings do not spread both ends but rotate them with two clamps. To close them, rotate them as well and go back and forth lightly so that the two ends are placed in front of each other.


