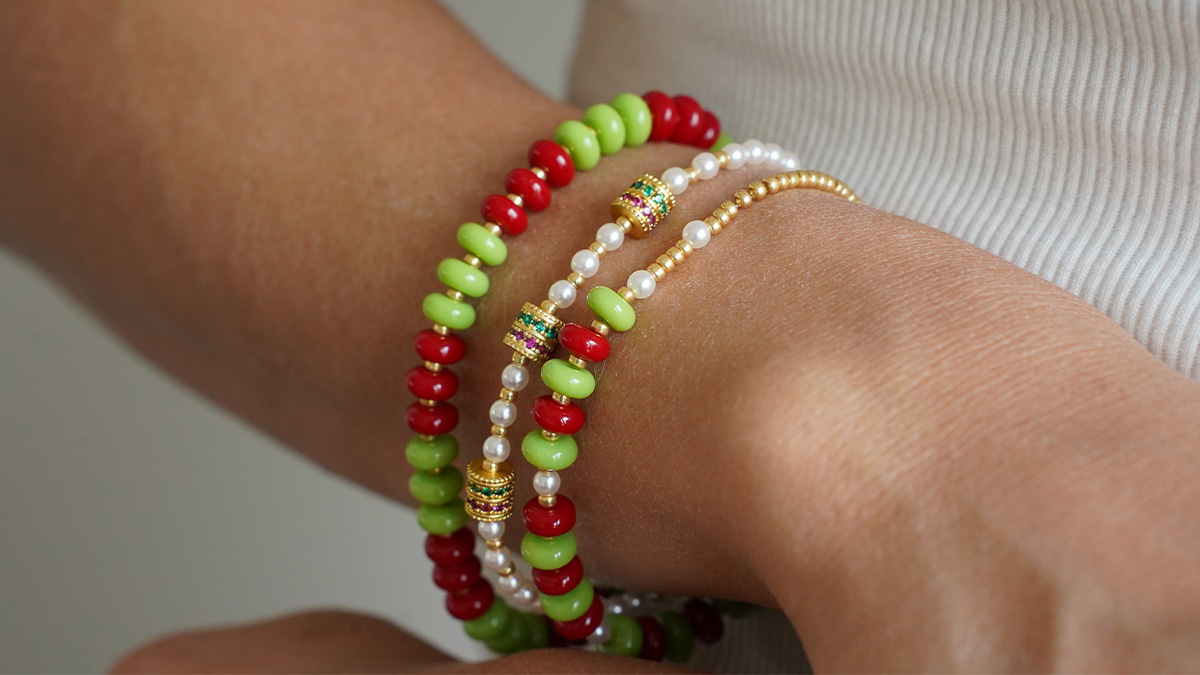
Average Grades
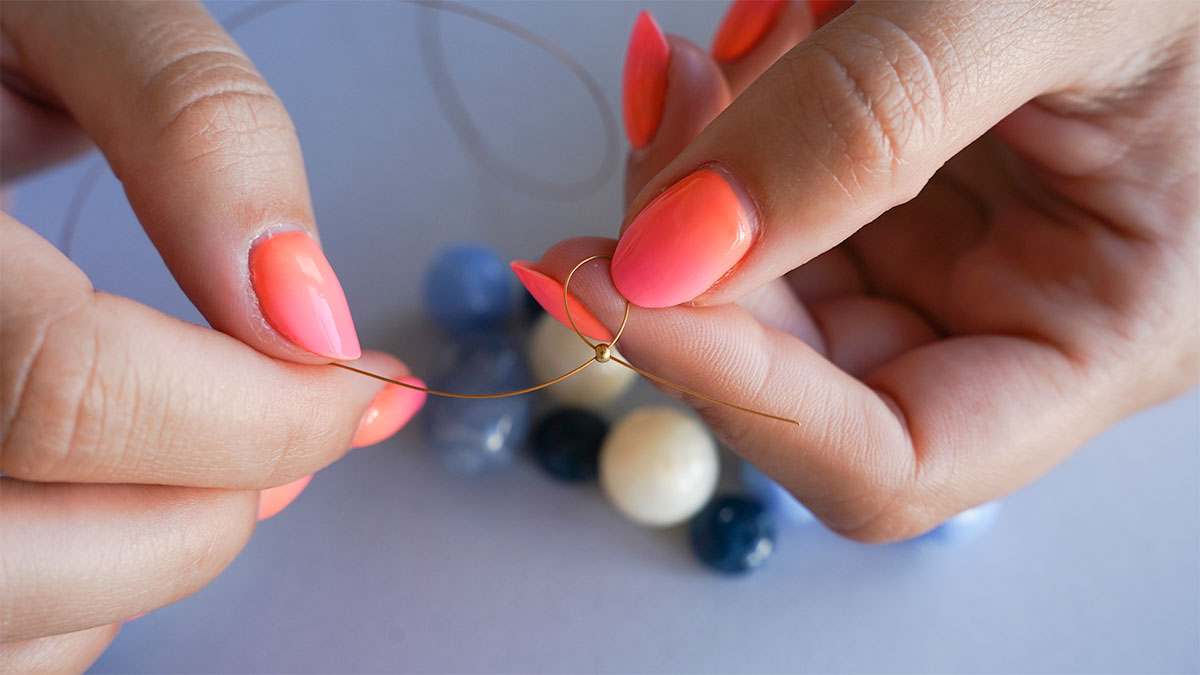
To start your bracelet, take a crimp bead, thread your string through it, and then thread the string back through in the same direction to form a loop.
Tighten the thread securely and flatten the crimp bead using pliers.


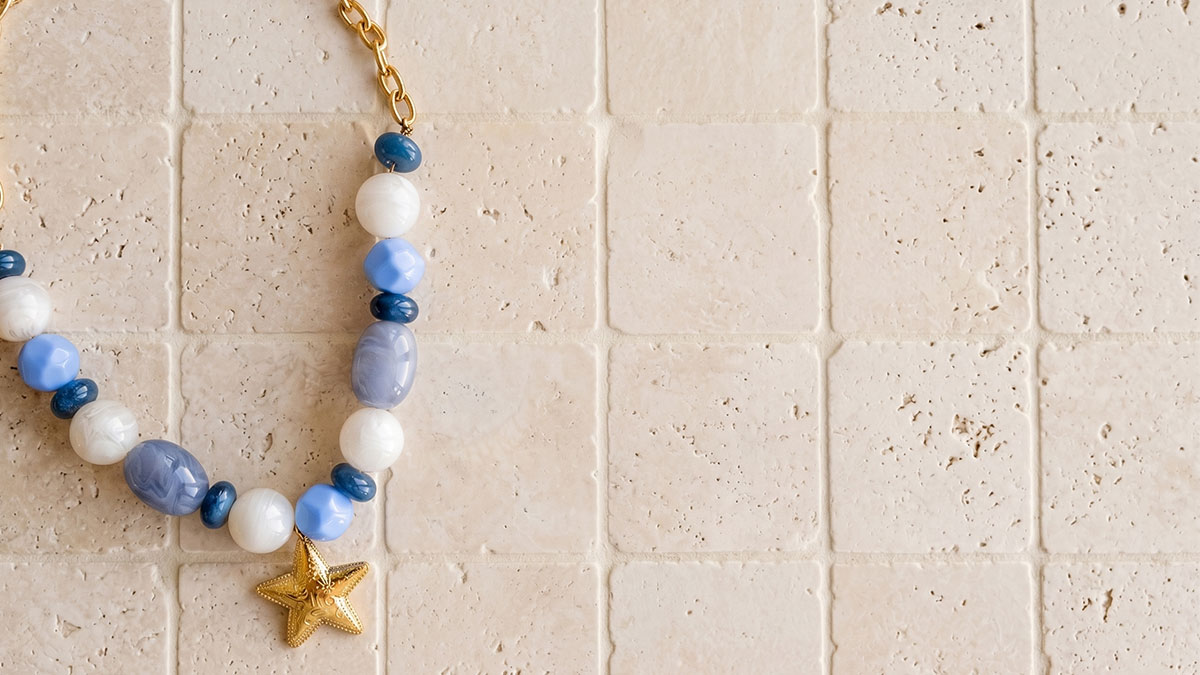
This tutorial shows you how to make a handmade necklace featuring navy blue, sky blue, and white resin beads strung on a stainless steel trace chain. The design combines round, oval, and faceted beads of different sizes, creating an irregular arrangement characteristic of the bohemian style. The beads are arranged in an asymmetrical pattern, with alternating colors and shapes that visually structure the necklace from the clasp to the central pendant.
A star-shaped pendant serves as the centerpiece, providing a focal point for the design. It is this element that sets this necklace apart from more classic bead designs and catches the eye at first glance. The chain, meanwhile, ends with a Lobster Clasp and an adjustable extension, allowing you to adjust the necklace’s length to suit your preferences.
This tutorial is intended for anyone interested in jewelry making, whether you’re just starting out in costume jewelry or looking to expand your techniques for stringing beads on a chain. It’s suitable for both those who want to create a one-of-a-kind piece for personal use and those who are considering starting a business selling handmade jewelry.
The shades of blue and white evokea nautical theme, making this necklace suitable for summer outfits as well as year-round wear, depending on how you style it. It can be worn with a simple shirt, a swimsuit to complement a beach outfit, or as an accent piece with a more formal outfit.
The design is fully customizable: you can vary the colors of the resin beads, the length of the chain, the type of clasp, or the shape of the stainless steel pendant to create a unique piece every time.
If you follow this tutorial, feel free to share your jewelry on social media by tagging our Instagram account, our TikTok account, or our Facebook page. We love seeing what you create!
To start your bracelet, take a crimp bead, thread your string through it, and then thread the string back through in the same direction to form a loop.
Tighten the thread securely and flatten the crimp bead using pliers.
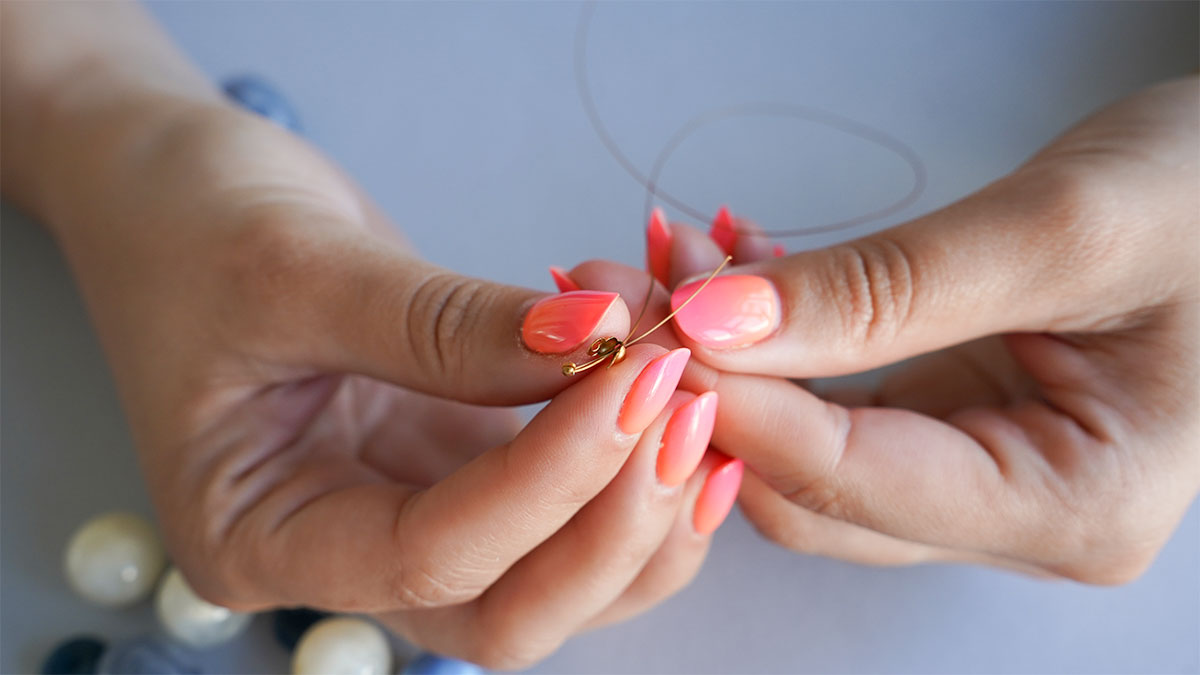
Next, thread your knot cover by passing both ends of the wire through the hole. Hide the crimp bead inside it and flatten the knot cover with pliers, being careful not to distort the curve.
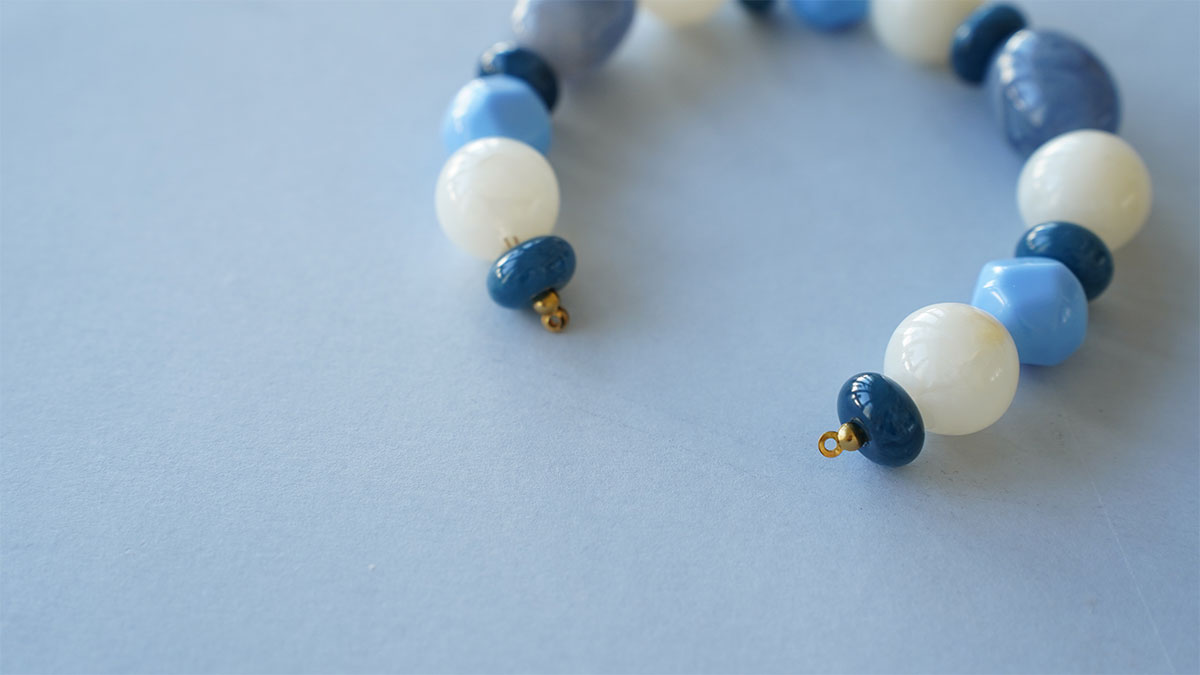
Here, I've strung beads for about 20 cm. Next, you can repeat the same step as at the beginning. However, this time, you'll first thread the knot cover, then pass the crimp bead through by threading the wire back through it.
Slide the crimp bead all the way down into the knot cover, flatten the crimp bead, and then tighten the knot cover.
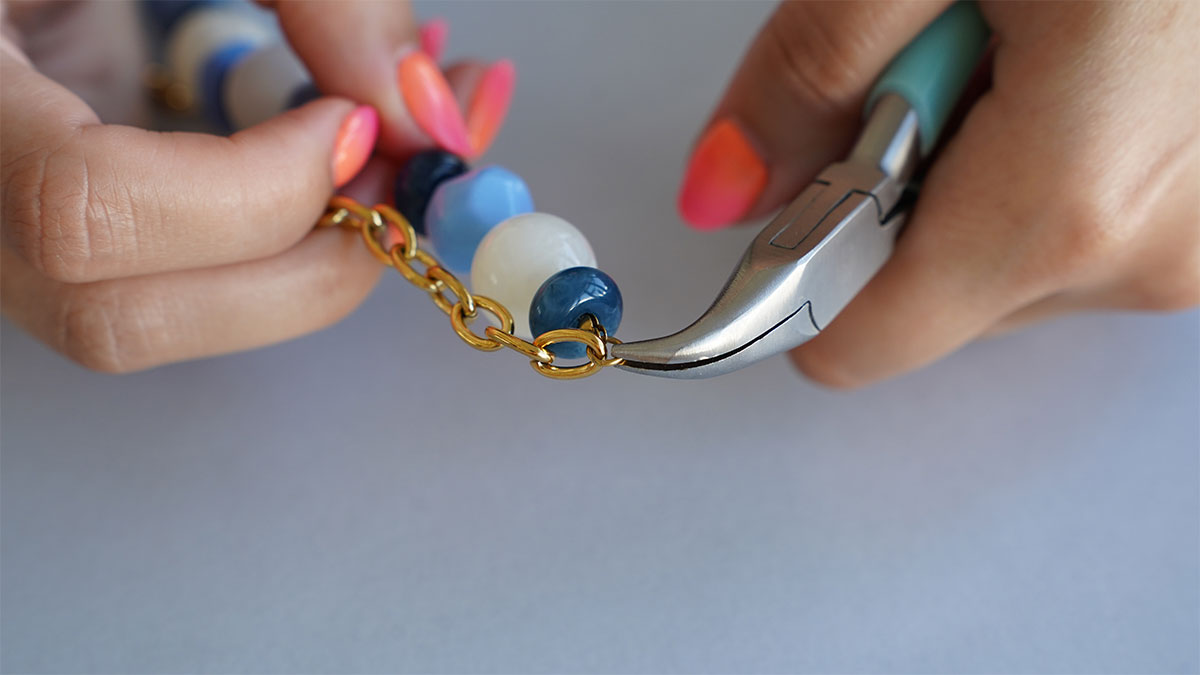
Next, take an open ring and add about 9 cm of chain. Close the ring. Do the same on the other side.







You have a question about this tutorial? Ask it to our team and the people who have already tested it. The Perles & Co community is here to help you!
Credits
Perles & Co, Internet & E-Commerce company [06/07/2026] Any reproduction, representation, adaptation, in any form whatsoever, even partial, is prohibited, except for reproduction for private use not intended for collective use, representation in the family circle (art. L 122-5 CPI) and online publishing on condition that the source is mentioned and a link is included to the corresponding page of our site www.perlesandco.com.