Free shipping on orders over 50€ up to 500g
French Online shop for beads and accessories for the creation of DIY jewellery and other creative hobbies

Log-in

Stay informed in real time

Install Perles & Co on your home screen: tap the Share button in Safari, then "Add to Home Screen".

Stay informed in real time

Install Perles & Co on your home screen for quick access and real-time updates.

Stay informed in real time

Enable notifications to track your orders and never miss our highlights.

Polymer Resin Butterfly with Rhinestones

Made by :Karine Barrera
Published on the :29/11/2019
Time :4h
Level :Intermediate
Prices :61,09€
Polymer Resin Butterfly with Rhinestones

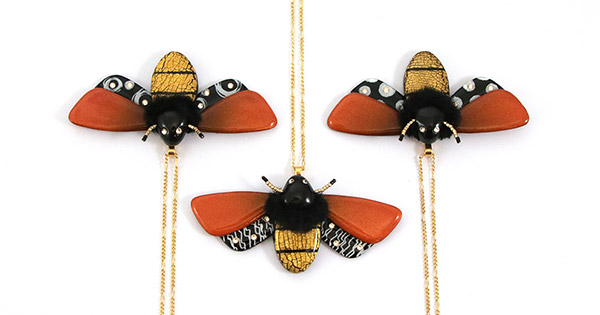
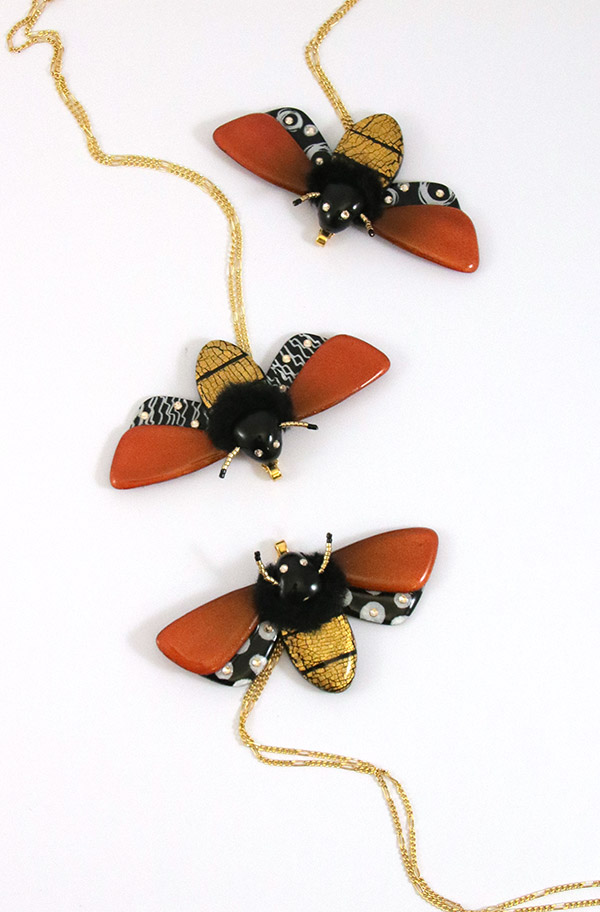
Create a unique butterfly-shaped piece of jewelry using polymer clay as the base, then UV resin and PureCrystal rhinestones. Here’s a piece of jewelry perfect for the holiday season, featuring warm, gradient colors created using a lovely brown Sculpey clay and a copper metallic Cernit clay. You’ll learn several techniques, including how to use translucent clay to protect a layer of polymer clay that’s been adorned with gold leaf.

Tutorial steps

Step 1
Polymer Resin Butterfly with Rhinestones : Step 1

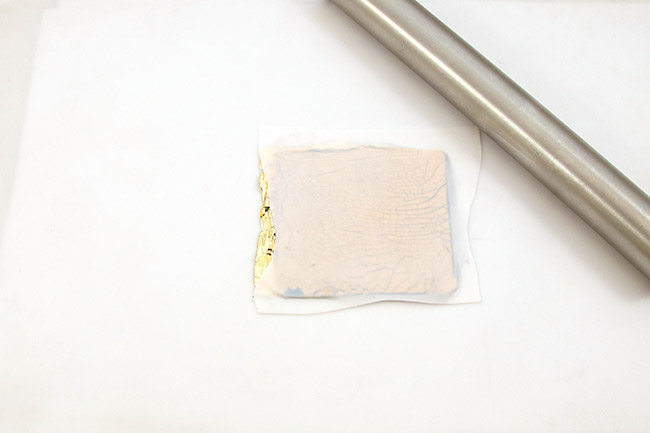
Take half a block of black clay, start rolling it out with a rolling pin, and when it’s thin enough, run it through the pasta machine starting with the widest setting. Next to it, prepare the translucent, uncolored dough by running it through the pasta machine from the thickest setting to the thinnest. The translucent clay needs to be as thin as possible; you can run it through the machine between two sheets of parchment paper to make it even thinner and, most importantly, to protect it from getting dirty.
Step 2
Polymer Resin Butterfly with Rhinestones : Step 2

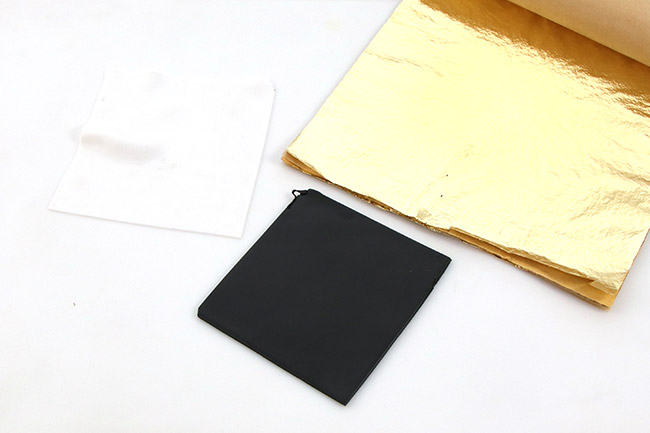
Place a sheet of gold leaf on the black sheet. Run a card over the gilded surface after first placing parchment paper underneath to smooth it out. Place your sheet of translucent clay on top of the gold leaf, then run the card or a rolling pin over it again. Set aside.

Step 3
Polymer Resin Butterfly with Rhinestones : Step 3

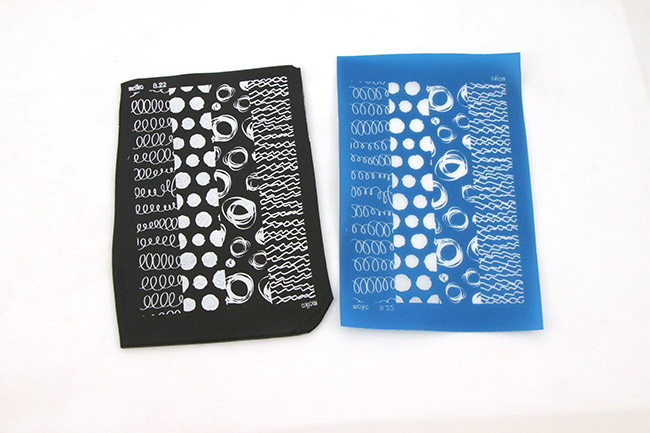
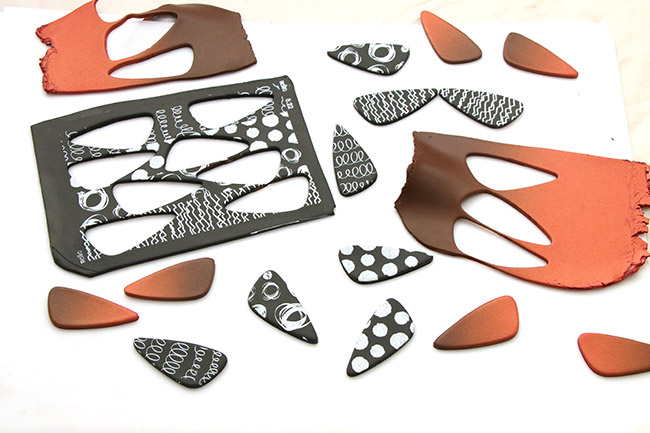
Using the remaining black clay, prepare a new sheet with a thick ridge using the MAP. Place the silk-screen on top of the polymer clay, then spread the white acrylic paint over the surface using a card. Immediately remove the stencil to wash it under soapy water.

Step 4
Polymer Resin Butterfly with Rhinestones : Step 4

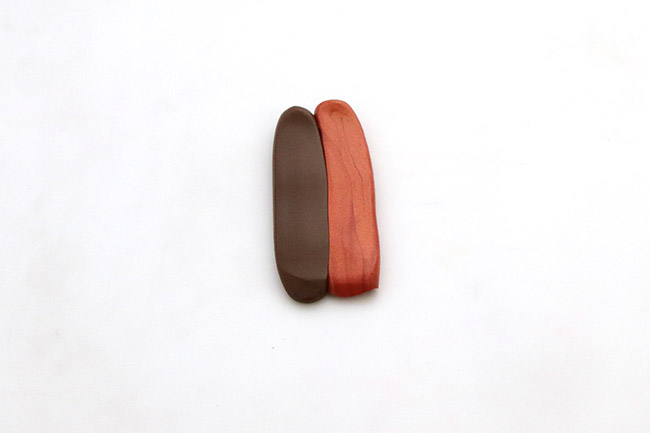
Prepare a color gradient by making two cylinders—one brown and the other copper. Place the two colors side by side, then roll them out before placing the whole thing in the bread machine. Allow the clay to pass through the clay sheeter about 15 times, folding it back on itself and always running it in the same direction—the lengthwise direction. If you’ve never made a color gradient before, you can use this video for guidance.

Step 5
Polymer Resin Butterfly with Rhinestones : Step 5

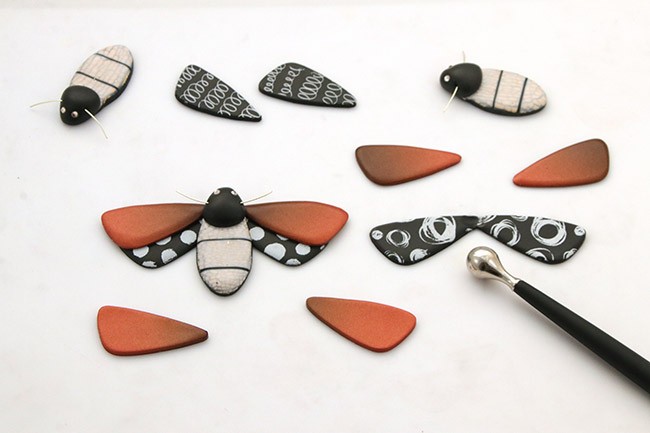
Take your two wing-shaped cookie cutters, then cut out these two shapes from each sheet of clay. Cut out two wings from the color gradient and two more from one of the pattern sections—either the polka dots or the zigzags. You’ll need four wings to make a butterfly.

Step 6
Polymer Resin Butterfly with Rhinestones : Step 6

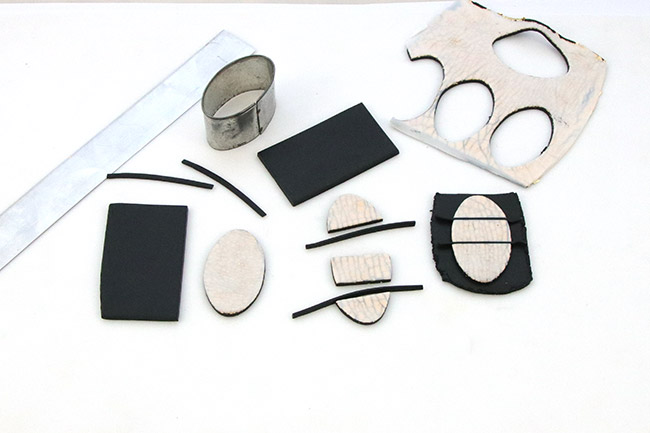
Take the sheet with the gold leaf, then use an oval-shaped cookie cutter to cut out the body of the butterfly. Cut the shape into 3 parts, then insert a black strip into each cut that is the same height as your sheet. Roll it out to reform the oval and join the sections together, keeping baking paper on the surface the entire time.

Step 7
Polymer Resin Butterfly with Rhinestones : Step 7

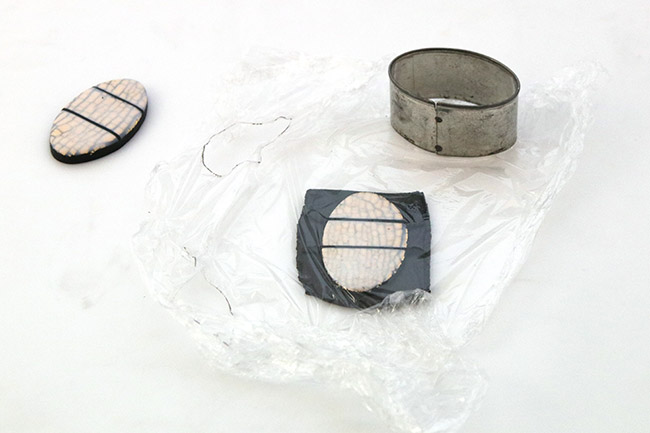
Place the oval cutter on a piece of black clay to double the thickness, roll it out with a rolling pin, place plastic wrap over the cutter, and then place the oval cutter on top again.

Step 8
Polymer Resin Butterfly with Rhinestones : Step 8

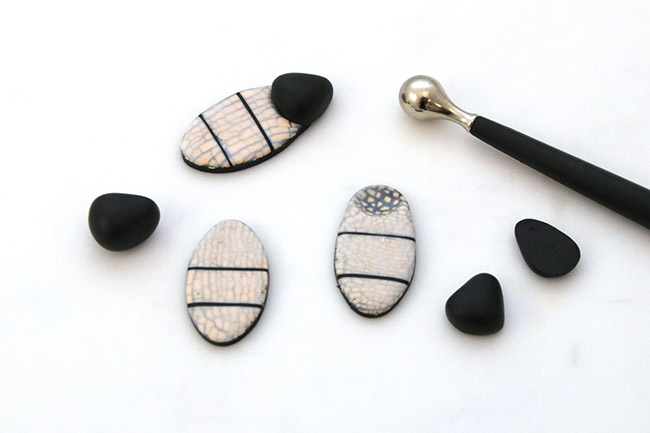
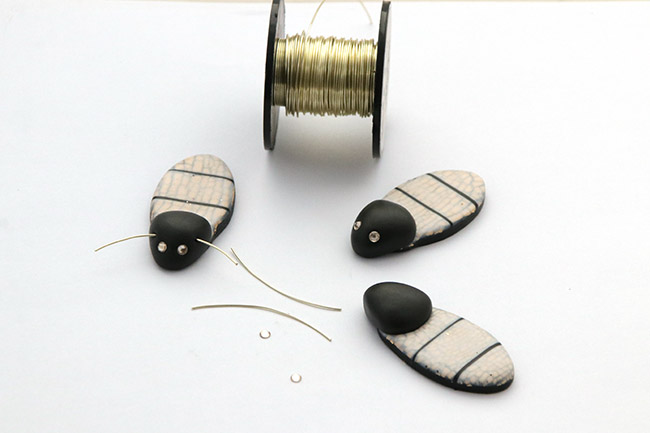
Flatten the tip of the oval shape with a ball tool. Shape a small black ball, form it into a triangle, and taper it by cutting it lengthwise into two parts. Place it in the hollow of the oval shape.

Step 9
Polymer Resin Butterfly with Rhinestones : Step 9

Place PureCrystal rhinestones where the eyes would be on the black head, pressing them in slightly. Cut a 4-cm piece of copper wire, and pierce the head just above the eyes to create the butterfly's antennae.

Step 10
Polymer Resin Butterfly with Rhinestones : Step 10

Work on the surface you’ll use to heat your jewelry so as not to distort it later. First, position the wings with the patterns facing each other, then use the ball tool to flatten the center to fuse the two parts together. Place the body on top of the wings, press down gently, then place the other wings on top of the first pair, and press down again without deforming the assembly.

Bake at 120 degrees for 20 minutes in a conventional oven.

Step 11
Polymer Resin Butterfly with Rhinestones : Step 11

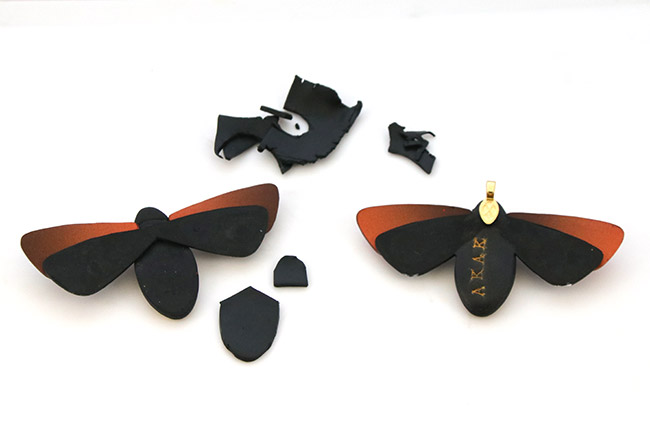
Remove your pieces from the oven and work on the backs of the butterflies by filling in the gaps with black clay to reinforce the structure. You can take this opportunity to sign your creation on the unbaked parts using alphabet punches. Press the flat part of the pendant clasp into place, then return your butterflies to the oven for 30 minutes at 120°.

Step 12
Polymer Resin Butterfly with Rhinestones : Step 12

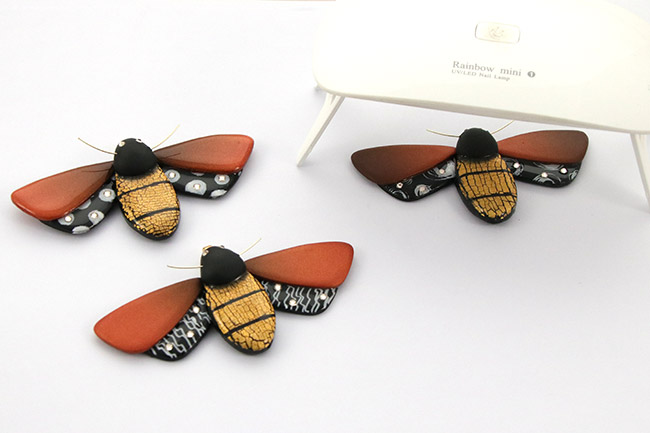
Remove the pendant clasp, apply a dot of glue, and reattach it; do the same for the eyes. Cover your entire butterfly with UV resin, working one section at a time and spreading the resin with a toothpick. Cure the resin under the lamp after covering each section by pressing the on/off button twice. You can also apply resin to the underside of your butterfly, but this uses quite a bit of resin, so it’s not required.

Step 13
Polymer Resin Butterfly with Rhinestones : Step 13

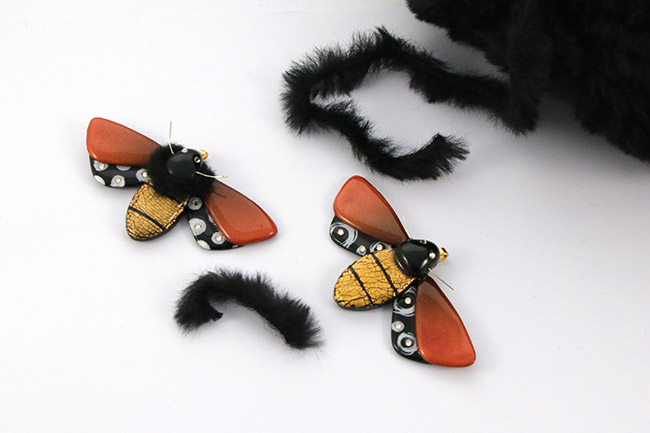
Take 4 cm of faux fur yarn and cut the fibers in half lengthwise. Attach this collar around the head using dots of glue.

Step 14
Polymer Resin Butterfly with Rhinestones : Step 14

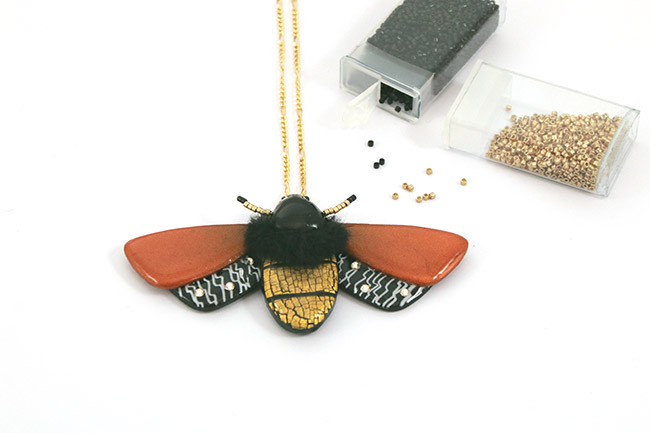
Thread the Miyuki beads onto the copper wire, then at the end, either apply a dot of glue or a drop of resin and cure it under a lamp. Thread a chain through the pendant clasp, and your creation is complete.

Result
Schema  Polymer Resin Butterfly with Rhinestones
Karine Barrera
 Karine Barrera - Les tutos de karine
Bonjour, je suis karine créatrice chez Perles and co, je suis en charge du développement du rayon polymère et résine. De part mon caractère passionné, je suis toujours partante pour tester de nouvelles techniques et vous les transmettre.
Associated keywords
Projets
Techniques
Evènements
Matières
Couleurs / Effets
Niveau de réalisation
Pour qui ?
Share with my friends
To go further
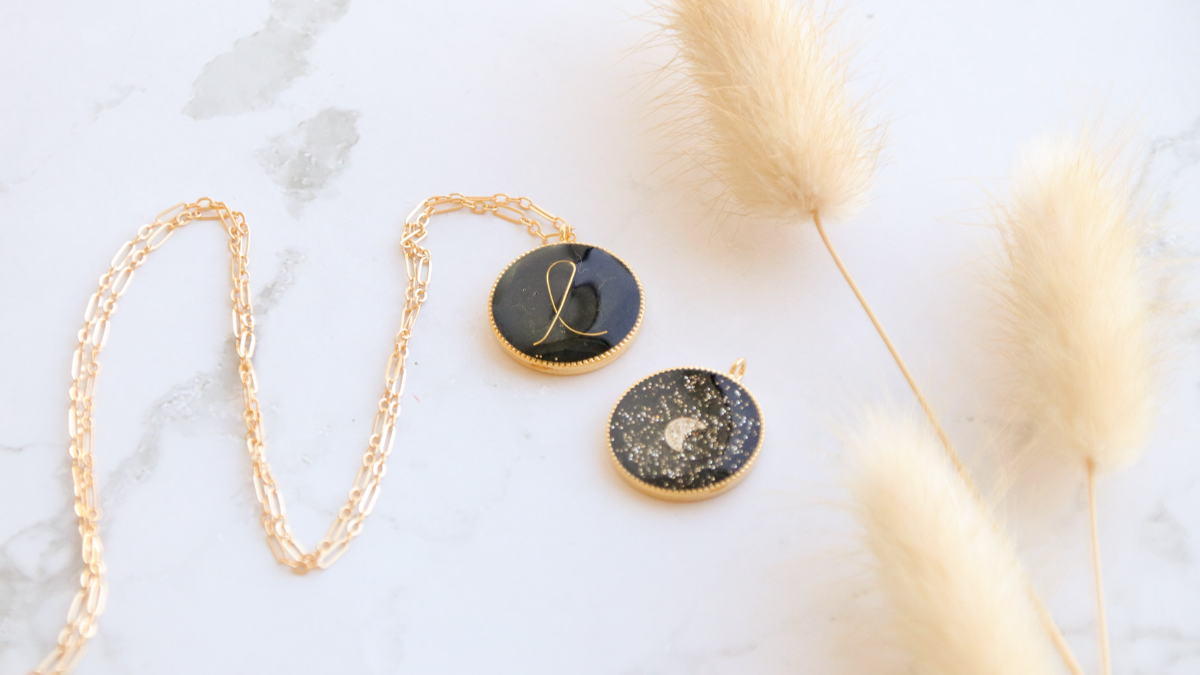
Epoxy resin medallion with wire letter
Inspiration
DIY polymer clay heishis necklace
Inspiration
Epoxy resin medallion with wire letter
Inspiration
DIY polymer clay heishis necklace
Inspiration
Epoxy resin medallion with wire letter
Inspiration
DIY polymer clay heishis necklace
Inspiration
Epoxy resin medallion with wire letter
Inspiration
DIY polymer clay heishis necklace
Inspiration
Epoxy resin medallion with wire letter
Inspiration
DIY polymer clay heishis necklace
Inspiration
Epoxy resin medallion with wire letter
Inspiration
DIY polymer clay heishis necklace
Inspiration
Epoxy resin medallion with wire letter
Inspiration
DIY polymer clay heishis necklace
Inspiration
Epoxy resin medallion with wire letter
Inspiration
DIY polymer clay heishis necklace
Inspiration
Epoxy resin medallion with wire letter
Inspiration
DIY polymer clay heishis necklace
Inspiration
Epoxy resin medallion with wire letter
Inspiration
DIY polymer clay heishis necklace
Inspiration
Which material to use ?
Please note that the quantities of the suggested equivalents are not necessarily exact. You can adjust them in your basket.
Supplies
Fimo Soft Polymer Clay 57gr Black (n°9)
FIMO-009
Qty : 1
163 in stock
2,20€
Miyuki Delica 11/0 DB0010 - Black
DB-0010
Qty : 1
493 in stock
2,40€
Copper wire 0.50mm Copper tone x 25 m
4,80€
Miyuki Delica 11/0 Hex Cut DBC0042 - Gold Silver Lined
3,30€
Easy Metal Leaf metal 140x140mm Gold x10
OUTIL-080
Qty : 1
58 in stock
7,60€
Choker Figaro links 2mm fine Gold plated x 45 cm
5,50€
Premo Polyclay 57gr Burnt Umber (n°5053)
2,80€
PureCrystal stick-on rhinestones 2.6mm Denim Blue x36
2,10€
Cernit Translucent Clay - Translucent (No. 005) x 56 g
2,40€
Kit Pastry cutter Oval x6
TOOL-085
Qty : 1
8 in stock
7,20€
Cernit Polymer clay with metallic mica's effect 56gr Copper x1
2,30€
Bail 17 mm Fine Gold Plated x1
ACT-609
Qty : 1
Only 3 in stock
0,80€
Suggested reference for this article:
Subtotal : 67,10€
Your questions (1)

You have a question about this tutorial? Ask it to our team and the people who have already tested it. The Perles & Co community is here to help you!

By Carla (17/08/2026 09:16:59)
Wo ist die Anleitung? Muss man die kaufen?
Translate the question
Please log in to use this feature
Our Laurence expert answers you (17/08/2026 10:54:20)
Hallo, Guten Tag, das war ein Versehen, wir haben die Schritte soeben hinzugefügt. Die vollständige Anleitung ist kostenlos direkt auf dieser Seite unter dem Titel „Schmetterling aus Polymermasse, Harz und Strass“ verfügbar. Sie umfasst 14 Schritte, in denen die Herstellung des Schmetterlings aus Polymermasse, UV-Harz und PureCrystal-Strass Schritt für Schritt beschrieben wird. Die benötigten Materialien sind in der Liste der verwendeten Produkte auf derselben Seite aufgeführt.
Translate the answer
Your reviews (0)
Notices subject to control
Please log in to use this feature

Credits

Perles & Co, Internet & E-Commerce company [29/11/2019] Any reproduction, representation, adaptation, in any form whatsoever, even partial, is prohibited, except for reproduction for private use not intended for collective use, representation in the family circle (art. L 122-5 CPI) and online publishing on condition that the source is mentioned and a link is included to the corresponding page of our site www.perlesandco.com.