Average Grades
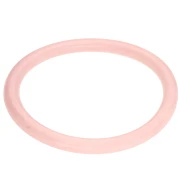
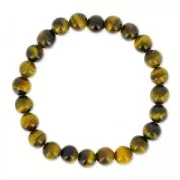
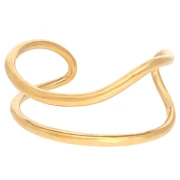
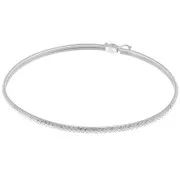

y a t il une taille moyenne pour faire des bracelets (pour les vendre par exemple)? Je pensais 18 / 19 cm . Je vous remercie
1 Answer
Show answers

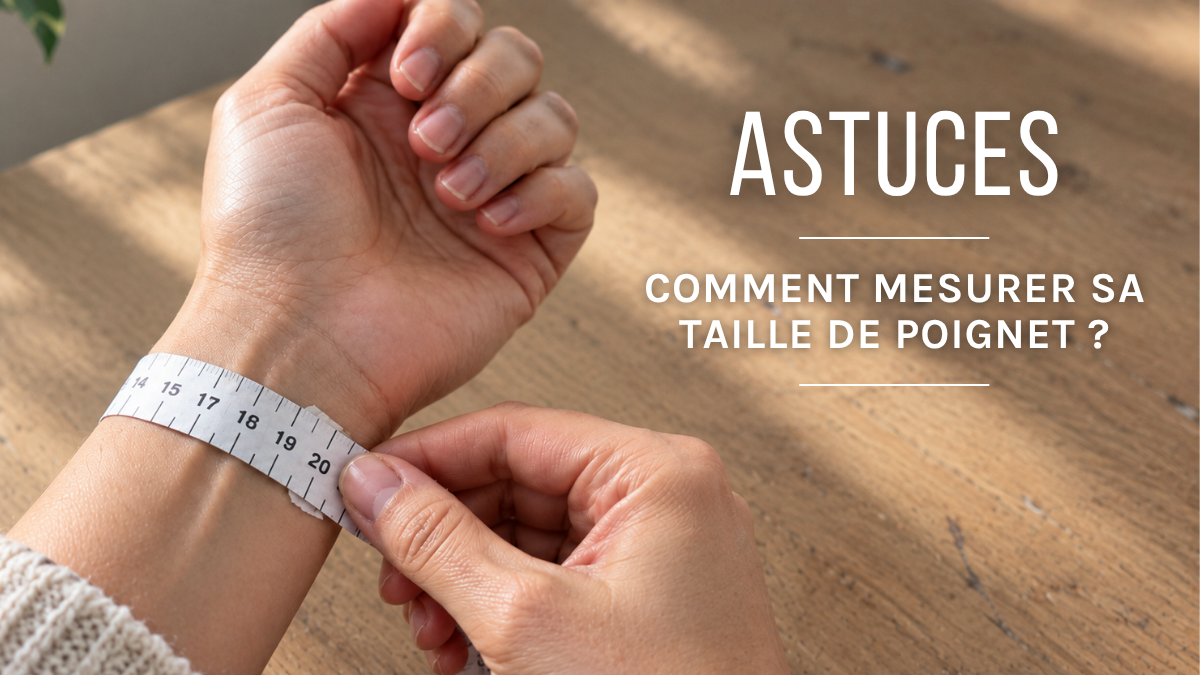
To measure your wrist, use a simple, accurate retractable measuring tape or a piece of string and a ruler. Be sure not to pull the string too tight, and add a few centimeters if you're using large beads. Choose adjustable clasps to ensure the bracelet fits properly.
How do you find out your wrist size? To be sure of the size of a bracelet you're making for yourself, the easiest way is to test the length of the bracelet on your wrist as you make it. But sometimes that’s not possible, or maybe you’re making a bracelet for someone else and can’t have that person right there with you while you’re making it. In that case, you’ll need to measure the circumference of that person’s wrist. Do you happen to have a measuring tape on hand? If so, it couldn’t be easier! If not, here are some other ways to measure a wrist circumference.
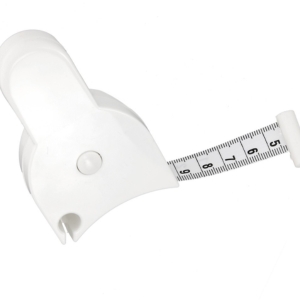
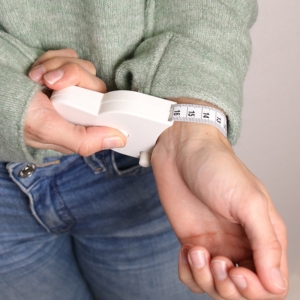
There’s a super-handy tool for measuring wrist circumference: the retractable measuring tape with an automatic winder. Well-known to seamstresses and the medical community, it’s also perfect for taking precise wrist measurements when making a DIY bracelet. It’s easy to use—just follow these steps:
To measure your wrist circumference without a measuring tape, use a piece of string and a ruler, or print out our paper measuring guide. Then follow these steps:
Download the PDF below and print this sheet at 100% scale on an A4 sheet.
If possible, use a ruler to check that the size is accurate. If it isn’t, adjust the print scale percentage when the printer dialog box appears.
Cut along the pink outline.
Glue the two pieces together. The edge should align with the dotted line.
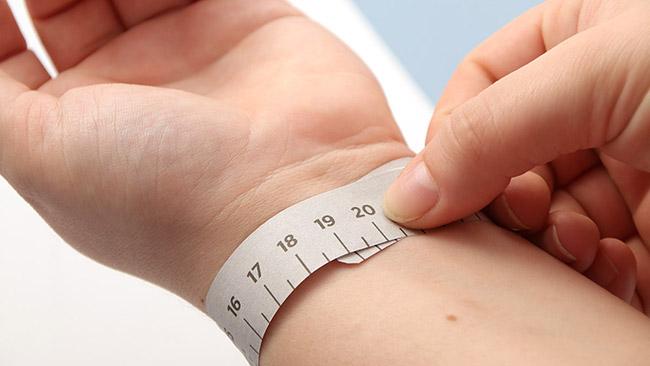
Once you have your measuring tool—whether it’s string or a tape measure—place the zero mark or the end of the string on your wrist and wrap it around your wrist with the tape or string. Don’t pull the string or tape too tight; it should be a little loose. Note the number that lines up with the zero on the tape. For the string, pinch the spot where the string meets the end of the string.

Lay the string flat on the ruler without letting go of the spot you’re pinching. Place the end of the string at the zero mark on the ruler and see where your fingers, which are pinching the string, land on the ruler.

Write down the measurement on a piece of paper. This measurement isn’t the actual size you’ll need for your bracelet. In fact, the bracelet shouldn’t fit too tightly against your skin so you can open and close it easily. Also, the larger the beads you use, the more you’ll need to increase this measurement.
Note: The wrist measurement is not the final length of your bracelet. A piece of jewelry that sits right against the skin would be difficult to put on and uncomfortable. You should therefore allow for some extra room, which depends on the size of your beads.
The larger the beads, the more space the bracelet needs to wrap around the wrist.
Not sure about the size? Choose an adjustable closure. A bracelet that’s too big is easy to fix, but a bracelet that’s too small can’t be adjusted.
In any case, it’s easier to adjust a bracelet that’s too big than one that’s too small.

Another useful tool when making bracelets for others: the triboulet. It’s a wooden cone with different diameters corresponding to standard wrist sizes. This allows you to test the bracelet to make sure the size is right.
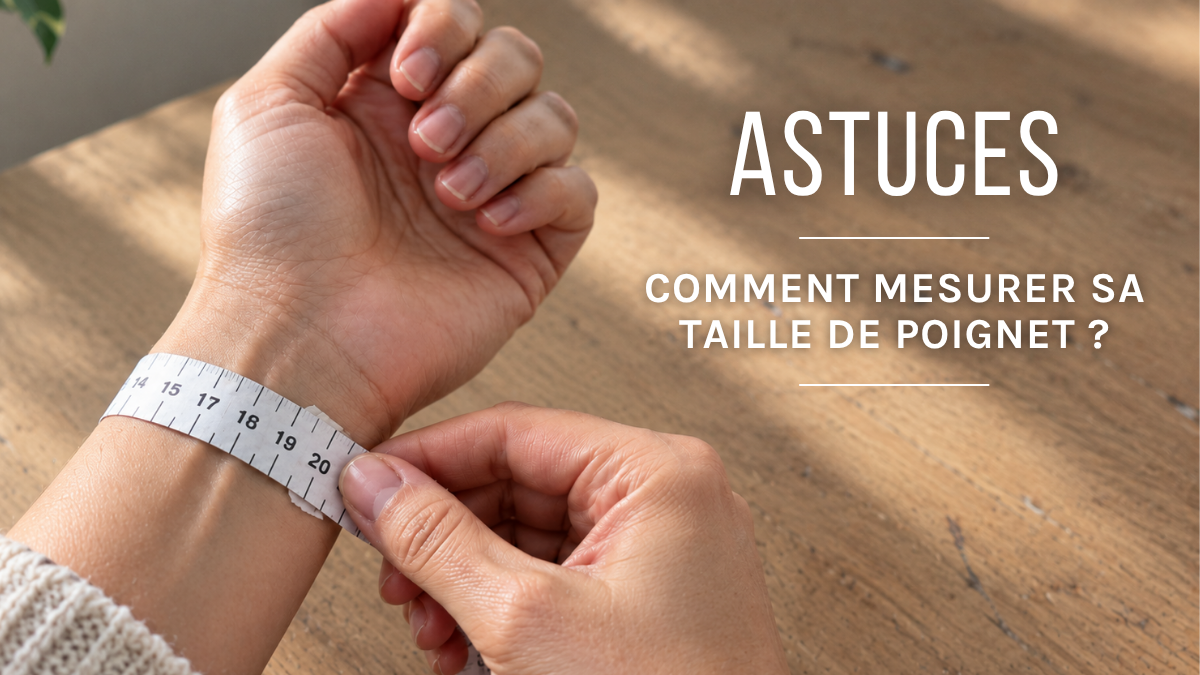
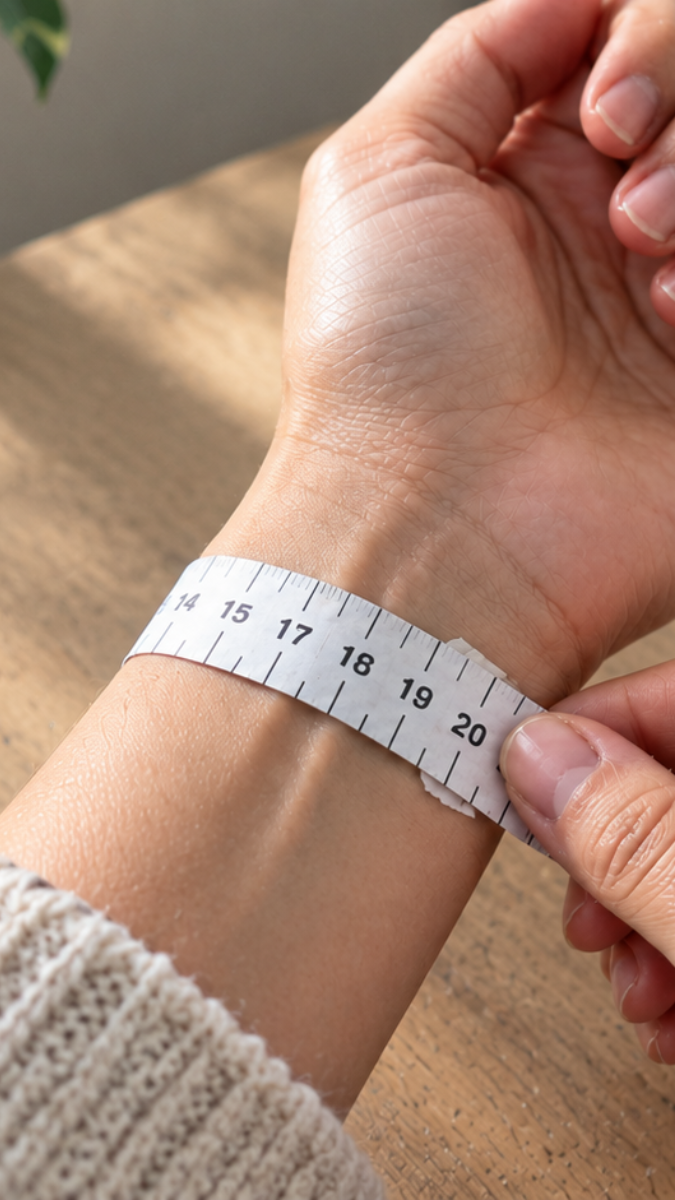

The average size for a women's bracelet is generally 18 cm, and for a men's bracelet, 21 cm.


Credits
Perles & Co, Internet & E-Commerce company [18/08/2026] Any reproduction, representation, adaptation, in any form whatsoever, even partial, is prohibited, except for reproduction for private use not intended for collective use, representation in the family circle (art. L 122-5 CPI) and online publishing on condition that the source is mentioned and a link is included to the corresponding page of our site www.perlesandco.com.