Average Grades





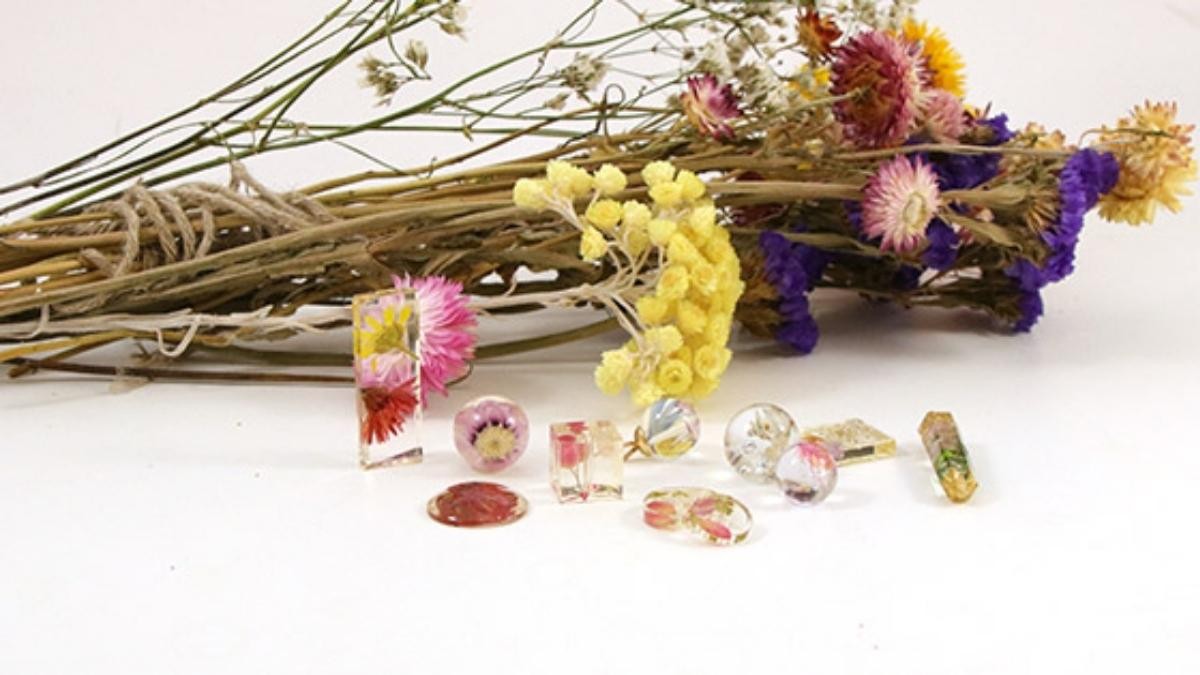

C'est quoi les accessoires DIY ???
1 Answer
Show answers

Epoxy resin is a liquid polymer that hardens through a precise mixture of resin and hardener, in a general ratio of 2:1. For your creations, favour temperatures between 20 and 25°C to ensure optimum curing, while taking care to use appropriate protective equipment. If you need to rectify any imperfections, it's often simpler to pour a new coat of resin than to sand them down.
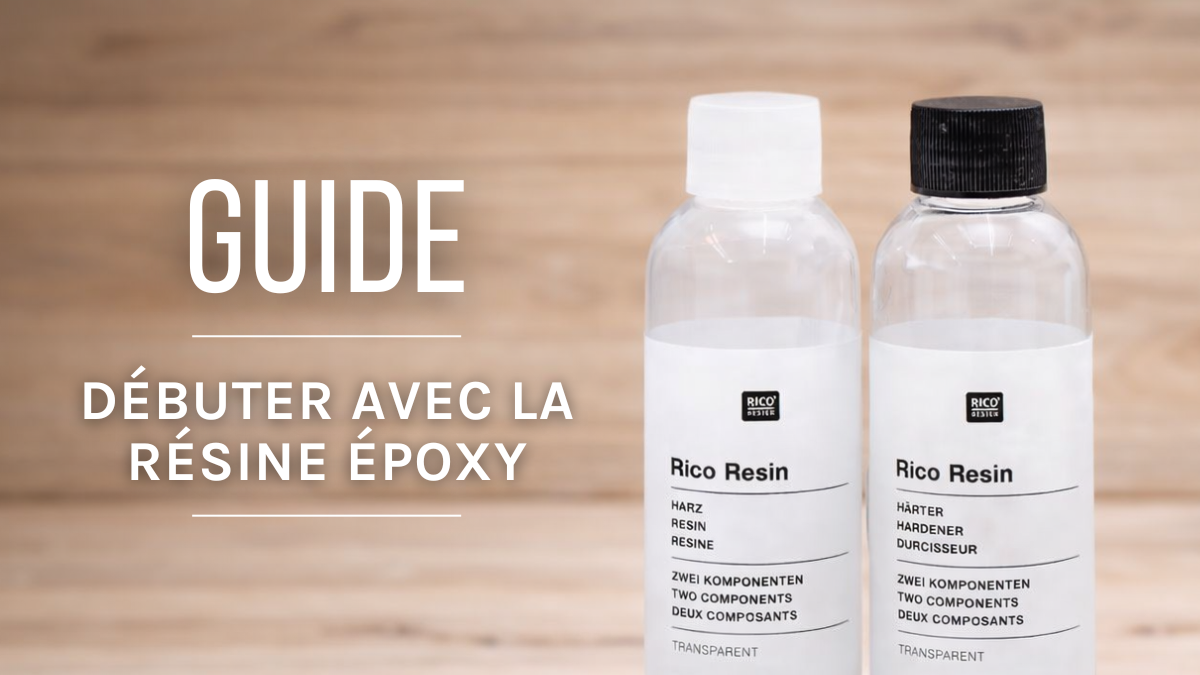
Have you bought your first batch of epoxy resin and don’t know where to start? Don’t panic. In this guide, we’ll explain everything: the essential supplies, the right working conditions, the mixing process step by step, and the mistakes to avoid. Whether you want to create resin jewelry, decorations, or DIY accessories, you have everything you need to get started with confidence.
💡 This article focuses on casting epoxy resin. The process is the same for coating resin. To choose the right resin for your project, check out our article “UV Resin or Epoxy: Which Type of Resin Should You Choose?”
Epoxy resin is a liquid thermosetting polymer. To cure it, you must mix two liquids together: one containing the resin and the other containing a hardener. A chemical reaction then takes place. The resin will heat up and harden. This process is known as curing. The typical ratio is 2 parts resin to 1 part hardener, but be sure to check your product’s instructions first.
If there is too little or too much hardener, the resin will remain soft. It is therefore important to follow the recommended proportions. Most of the time, these amounts are measured in milliliters (ml) using a small graduated container designed for this purpose.
In any case, refer to the safety data sheet (SDS) for the specific product you are using, as recommendations may vary depending on the composition.
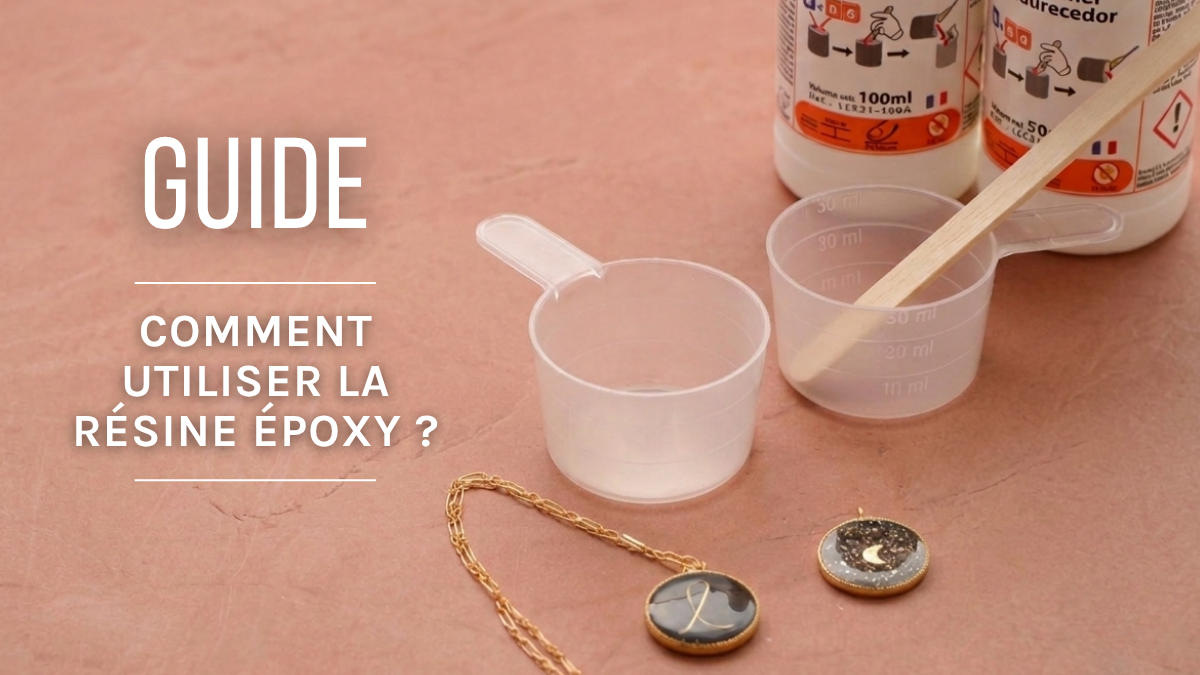
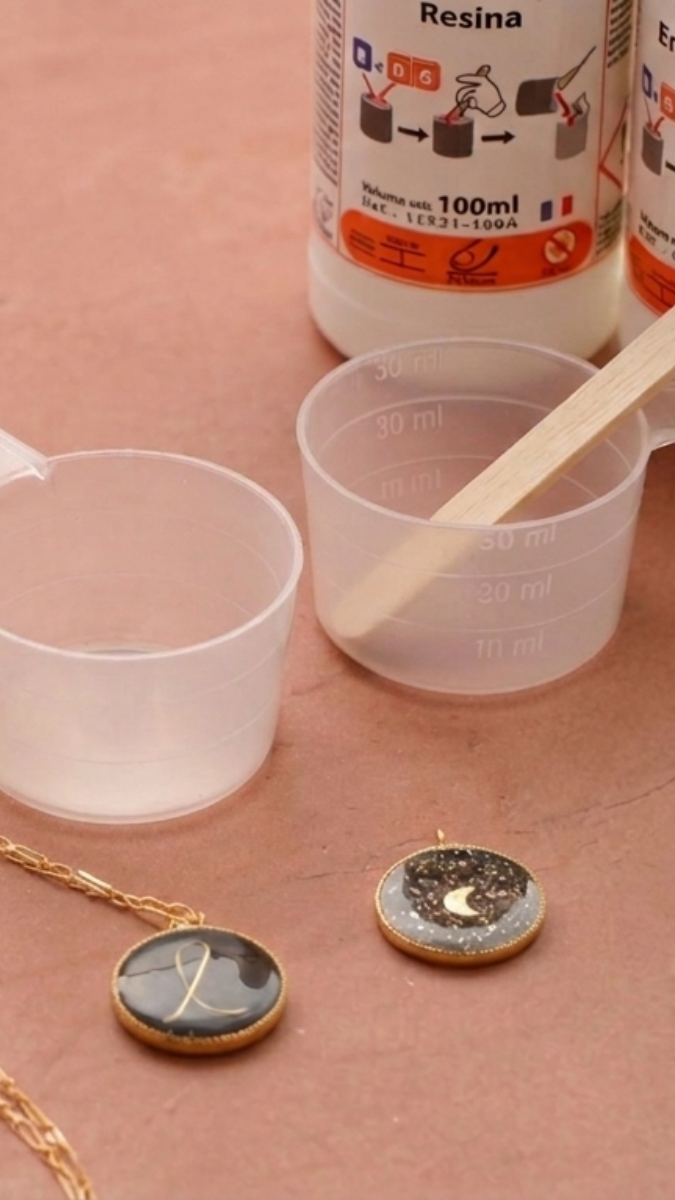
Most resin packages include two small graduated containers. Pour the resin into one and the hardener into the other. Then mix the two liquids according to the recommended proportions in a disposable paper cup or another container specifically designed for resin that you’ve purchased separately and can clean.
Warning: Do not use plastic cups, as a chemical reaction could cause them to melt. Also, mix with a wooden spatula, such as an ice pop stick.
Do not use containers or utensils that are intended for food use!!
Mixing steps:
Mix the mixture gently but thoroughly so that the two liquids are perfectly blended. If you mix too quickly, you’ll create even more bubbles.
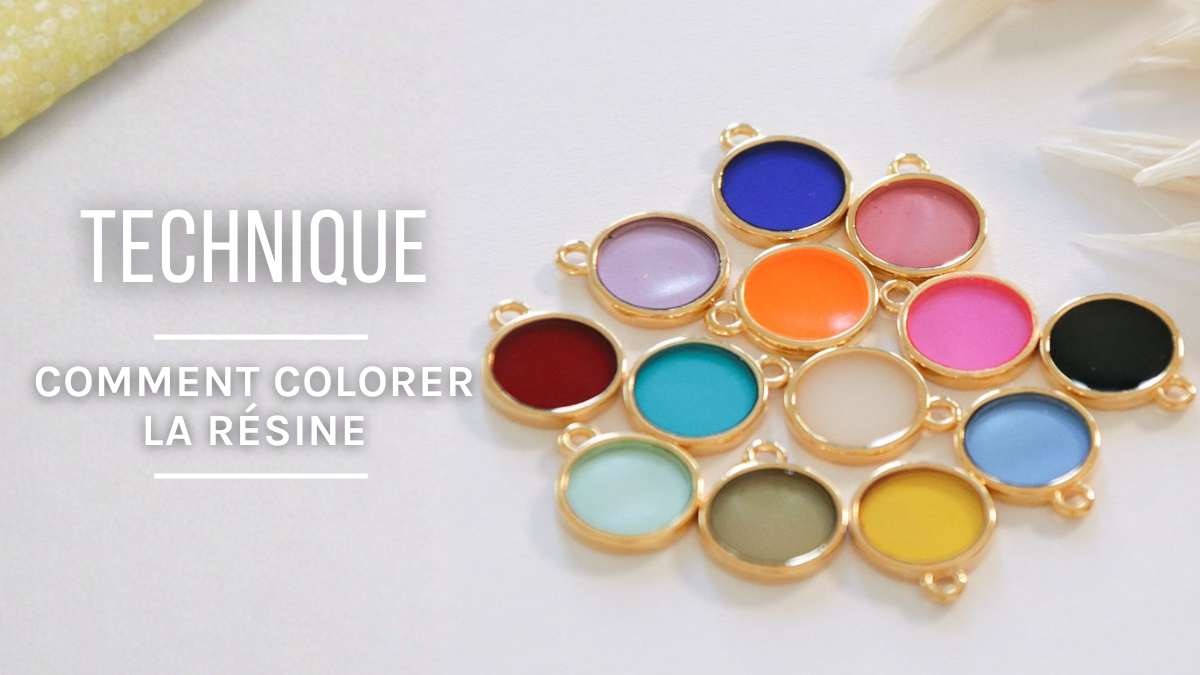
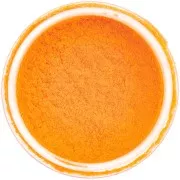
You can then add the colorant. Please refer to our technical data sheet on this topic to choose the appropriate colorant for your resin.
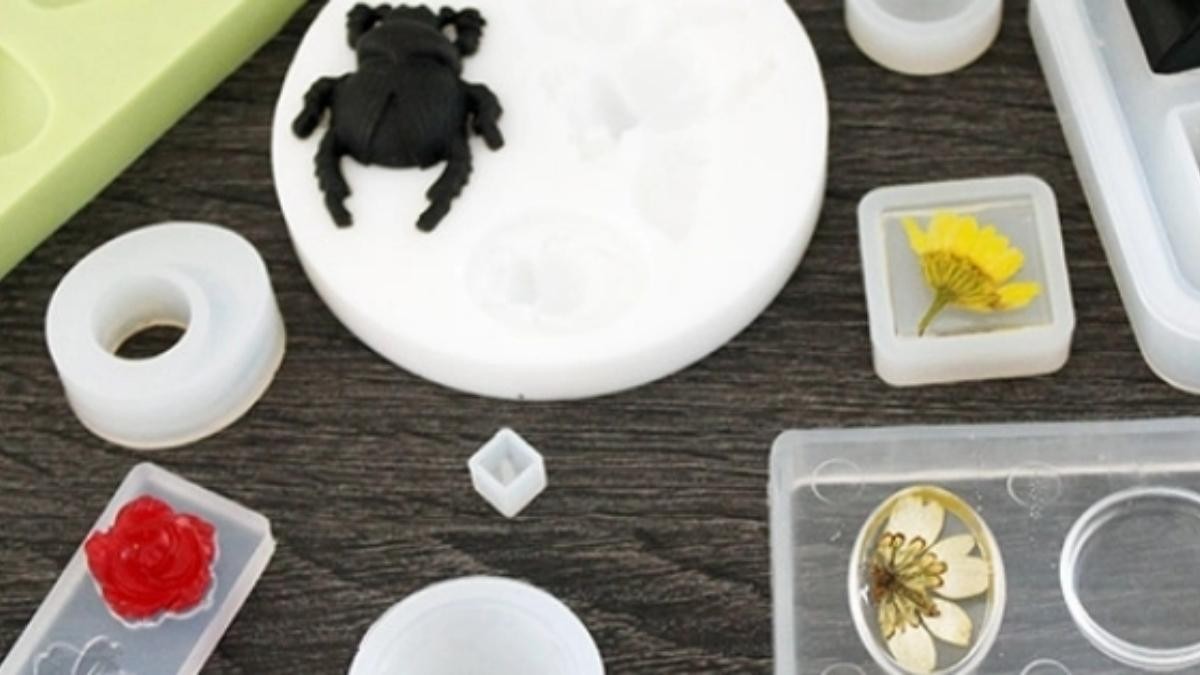
Some brands recommend letting the resin sit in the cup for 15 minutes to allow the bubbles to rise to the surface. Then gently pour the resin into the mold or your hollow container. Bring the bubbles to the surface by gently tapping the tray on the table. You can also tap the mold with your finger.
Once the bubbles are at the surface, pass the flame of a lighter or gas torch over the bubbles to pop them. Another more professional—but more expensive—technique involves placing the mold in a vacuum chamber. It’s a kind of chamber in which a mechanism extracts the air. The air trapped in the resin will then escape, leaving no bubbles behind. This can be a worthwhile investment for professional use.
Let the resin cure for 48 hours in the shade (the darker, the better) and away from dust, always in a dry room. You can make a test sample to check if your resin is hard without damaging your creation: Pour some resin into a disposable cup or an extra mold. This way, you can touch it with a spatula to see if the resin is hard or still soft.
Even once it feels hard to the touch, the resin is still curing. It hasn’t fully stabilized yet. Wait 15 days before placing anything on top of it or exposing it to direct sunlight. In any case, if you want to minimize yellowing of your creation, do not expose it to direct sunlight. Modern epoxy resins are much more resistant to yellowing than they used to be, but it can still occur after several years or prolonged exposure to direct sunlight.


This is a very complicated step that’s best avoided, especially without an electric sander and polisher. It’s generally easier to pour a thin layer of resin over the surface to correct imperfections. For example, resin tends to shrink and form a slight indentation in a mold. Pour more resin to correct this issue so you don’t have to cut the edges with a scalpel and then sand them. Aside from this problem, you’ll rarely need to cut and sand the resin when using a mold or a hollow support.
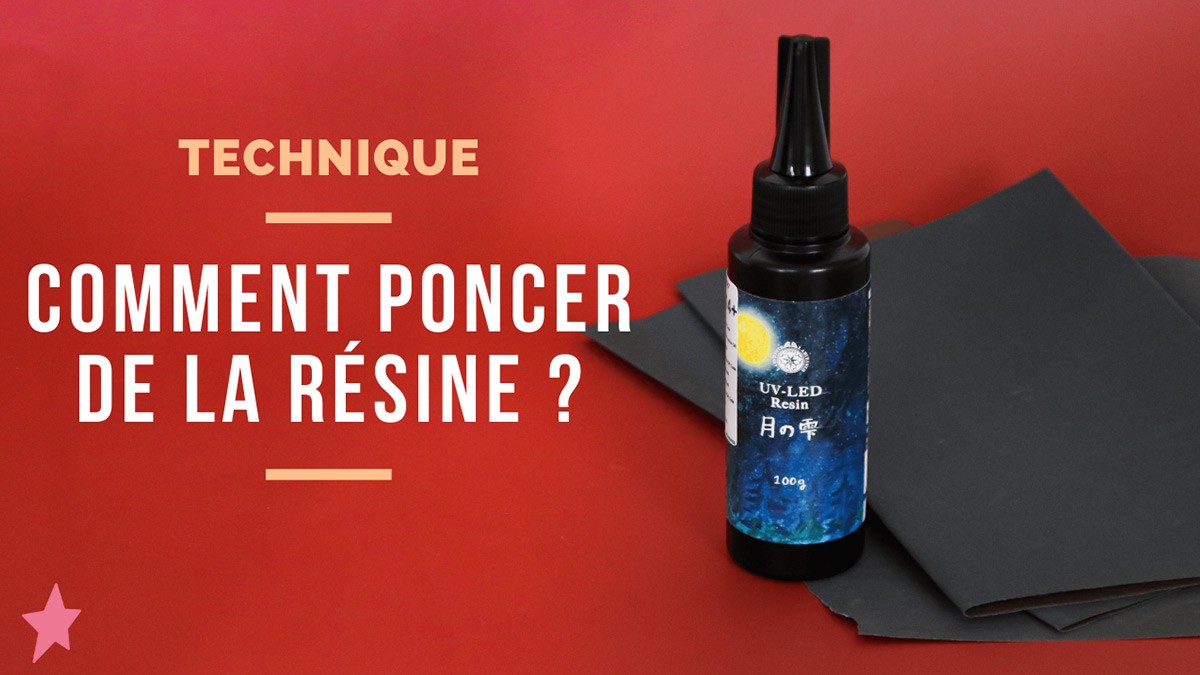
If you still wish to trim the excess resin from the edges with a utility knife and sand it down, here’s what we recommend: Sand only after the resin has fully cured, which takes 15 days. Sand with water. Use a basin and water-resistant sandpaper. Start sanding with 120-grit sandpaper using circular motions. Gradually increase the grit size of the sandpaper up to 3000-grit. For polishing, use a polisher with a flannel pad, though it’s also possible to do this by hand. You can use clay. Generally, clay suitable for wood is also suitable for resin.
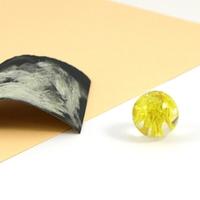
Resin can be cleaned off before it hardens using rubbing alcohol or acetone and a paper towel. Once hardened, resin is very difficult—if not nearly impossible—to remove from a porous surface, which is why you must protect your work surface.
So, what are you going to make? You’re ready to get started! For inspiration, check out our 5 easy-to-make DIY epoxy and UV resin jewelry ideas—perfect for beginners, with beautiful results right from your first attempts.

Between 20 and 25°C. Below 15°C, the resin does not catalyze well and may remain soft. The warmer the room, the faster it sets.
Mix gently, let stand for 15 minutes before pouring, tap the mold on the table, then quickly pass a lighter flame over the surface. For a perfectly clean result, a vacuum chamber is the most effective solution.
Allow at least 48 hours before unmolding. But the resin continues to work afterwards: wait a full 15 days before handling your creation intensively or exposing it to the sun.
Yes, prolonged exposure to UV light can cause yellowing, even with modern anti-UV resins. To preserve your creation, avoid exposing it to direct sunlight.
Credits
Perles & Co, Internet & E-Commerce company [26/03/2026] Any reproduction, representation, adaptation, in any form whatsoever, even partial, is prohibited, except for reproduction for private use not intended for collective use, representation in the family circle (art. L 122-5 CPI) and online publishing on condition that the source is mentioned and a link is included to the corresponding page of our site www.perlesandco.com.