Average Grades

Gently pull the claws apart with your pliers.
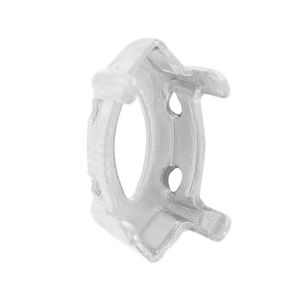
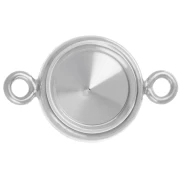
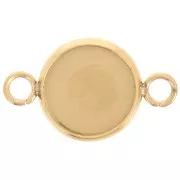
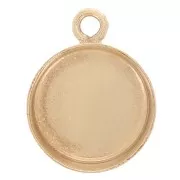
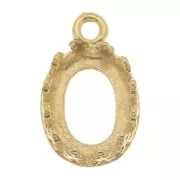
There are two types of cabochon settings: glue-sets and claw-sets, which are mainly used to hold the cabochon in place with folded tabs. Claw crimps, often bottomless to allow light to pass through, come in a variety of models suitable for pendants, bracelets and other jewelry, making them easy to integrate into your creations. For efficient crimping, flat-tipped pliers are recommended, ideally with a coating to protect your delicate cabochons.
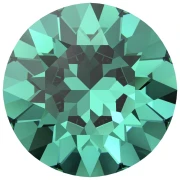
Would you like to set a cabochon to make a homemade ring, pendant or bracelet? Good news: it's one of the most accessible basic jewelry-making techniques, even for beginners. Whether you're working with a PureCrystal or Swarovskicrystal cabochon, a natural stone or a resin cabochon, the method remains the same.
In costume jewelry, there are two main types of cabochon settings:
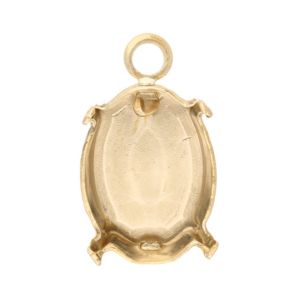
Claw crimps are hollow or flat crimps in the shape of the cabochon. The edge of the cabochon rests on the rim of the crimp. The claws surround the cabochon and must be folded over. As a rule, the crimp has no bottom to allow light to pass through the crystal cabochon, but some do. What's more, some settings have holes in the side, allowing them to be threaded onto a bracelet or necklace. Conversely, others have rings or are attached to pendants, bracelets, rings or earrings. Setting cabochons is simple, but requires a certain technique. We show you how to set a cabochon below.

Before getting started, here's what you'll need to crimp a cabochon:
To crimp, you'll need flat-nose pliers. Ideally, nylon flat-tip pliers will prevent damage to your delicate cabochons. You can also add a Tool Magic coating to the tip of your classic flat-tip pliers. This product, once dry, forms a rubber film around your pliers and also helps prevent marking your metal primers and damaging your cabochons.
Gently pull the claws apart with your pliers.

Place the cabochon on the crimp without pushing it in. It always protrudes a little from the setting.

Close the claws with the pliers using the back of the cabochon as a support.
This way, you will obtain a beautiful setting.


The glue-set setting is attached to the cabochon using glue (epoxy or UV) and is suitable for flat or semi-spherical cabochons. The claw setting, on the other hand, mechanically holds the cabochon in place with metal tabs folded over the top: no glue is required, and the often-open bottom lets light pass through the crystal cabochons.
Flat-tip pliers are ideal, preferably with nylon tips to avoid scratching the stone or marking the metal.
The stone should not move or rattle in its seat. If it does, gently tighten the opposing claws in pairs.
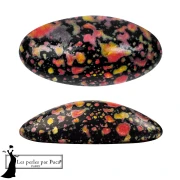
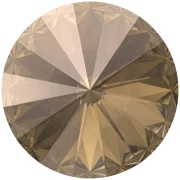
Yes, there are suitable settings for round, oval, pear, navette shapes, etc.


Credits
Perles & Co, Internet & E-Commerce company [07/12/2025] Any reproduction, representation, adaptation, in any form whatsoever, even partial, is prohibited, except for reproduction for private use not intended for collective use, representation in the family circle (art. L 122-5 CPI) and online publishing on condition that the source is mentioned and a link is included to the corresponding page of our site www.perlesandco.com.

