How to make a brick stitch brooch
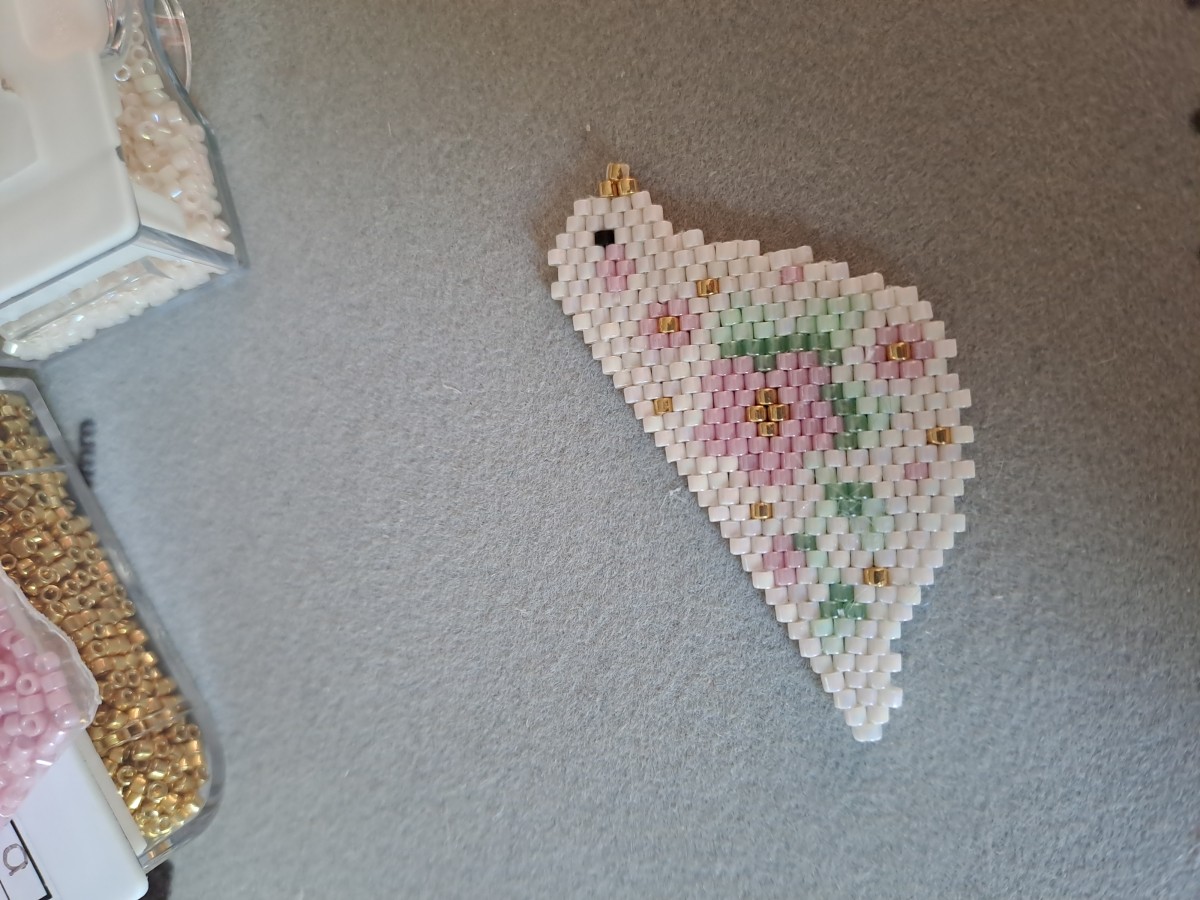
What better way to celebrate spring than with a little Miyuki bird brooch in brick stitch? Here's a step-by-step tutorial for learning Brick Stitch. And for those already familiar with the technique, there's an added touch of originality: this bird's tail attaches to the body at a slight angle. This gives the impression of having made a herringbone weave, but in reality, we assemble the two parts of the brooch by sewing them together. This detail adds a little more relief to the brooch, without adding any complicated technique.
This Miyuki beaded bird will add a touch of poetry to your spring outfits. Hanging from a bag, a light jacket or a cardigan, it will personalize your look. Feel free to choose other colors of Delica 11/0 Miyuki beads to personalize the bird to your taste. It's also a perfect little DIY project for upcoming vacations or weekends.
Once the brooch is finished, stiffen it by applying 3 coats of Decopatch varnish to the back of the weave, allowing 2 h to dry between coats. To fix the brooch, use a generous amount of glue: apply it generously to the back of the weave, even if it means letting it run a little over before wiping off the excess.
Another technique, even more resistant over time, is to glue the brooch between the weave and a piece of imitation leather, soft felt or suede. This is the technique used in LiliAzalée's ice pin. The shape of the bird is re-cut from the piece of imitation leather, notches are created to allow the pin's stem and attachments to pass through to the other side, and the back of the imitation leather and pin are glued to the weave.
If you reproduce this tutorial, we invite you to share your creation with us on social networks, mentioning Perles & Co and Lalicier on your post. We love to see the beautiful creations you make!