Average Grades

Start by sorting the heishis by color for each size. You will need between 4 and 6 heishis per color.


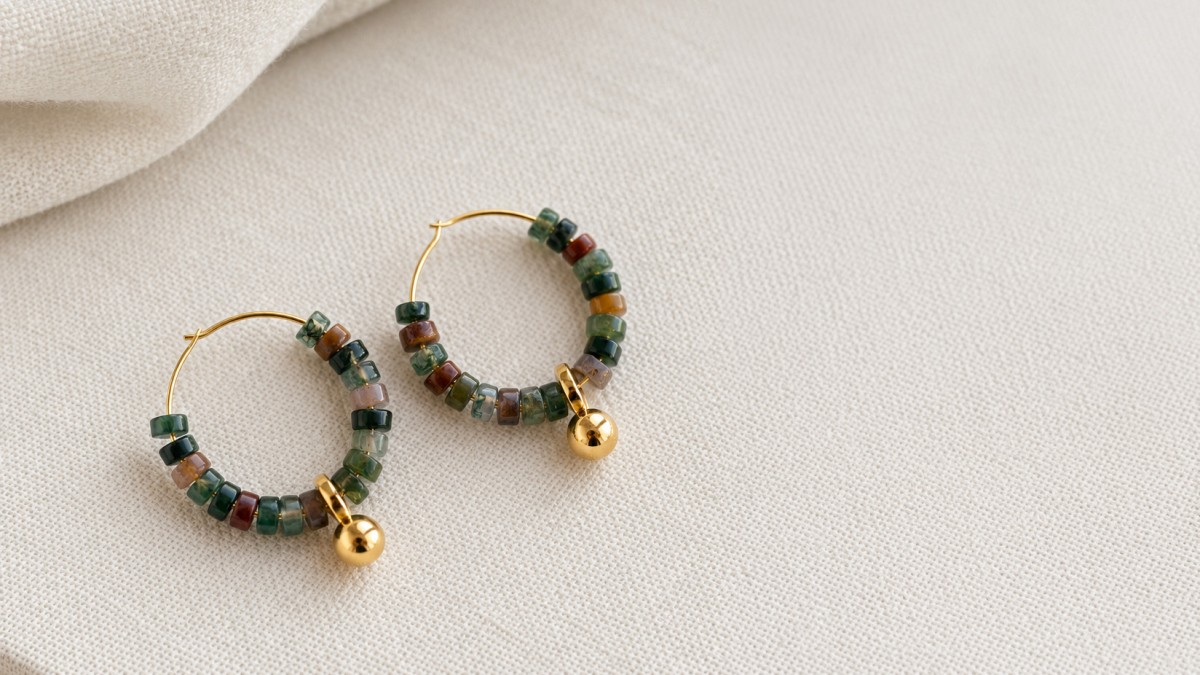
Check out this tutorial for hoop earrings with heishi beads. They’re simple but super trendy. Plus, you can customize them in endless ways.
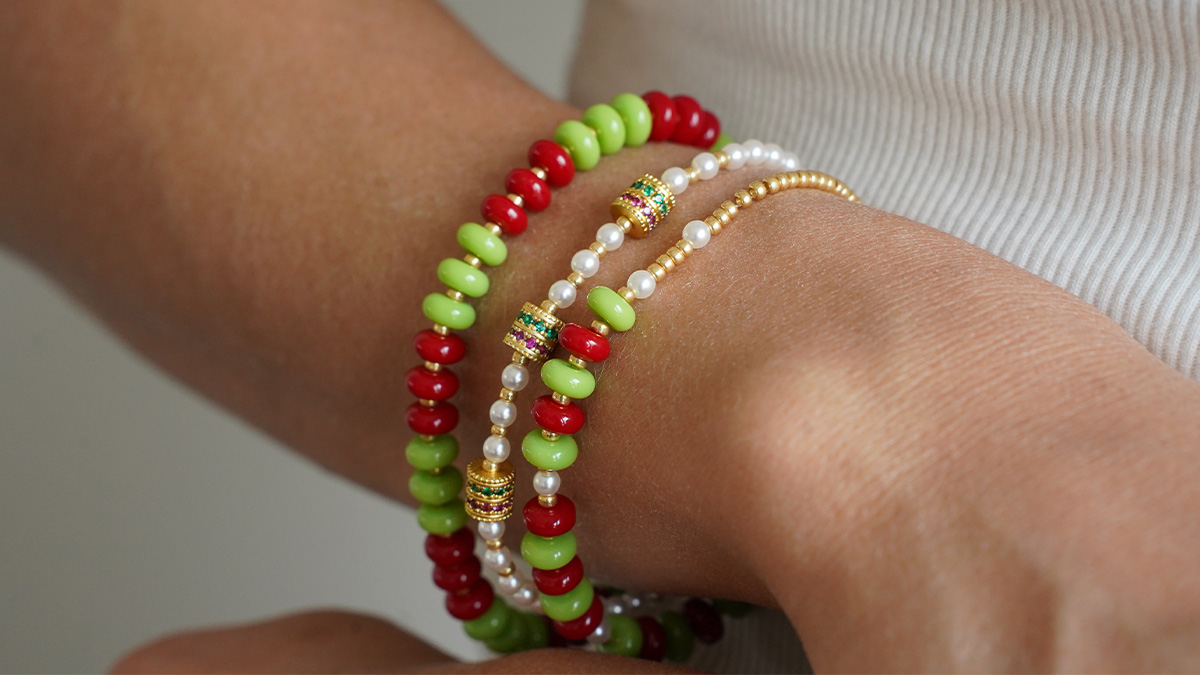
Summer, sun, sea, and tanning—those are words we love to hear, aren’t they? For Perles&Co, it’s a big YES! To share this positive vibe with you, what better way than to introduce you to our new collection: L’Oasis, featuring Heishi beads in all their forms. A gorgeous collection of colorful jewelry, perfect for the upcoming summer season.
In this quick and easy tutorial, learn how to customize hoop earrings! Mix Heishis of different sizes and colors with Rondelle beads, a rhinestone disc, a stainless steel chain, and a mini diamond-shaped charm. The result is stunning! Making them couldn’t be simpler: all you’ll need is a pair of pliers, some glue, and 15 minutes to spare. Are you a fan of hoop earrings? Check out all our tutorials featuring hoop earrings.
All you have to do is get started! Fall in love with more Heishis designs from our full selection available on our website. Add even more color by choosing a different charm, like a cross with green zirconium oxide, for example. Team silver? No problem—we have the same hoop earrings in silver too!
And if you want even more earring ideas, check out all our tutorials right away!
Psssssst: Do you love colorful jewelry, too? Why not share your “summer jewelry” looks with us on social media! We can’t wait to see them :)
Start by sorting the heishis by color for each size. You will need between 4 and 6 heishis per color.
Thread on the creole :
Repeat with the second color (here we chose blue). Thread in this order:
For the central part of the creole thread in this order:
Take the gold stainless steel chain and cut a length of 16 links. Hang an open ring on one end. Pass the ring with the chain on the creole and then thread :
Hang an open ring on the other end of the chain. Thread this ring onto the creole. Take the Hasulith glue and put a small amount of glue on the creole before stringing the following beads in this order (you can put glue on as you string to secure the bond):
Depending on the remaining length, it may be necessary to cut the creole before gluing the tip. Take a pair of wire cutters and cut the end of the creole leaving about 2/3 mm of wire. Dip the end of the creole in the tube of glue and glue the ball end
Using an open ring, attach a mini ETA-254 diamond charm to the center of the chain. Repeat all these operations for the 2nd creole
Let dry for 24 hours before enjoying your new earrings!

Tip: if you find that the pushers of your earrings are difficult to close/open, you can adjust their tightness by sliding the tips of a round pliers and spreading the pliers slightly
Conversely, if the pushers of your earrings do not hold enough, you can adjust them by tightening them slightly with the tips of a round pliers


You have a question about this tutorial? Ask it to our team and the people who have already tested it. The Perles & Co community is here to help you!
Credits
Perles & Co, Internet & E-Commerce company [06/06/2022] Any reproduction, representation, adaptation, in any form whatsoever, even partial, is prohibited, except for reproduction for private use not intended for collective use, representation in the family circle (art. L 122-5 CPI) and online publishing on condition that the source is mentioned and a link is included to the corresponding page of our site www.perlesandco.com.