Average Grades
Bonjour. Quelle type de plaque à brasure argent (forte, moyenne ou faible) faut-il pour fermer une bague (fine) ? Merci
1 Answer
Show answers

The soldering technique used in jewelry making allows you to join metal pieces—particularly silver—using solder rods and flux. For beginners, it’s best to start with brass, which is more affordable, before moving on to 925 Sterling Silver. Lucie walks you through the essential steps and the necessary tools—such as a torch and spray flux—to master soldering and create your own jewelry.
The art of soldering can be intimidating, especially when you’re just starting out in jewelry making. In fact, many of you ask us questions every day about the right method to use, the techniques to follow, and the tools you should have in your workshop...
To answer your questions, Lucie shares her tips and advice in this video, teaching you the basic technique for soldering metal and the different tools you’ll need. As a reminder, “brazing” in jewelry-making is the term used to describe the process of joining two pieces of metal together.
In a previous video, she had already shown you the technique for brazing with silver brazing clay—a method that’s accessible… even to beginners. This time, she’ll teach you how to braze silver using small brazing rods and flux.
For her example, she chose to solder a ringmade from a strip of patterned silver. But the process remains the same for soldering brass, gold, or Gold Filled pieces—whether for jewelry or accessories. After watching this video, you’ll have no more excuses for finally creating your own silver jewelry from start to finish.
If you’re just starting out, we recommend using brass rather than silver at first. Since brass is cheaper than silver, any mistakes won’t be too serious. Once you’ve mastered the technique, move on to 925 Sterling Silver.
To make a silver ring, you’ll need a few supplies (available on our website). You’ll find all the necessary tools at the bottom of this article:
In the first part of the video, Lucie shows you how to solder a silver ring using small solder pellets and liquid soldering flux. What is soldering flux? It’s a liquid that protects the metal during soldering.
First, you’ll need to anneal your silver ring, cut it to the correct length with a wire cutter, and then shape it with a mandrel. Next, you’ll need to perfectly align the two ends so they can be soldered together. This means filing them down (here, with a needle file) until they’re exactly edge-to-edge. Here’s a little tip: you can finish by polishing the ends—this will make soldering easier.
Prepare your solder pads in advance by cutting different sizes from a sheet of metal. That way, you’ll always have some on hand! Depending on your project, you’ll need to use either high-temperature solder (melting range 741°–788°), medium-temperaturesolder (melting range 691°–738°), or low-temperature solder (melting range 618°–653°).
How do you use solder flux?Place the solder strip at the joint; it must be in contact with both ends. Use the torch to heat the entire piece, focusing a little more on the area to be soldered.
Quick tip: Position your brazing rod under the ring (or, in this case, behind it) at the spot where you need to solder. As you heat the entire piece, you’ll see the solder rise due to capillary action. The solder is drawn to the heat, so you can guide it with the torch wherever you want.
Next, place the piece in a cooling rack after letting it cool on a jeweler’s pile.
In the second part of the video, Lucie uses the same method but with a different soldering flux: Firescoff. This is a ready-to-use liquid soldering flux in spray form that offers several advantages:
How do you use the soldering flux? Once you’ve heated the piece to 100°C, spray the flux over the entire surface. No need to use too much: a single spritz is enough. Place the solder pad on the piece using clean tweezers free of any traces of borax. Then apply more soldering flux to the solder pad you’re about to solder. There’s no need to anneal your piece to remove traces of oxidation: a little lukewarm water or an ultrasonic cleaner will do. With one less step in the jewelry-making process, this is the ideal soldering flux for beginners.
Quick tip: To tell when the piece has reached the ideal temperature before spraying the flux, simply place a small drop of water on it. When the water evaporates, the piece is at the right temperature. It’s time to apply Firescoff to the piece, then the brazing powder, before brazing.
The brazing technique isn’t that difficult. Don’t get discouraged: like all jewelry-making techniques, you need patience and practice over and over again before you can make perfect joints.
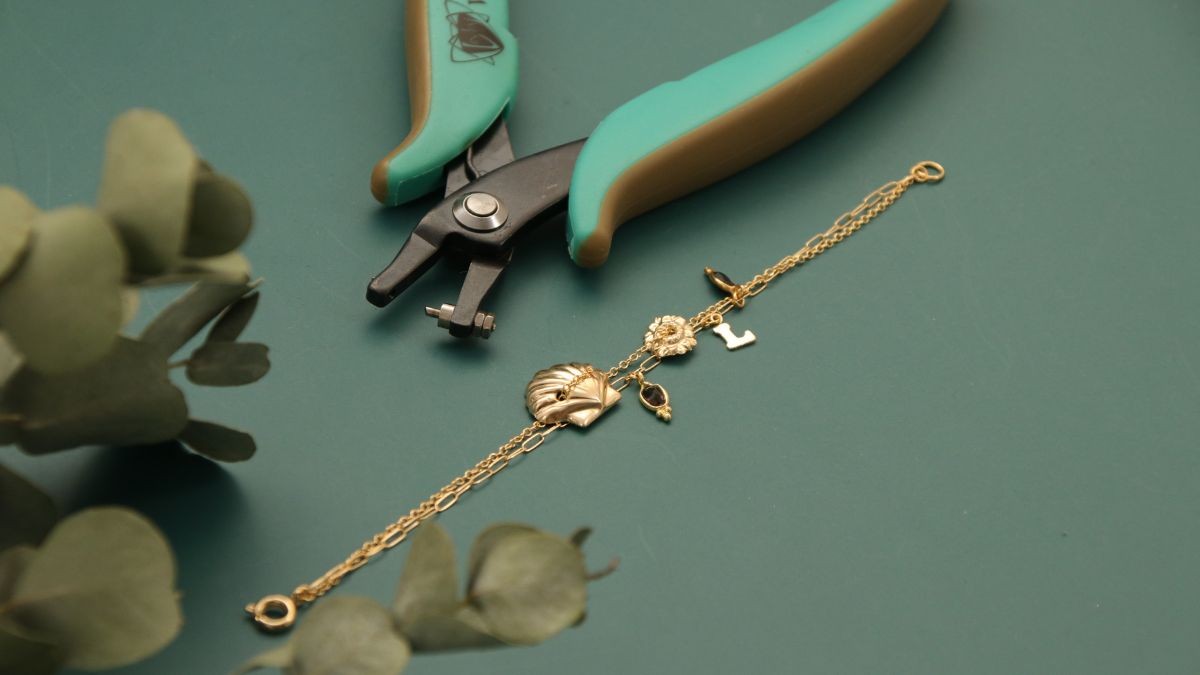
Once you’ve got the hang of the process, go ahead and start creating this silver ring or this weekly bracelet.
Precautions to take before you begin: tie back your hair, wear protective gloves, a mask, protective clothing, and eye and face protection. It’s advisable to work in a well-ventilated area.
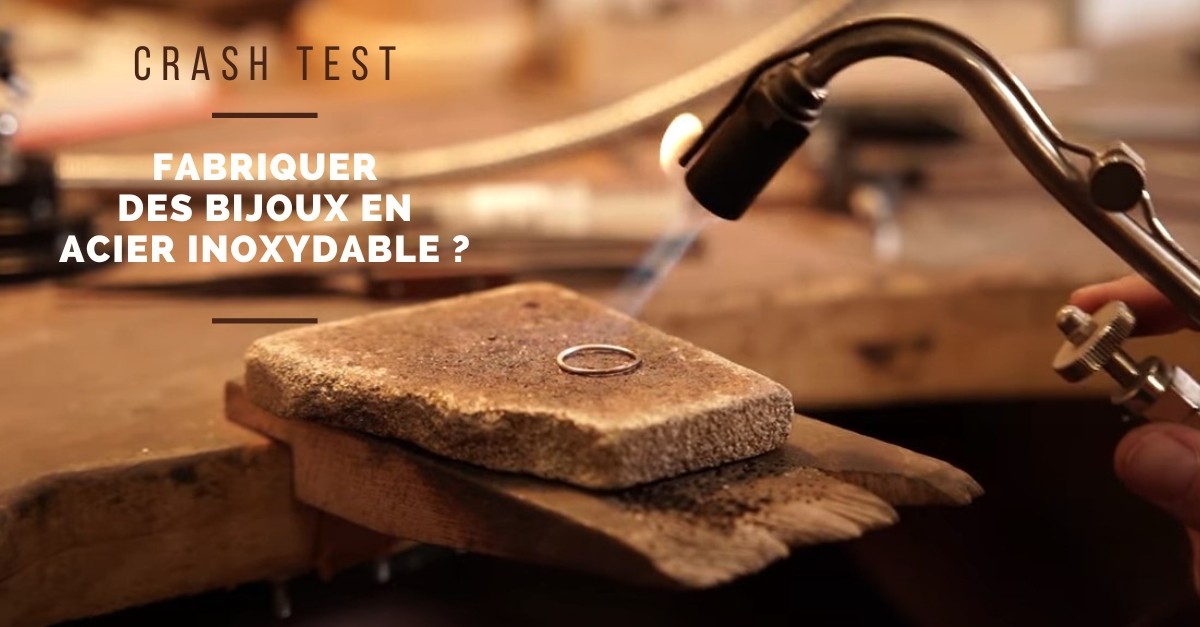
We conducted a crash test for you to determine whether it’s possible to weld stainless steel. Find the full analysis, our recommendations, and technical advice in our technical data sheet.






Credits
Perles & Co, Internet & E-Commerce company [12/03/2023] Any reproduction, representation, adaptation, in any form whatsoever, even partial, is prohibited, except for reproduction for private use not intended for collective use, representation in the family circle (art. L 122-5 CPI) and online publishing on condition that the source is mentioned and a link is included to the corresponding page of our site www.perlesandco.com.