Average Grades
Free shipping on orders over 50€ up to 500g
French Online shop for beads and accessories for the creation of DIY jewellery and other creative hobbiesLog-in
0
Shopping cart
Shopping cart

Bias is a ribbon cut at 45 degrees into fabric, providing an aesthetic and durable finish to the edges of garments and accessories. Unlike piping, which is raised, bias is more flexible and easier to sew, allowing you to adjust the contours of your creations. For best results, always start with a straight edge rather than a corner.
What is fabric bias ?
A bias is a kind of ribbon cut at 45 ° in fabric , hence the term "bias". This angle allows the bias not to deform if it is pulled from one side or the other because the weft and warp threads are at an angle to the cut. On the other hand, it will be more or less extensible depending on the material of the fabric, which makes it easier to make adjustments and have it follow the edges of your work.
The bias is used to hide the edges of the fabric when they are visible or simply to make a nice finish. It is used for example on clothes at the armholes or edges as a rule. We can also use it on accessories like wipes and make-up removing gloves for a more qualitative work because the installation of bias is also a very meticulous work.
The bias is sold already folded in three in its length to facilitate installation and sewing. You can also make your own bias by cutting strips yourself in a fabric and then ironing the bias in three with or without using a bias tape. Be careful too, many beginners confuse bias and piping which are two different things. The piping is embossed with a small cord sewn between the fabric and does not sew in the same way. You can view our technical sheet on how to sew piping if you are interested.
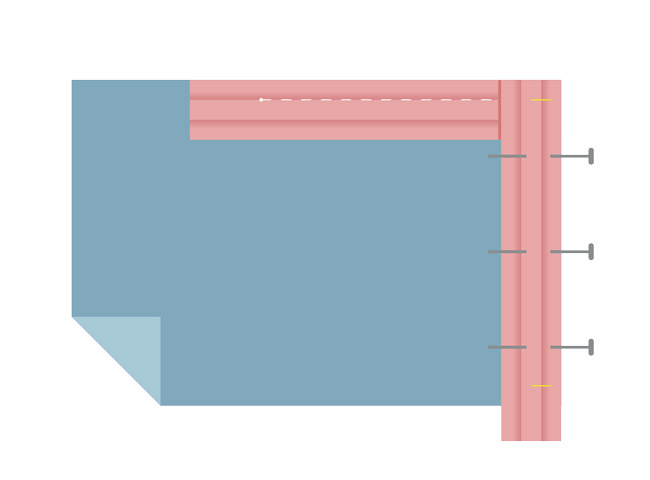
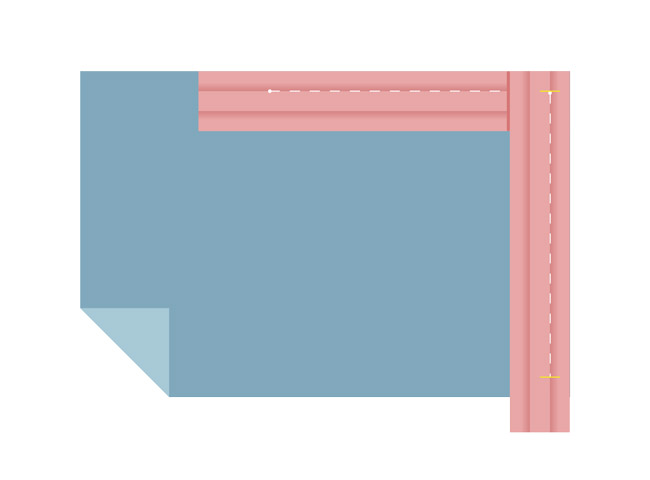
We are now going to show you different ways of applying a bias. Little thing to remember before you start, you never put the beginning of a bias directly on a corner because it will be rather difficult to sew and the connection between the two parts will be complicated. It is better to start on a straight edge. For a bias only on a straight line like the pie bag in the photo below, start at the edge but fold your bias. Go to the tutorial video for a step-by-step explanation of how to lay on a straight edge without a junction .

Sew bias on a straight edge which joins like the edge of a sleeve and make a nice bias binding:
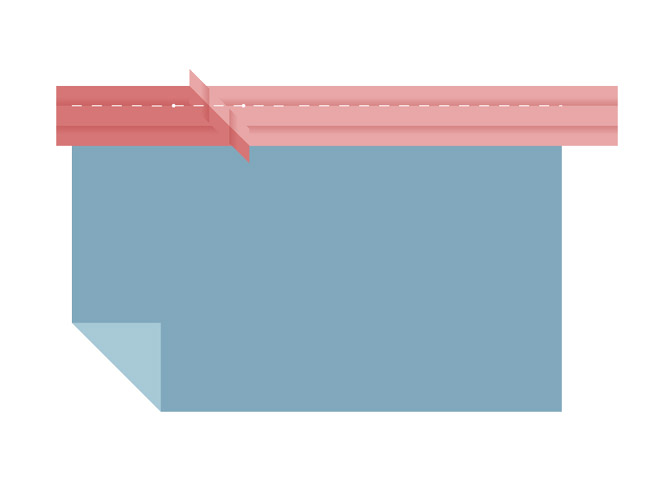
1- Open the bias, the inside facing you. Pin it right sides of fabric and edge to edge.
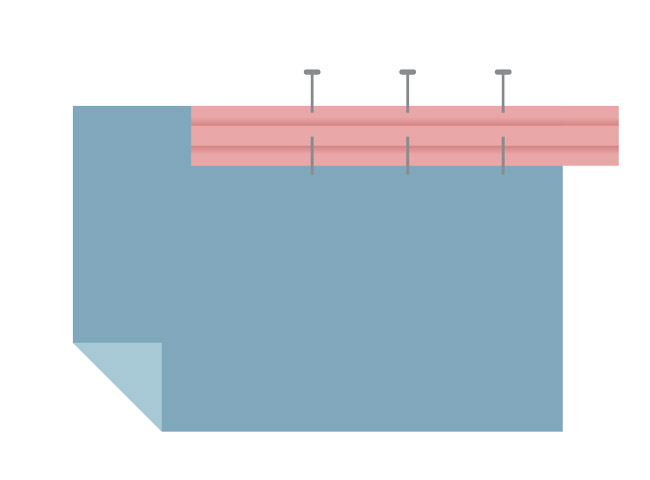
2- Start sewing a few centimeters from the end of the bias to make a nice finish later. Sew in a straight stitch in the fold of the bias and stop a few centimeters from the end.

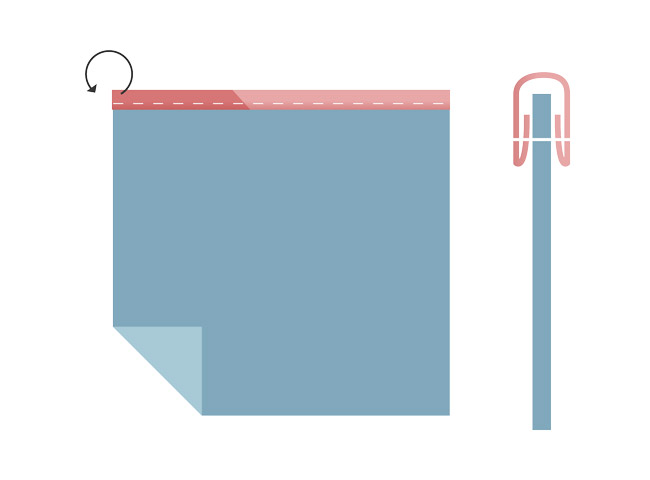
3- Overlap the ends of the bias. Fold one at 45 ° and the other also but in the opposite direction. The folds should touch.
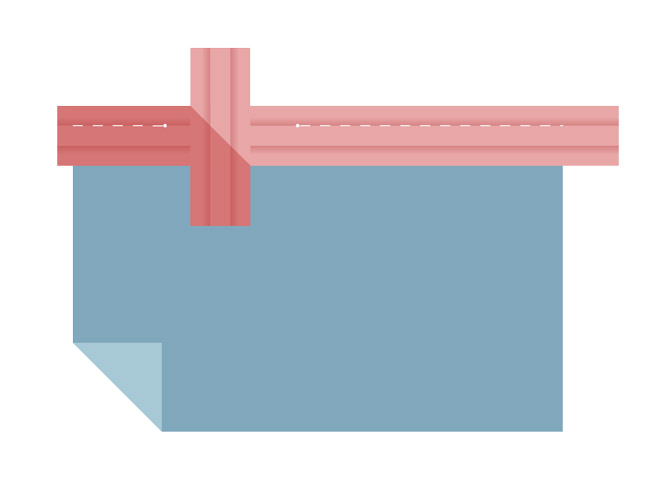
4- Mark the fold in pencil and pin the bias together. Sew on the fold made in straight stitch.
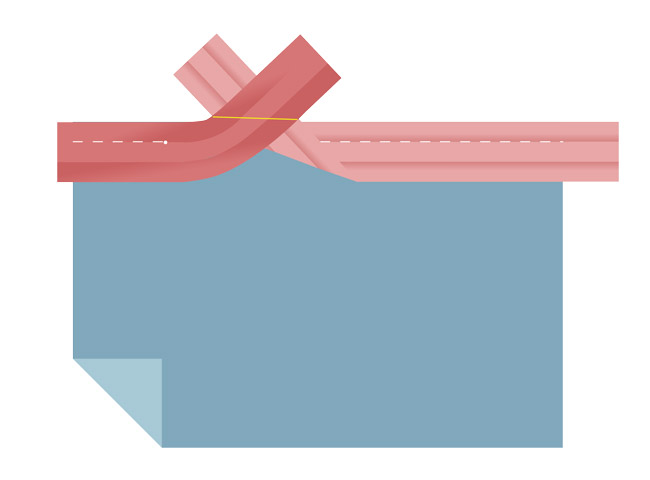
5- Cut the excess fabric 0.5 cm from the seam. Iron to open the seam.

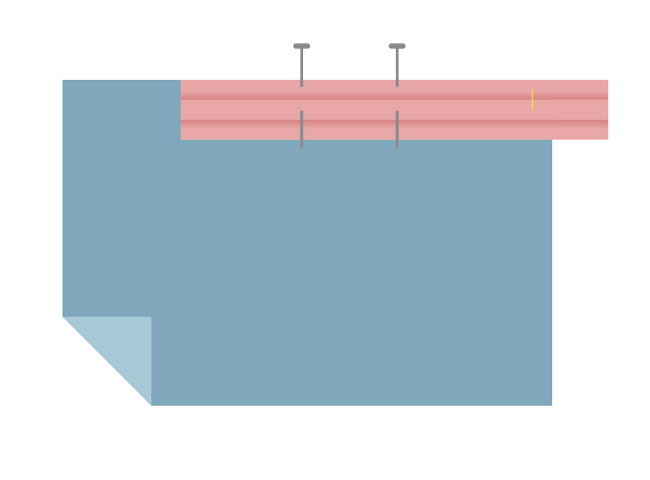
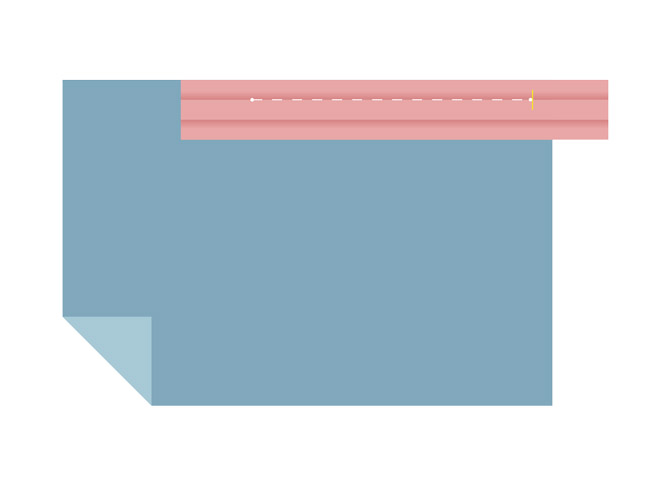
7- Finish your first seam bias on the work.
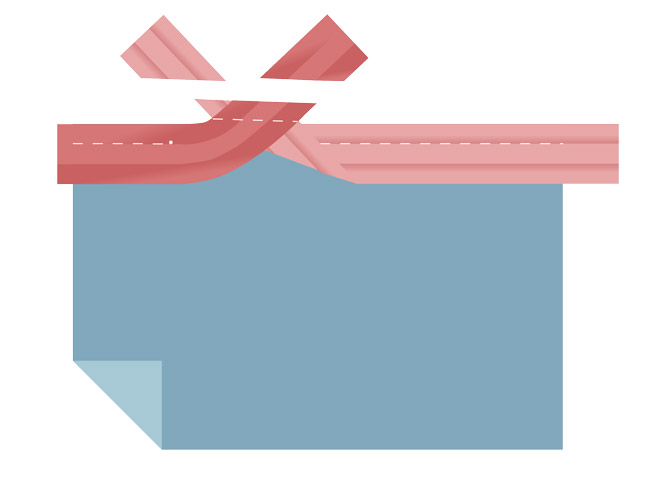
8- Now fold the bias over the edge of the work, to place it on the other side. Sew all around again in straight stitch a few millimeters from the edge of the bias. The seam must take the two parts at an angle on each side.
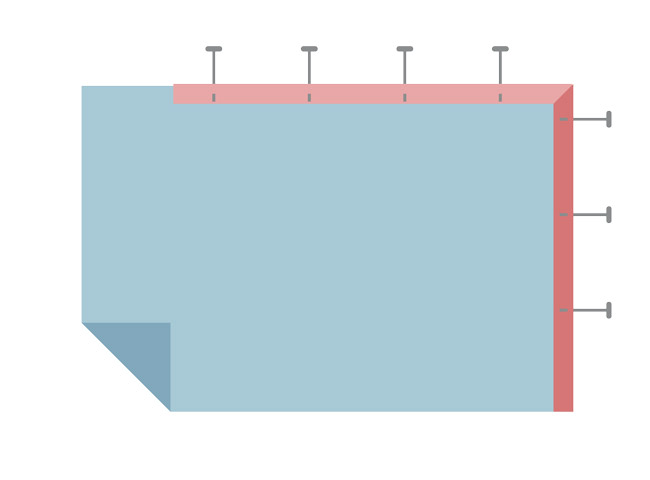
Sew a bias at a right angle on a rectangular creation like a tea towel for example.
1- Repeat the previous steps 1 and 2 but stop before the corner. Make a mark whose distance from the edge is equal to the height of the fold of the bias and do not exceed this mark for the first seam.
2- For pinning the corners make a fold on the bias. The fold should be perfectly in the center of the corner. Fold it edge to edge with one side of the corner and make a mark on the fold at the first fold of the bias, where your first seam is supposed to stop. Sew from the mark. Do this for each corner.
3- Turn the bias. Pin one side and fold the corner then fold down the second part. Then sew the bias on the front normally.


Credits
Perles & Co, Internet & E-Commerce company [09/07/2020] Any reproduction, representation, adaptation, in any form whatsoever, even partial, is prohibited, except for reproduction for private use not intended for collective use, representation in the family circle (art. L 122-5 CPI) and online publishing on condition that the source is mentioned and a link is included to the corresponding page of our site www.perlesandco.com.
