Average Grades
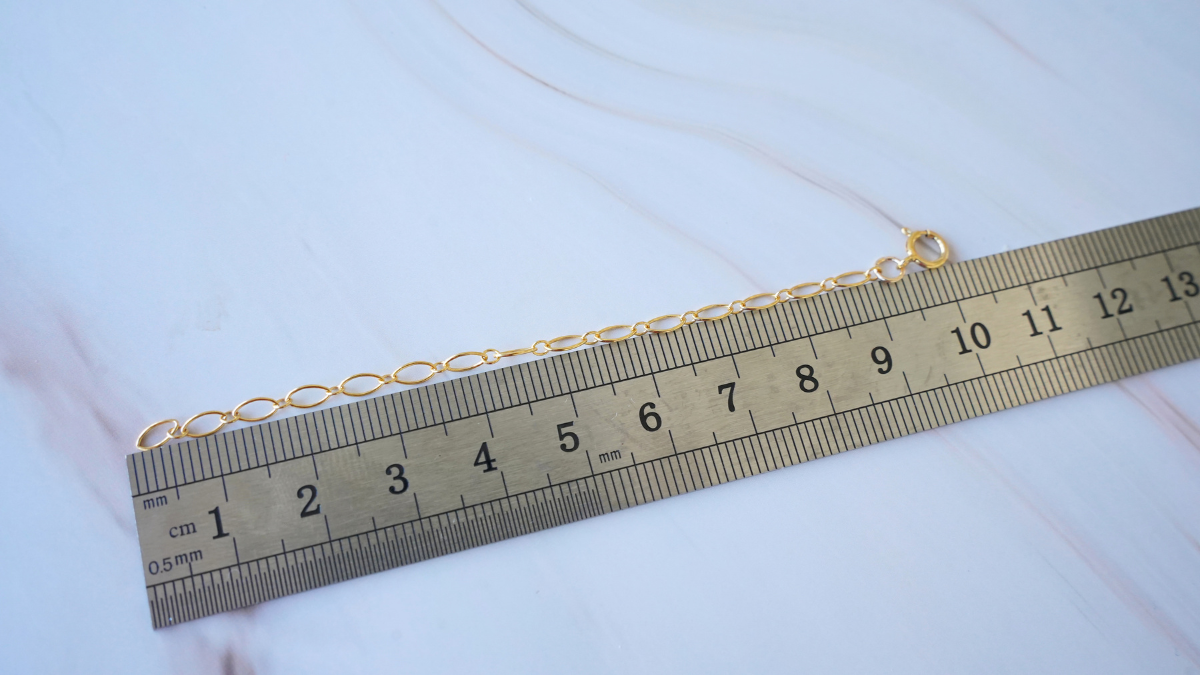
To make this necklace, the various components will mainly be connected using open rings.
Start by cutting a piece of chain trace at the 10th link, which is about 9 cm of chain.


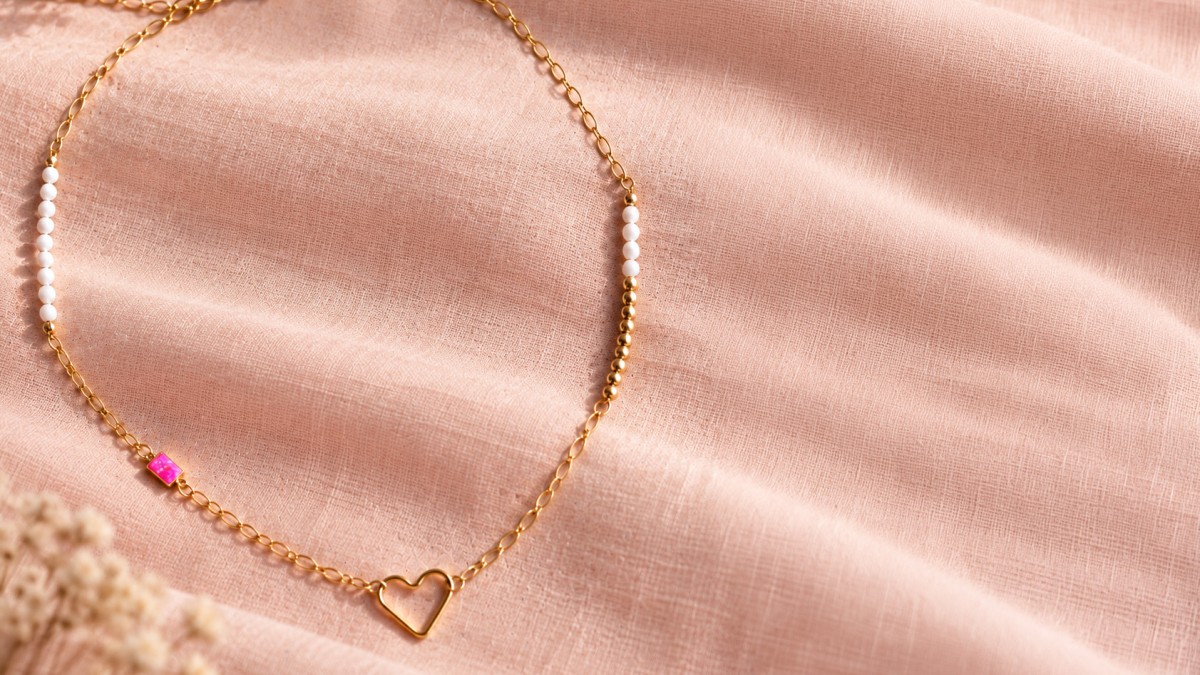
Want to create a delicate necklace by mixing chains, beads, and small colorful details? In this tutorial, learn how to make a Gold filled necklace composed of several elements assembled to add rhythm to the design. A gold chain serves as the main thread, accompanied by white pearlescent Swarovski beads, small round Gold Filled beads, a pink rectangular spacer, and a closed Gold Filled heart ring placed at the center of the piece.
The beads punctuate the chain and add dimension to the necklace, while the pink spacer adds a touch of color. The heart-shaped ring, meanwhile, becomes the focal point of the design. You can take inspiration from the model shown or adapt the combinations to suit your own style. Be sure to check out our selectionof Gold Filled spacers and Gold Filled beads to create other designs.
Gold filled consists of a layer of gold alloy mechanically applied to a metal base. The gold alloy accounts for 1/20 of the product’s total weight, offering a higher proportion of gold than gold-plated jewelry. Gold Filled is also a recyclable metal. To learn more, check out this technical sheet: All About Precious Metals: Gold, Silver, and Vermeil.
Follow the steps in this tutorial to learn how to combine the chain, beads, and various findings to make your own necklace. Once you’ve mastered the assembly process, you can easily use it as inspiration to create other versions by varying the beads, spacers, or the arrangement of the elements.
And if you try this tutorial, share your creations on Instagram, TikTok, or Facebook by tagging @Perles & Co—we love seeing your custom designs and the creative takes from our community!
To make this necklace, the various components will mainly be connected using open rings.
Start by cutting a piece of chain trace at the 10th link, which is about 9 cm of chain.
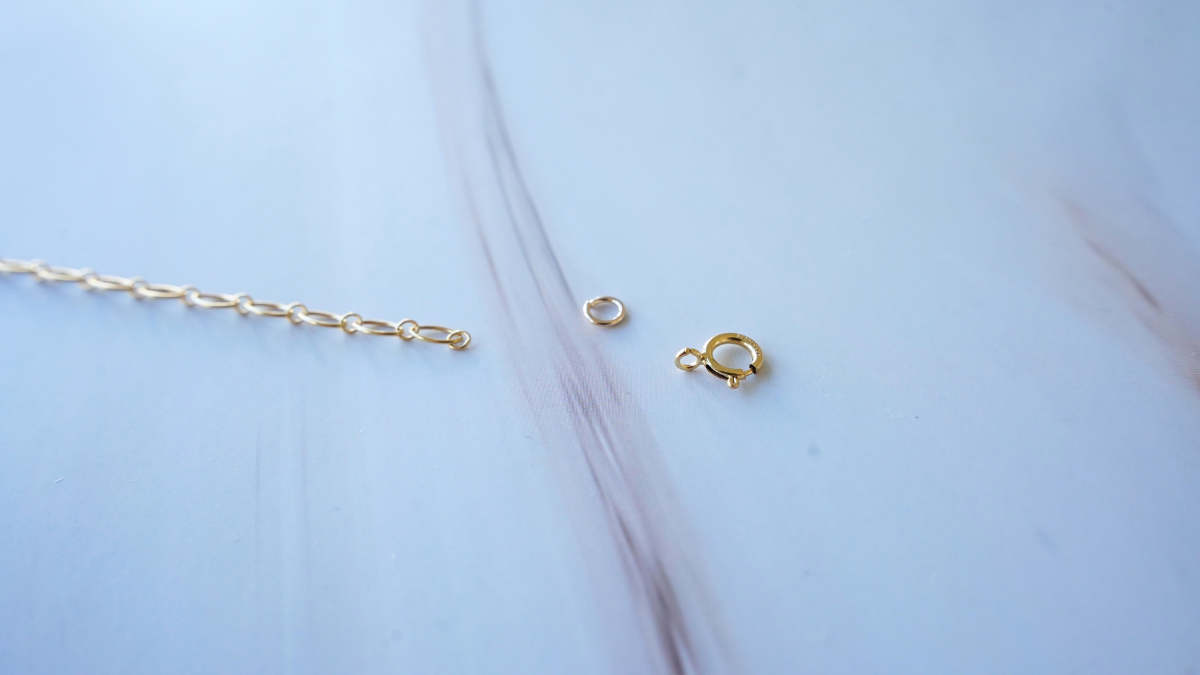
Attach the spring clasp to the chain using an open jump ring. Open the jump ring, slide the last link of the chain and the clasp ring through it, then close it using your pliers.
If this is your first time using open jump rings, check out our how-to guide: How to Open a Jump Ring to Make Jewelry?
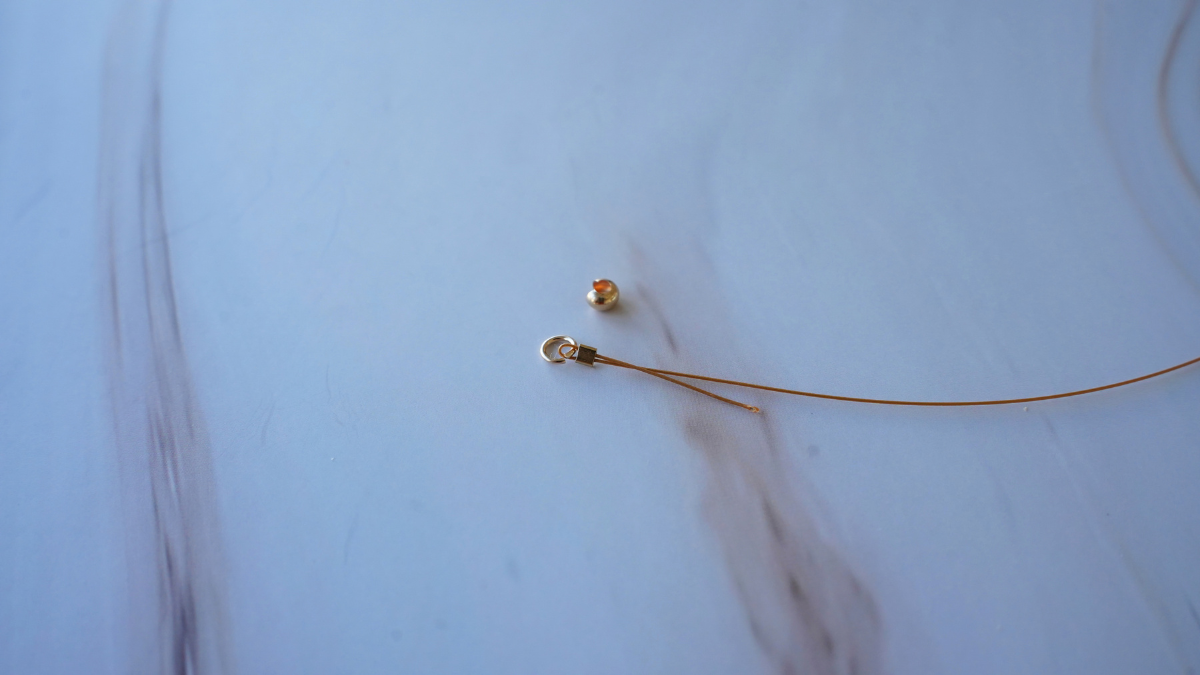
Cut about 10 cm of wire.
Thread a crimp tube onto the wire, then pass the wire through an open ring before threading it back through the crimp tube. Crimp the tube using flat-nose pliers to secure the wire.
For a more discreet finish, you can place a 4-mm crimp bead cover around the crimp tube.
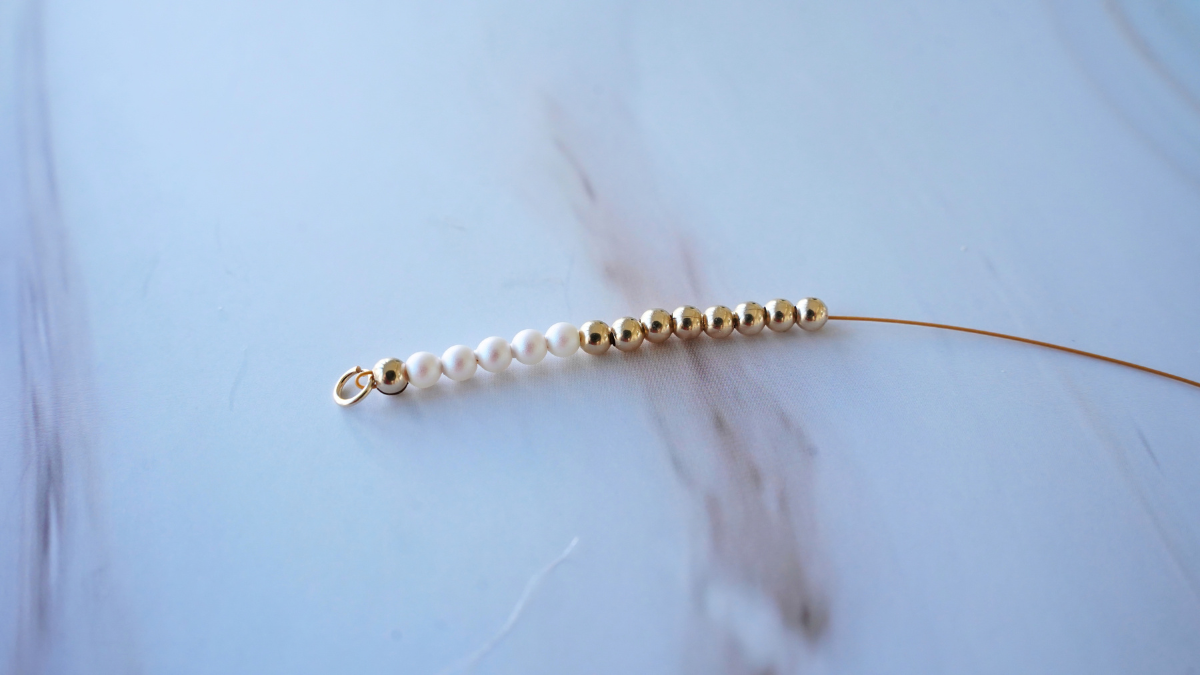
Thread 9 3-mm gold-colored round beads onto the wire, followed by 5 PureCrystal/Swarovski pearl beads.
You can thread the excess wire through the first few beads to secure the assembly.
Finish this section as in the previous step with a crimp bead and an open jump ring. Then attach this jump ring to your piece of chain fitted with the spring clasp.
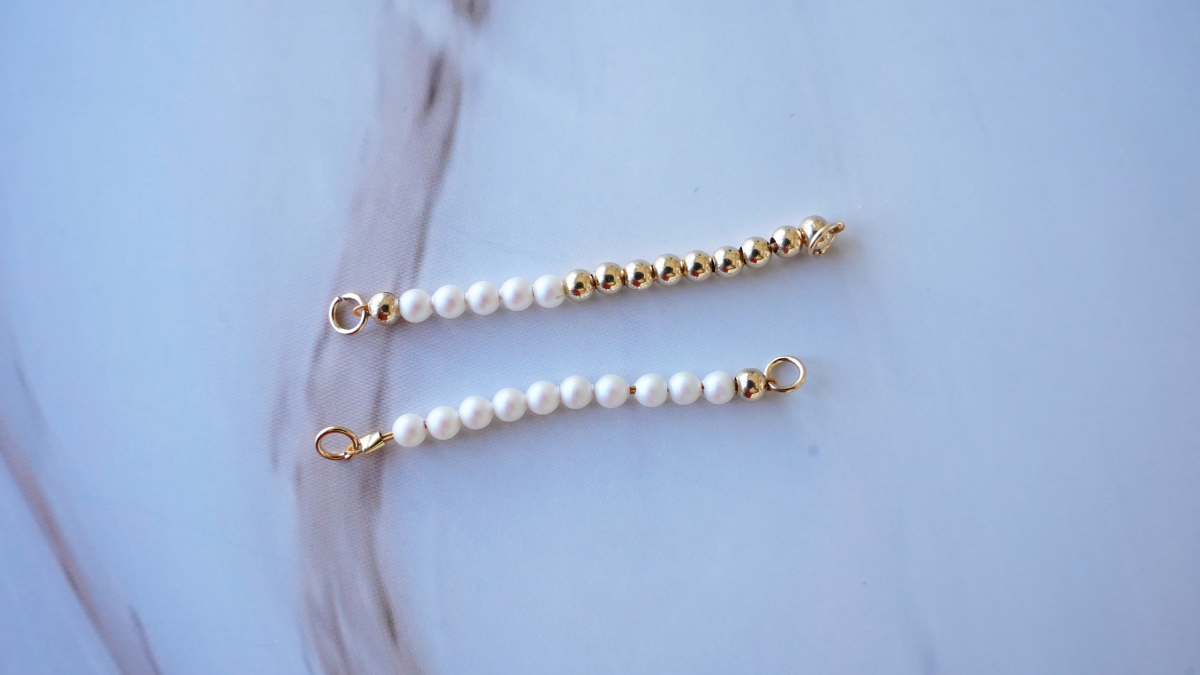
Now make the second beaded section of the necklace using the same method as before. This time, string only PureCrystal/Swarovski beads. We used 10 for our design. Set this section aside; it will be attached to the rest of the necklace in the next steps.
Your two beaded sections are now ready! You can, of course, customize your necklace by changing the number of beads or their arrangement.
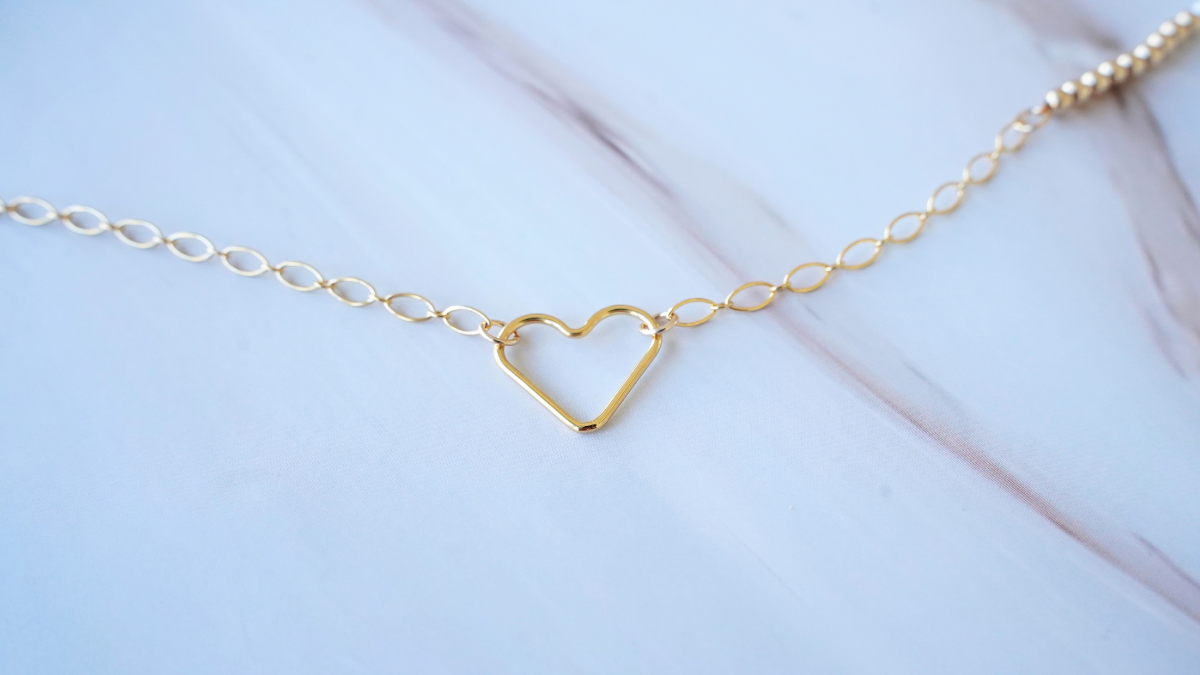
Cut about 5 cm of chain mail trace.
Using an open ring, attach this chain to the first section of the necklace, which consists of the chain with the spring clasp and the gold and pearl-effect beads.
Then attach the other end of the chain to one side of the closed heart-shaped ring using another open ring.
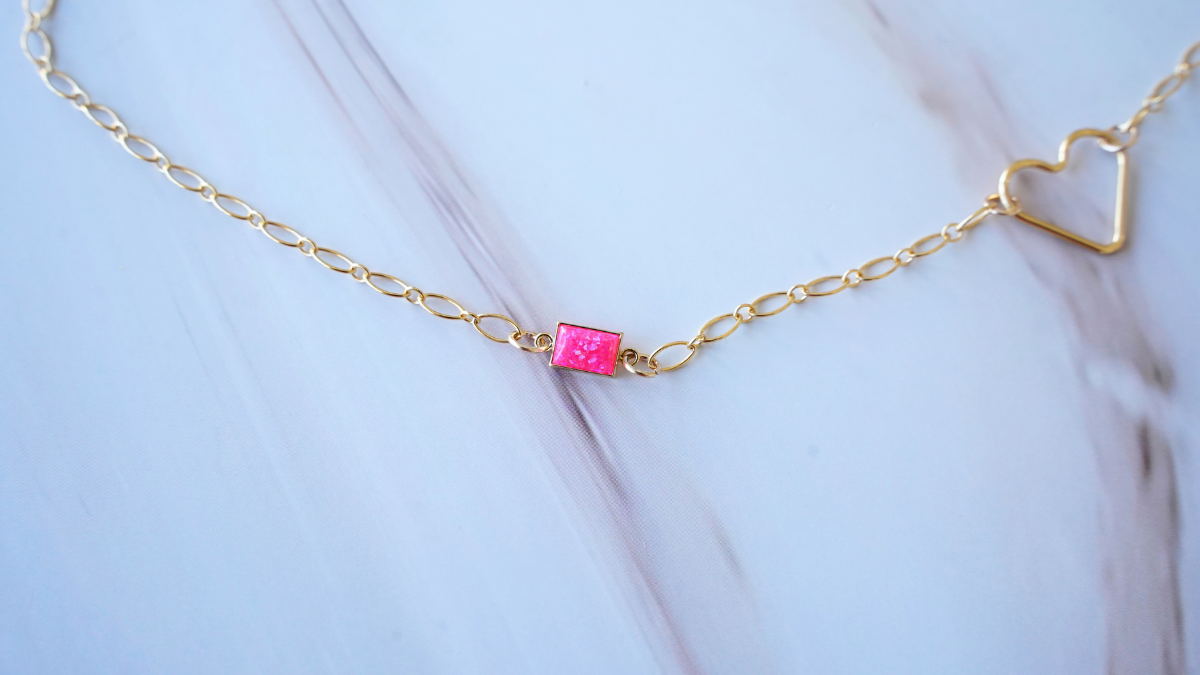
Cut a new piece of chain about 4 cm long and attach it to the other side of the heart-shaped ring using an open ring.
At the other end, add the pink rectangular spacer, which adds a pop of color to the necklace. Use another open jump ring to connect it.
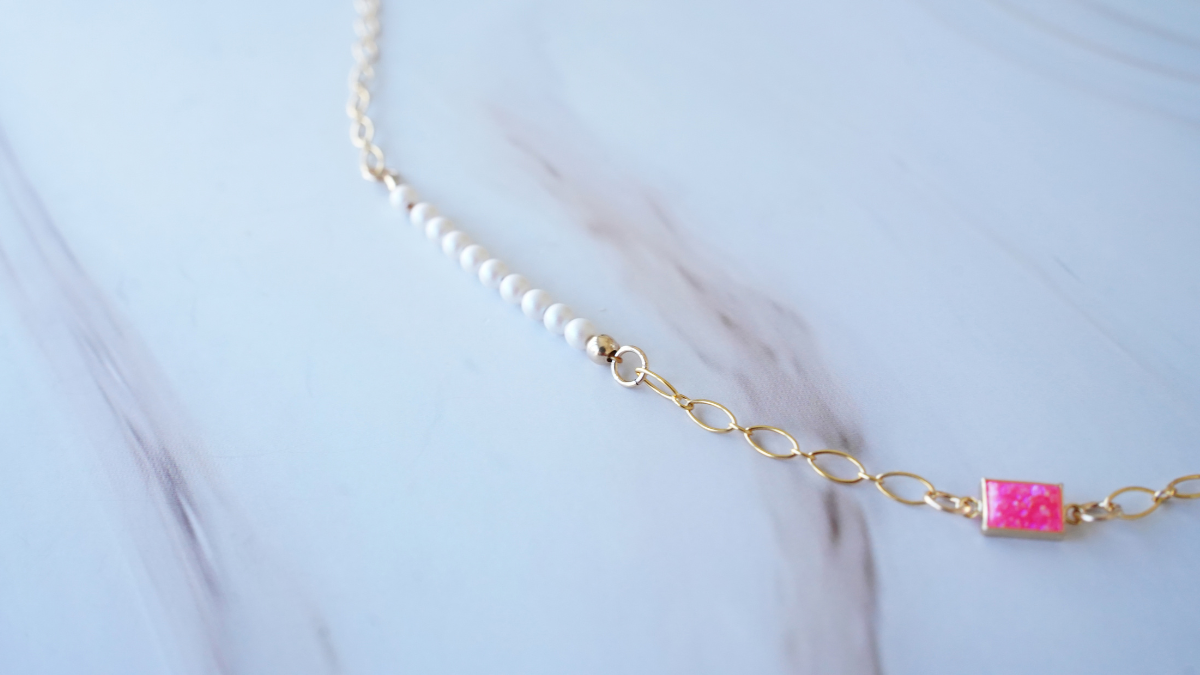
Cut about 3 cm of chain link wire trace.
Attach one end to the pink rectangular spacer and the other to the section of pearl beads prepared in Step 5. Use an open jump ring on each side to connect the pieces.
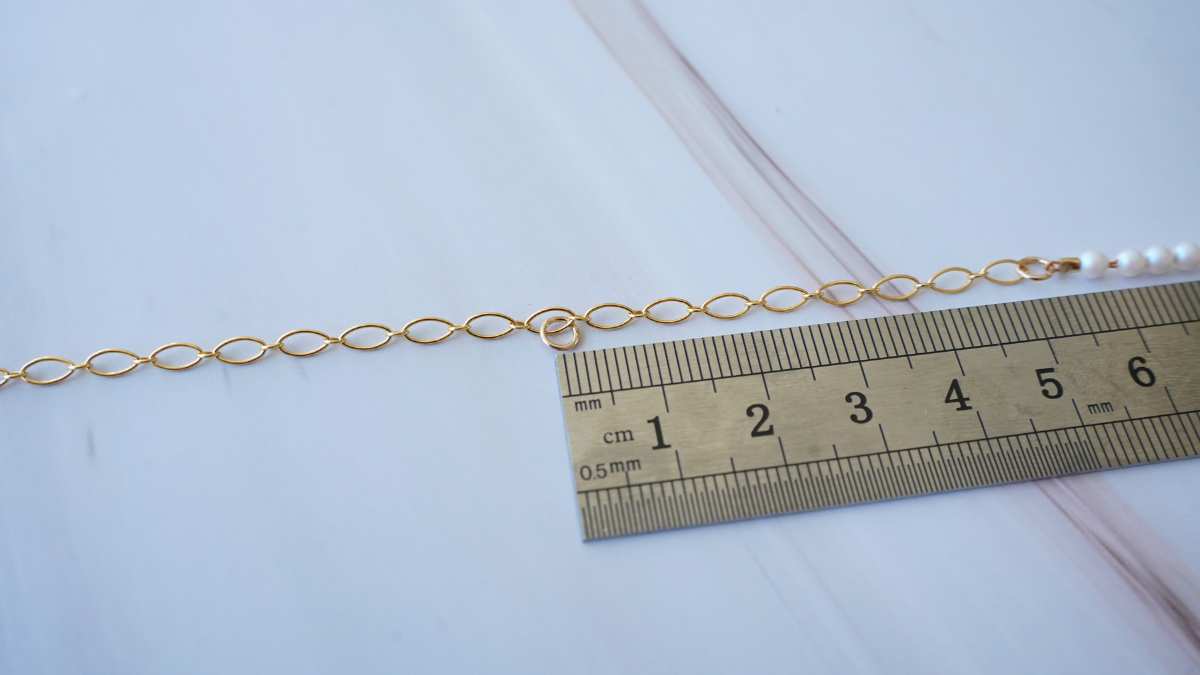
Take the remaining trace chain and attach it to the other end of the bead clusters using an open ring.
About 5 cm from the end, add an open ring to one of the chain links. This will be used to attach the spring clasp when you wear your necklace.
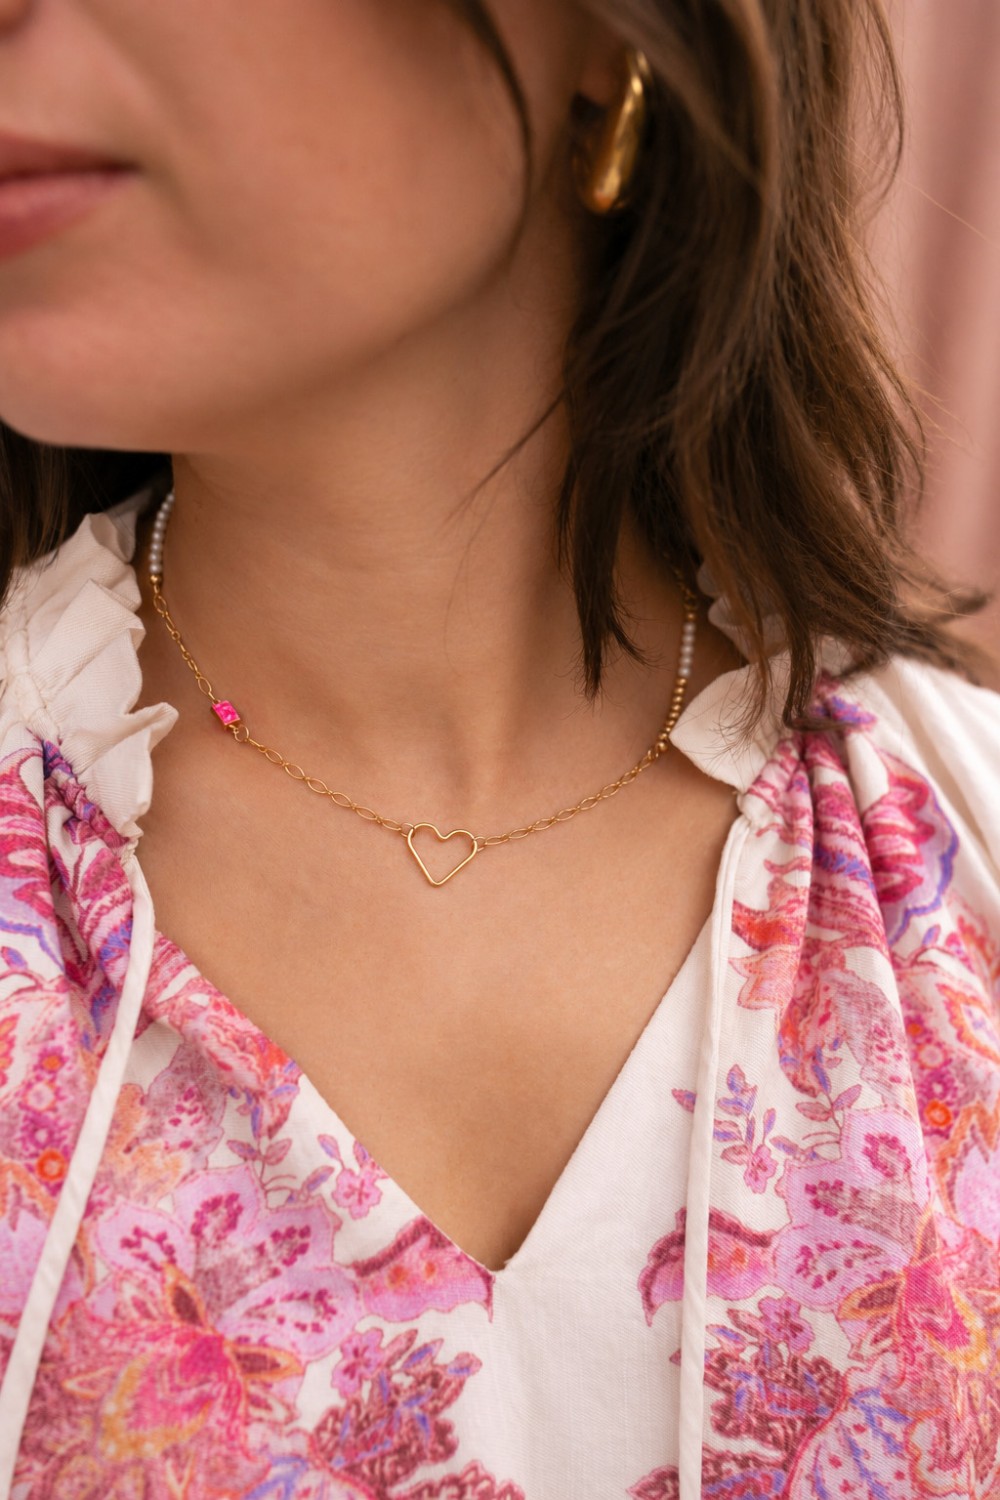
Cut off the excess chain or leave a few extra links so you can adjust the length of the necklace. For our design, we chose to wear it close to the neck.
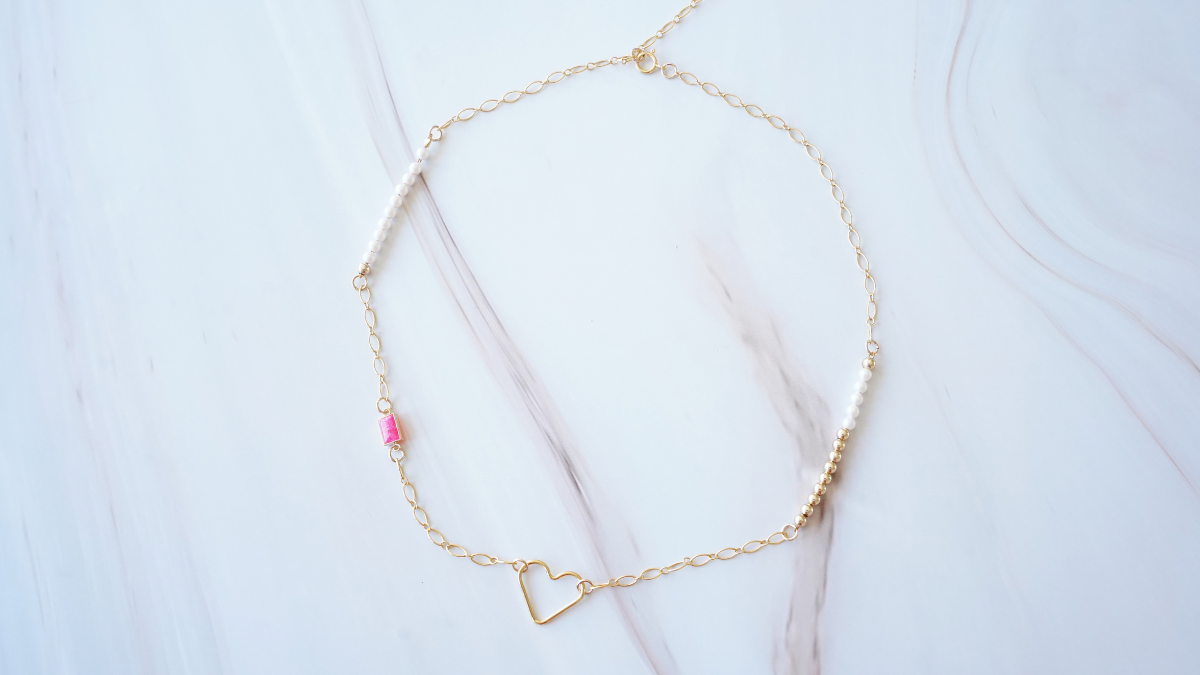
Your Gold Filled necklace with chains and bead beads is finished!
You can now wear it as is or use this design as inspiration to create your own version by varying the number and arrangement of the beads.






You have a question about this tutorial? Ask it to our team and the people who have already tested it. The Perles & Co community is here to help you!
Credits
Perles & Co, Internet & E-Commerce company [02/10/2026] Any reproduction, representation, adaptation, in any form whatsoever, even partial, is prohibited, except for reproduction for private use not intended for collective use, representation in the family circle (art. L 122-5 CPI) and online publishing on condition that the source is mentioned and a link is included to the corresponding page of our site www.perlesandco.com.

