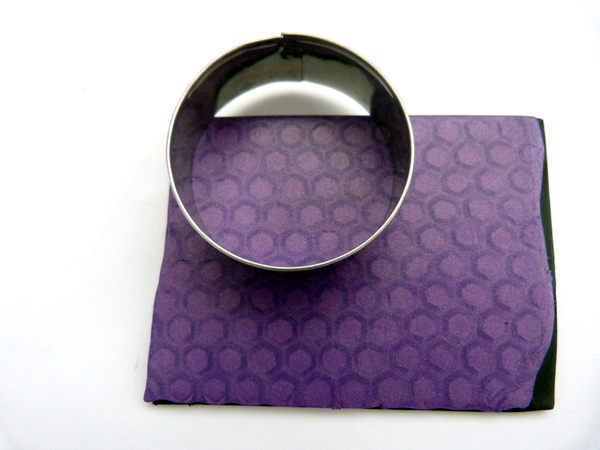
Take half a loaf of violet clay, put it through the dough machine at the wide notch, fold the dough over on itself, then put the fold through the MAP first. Continue to pass the clay through the same notch, always folding in the same direction several times. Texture with a texture plate.
How to create a Mica Shift effect on polymer clay?
In this tutorial, you'll learn the Mica Schift technique, also known as the ghost effect. This technique is only used with clay containing mica, which has a metallic color. You'll also learn how to make a hollow bead.
NB: Please note. For stock reasons, some products in this tutorial have been replaced by equivalents.
Tutorial steps
Scalp the relief with the flexible blade.
Prepare a sheet of black Glamour polymer clay in the middle notch of your clay machine.
Place your textured sheet on top and roll it out.
Remove any imperfections by smoothing the surface with a roller and baking paper.
Do the same with the red Cernit clay and the herringbone texture plate.
Using a 4 cm circle cutter, cut out a circle from the purple plate.
Using the same cookie cutter, remove a piece from the top of the round.
Using a bar of black Cernit Glamour polymer clay, make a plate, cutting it in 2 to overlap and be level with the purple plate. Cut a strip to fit over the top of the circle.
Take a half-round of red clay and place it on the black strip. Smooth with a rolling pin and baking paper.
Bake your piece on a light bulb for 20 minutes at 110 degrees.
On the rest of the red plate, take a round and remove the top and bottom ends with the cookie cutter, place the piece on the already-baked round, press to adhere. Lift the center slightly with a needle. Bake at 110° for 30 min.
Use the purple clay to make a ball, pierce it and insert eyelets on both sides to make a large hole. Bake for 30 min.
Start sanding with 1200-grit sandpaper, then move on to polishing with micro-mesh abrasive sponges. You can add a finishing lacquer to give your creation a shine.
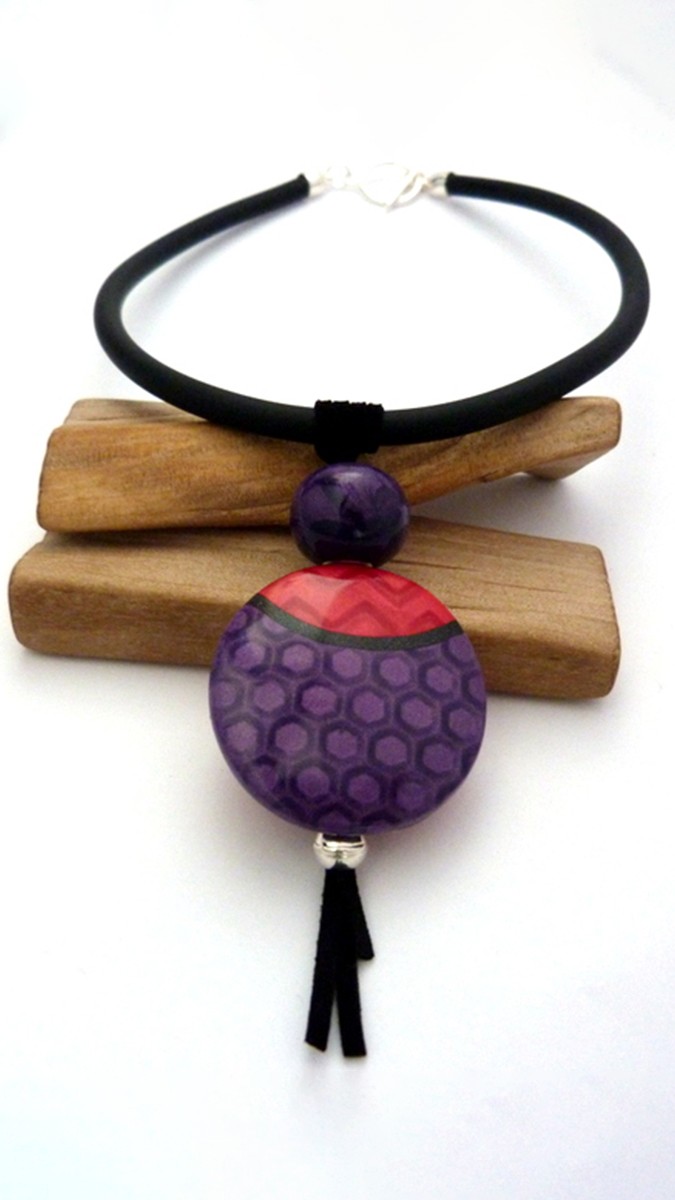
Cut about 40 cm of buna cord, wrap it around the center with 4 turns of suede lace. Thread the round bead through the suedette lace, then the flat bead, finishing with the silver bead. Apply dots of glue to secure everything.
Glue the cord ends to the buna cord, pass the open rings and then the clasp.


You have a question about this tutorial? Ask it to our team and the people who have already tested it. The Perles & Co community is here to help you!
Credits
Perles & Co, Internet & E-Commerce company [04/05/2016] Any reproduction, representation, adaptation, in any form whatsoever, even partial, is prohibited, except for reproduction for private use not intended for collective use, representation in the family circle (art. L 122-5 CPI) and online publishing on condition that the source is mentioned and a link is included to the corresponding page of our site www.perlesandco.com.