Average Grades
Free shipping on orders over 50€ up to 500g
French Online shop for beads and accessories for the creation of DIY jewellery and other creative hobbies
Log-in
0
Shopping cart
Shopping cart

How do you use discs for the CZ Extruder HD from Lucy Clay Tools?
How do you use a polymer clay extruder?
How do you create a geometric pattern with an extruder?
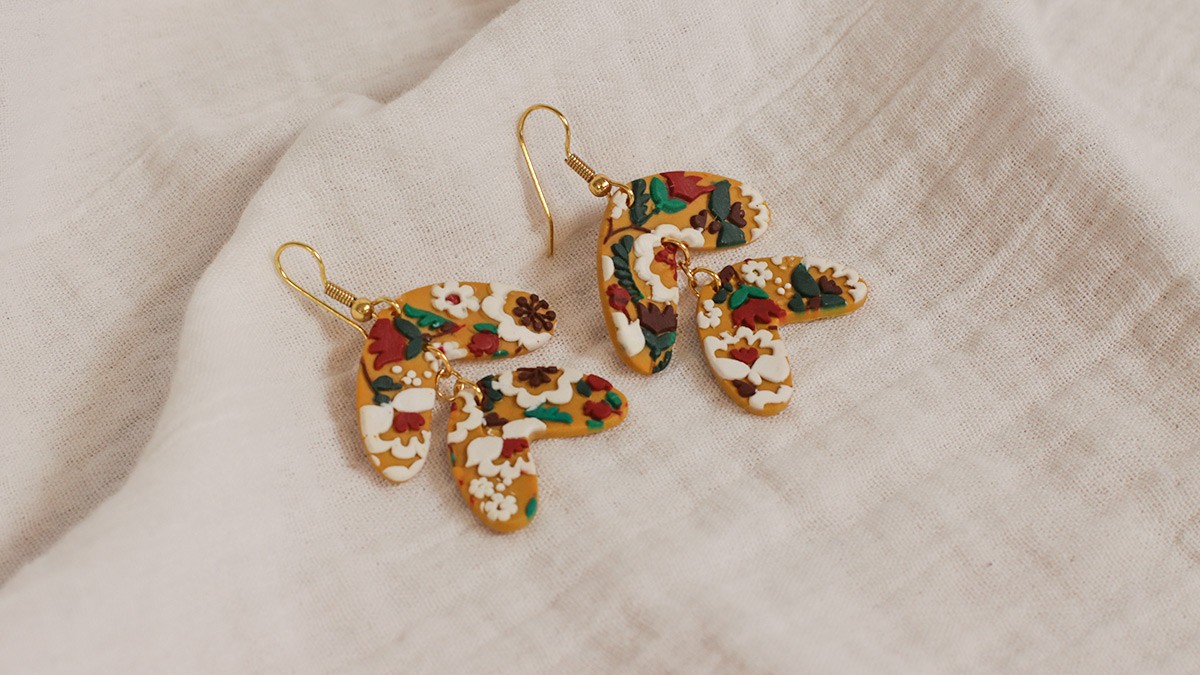
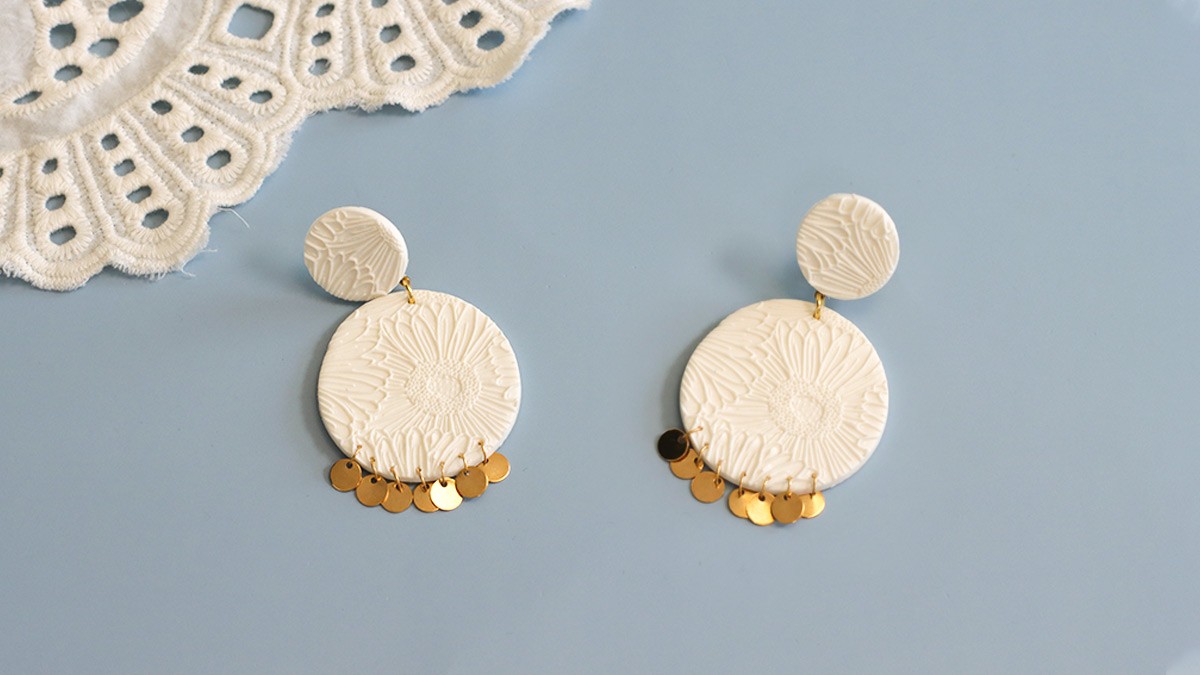
Add a springtime touch to your outfit with this pair of earrings made from polymer clay and featuring a raw brass ring. The geometric patterns are created using canes made with an essential tool for polymer clay artists: an extruder and its discs!
In this tutorial, you’ll learn how to use the Lucy Clay Tools extruder discs. This polymer clay tool is used to create a variety of patterns, making it perfect for crafting intricate canes.
If you’d like to create more polymer clay jewelry, check out our tutorials for beginner and advanced polymer clay artists.
Step 1
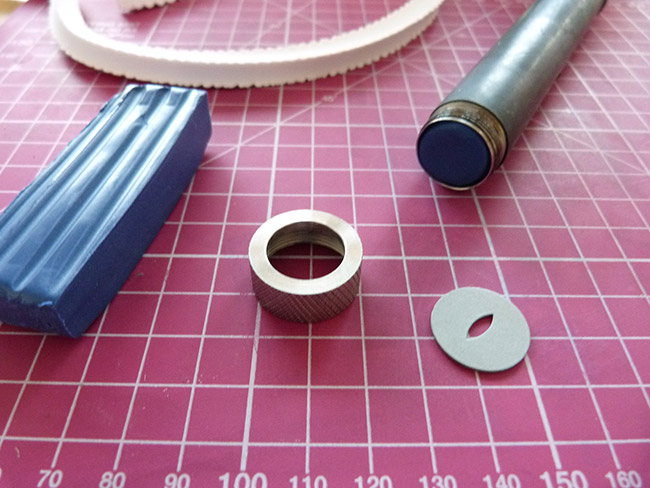
Place your two patterns on your LC disk plate as shown in the photo. Using a small file, remove the two protrusions on the disks so they can be used in the extruder.

Step 2
Take some white and blue polymer clay, knead them separately, and shape them into two cylinders. Use three times as much white clay as blue. Place the cylinders side by side, then roll them out with the rolling pin.

Step 3
Run your sheet through the pasta machine on the thickest setting. Starting with the second pass through the machine—and repeating this 2 or 3 times—slightly offset the blue layer by folding the strip of dough back on itself.

Step 4
Run your strip of clay through the machine about fifteen times to create a color gradient.
Cut several strips lengthwise, then layer them on top of each other. Roll them out with the rolling pin, then run the strip through the pasta machine again but in the opposite direction—that is, from white to blue.

Step 5
Adjust the machine to a setting thin enough to produce a long strip. Roll it up on itself, starting with the blue color; be careful not to trap any air inside.

Step 6
Place your roll of marbled clay into the extruder using the square-shaped tip, then extrude. Next, take some dark blue clay, warm it up, and run it through the extruder using the slit-shaped tip.
Step 7
Cut the resulting strands into sections about 3 cm long. Start by wrapping a white strand with 4 blue strands. Continue building your 3-layer cane this way, placing all the ends side by side.

Step 8
Roll over all sides of the cane to seal the ends of the clay together. A cane needs to rest before it is cut and used. If you’re in a hurry, you can place your cane in an airtight plastic bag and leave it in the refrigerator for 30 minutes.

Step 9
Slice the cane into rounds. Roll the clay with parchment paper placed on top to prevent small holes from forming in your pattern. Make sure both sheets are the same thickness.
Next, cut out one circle from each sheet using the 3-cm cookie cutter. Make two sheets of blue clay that are the same thickness as the patterned sheets. Cut out two circles from these as well; these will replace the patterns.
Sandwich the clay layers together using the rolling pin and parchment paper, then cut out two circles using the 4-cm cookie cutter. Bake for 30 minutes at 120 degrees.

Step 10
Lightly sand your pieces with 1000-grit sandpaper under soapy water. Drill holes in your pieces using a hand drill or your Dremel, then apply several coats of varnish.

Step 11
Assemble your jewelry by threading a ring through the hole in the earrings; hang the large mounting ring from this ring, then close the ring with pliers. Add a second, smaller ring to connect the earring posts to your creations.

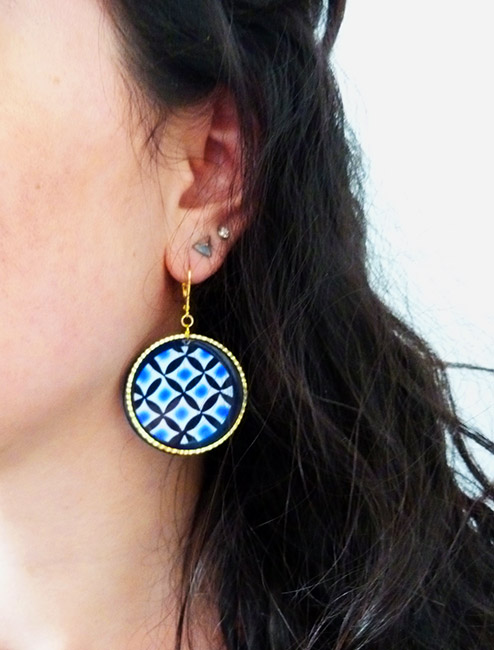
We love seeing what you create using the tutorials on Perles & Co. So, feel free to send us photos of your creations on our Facebookpage ortag us on Instagram #perlesandco.



You have a question about this tutorial? Ask it to our team and the people who have already tested it. The Perles & Co community is here to help you!
Credits
Perles & Co, Internet & E-Commerce company [05/05/2017] Any reproduction, representation, adaptation, in any form whatsoever, even partial, is prohibited, except for reproduction for private use not intended for collective use, representation in the family circle (art. L 122-5 CPI) and online publishing on condition that the source is mentioned and a link is included to the corresponding page of our site www.perlesandco.com.

