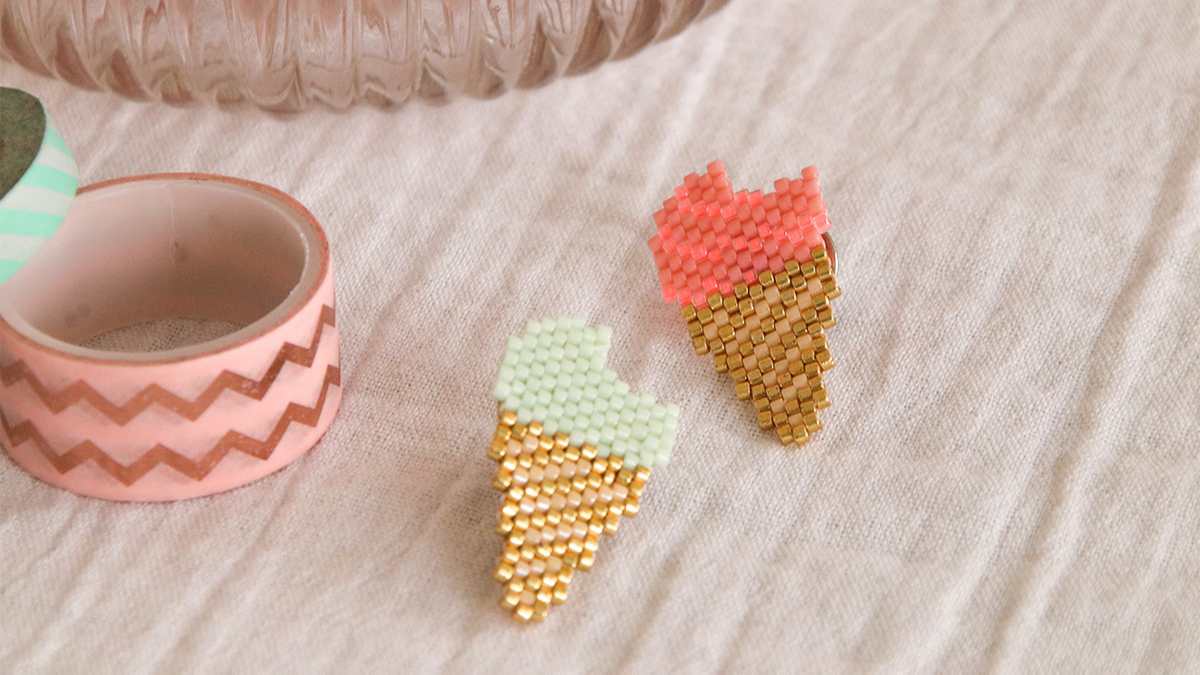
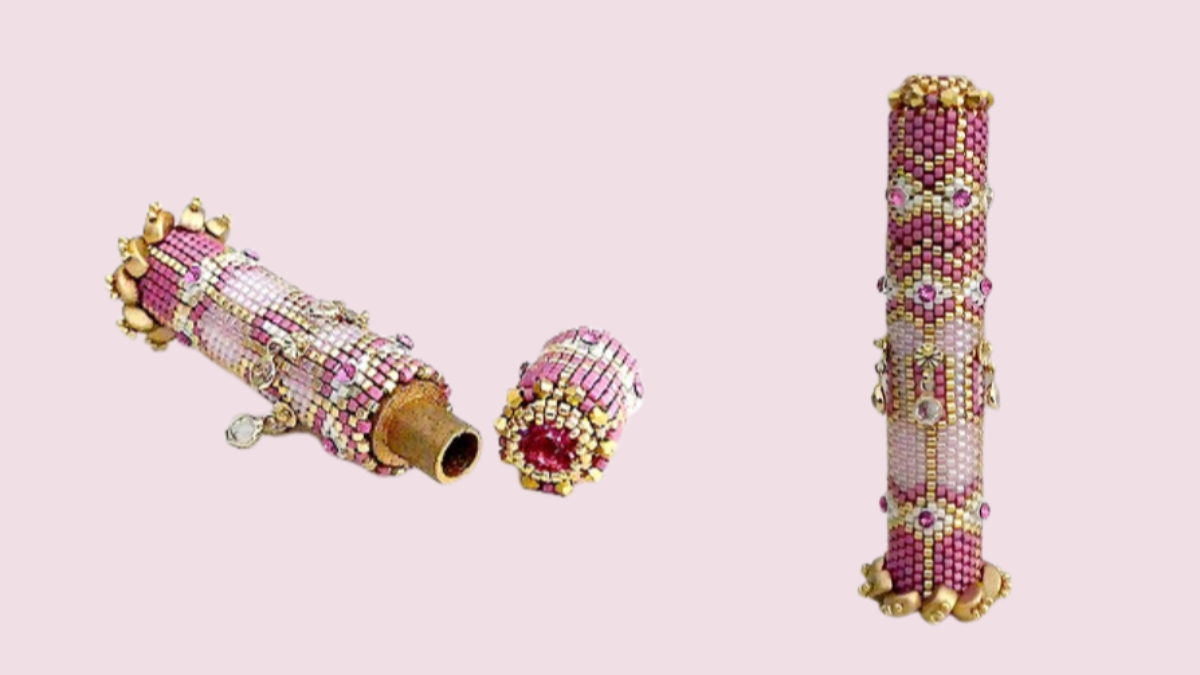
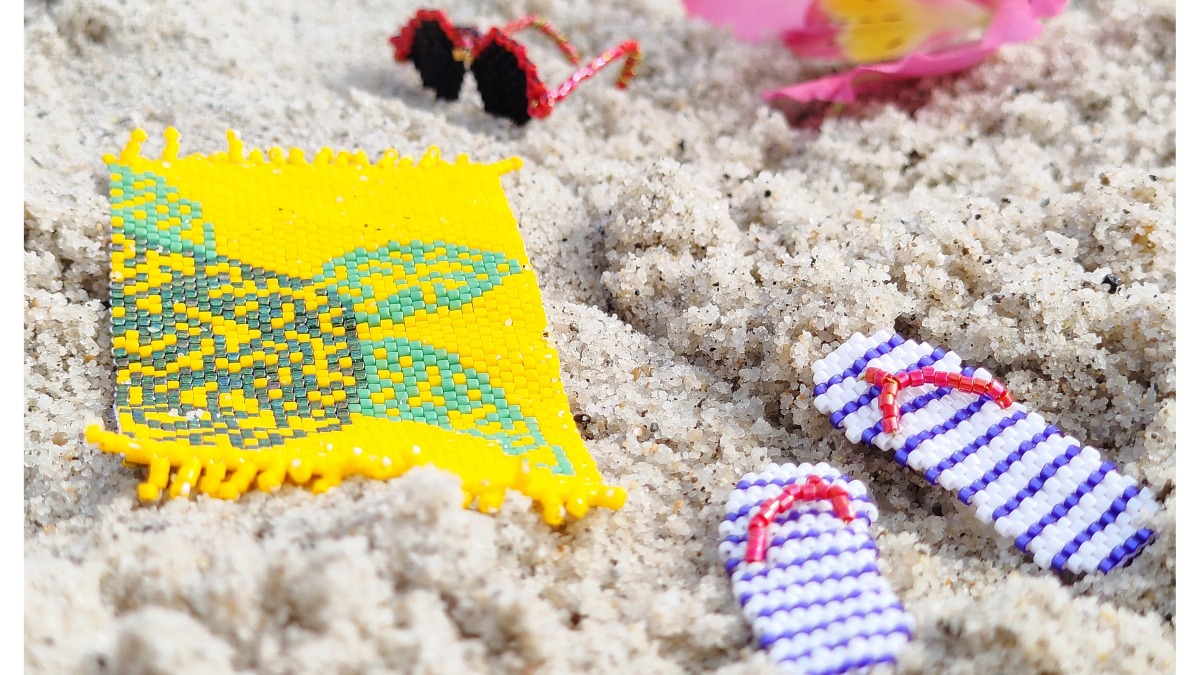
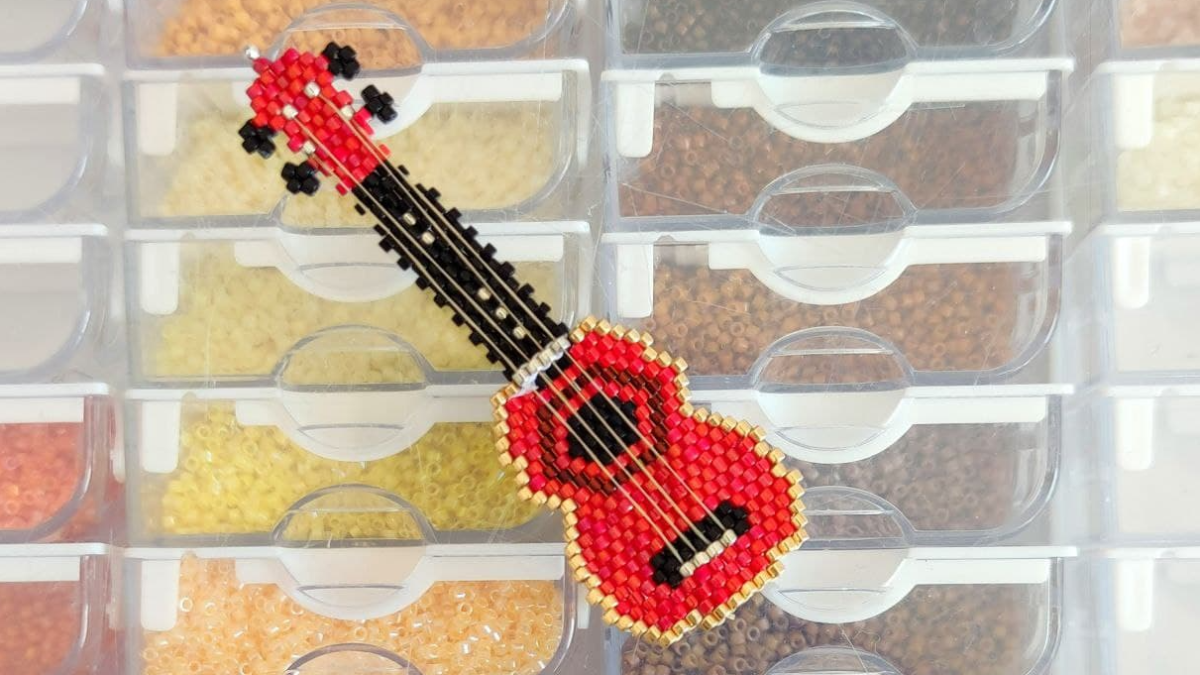
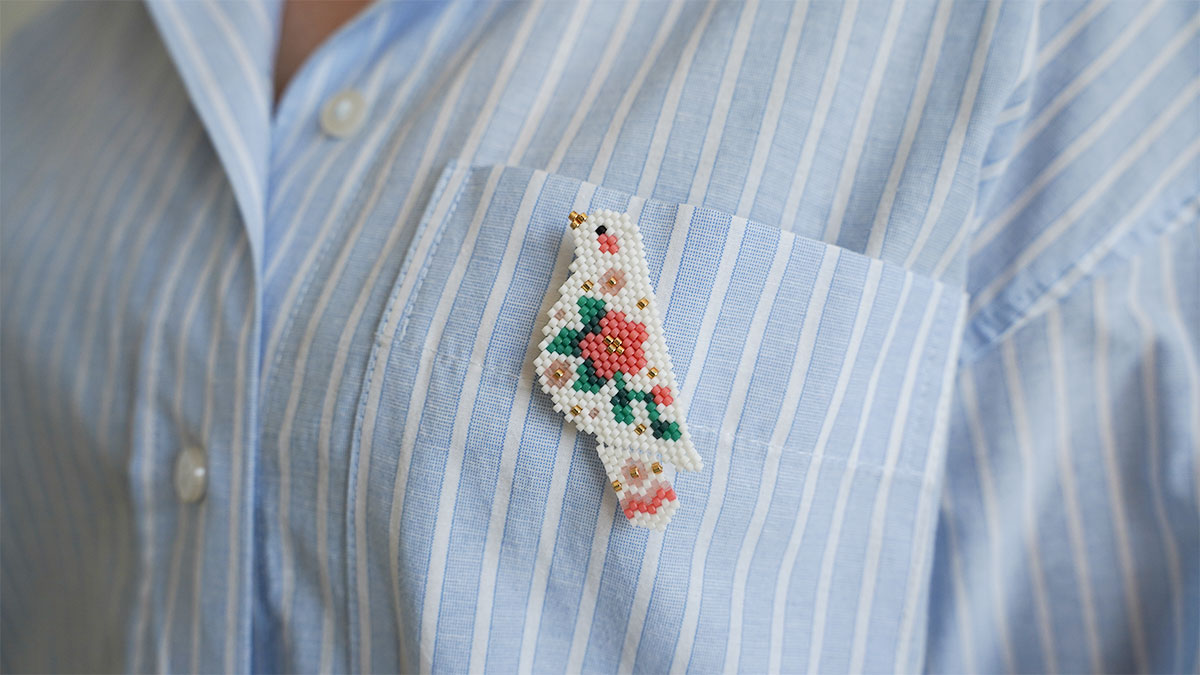
These Chinese lanterns are woven with the brick stitch technique. For a little reminder on the technique, see our technical sheet:How to do a brick stitch weaving with increase and decrease?
You will then learn how to start a weaving with the brick stitch technique but also how to make increases and decreases of rows. This means that you can make any pattern or shape by adding or removing beads from the previous row.
THE WINNING LANTERNS!
Who drew the most beautiful lantern diagrams? The bead addict magazine had organized a contest for the most beautiful diagram and the winners show you their work here!
But first, congratulations to @deff_pearl, @mes_petite_perles and @olapyo73 for their superb creations!
These 3 Chinese lanterns are woven from Miyuki Délicas 11/0 beads. Find the list of materials at the bottom of the page and the bead references used on each grid on the PDF file to download by clicking on "Download pattern".
Don't forget, we love to see the results of creations made with our tutorials, so don't hesitate to show us your creaations on our Facebook page, in the Perles & Co Customer Super Club group or on Instagram by tagging us with @perlesandco or #perlesandco.
Tutorial steps
To start your weaving, cut a length of thread (quite long) in order to start your weaving. However, be careful not to take too much thread, as you could get into knots. If you don't have enough thread during your weaving, you can continue your weaving at any time with a new thread.
Start your weaving by weaving the longest line in the diagram, the one in the middle (indicated by the arrow). Continue until you have completed the first half (right or left) of the lantern. Then cross your weaving with your thread and needle and stand so that you can start weaving the second part.
When your thread becomes too short, block it inside your weave by passing it through the beads already woven in a zig-zag pattern for a few rows, then cut flush with the beads using a scissor. To integrate the new thread, repeat this step by inserting this new thread into several beads through the rows to lock it into your weave. Move up through the rows to where you stopped your weaving and continue your weaving following the diagram.

To finish your weaving, block the thread through the beads and rows again. Cut flush. Your weaving is finished.
It is up to you to choose whether or not you wish to stiffen your weaving with a varnish. You can also choose to use this weaving as a brooch, refrigerator magnets or even as a piece of jewellery according to your wishes.


You have a question about this tutorial? Ask it to our team and the people who have already tested it. The Perles & Co community is here to help you!
Credits
Perles & Co, Internet & E-Commerce company [10/08/2021] Any reproduction, representation, adaptation, in any form whatsoever, even partial, is prohibited, except for reproduction for private use not intended for collective use, representation in the family circle (art. L 122-5 CPI) and online publishing on condition that the source is mentioned and a link is included to the corresponding page of our site www.perlesandco.com.