Average Grades
Very precise, even a beginner can understand it perfectly.

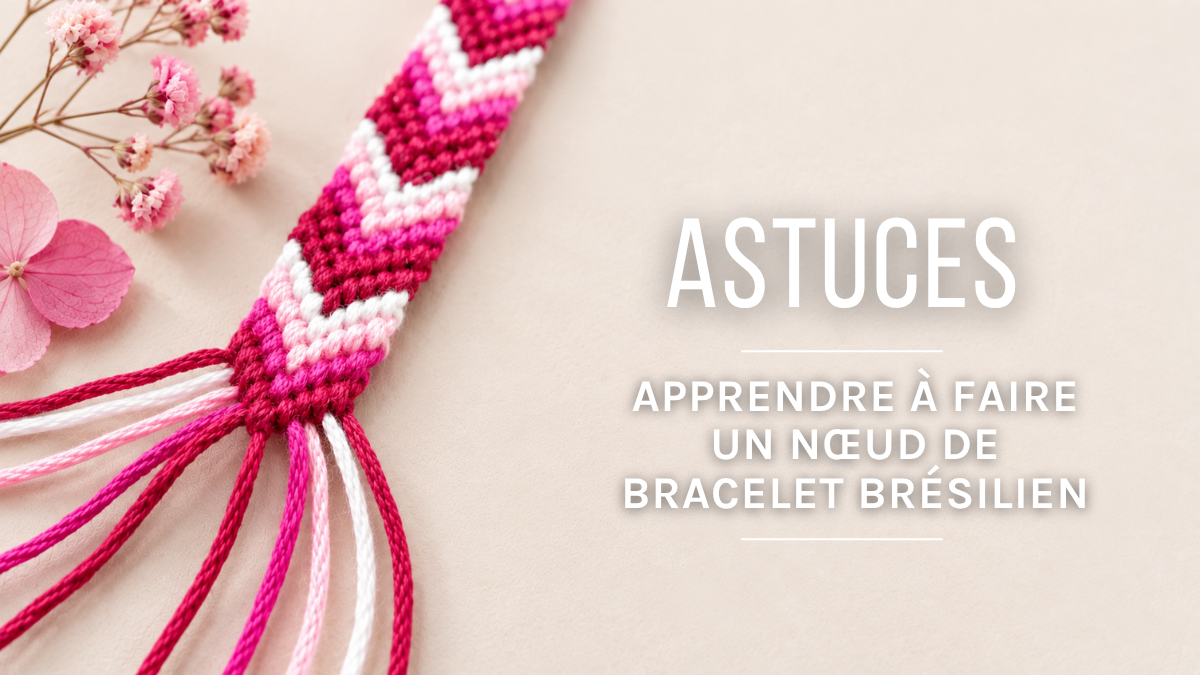
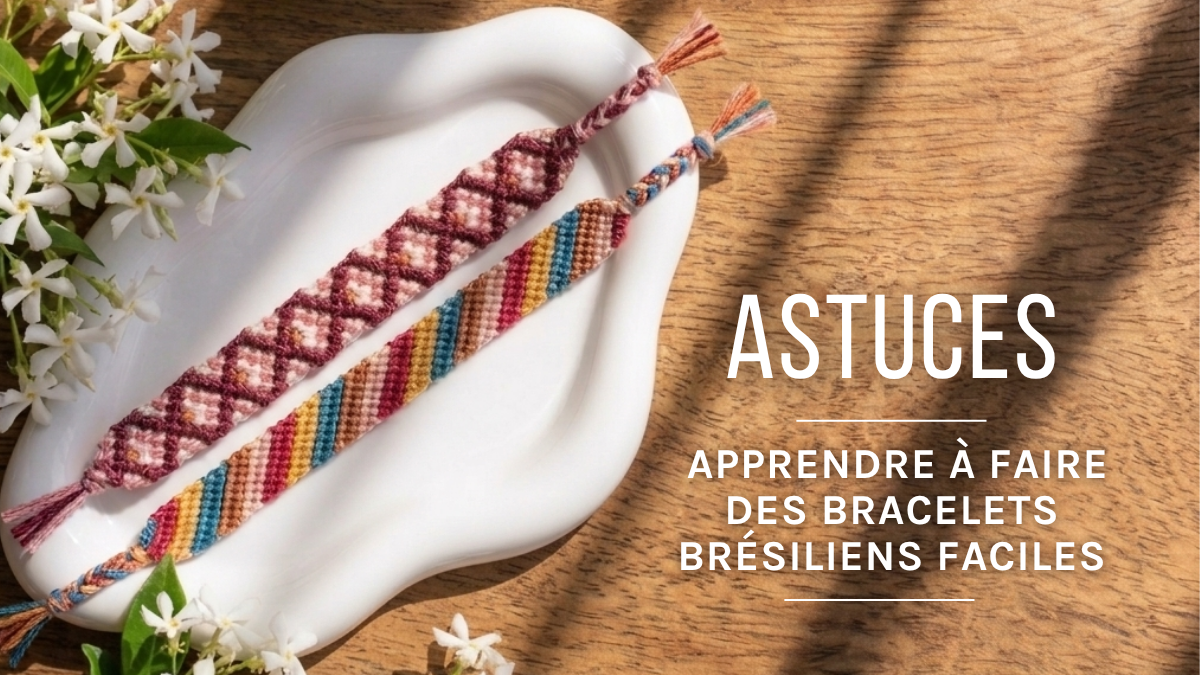
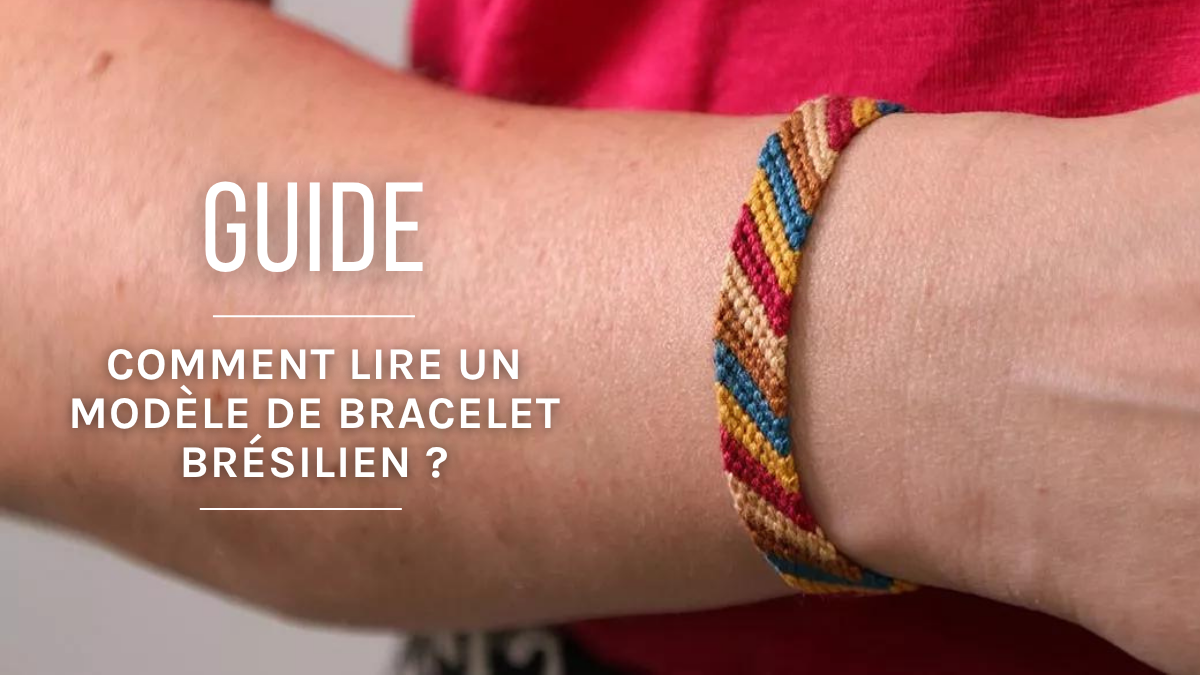
The Brazilian bracelet, a symbol of summer and friendship, comes in bright colors and is loved by everyone, from children to adults. Easy to make with cotton knots, it’s both a trendy accessory and a good-luck charm—you’re supposed to make a wish before tying it around your wrist. For a wide, colorful bracelet, use several strands, while a chevron pattern requires double the colors.
Charming, colorful, and easy to wear (especially in the summer), the Brazilian bracelet is the quintessential timeless summer accessory. It evokes childhood memories—those days when we’d make friendship bracelets to give to our best friend at the time for her birthday or during recess. In fact, we still proudly wear them stacked on our wrists, but today they’re the ones we’ve made ourselves for our own enjoyment or the ones our children have given us.
When someone ties a Brazilian bracelet around their wrist, they must make a wish and never take off this good-luck charm. The wish is supposed to come true when the bracelet’s strands naturally break from wear and tear. This famous braided bracelet adds a splash of color to our outfits and has a lucky, summery, and slightly surfer-inspired vibe. It’s popular with men, women, and children alike.
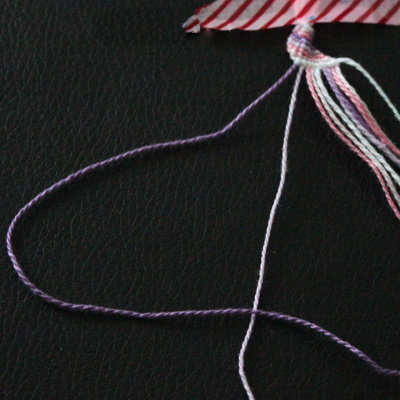
To make a Brazilian bracelet, you need to tie a series of knots. Whether this lucky bracelet is classic, herringbone, cross-patterned, etc., keep in mind that the knot for a Brazilian bracelet is always the same, no matter which pattern you want to create. It’s done in 3 steps and always in pairs (to show you better, we took the photos with a bracelet that was already started, but it’s exactly the same for each row). It’s the order of your strings that will change and create the desired design.
There are two types of knots: front-facing knots and back-facing knots.
1. Take the first string, the one on the far left, and loop it over the second string to form a 4.
2. Pass the thread (still the first one) under the second thread.
3. Pull and tighten the knot. Repeat these three steps one more time.

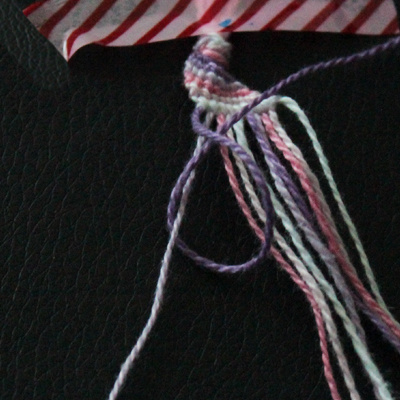
The steps are the same as for the regular knot, but your last strand will go over your second-to-last strand and then under it to form a knot.
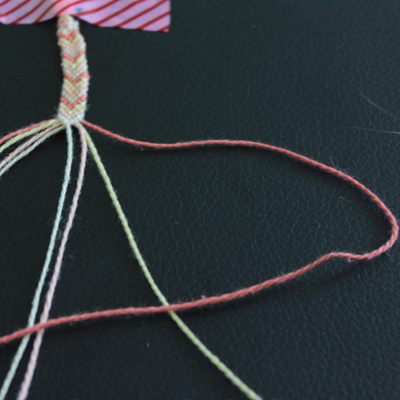
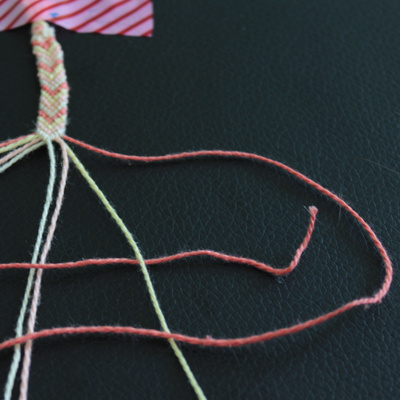

Now that you know the basics of making a Brazilian knot, it’s time to practice! Follow the tutorial: Basic Brazilian Bracelets, Herringbone, and Spike Patterns to see the step-by-step instructions and learn how to make these friendship bracelets we love so much.
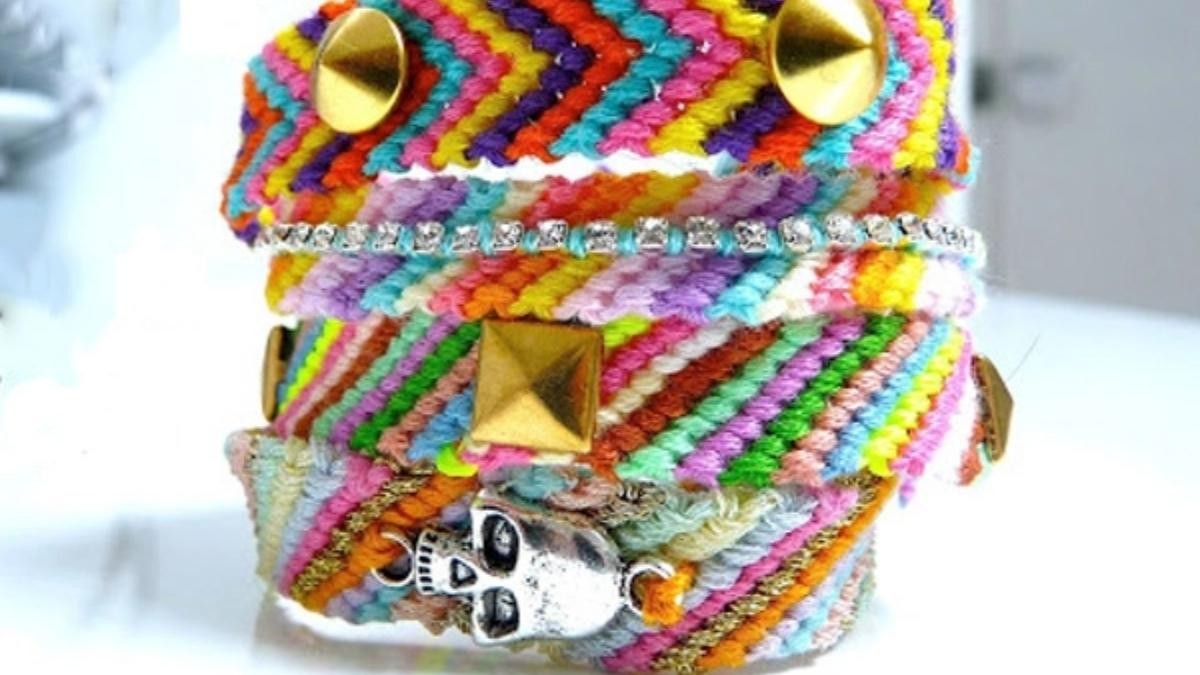
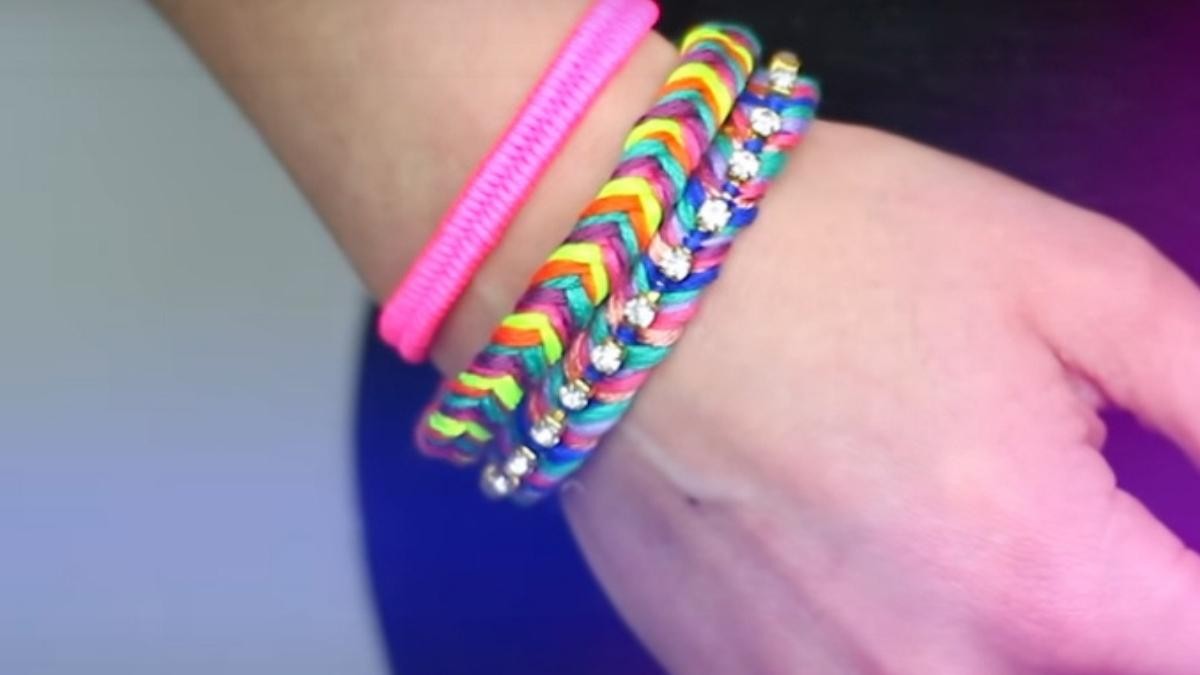
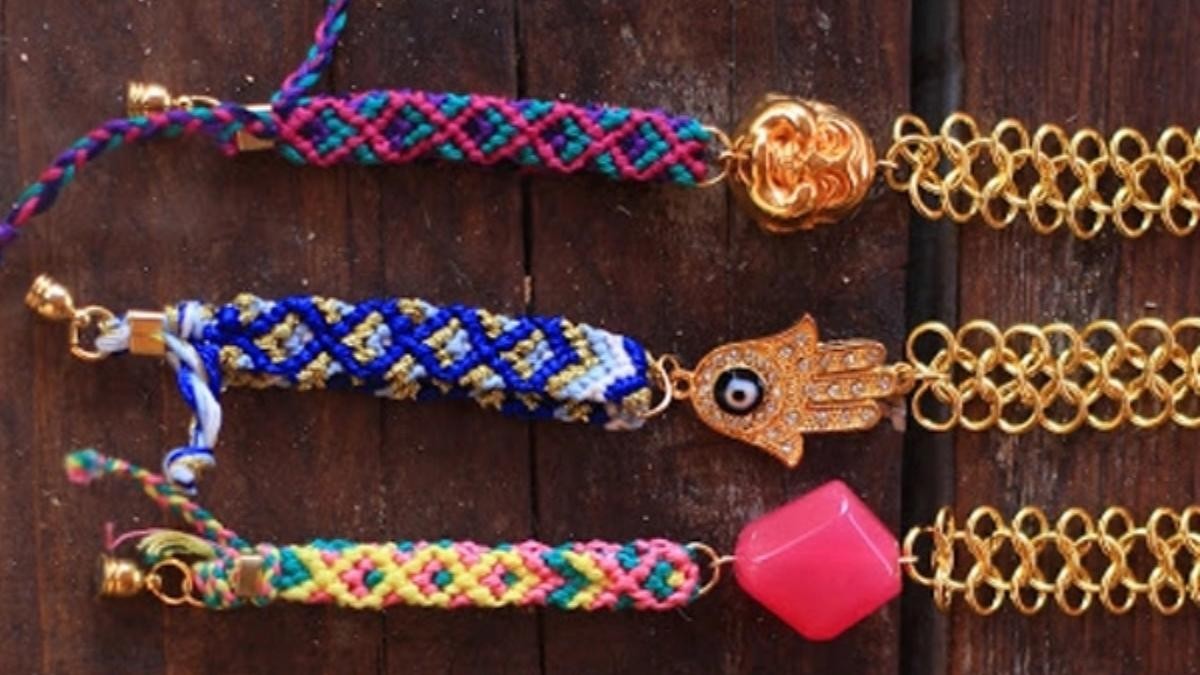
Once you’ve got the technique down, braid your strands and customize your friendship bracelets with charms, beads, chains… It’s up to you!
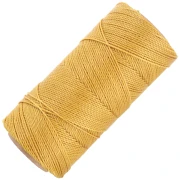
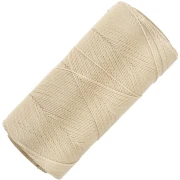
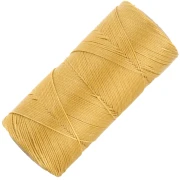
Choose cotton threads in skeins of your preferred color. The possibilities are endless—the best part is that you can create an infinite variety of designs!
You can also use waxed thread such as Linhasita or Slam Cord, as well as C-Lon Beading Cord 0.5 mm. Feel free to check out our technical guide to find out which thread to use for making Brazilian bracelets.
The number of strands for Brazilian bracelets depends on the size you want. If you want a wide bracelet but with few colors, simply double, triple, etc., the few colors you’ve chosen. The more strands you use, the wider your bracelet will be.
For a simple, diagonal Brazilian bracelet, you can use as many colors as you like.
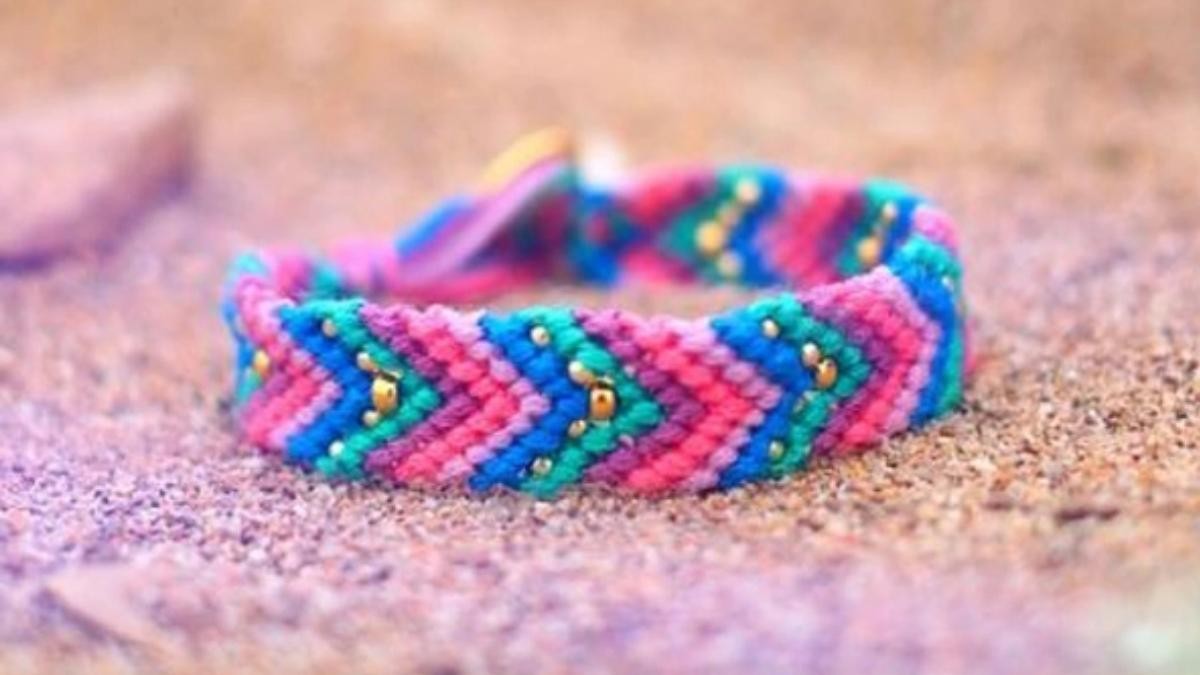
For a chevron-patterned Brazilian bracelet, you’ll need two strands of each color.
For a friendship bracelet with a spike pattern, you’ll need one main color and as many other colors as you’d like.
For a heart-shaped Brazilian bracelet, you can adapt the Brazilian bracelet knot technique using the thread of your choice.


Copyright Marion for Perles & Co - 2016.
All rights reserved. Reproduction, even in part, is prohibited without the author's permission.
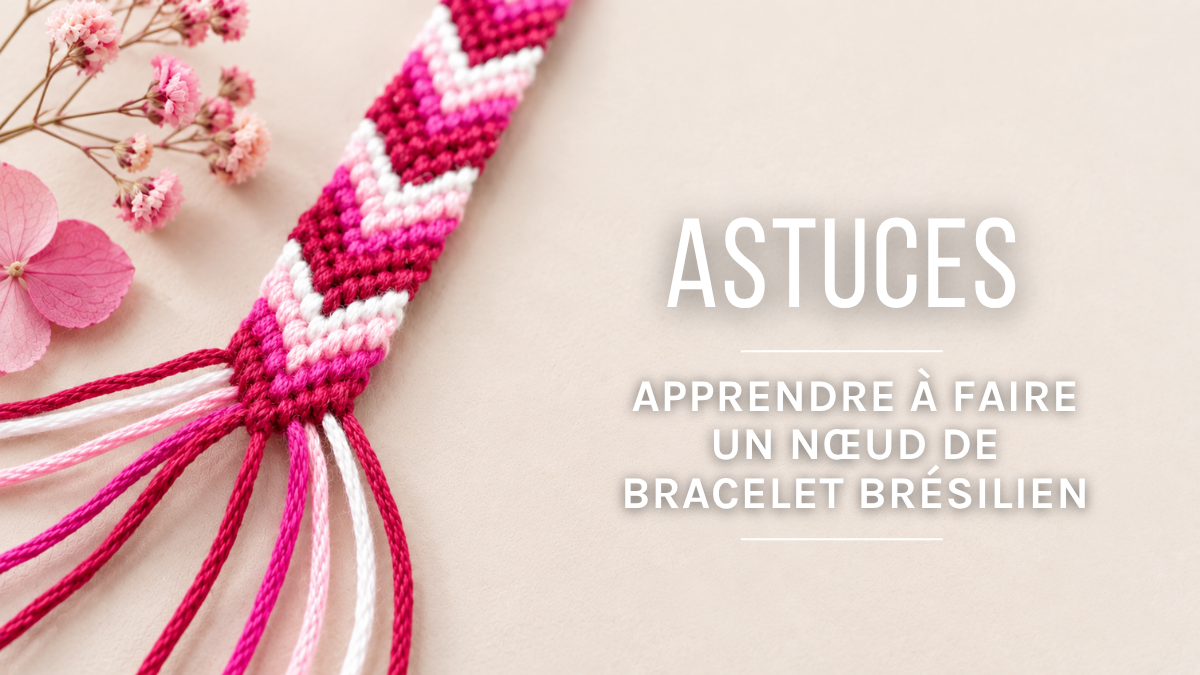
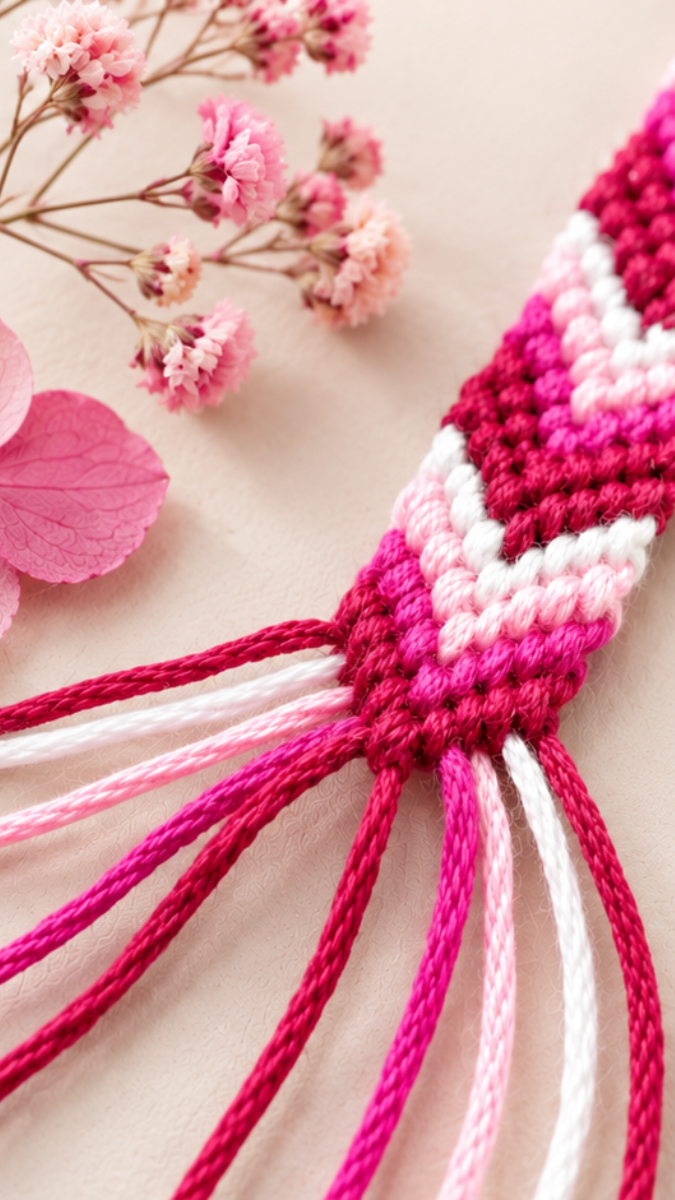
The forward knot is tied from left to right: the left strand goes over and then under the next strand. The reverse knot follows exactly the same principle, but starting from the rightmost strand and moving to the left. It is these two directions of knotting, combined in a specific order, that allow you to create all the patterns (herringbone, spikelets, crosses, etc.).
This is often a sign that the knots are tied unevenly on one side compared to the other. It’s normal for the first few rows to be less even—your technique will improve with practice. Trying a herringbone pattern instead of a diagonal pattern can also help you determine whether the problem stems from how tightly the knots are tied or from the order of the threads.

Credits
Perles & Co, Internet & E-Commerce company [22/07/2026] Any reproduction, representation, adaptation, in any form whatsoever, even partial, is prohibited, except for reproduction for private use not intended for collective use, representation in the family circle (art. L 122-5 CPI) and online publishing on condition that the source is mentioned and a link is included to the corresponding page of our site www.perlesandco.com.