How to make a brazilian bracelet yourself ?
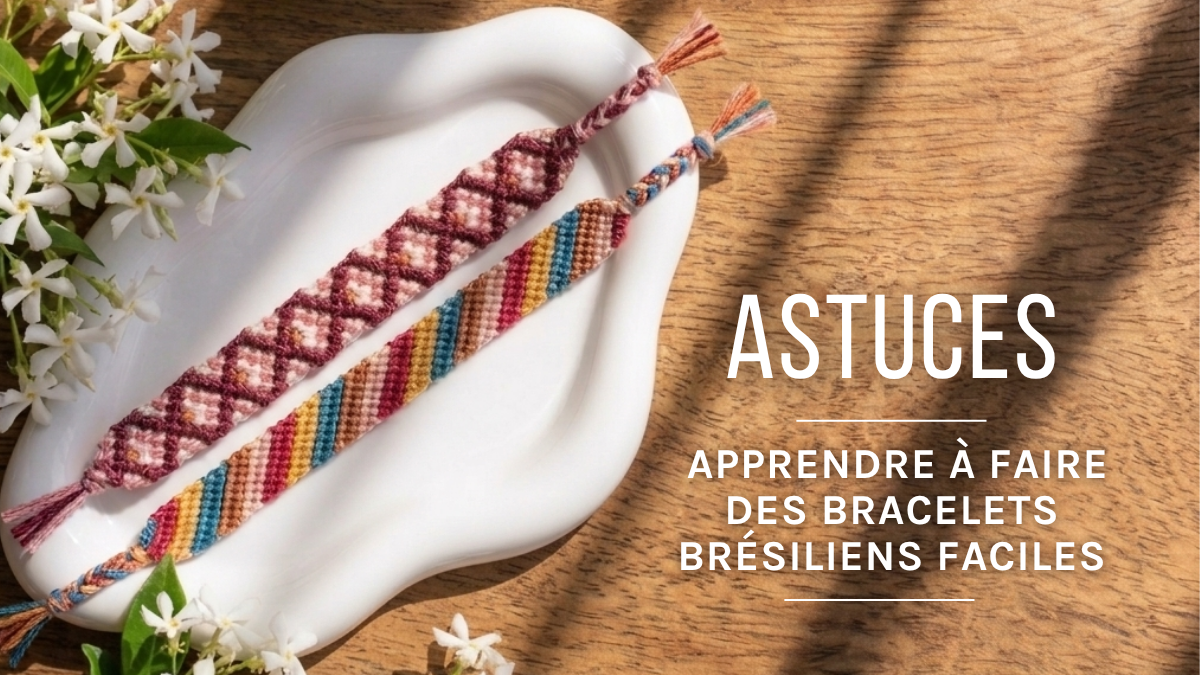
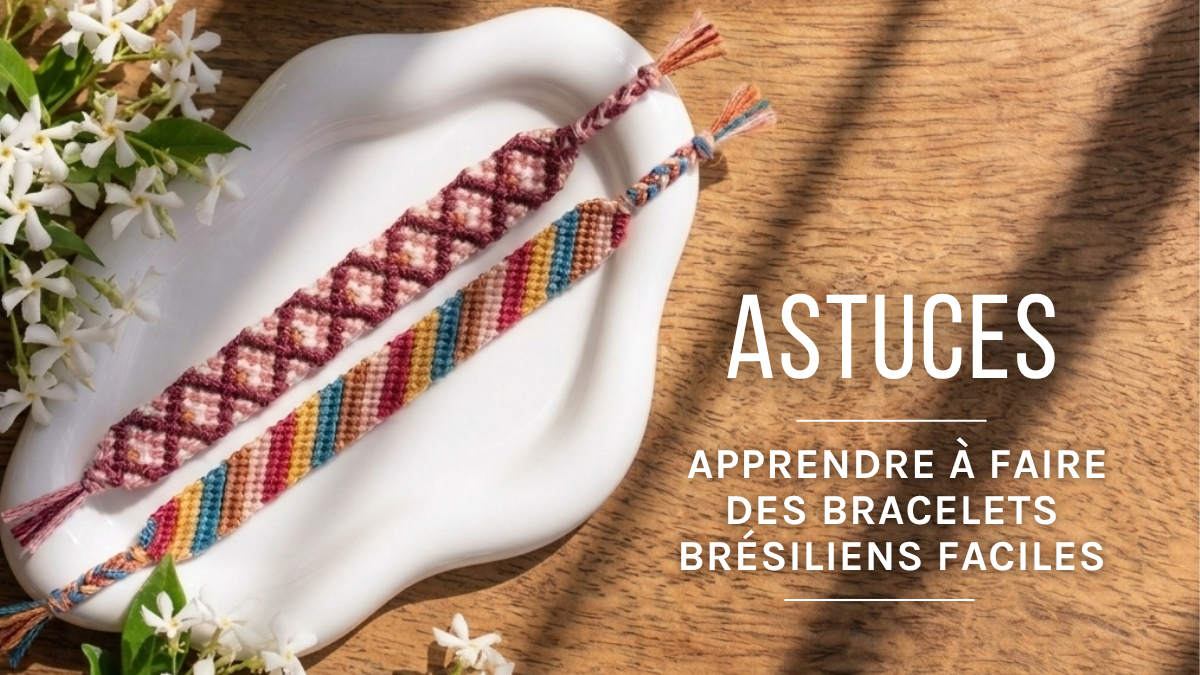
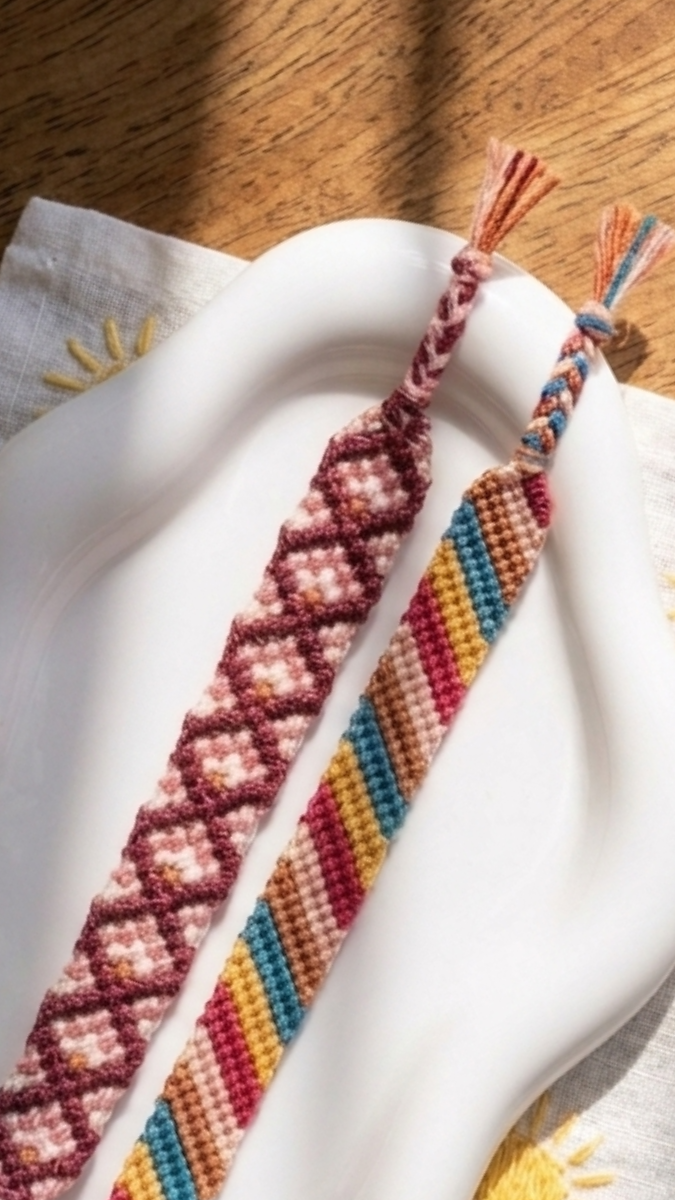
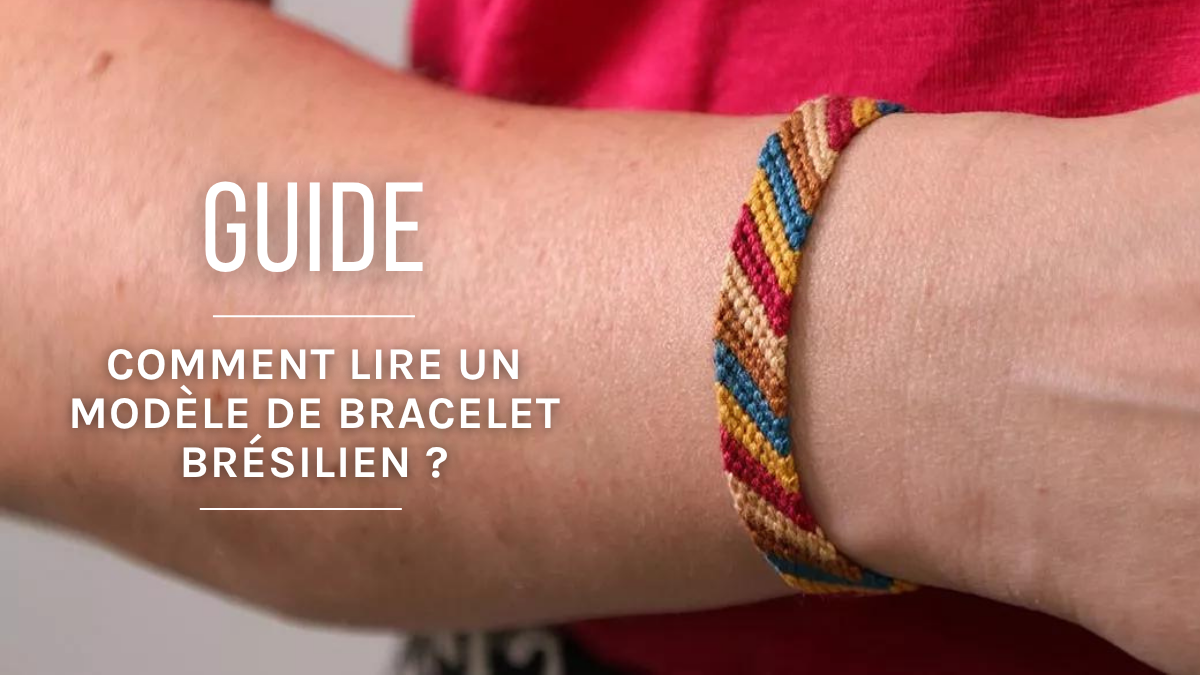
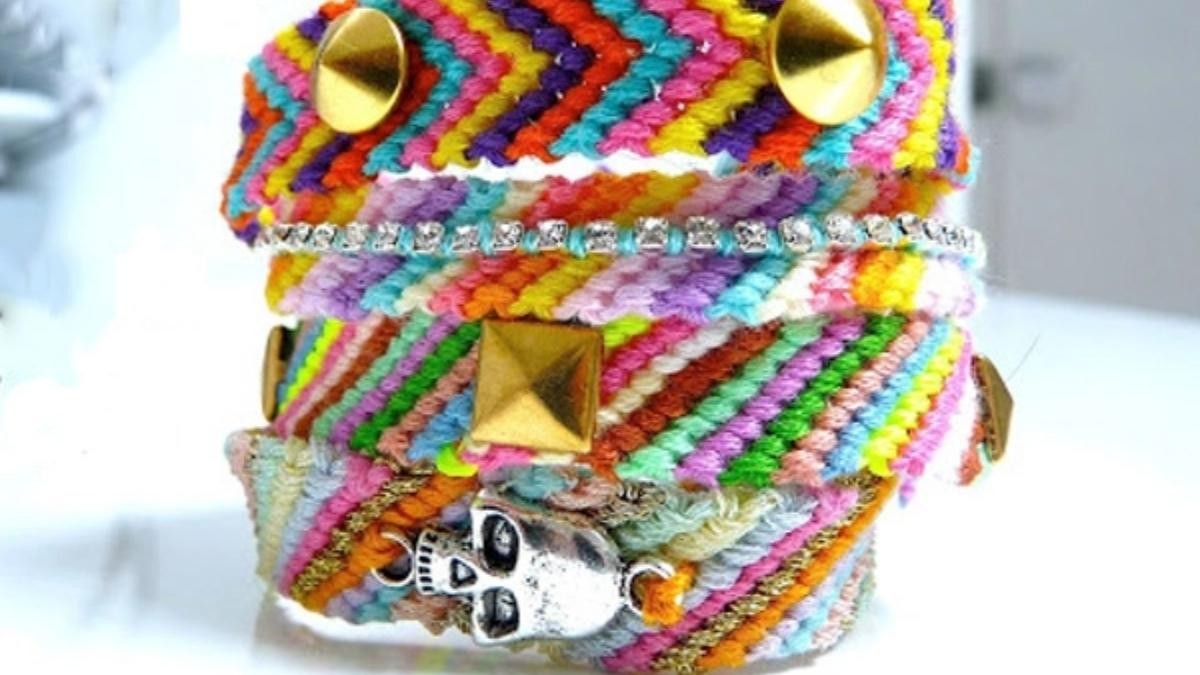
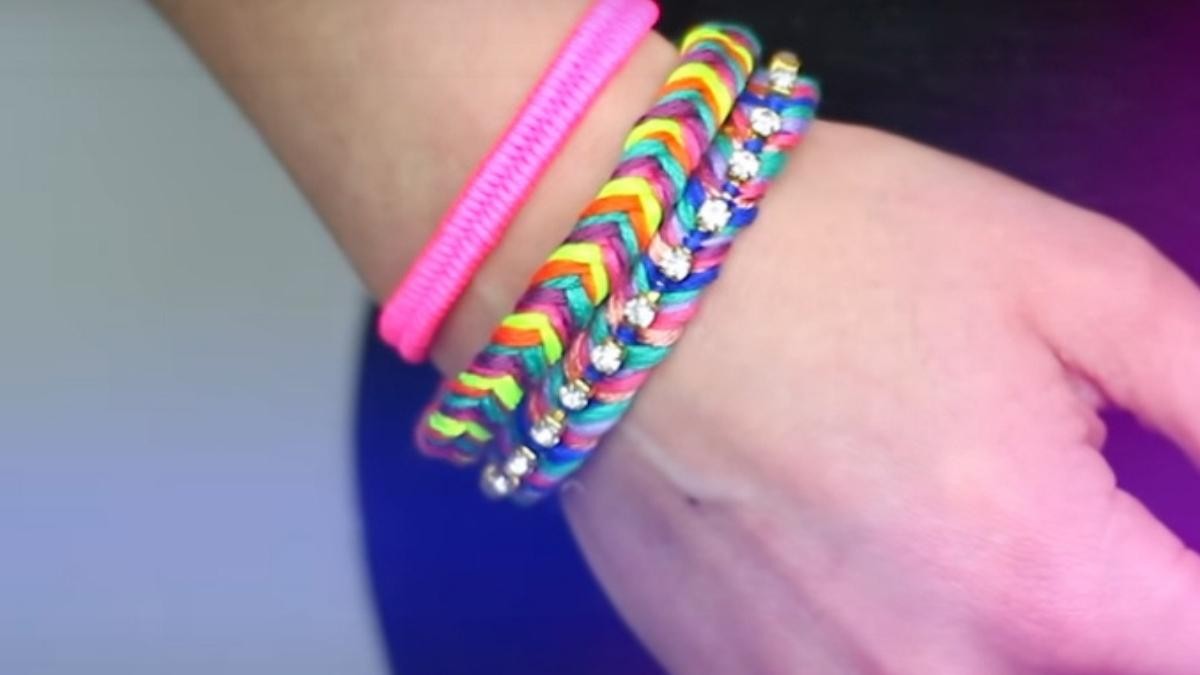
Popular and timeless, the famous Brazilian bracelets—also known as friendship bracelets—are a favorite to make at school, at summer camp… and even when we’re grown up, for that matter. When summer rolls around, we pile these colorful bracelets on our wrists and use them to accessorize our ankles.
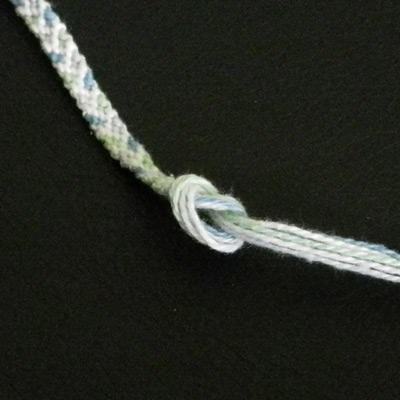
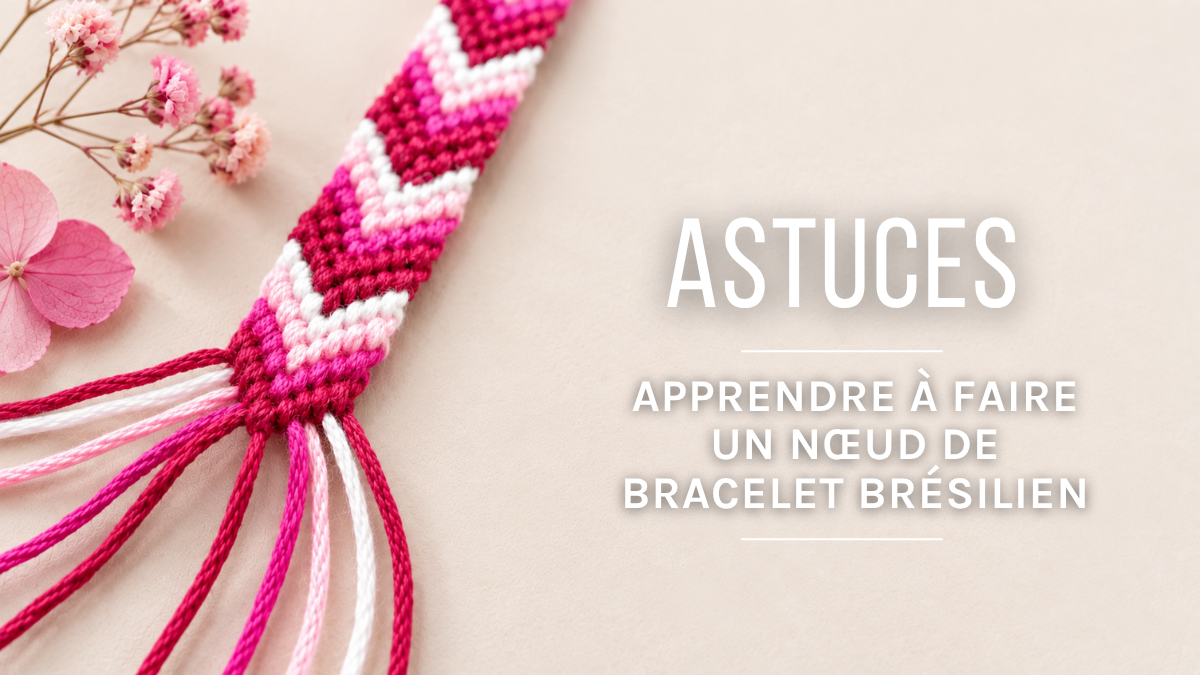
How do you make a braided bracelet? They’re easy to make—just know that the knot for a Brazilian bracelet is always the same. The knots are formed by wrapping one string around another. A knot is made in three steps, and you need to repeat these three steps twice on the same string.
To learn everything about the Brazilian knot and understand the terms “front knot” and “back knot,” take a quick look at the how-to guide: Learn How to Tie a Brazilian Bracelet Knot.
If you’re a beginner and have never made a Brazilian bracelet before, follow all the steps below to create the most beautiful braided bracelet. Once you’ve got the hang of it, feel free to draw inspiration from our braided bracelet tutorials to create your own jewelry for this summer.
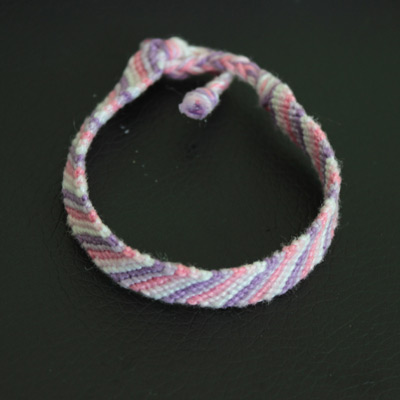
1. The Classic Diagonal Brazilian Bracelet
Step 1:
- Choose your skeins of thread and the number of strands based on whether you want a thinBrazilianbracelet or a wide, cuff-styleone. Here, I used 10 strands in 5 colors.
- Cut each strand to about 80 cm. Tie the strands together.
Depending on how you want to close your friendship bracelet, there are different methods (I’ll show you one in each tutorial). Here, I’ve chosen to close it with a braid.
So tie your strings together, but be sure to leave enough string above your knot.
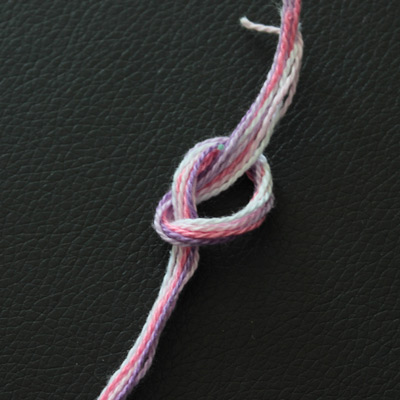
Step 2:
- Secure your strings to a table with tape, for example.
- Then arrange your threads in the order you want. Here, I wanted to create a gradient effect, so I arranged my threads from darkest to lightest—twice in a row since I’m using two strands of each color.
The threads overlap, but don’t worry—once you’ve finished your first row, the threads will instantly fall into place.
The first row will be the least attractive of all, but as you tie the next rows, it will look a little better.
Tip: When tying your knots, be careful not to catch the adjacent threads, especially when working on your first row.
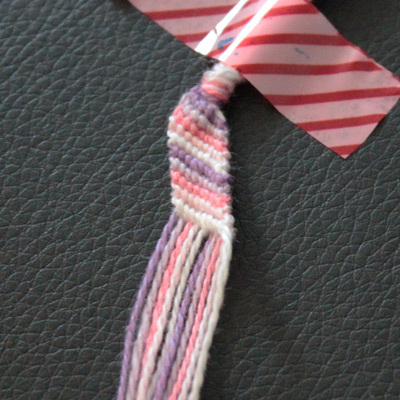
Step 3:
- The classic Brazilian bracelet is made entirely of front knots. To show you better, I’ve moved the bracelet forward a bit, but the following steps are exactly the same for the first row of the bracelet.
- Take the string on the far left—we’ll call it the first string. Loop it over the next one, in this case the light purple one: this forms a 4.
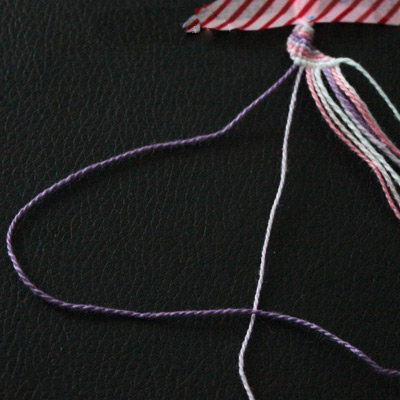
Step 4:
- Pass your first strand back through the “4,” this time going under your second light purple strand.
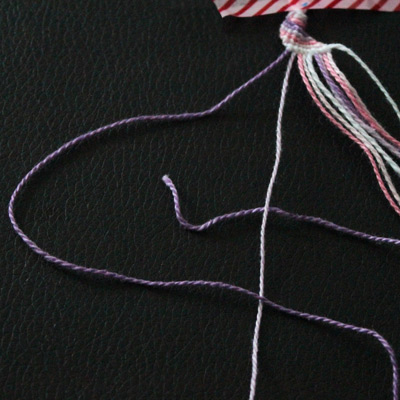
Step 5:
- Now, grab the end of your first strand and pull tight. Your second strand stays in place, so the knot forms around it. Repeat steps 3–4–5, always using the same two strands.
Note: Regardless of your pattern, the knots must be tied in pairs on the same thread.
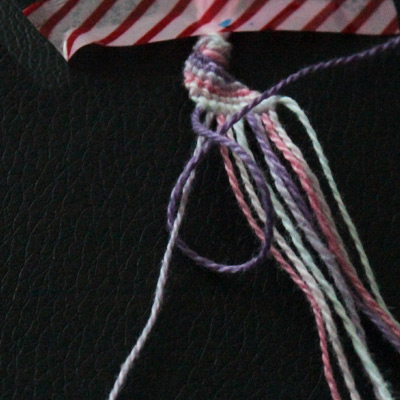
Step 6:
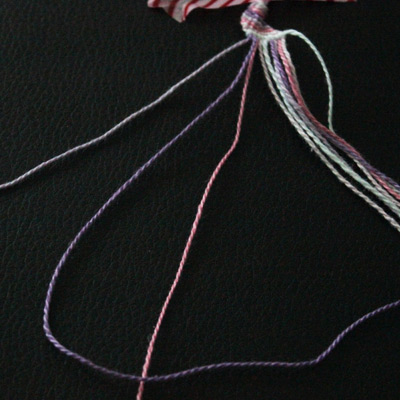
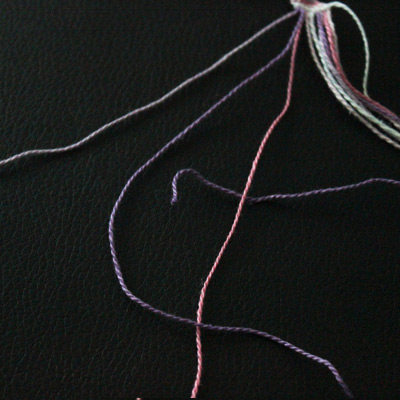
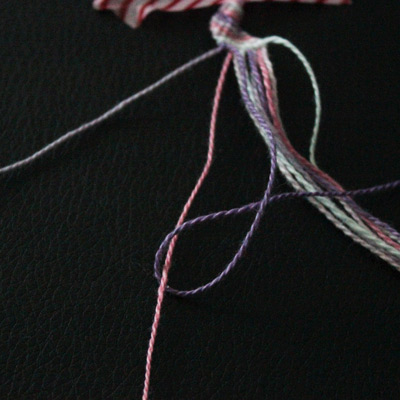
- Repeat steps 3–4–5 again, twice in order, but with different strands. Follow the order of your strands; for a classic diagonal Brazilian bracelet, the strand on the left is always the one used to tie the knot.
- So, using your first string—the dark purple one—tie knots around the other strings, one after the other. (Twice around the pink one, then twice around the light pink one, then twice around the white one, and so on.)
- Your first row is finished when your first string is all the way to the right and you’ve tied knots around each of your strings.
Step 7:
- Now, your first thread—the one on the far left—becomes the light purple thread.
Repeat the previous steps (3–4–5–6) by tying your light purple string around the other strings. And so on with each string and each color, until you reach the desired bracelet length (here, stop a little short so you can make the braid for the “clasp”).
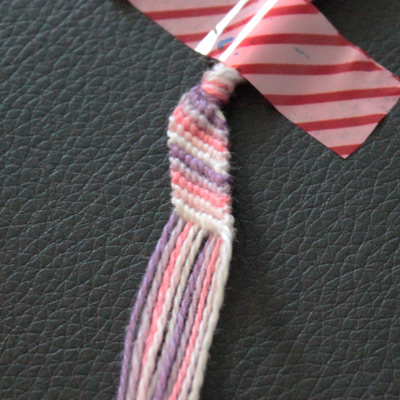
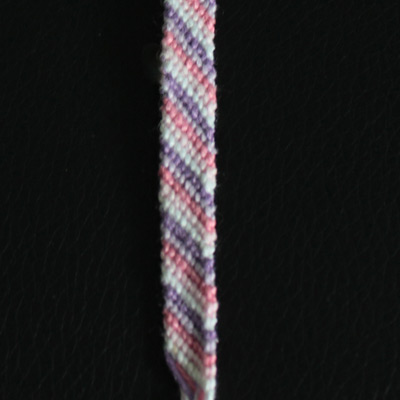
Step 8:
- Tie all the strands together.
- Take your strands and start braiding. Tie a knot to finish the braid, and trim any excess strands. Tighten the knot securely, then add a dot of glue.
- Do the same on the other end of your bracelet, after the first knot you tied.
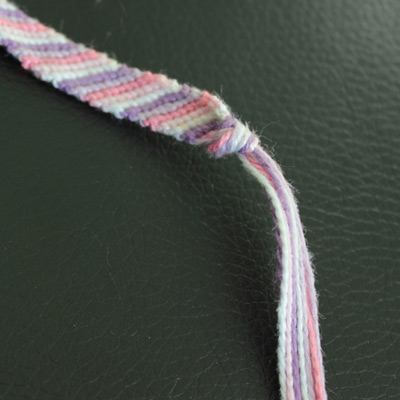
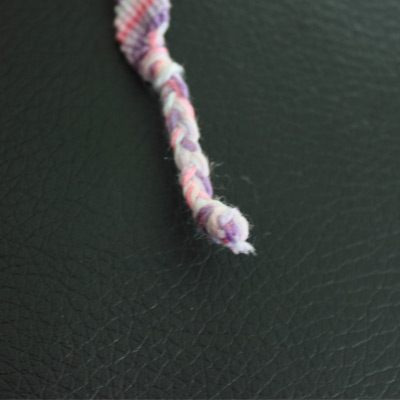
- Your braided bracelet is ready; to wear it, simply tie the braided sections together.
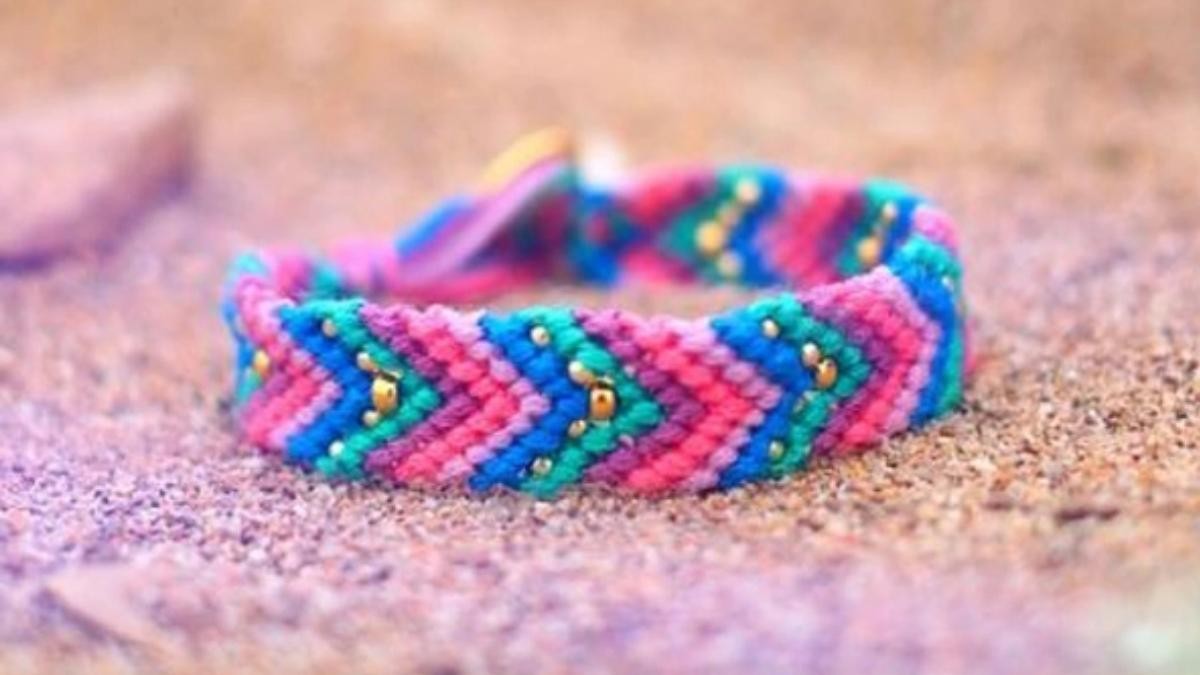
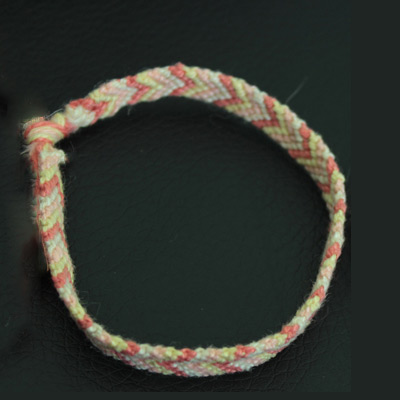
2. The Brazilian Herringbone Pattern Bracelet
Step 1:
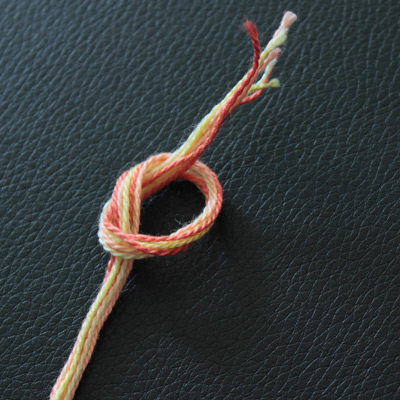
- Choose your skeins of thread and decide how many you’ll use. Here, I used 8 strands in 4 colors. For a herringbone pattern, you’ll definitely need two of each color.
- Cut each strand to about 80 cm.
- Tie the strands together.
Step 2:
- Secure your skeins to a table using tape, for example.
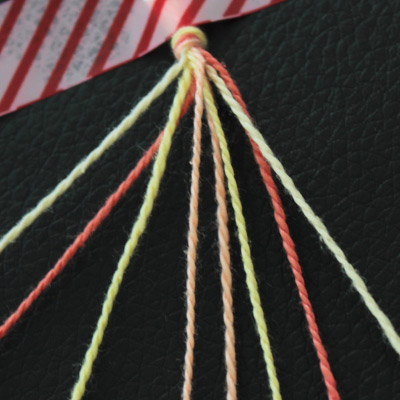
- Then arrange your yarns so they’re facing each other; you’ll need to divide each color into two symmetrical sections. (Example here: light yellow, red, dark yellow, orange, orange, dark yellow, red, light yellow)
The threads will overlap, but don’t worry—once you’ve completed your first row, the threads will instantly fall into place.
The first row will be the least attractive of all, but as you tie the next rows, it will improve a little.
Tip: When tying your knots, be careful not to catch the adjacent threads, especially when working on your first row.
Step 3:
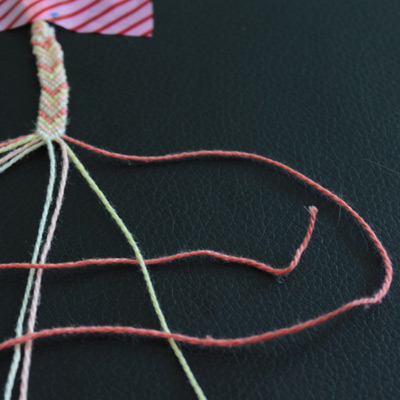
- The Brazilian herringbone bracelet has two parts: your first strands on the left, where you’ll tie knots facing forward, and your other strands on the right, where you’ll tie knots facing backward. To demonstrate this better, I’ve moved the bracelet forward a bit, but the following steps are exactly the same for the first “row” of the bracelet.
- Make a reverse knot: Take the rightmost strand, the last one. Pass it over the previous one—in this case, the yellow one—to form an upside-down 4.

Step 4:
- Pass your last strand, the red one, back through the “4,” this time going underneath the previous strand, the yellow one.
Step 5:
- Now, grab the end of your red string and pull it tight. Your yellow string stays in place, so the knot forms around it.
- Repeat steps 3–4–5, always using the same two threads.
Note: Regardless of your pattern, the knots must be tied twice on the same thread.
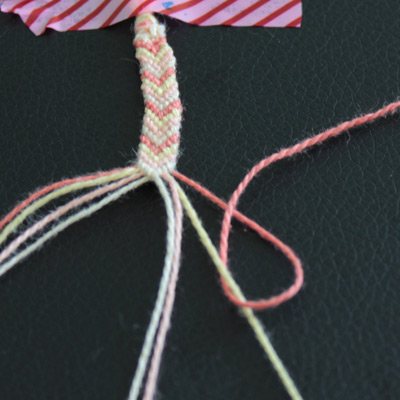

Step 6:
- Repeat steps 3–4–5 again, twice in order but with different threads. This time, however, stop in the middle of your threads (here at the light yellow thread). You’ll know this is the center of your threads because, if you’ve maintained symmetry, you should have two threads of the same color next to each other. This is where you need to stop; do not tie a knot on the second thread of the same color.
- So, still using your last string, tie reverse knots around the other strings, one after the other. (Twice around the light pink one, and twice around the light yellow one.)
Your red thread is now in the center of your threads. Your first row is finished when your first thread is all the way to the right and you’ve tied knots around each of your threads.

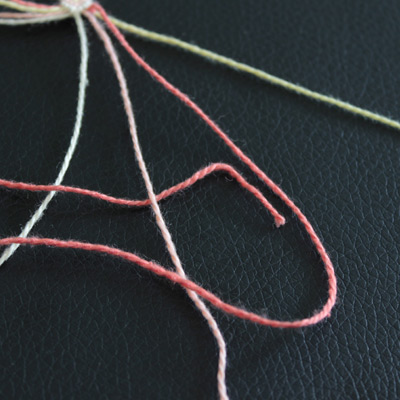
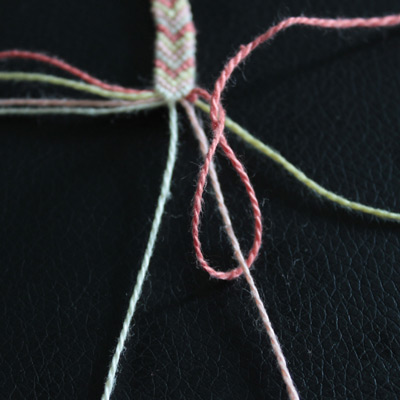
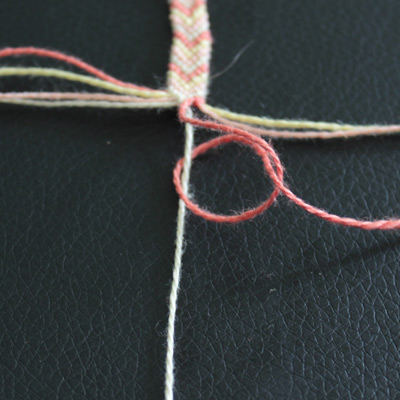
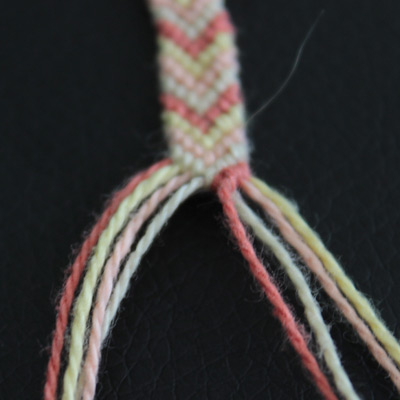
Step 7:
- Now tie the threads on the left. Tie your first red thread around the others with right-side-out knots this time.
- Now you have your two red threads in the center. Tie them together to form the tip of the chevron, using two front knots.
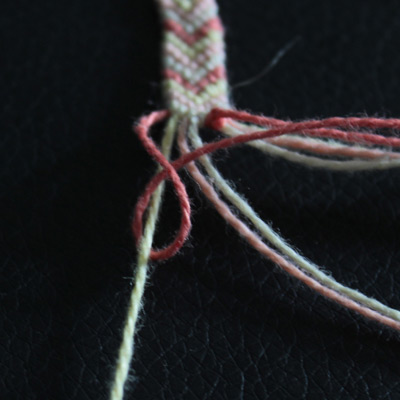

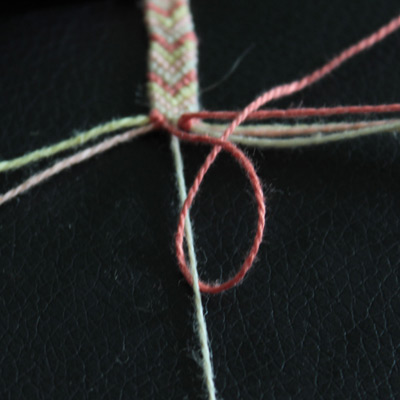
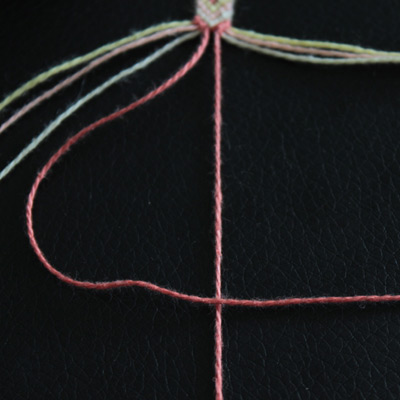
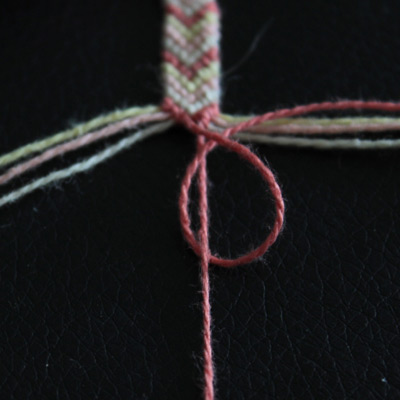

Step 8:
- Repeat these steps, making sure to tie overhand knots on the left-hand strings and underhand knots on the right-hand strings. Continue until you’ve gone all the way around your wrist (or ankle...).
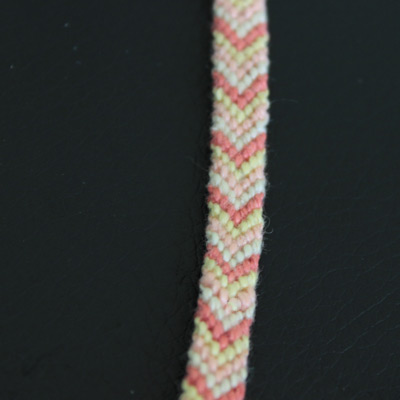
Step 9:
- Once your bracelet is finished, tie all the strands together.
This time, there’s no clasp. Originally, the Brazilian bracelet was tied directly to the wrist, like a friendship bracelet that couldn’t be removed.
- To do this, take the ends of your bracelet, place the bracelet on your wrist, and tie a double knot. Add a dot of glue and trim any excess string.
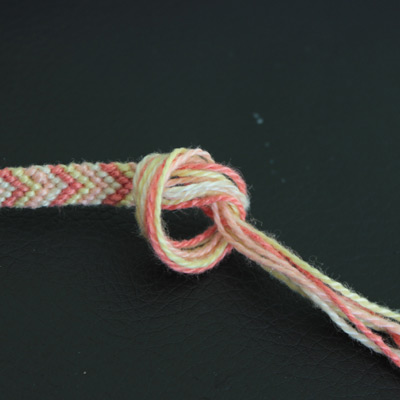
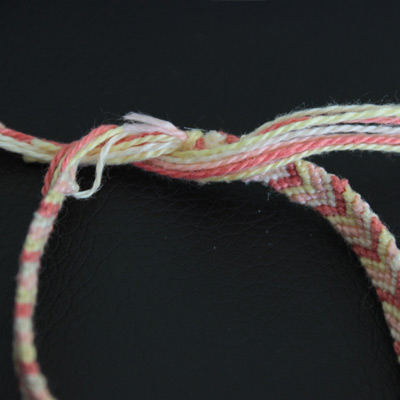
Your knotted bracelet is ready!
3. The Brazilian Wheat Ear Bracelet
Step 1:
- Choose your skeins of thread and decide how many you’ll use. Here, I used 6 strands and 4 colors.
- For the wheat ear pattern, you always need an even number of strands, plus a main strand—here I chose white.
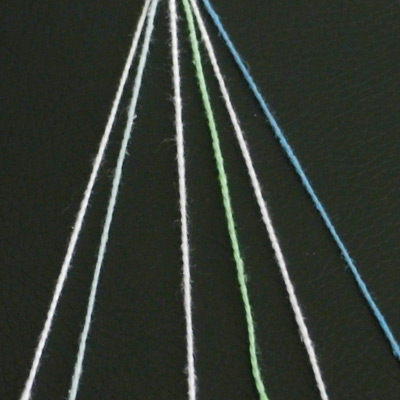
- You need the same number of your main thread as the total number of all your other threads combined. Here, I chose to add 3 colored threads (light blue, green, and blue), so I need 3 white threads.
Tip: For a very pronounced herringbone pattern, I recommend using two colors, with black as the main color.
- Cut each thread to about 80 cm.
- Tie your threads together, leaving a loop that will serve as a clasp (so you can thread a button through it—don’t make the loop too big).
- Tighten the knot securely. Trim any excess thread sticking out and apply glue all around the knot to secure the threads.

Step 2:
- Secure your threads to a table using tape, for example.
- Then arrange your threads in the order you want, but always alternate a colored thread with a thread of the main color (here: white, light blue, white, green, white, blue).
The threads will overlap, but don’t worry—once you’ve completed your first row, the threads will instantly fall into place.
The first row will be the least attractive of all, but as you tie the next rows, it will look a little better.
Tip: When tying your knots, be careful not to catch the adjacent threads, especially when working on your first row.
Step 3:
- The Brazilian "épis" bracelet is made like the herringbone bracelet, with overhand knots on your left strands and underhand knots on your right strands.
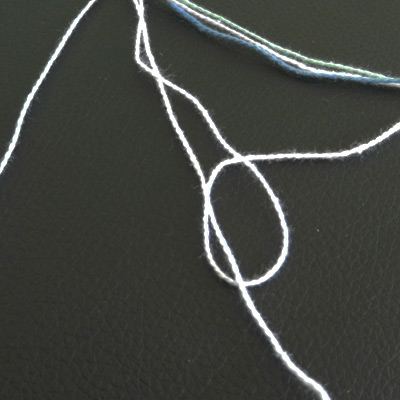
- Take your first strand and tie two forward knots around the second strand (to learn how to tie forward and reverse knots, read the how-to guide: Learn How to Tie a Brazilian Bracelet Knot, or look at the previous patterns).

Step 4:
- Still using your first string, tie two more right-side knots around the next string, the third one (in this case, the white one).
Step 5:
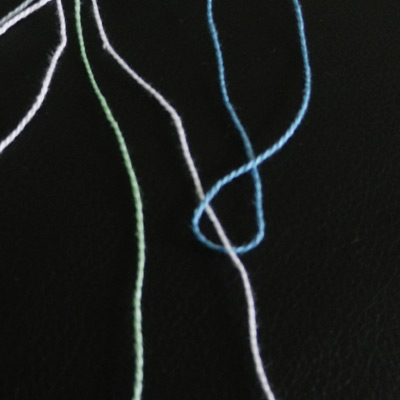
- Now, take your last strand—in this case, the blue one—and tie two reverse knots around the second-to-last strand, which is white.
- Still using your last blue string, tie two reverse knots around the previous string—here, the green one.
Step 6:
- Now you should have your first and last threads in the center.
- Tie them together twice. This is what makes the spike pattern unique, unlike the chevron pattern.
For the chevron pattern, you tie the middle threads together with a right-side knot.
For the spike pattern, you must tie the threads so that your main thread wraps around the second one to form the knot. You’ll therefore alternate between forward knots and reverse knots.
- Here, since I started my row with my white main thread, when I reach the center, I’ll tie a forward knot on my blue thread.
If you started your row with a secondary thread, don’t worry—as long as you used the correct number of threads, your last thread should be a main thread, and in that case, you’ll just need to tie a reverse knot.
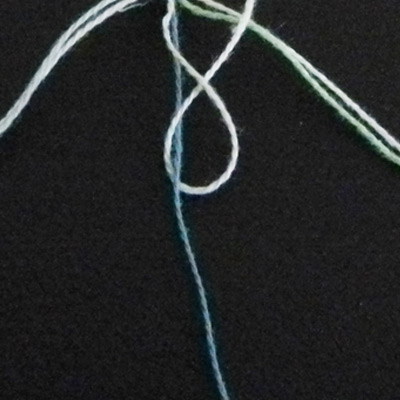
Step 8:
- Repeat these steps for the entire bracelet: 2 front knots on strands 2 and 3 using strand 1. 2 back knots on strands 4 and 5 using strand 6.
- One forward or reverse knot between strands 1 and 6: your main strand should always be tied around the other strand.
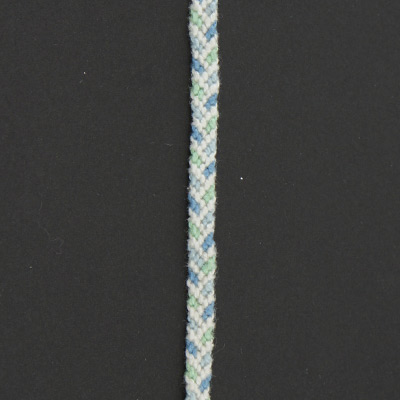
Step 9:
- Tie all your threads together to finish your bracelet.
- Thread the strands through the button of your choice—here, a small teardrop button.
- Tie the threads around the button’s loop. Add a dot of glue and trim off any excess thread.
Your Brazilian bracelet is ready!