Average Grades



Bonjour. Étant gauchère, comment adapter les instructions écrites pour faire un tissage petite paire . '. Merci de votre réponse
Murielle
Murielle
1 Answer
Show answers

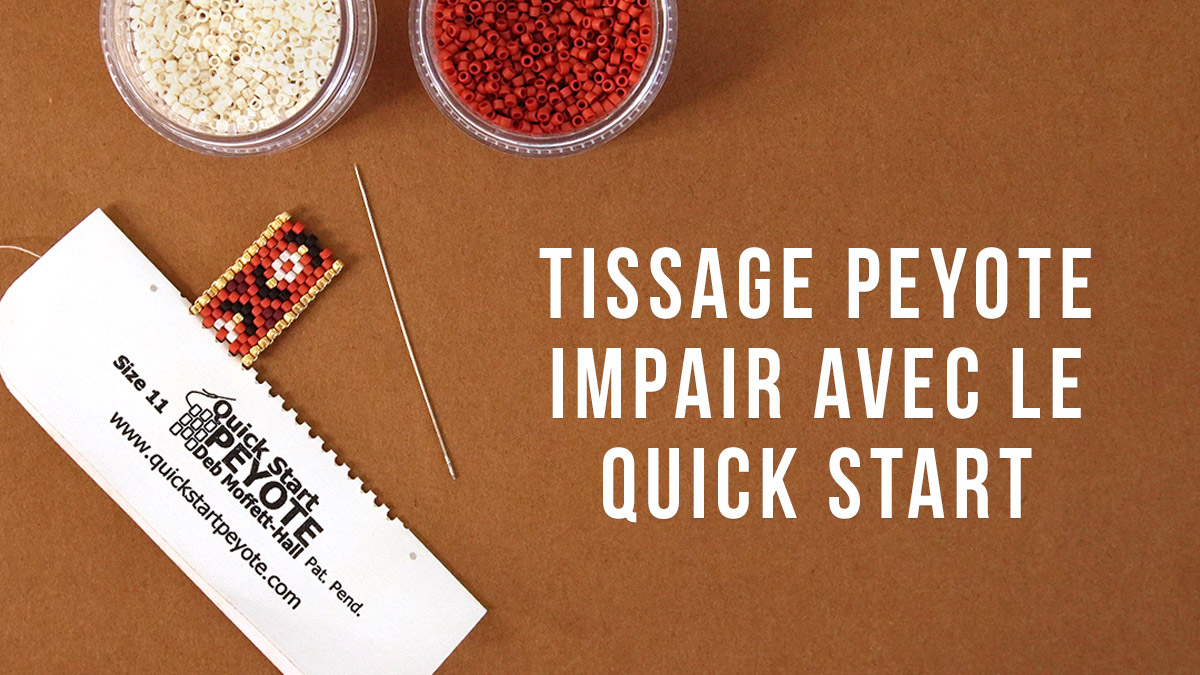
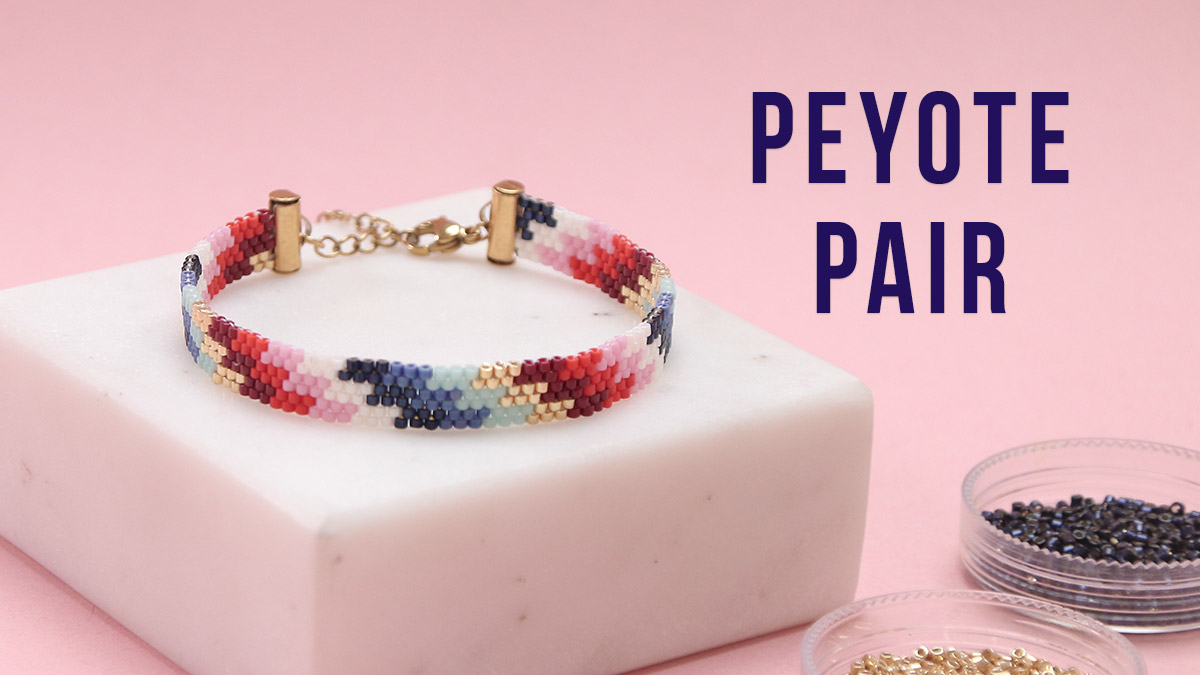
Peyote stitch is a needle-bead weaving technique that’s ideal for creating flexible bracelets without a loom. Although it may seem complicated at first, tools like the Quick Start Peyote make it easier to learn, especially for even-count Peyote stitch projects. To improve your skills, check out the instructional videos on how to use these tools and the weaving techniques.
The Peyote weaving technique is a technique of weaving needle beads . It does not require a loom. All you need is thread, a needle and pearls of regular shapes to weave beautiful beaded bracelets. However, it is a bit difficult to understand at first, because the beads are staggered in the diagram. With this video, follow step by step how to start peyote weaving by following the diagram and how to finish a beaded bracelet .
The beginning of Peyote weaving is the most complicated part that requires the most concentration. However, there is a tool that simplifies the beginning of weaving. This is the Quick Start Peyote . It's a small cardboard with notches for pearls. If you are interested in this method we invite you to check out the video " How to use the odd Peyote Quick Start to weave your Miyuki pearl jewelry? ".
If you are a beginner in pearl weaving, it will also be easier for you to start with a pair of Peyote weaving projects. We also have a video to show you how to peyote weave pair with a Quick Start Peyote " How to use the Quick Start Peyote pair? ".
Also find out in this video how to use the exclusive Pearl Beads & Co. They exist in gold, silver, pink gold, silver 925 and in another model. For the list of material to make the bracelet go to the tutorial " Bracelet Miyuki Bracelet Woven Peyote Impair blue and mustard ".
Diagram of the odd Peyote weave bracelet
Print the pattern and check the beads as you weave.


Credits
Perles & Co, Internet & E-Commerce company [11/02/2020] Any reproduction, representation, adaptation, in any form whatsoever, even partial, is prohibited, except for reproduction for private use not intended for collective use, representation in the family circle (art. L 122-5 CPI) and online publishing on condition that the source is mentioned and a link is included to the corresponding page of our site www.perlesandco.com.