How to weave Miyuki beads?
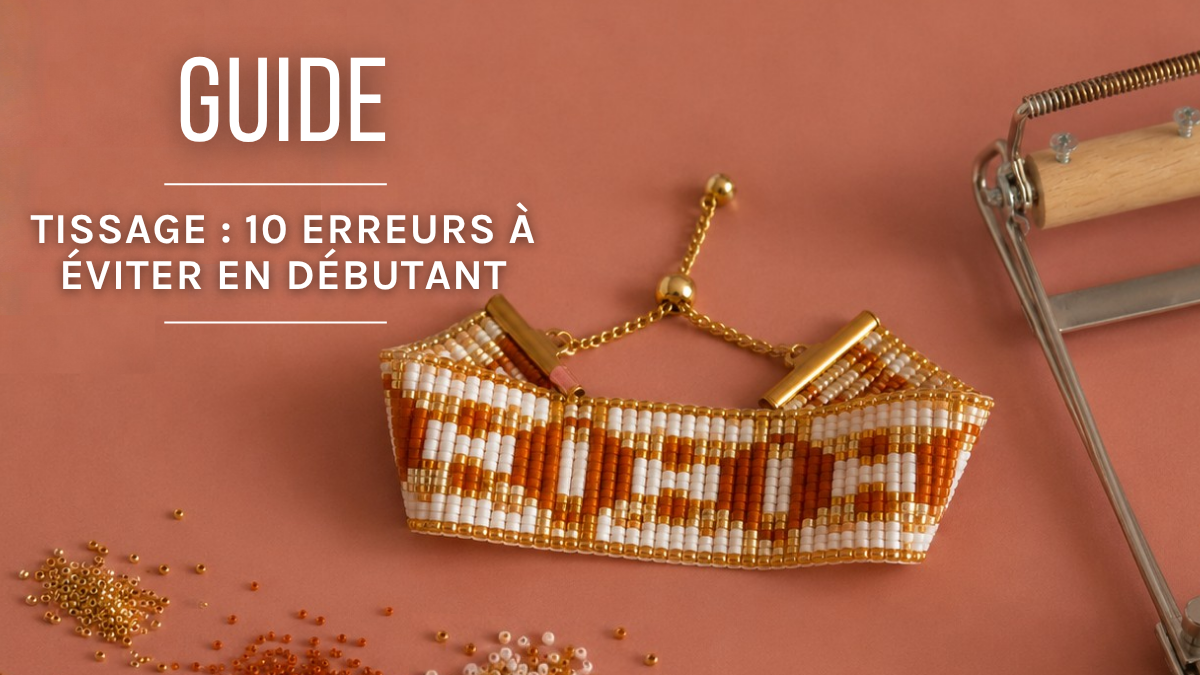
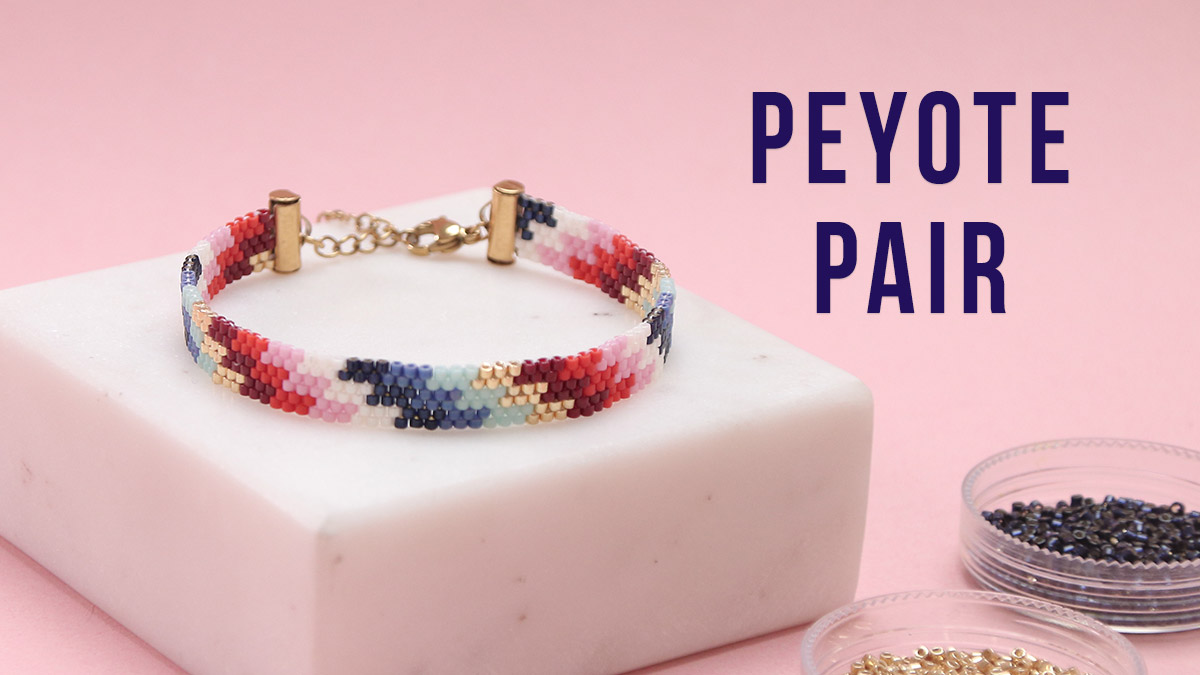
In this technical sheet, discover the tips you need to know and the list of supplies to get started with bead weaving. You can make your own bracelets woven with Miyuki Delica beads, necklaces, and even pouches made from seed beads! Check out the complete list of supplies used for the 4-row Miyuki bracelet made on a beading loom, which was used as an example.
Bead Weaving Supplies
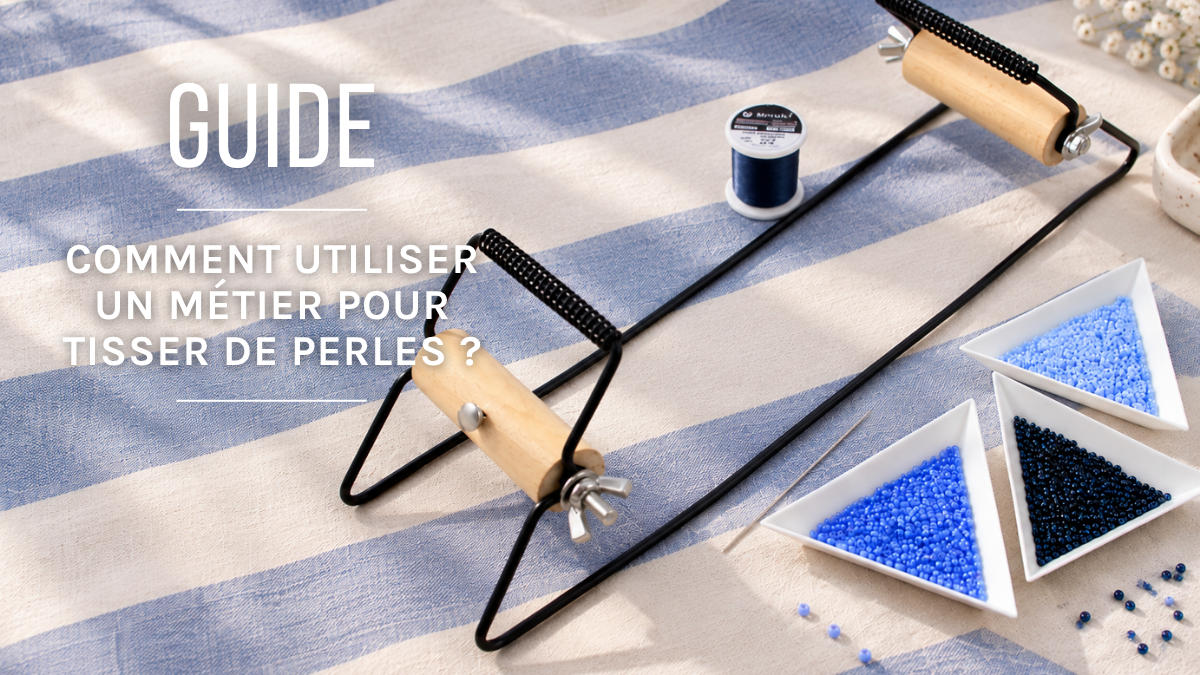
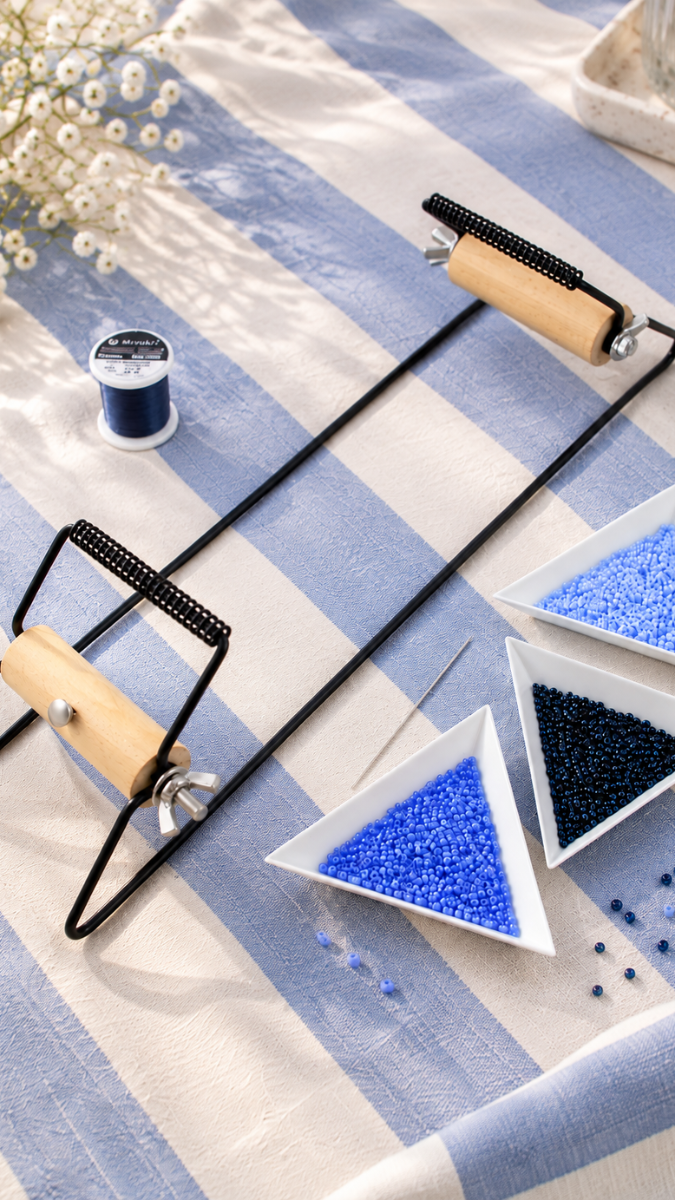
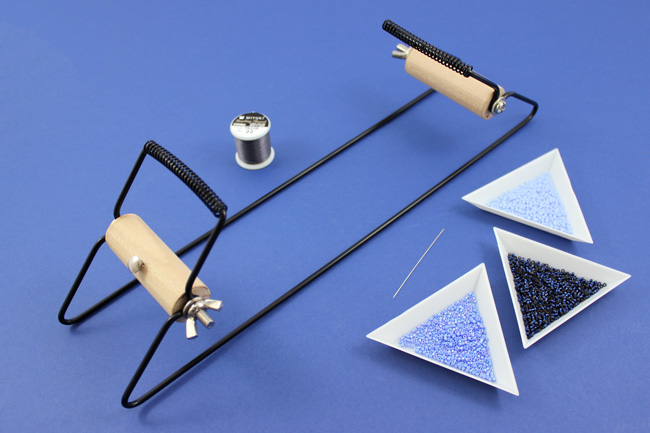
- A bead loom. They come in various widths and lengths, with different assembly methods. We filmed a live video featuring 12 bead looms. Watch it here: 12 Bead Weaving Looms: How to Set Up and Use a Bead Weaving Loom. The loom used in this example is a basic, affordable model, perfect for small projects. It’s also available in a slightly larger and wider version (OUT-445).
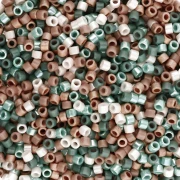
- Beads. Which beads should you use for weaving? Seed beads, but there’s nothing stopping you from using other types of beads. The key is to use beads that are uniform and the same size. The most commonly used beads right now are Miyuki Delica 11/0 beads, which have the advantage of being very uniform and allow for more precise patterns.
- Weaving thread. What thread should you use for a loom? Here again, there’s a wide range of options, and the choice depends on what you want to make. For a classic bracelet, you can use the following threads: Miyuki, Sono, Ko, One-G, Silamide, and for budget-friendly options, C-LON AA, C-LON D, and Nymo. Avoid using the latter for weft threads, as they wear out fairly quickly and you risk creating knots; they’re better suited for warp threads. Other finishing techniques may require you to use different types of thread.
- A fairly long needle, such as a size 10 needle. However, you can also use size 11 or 12 needles.
- Small embroidery scissors.
How do you thread a loom?
The setup depends on the loom. For this classic loom, the pegs on the wooden logs will be used to hold the thread in place. Make sure the logs are securely screwed in and do not move. The nails should be tilted slightly downward. Leave the thread on its spool and tie one end to one of the nails.
Warps and weft: The warps are the threads attached to the loom, and the weft is the thread that holds the beads and will pass under and over the warps.

Thread the string over the bars with the springs, making sure it is at the same level on both sides of the bar. Wrap the thread around the pin on the other side, then go back to the other side and wrap the thread around the first pin, and so on until you have one more thread than the number of beads in a row. So if you’re making a bracelet 4 beads wide, you’ll need 5 strands. Cut the thread, leaving 10 cm, and tie a knot.

Bead Weaving with a Loom
Take the end of the thread from the spool and pull it out until you have a length equal to the span of your arms. Once folded in half through the needle, this length allows for comfortable weaving. Tie one end of this thread to one of the warp threads on the side using a double knot, leaving at least 15 cm of thread hanging. Then thread your first row of beads. Pass the needle under the warp threads and slide each bead between two threads using your finger.

Pass the needle back through the beads, taking care to go over the warp threads; otherwise, your beads will not be secured. Tighten the weave and realign the beads.
All other rows of beads are made in the same way.

How do you correct a mistake in the weaving?
If you notice a mistake in your weaving (wrong bead color or you didn’t pass the needle correctly under and over the warp threads) and want to correct it, you’ll need to undo what you’ve woven up to the mistake. To remove a woven row, take the needle out of the thread and use it to pull the loops formed by the weft thread on the sides of the weave.

How do you change threads while weaving?
When you have only 10–15 cm of thread left, pass the needle back through the last row of beaded beads, tie a knot using the warp thread, then pass through the second-to-last row, the last row, and bring the needle out through one of the center beads of the second-to-last row. Cut the thread as short as possible. Take a new piece of thread and tie it to a warp thread as well, leaving a 15 cm tail. Do the same as before with the 15 cm tail, change the thread on the needle, and continue weaving.

How do you finish a beaded weaving?
Once your weaving is finished, remove it from the loom, being careful not to unravel it by pulling too hard on the threads. Cut the loops in half so that you have 6 threads to tuck into the weave on each side.

There are many finishing methods. The method described here involves tucking and securing the threads within the weave, keeping both ends of the weft thread to attach the 925 Sterling Silver clasp.
To weave the threads into the fabric, thread a needle through one of them, pass it through the last few rows of beads, then pull it back out through a bead in the middle of a row before cutting it. You can apply a small amount of white glue (such as Cleotoo) with a brush to the edge of the weave to prevent the threads from coming loose.

Thread the weft thread onto the needle and pass it behind the inner bars of the clasp, then pass it back through the last row from the other side. Make a second loop, then a third if possible.
Secure the thread in the weave and cut it, then repeat this step with the other end of the thread on the opposite side of the bracelet.

Here are some tutorials showing other types of finishes:
And there are many other finishing options! Be sure to check out our weaving endcaps and clasps!
You can also find the technical guide “Choosing Beads for LoomWeaving and Attaching a Spacer to Your Weave.”