Free shipping on orders over 50€ up to 500g
French Online shop for beads and accessories for the creation of DIY jewellery and other creative hobbiesLog-in
0
Shopping cart
Shopping cart
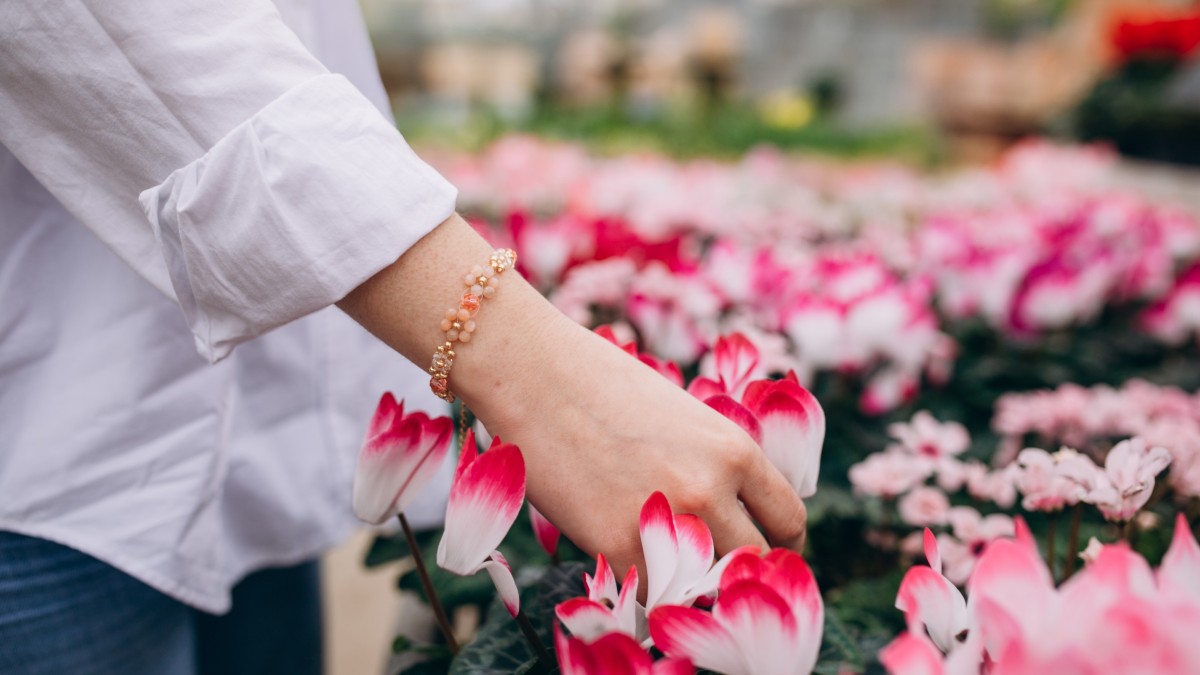
They are back in force: the colored resin beads, star of the70s! These round, oval, drop or diamond shaped beads are featured in our jewellery tutorials. Create yourvintage lookby mixing resin beads andretrojewelrywith your contemporary outfit. They will perfectly match a cream or khaki linen outfit, a light lilac sweater or a pretty floral dress.
Find these round resin beads on maxi hoop earrings or bracelets to make yourself. Large, solid-coloured earrings are particularly popular, as are bracelets with large chains. Start creating DIY costume jewellery with our tutorials and create without limits!


Contrary to the classic, industrial or urban style, the tropical style also called "Jungle" is colourful and far from going unnoticed. It is possible to create many objects in the tropical style: decorative elements, jewellery and even accessories. You are probably wondering what are the codes of this new trend. For starters, know that the goal is to recreate an exotic atmosphere in your home or to bring a colourful touch to your look. The tropical style is expressed by vegetal patterns such as foliage, branches, tropical flowers... But also wild animals: panther, tiger, parrot, toucan, fleeing pink... You can also find the fruit pattern: banana, pineapple, lemon, orange, coconut... Adopt a "Jungle" style if you want to transform your rooms into a tropical forest just with a little decoration.
Whether you're a beginner or an experienced designer, looking for the perfect gift or new ideas, our free tutorials are designed to guide you through each of your projects from A to Z. Each tutorial details the creation process step by step, including videos, clear explanations, pretty photos and a complete list of the materials needed. Our aim? To inspire you with trendy and original DIY creations.
Select a material (stainless steel, gold filled, freshwater pearls, seed beads, crystal...), a project, a technique, an event, a style and let us guide you!
And to inspire you even further, we've come up with a range of DIY jewellery collections. Visit us every month to discover a new collection based on a trendy and inspiring theme. These collections are enriched by a series of exclusive tutorials, carefully designed and accessible to all, to help you create magnificent DIY costume jewellery.
From making a woman's necklace to designing a man's bracelet, or creating unique earrings and personalised rings, you're bound to find the tutorial you need!
To take things a step further, we've prepared technical sheets on a range of themes to help you get started or perfect your skills.
And for novices, a beginner's jewellery course makes learning even more accessible. It's an invaluable aid for learning the techniques you need to make your own jewellery easily, such as a pearl bracelet or a natural stone necklace.

