Average Grades
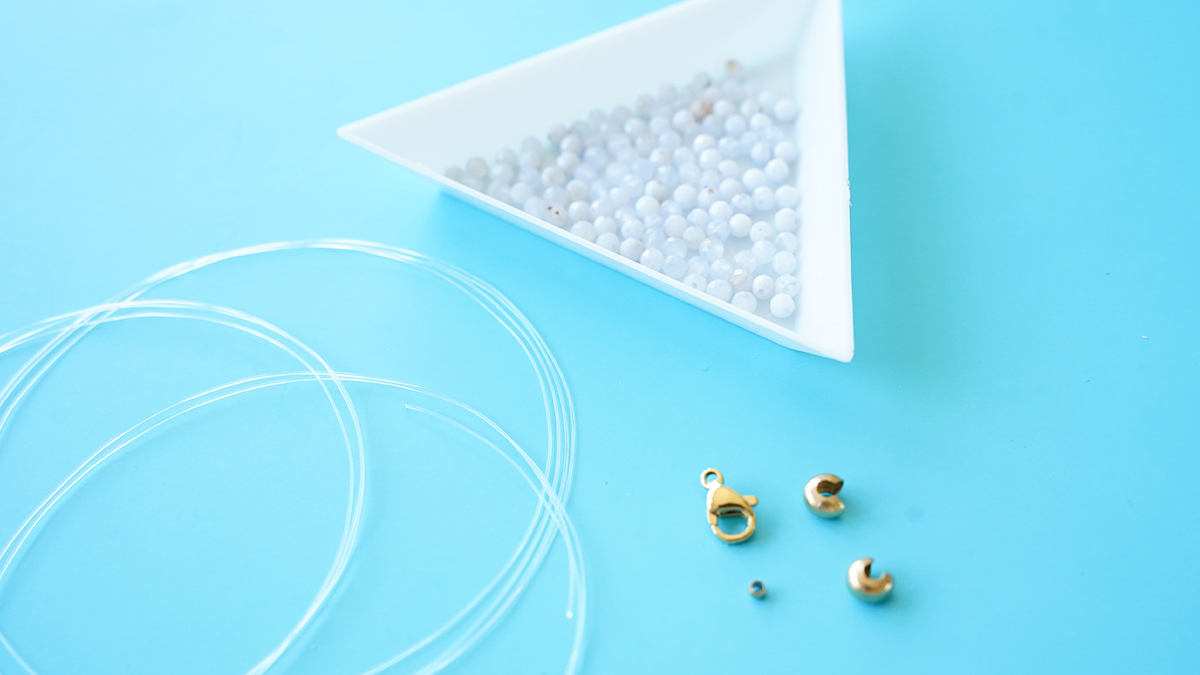
Cut 6 pieces of string, each about 18 cm long.

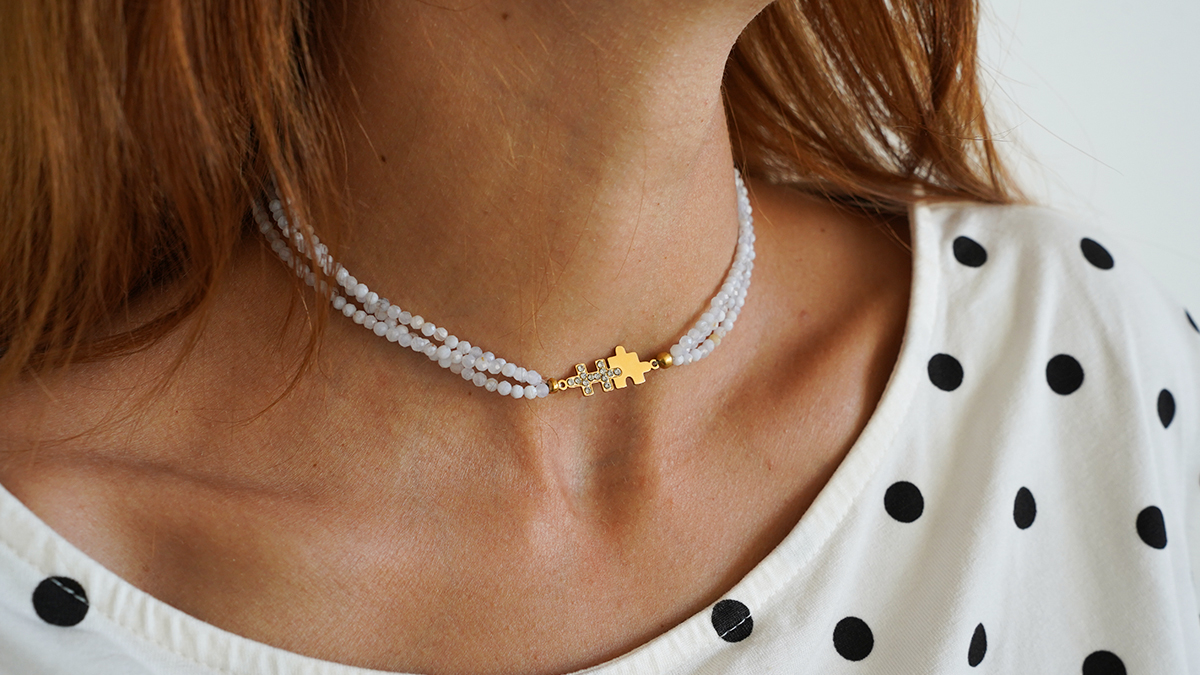
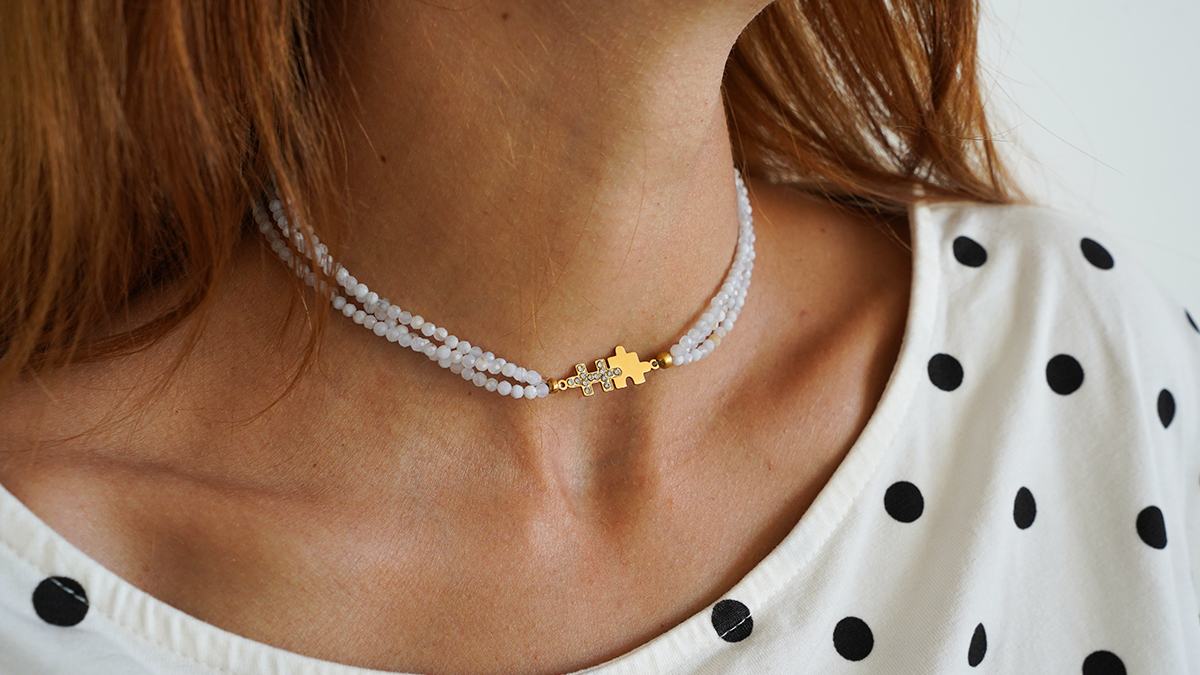
In this tutorial, learn how to make a three-strand necklace using faceted blue agate beads and puzzle spacers. An elegant and natural piece of jewelry, entirely handmade.
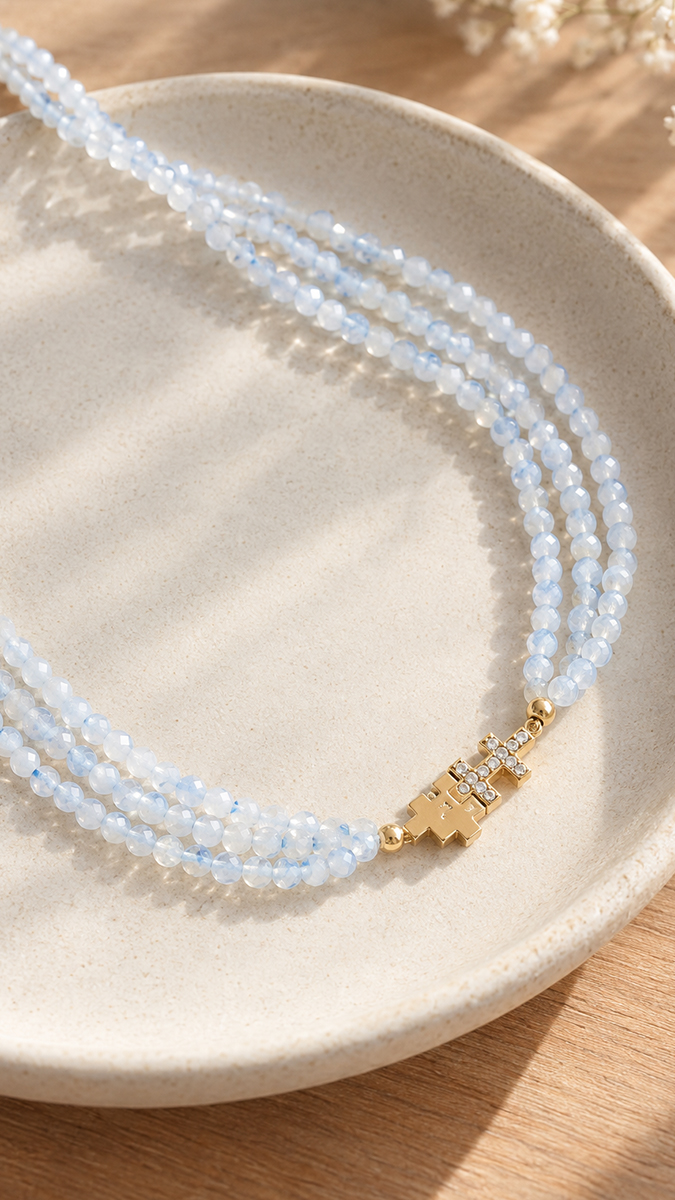
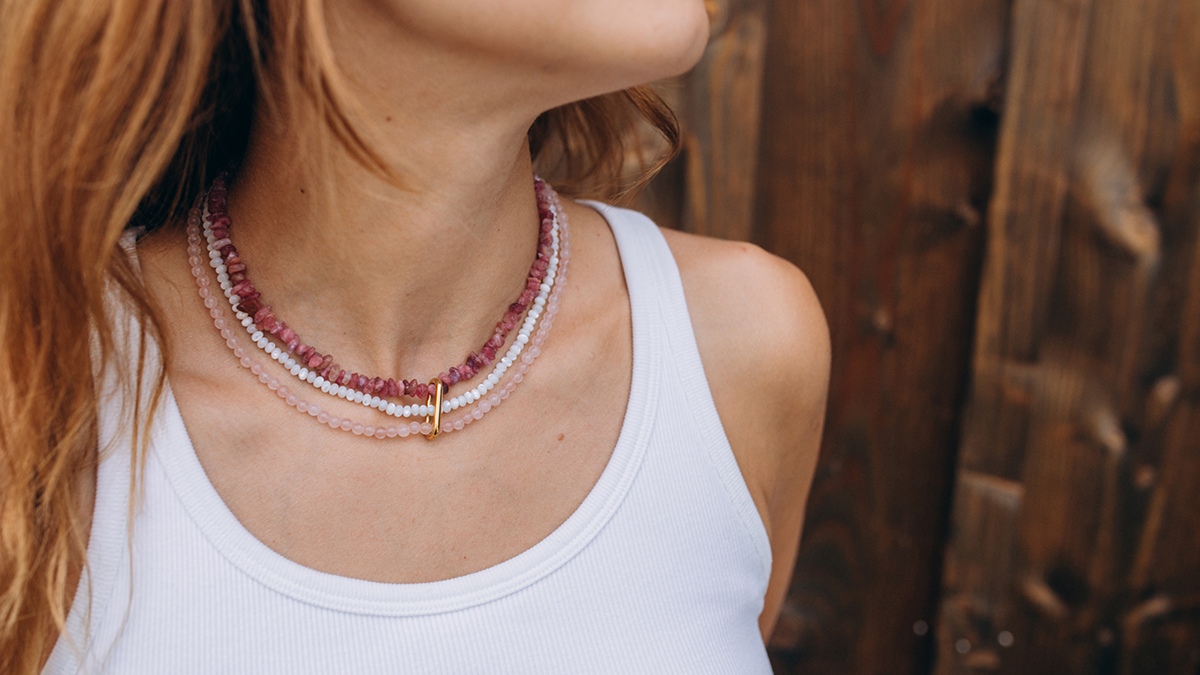
I invite you to create a delicate and refined three-strand necklace, entirely strung on invisible nylon thread, featuring round, faceted Blue Lace agate beads and a gold-plated stainless steel puzzle-shaped spacer with zirconium oxides in a setting. An elegant and natural piece of jewelry, perfect even for those just starting out in jewelry making.
What makes this necklace so charming is the combination of its materials. The faceted round Blue Lace agate beads, with their very soft and translucent bluish hues, bring all the beauty and delicacy of natural stones to this necklace. Strung in three rows on invisible nylon thread, they create an airy and delicate effect, as if the necklace were floating directly on the skin. The gold-plated stainless steel puzzle-shaped spacer, with tiny sparkling zirconium oxides set in its setting, adds a touch of sophistication and character to the overall design.
Suitable for beginners, this tutorial takes just 30 minutes to complete. Simply follow the steps one by one to achieve a polished result. All the findings used—the Lobster Clasp, crimp beads, bead caps, and extension chain—are made of gold-plated stainless steel, ensuring a piece of jewelry that will stand the test of time.
And if you’d like to personalize your creation, our website offers a wide selection of natural stone beads so you can customize this necklace in other colors to suit your taste.
Cut 6 pieces of string, each about 18 cm long.
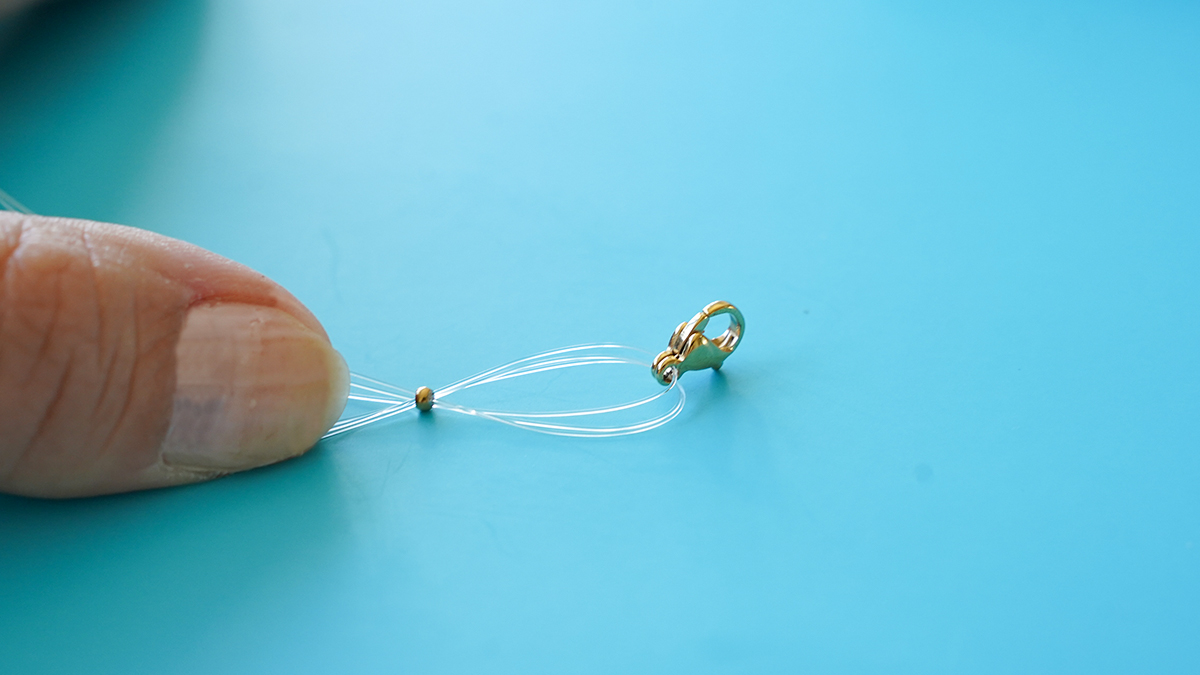
Thread 3 lengths of wire through a crimp bead, pass them through the Lobster Clasp, and then thread the 3 wires back through the crimp bead.
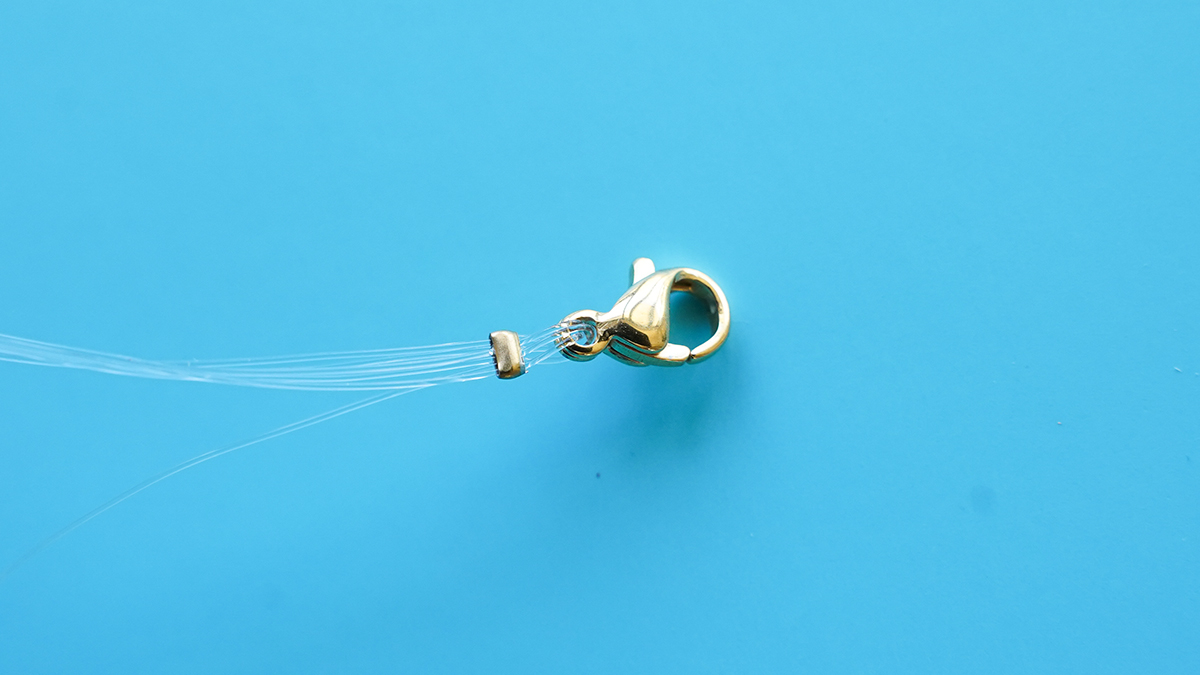
Flatten the crimp bead using the crimping pliers provided. Then slip a crimp cap over the crimp bead and flatten it as well, without applying too much pressure.
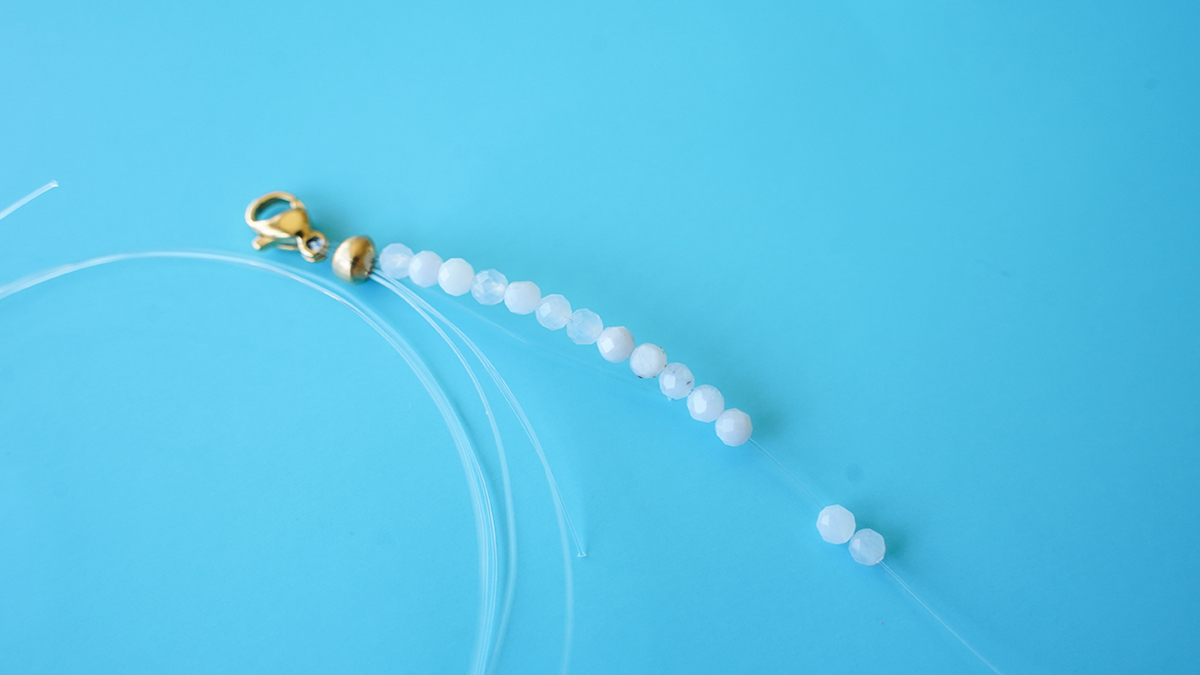
Start threading the gemstone beads onto a string, making sure to thread the end of that same string back through the beads to neatly hide the second, shorter string. Continue threading beads until you have about 14–15 cm of beads. Please note: this length is tailored to my neck circumference, so be sure to check your measurements beforehand.
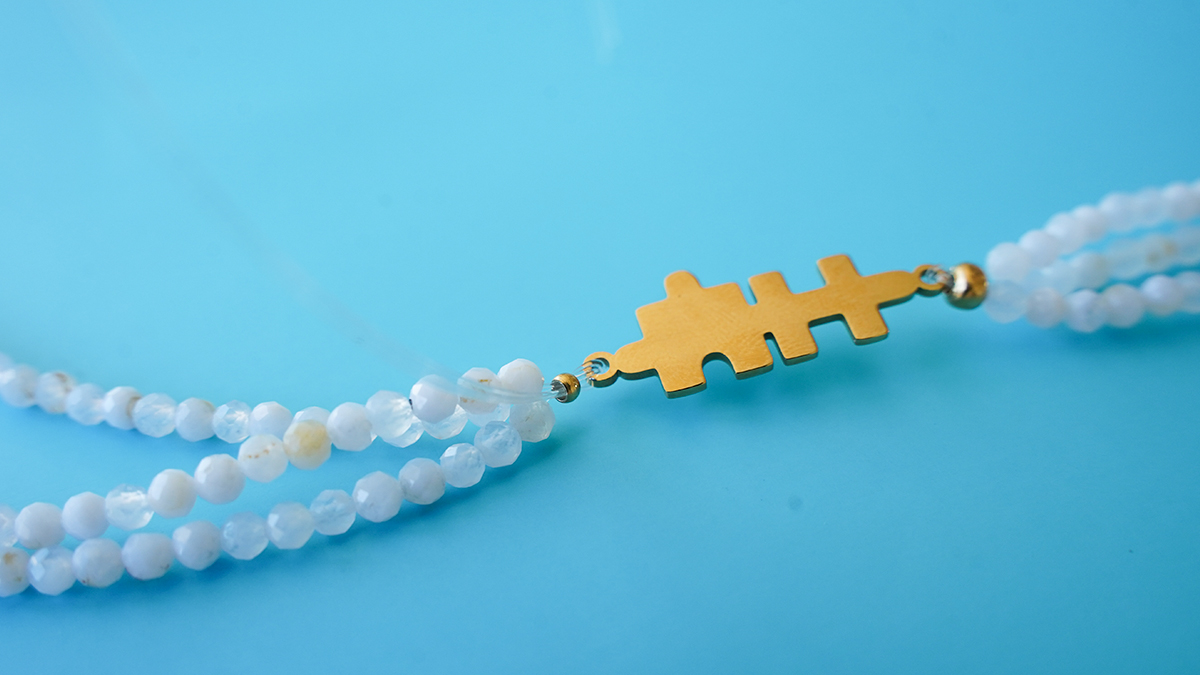
To finish this first side, thread a crimp bead onto the three lengths of thread, then pass the threads through the puzzle spacer. Next, pass the three threads back through the crimp bead and crimp it to secure the assembly.
Note: The short lengths of wire protruding from the crimp bead should be slipped into the beads of each corresponding row to hide them neatly. This step can be done before or after crimping the bead, whichever you find easier.Finally, crimp a bead cap over the crimp bead to achieve a neat finish. Then repeat all these steps for the other side of the necklace, simply replacing the Lobster Clasp with the extension chain.
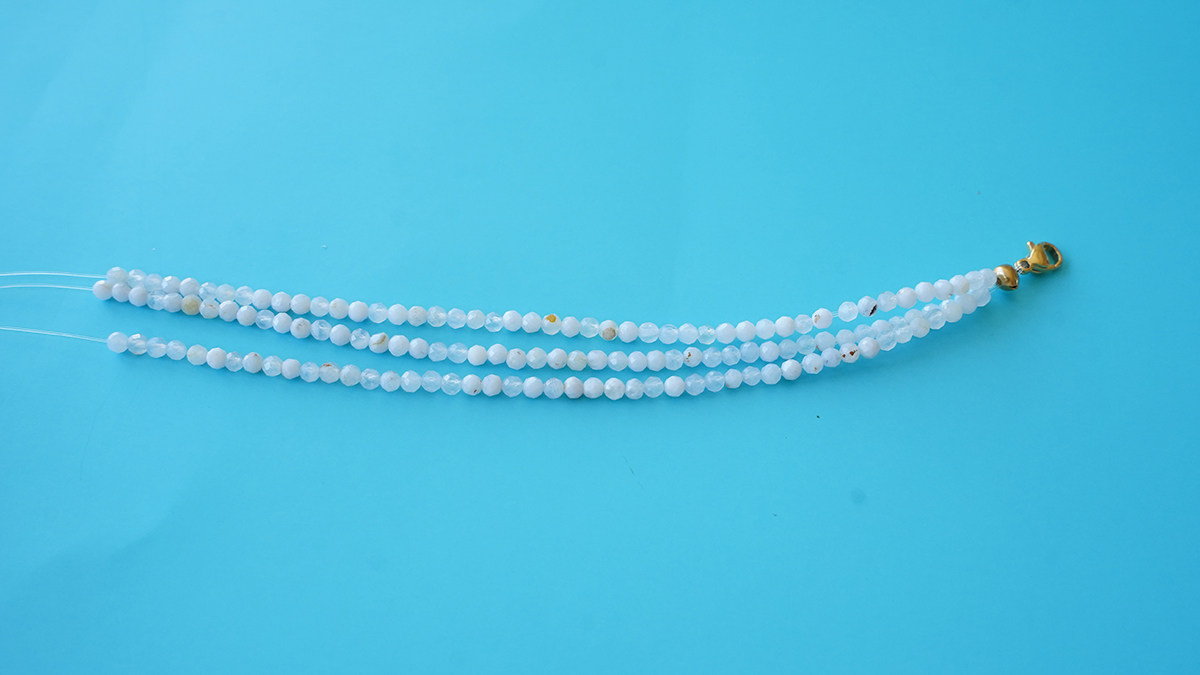
Repeat this step for the other two lengths of thread, making sure to always hide the ends of the thread inside the beads. For a neat finish and a beautiful drape, add one or two extra beads to each row compared to the previous one: the first strand, which is the shortest, will sit closest to the neck, and the subsequent strands will gradually hang lower.
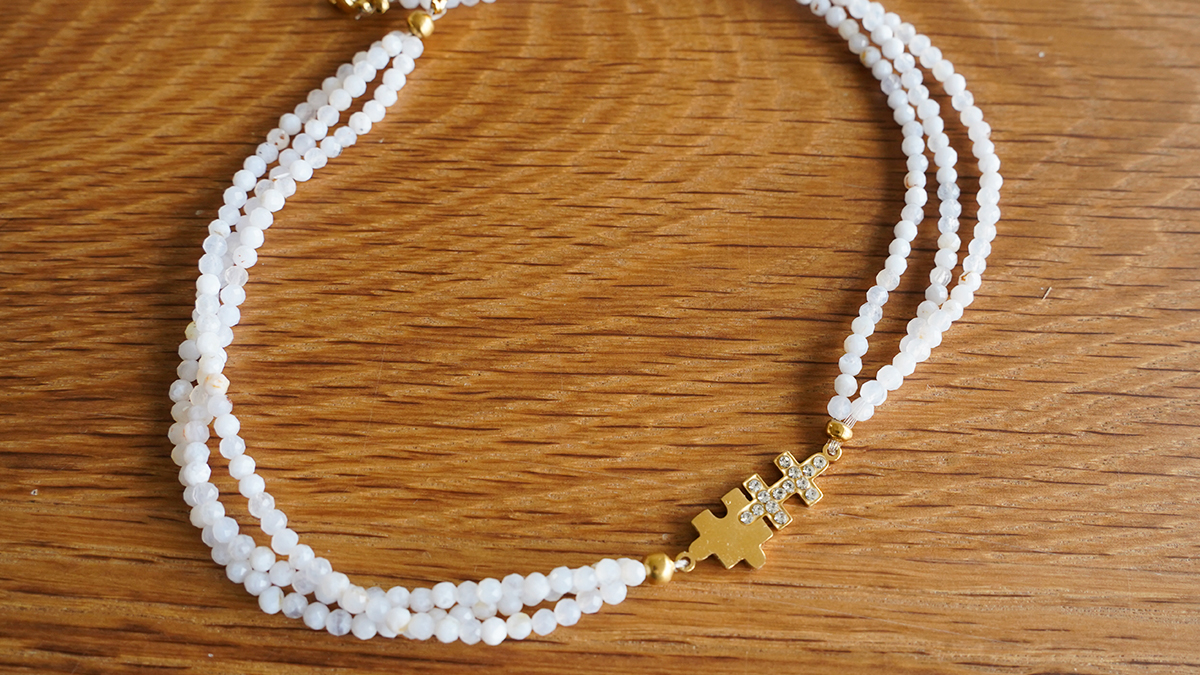
Your necklace is finished!



You have a question about this tutorial? Ask it to our team and the people who have already tested it. The Perles & Co community is here to help you!
Credits
Perles & Co, Internet & E-Commerce company [28/09/2026] Any reproduction, representation, adaptation, in any form whatsoever, even partial, is prohibited, except for reproduction for private use not intended for collective use, representation in the family circle (art. L 122-5 CPI) and online publishing on condition that the source is mentioned and a link is included to the corresponding page of our site www.perlesandco.com.