Average Grades
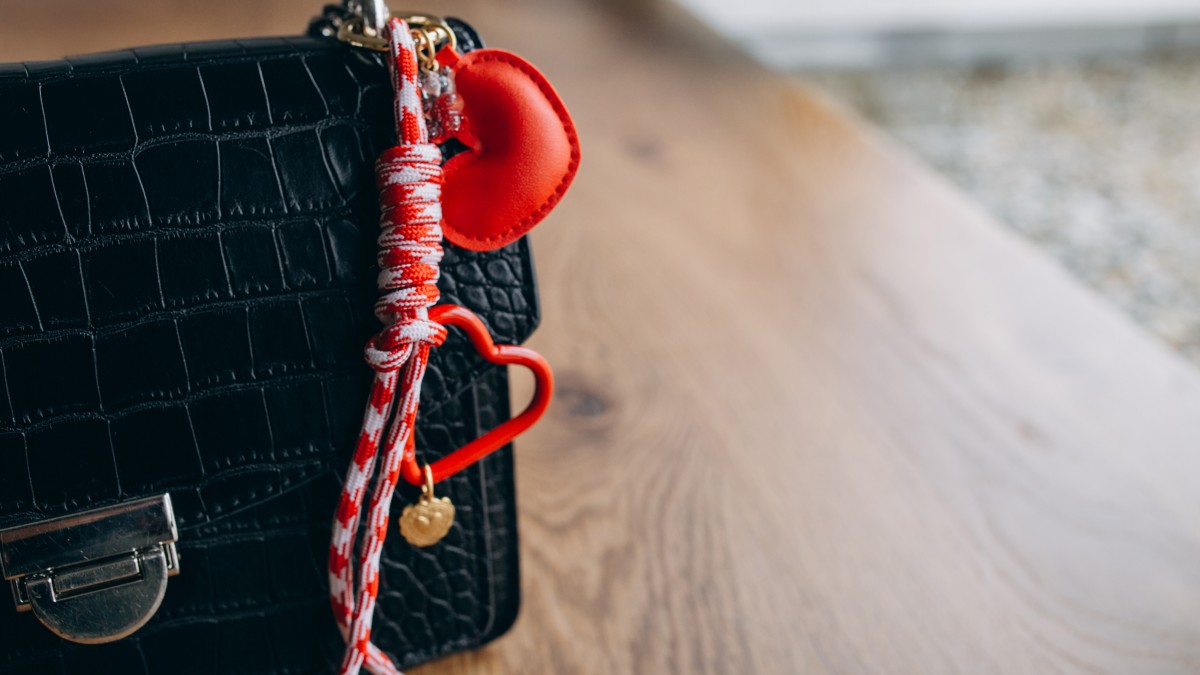
Start by cutting the ribbon to the desired length. Thread it through the heart-shaped clasp, then tie a pretty bow, letting the ends hang freely. You can adjust their length depending on the look you want.

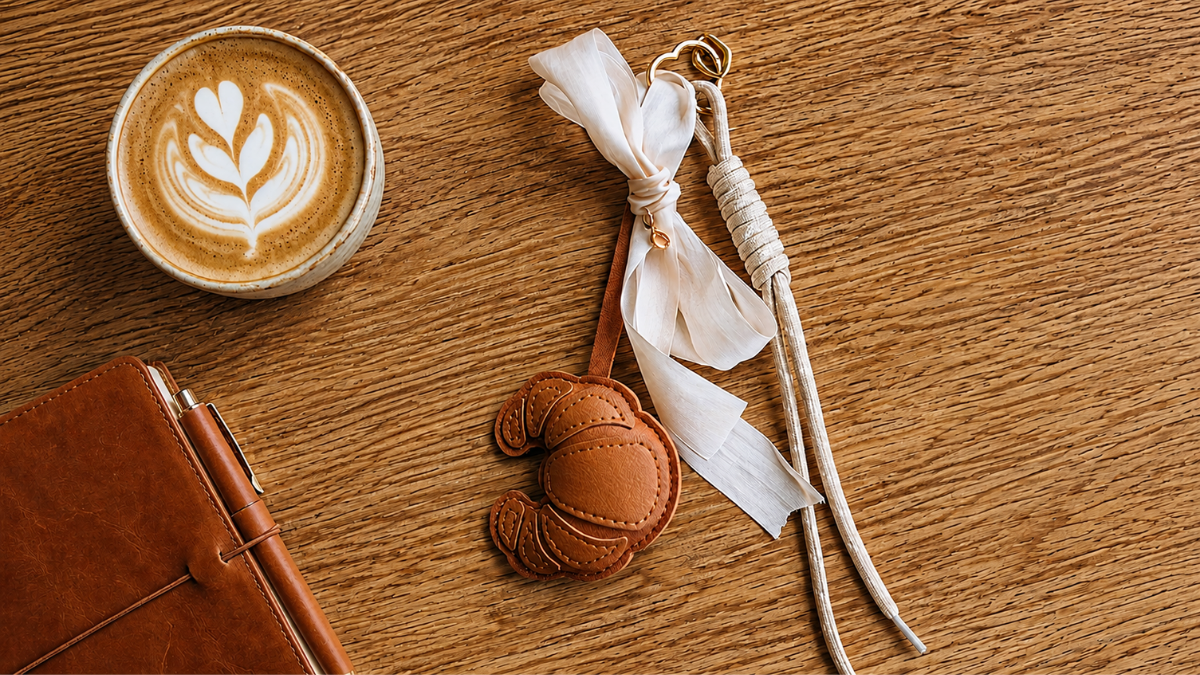
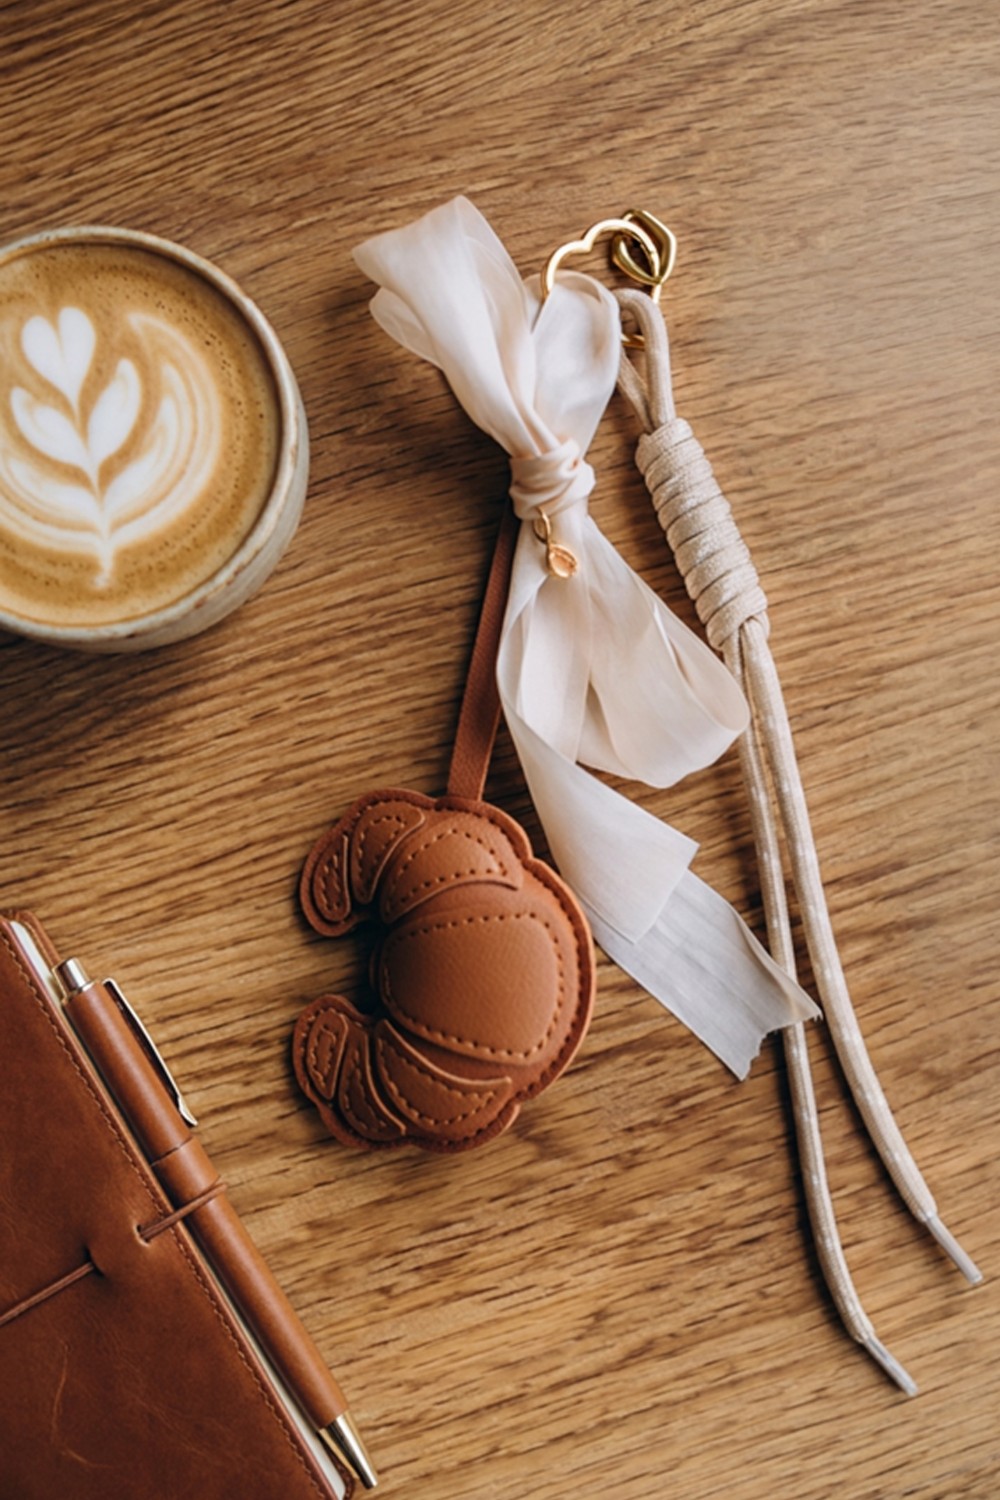
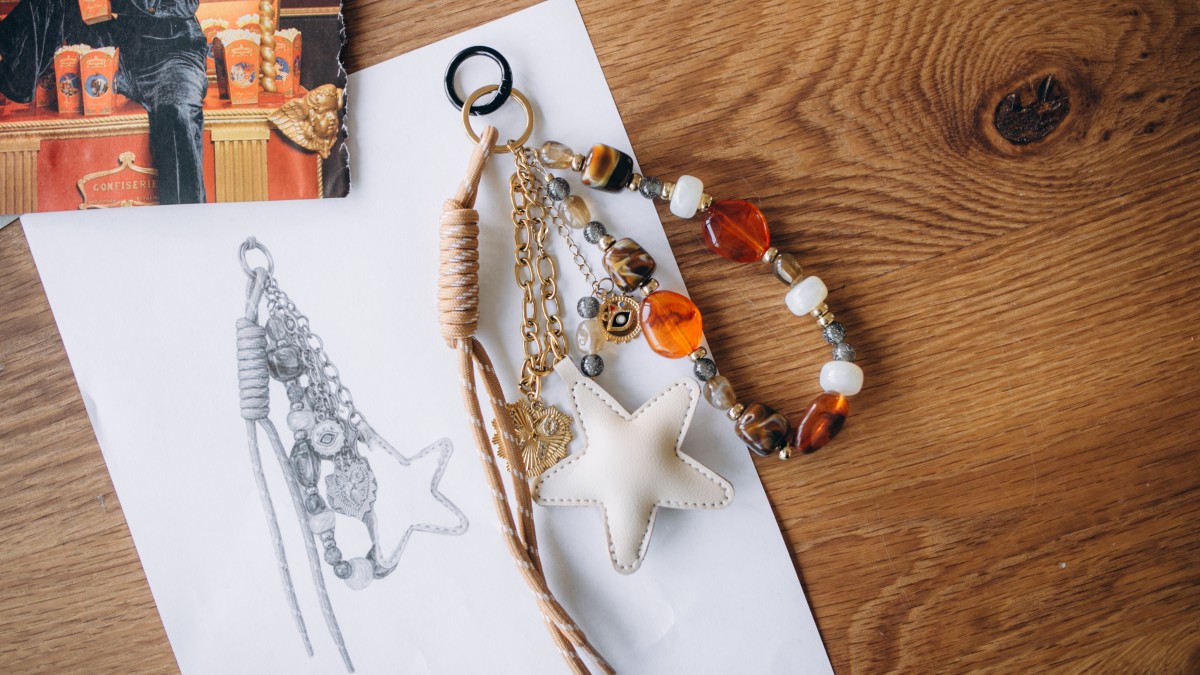
This tutorial provides step-by-step instructions for creating a handmade bag charm featuring a crescent-shaped pendant, paired with a ribbon and a cord to play with different textures and materials. Featuring the warm hues of Indian summer, this bag charm looks just as good on a tote bag as it does on a clutch. Easy to customize to suit your style, it’s quick to make and adds a unique touch to your accessories.
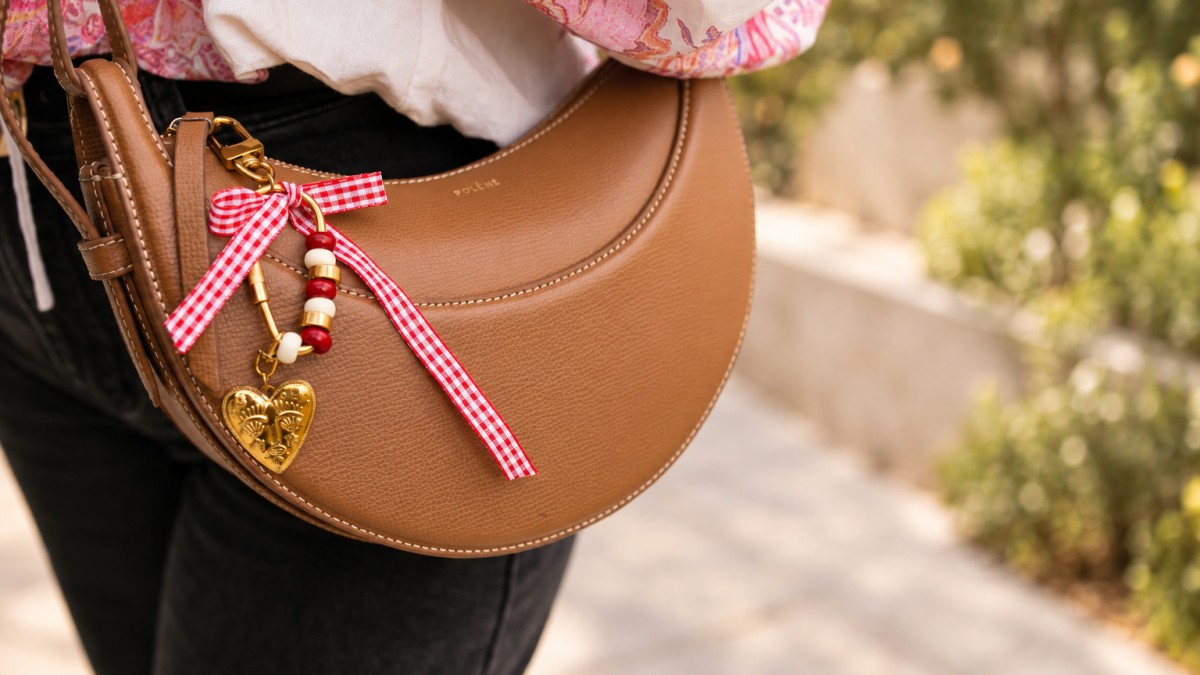
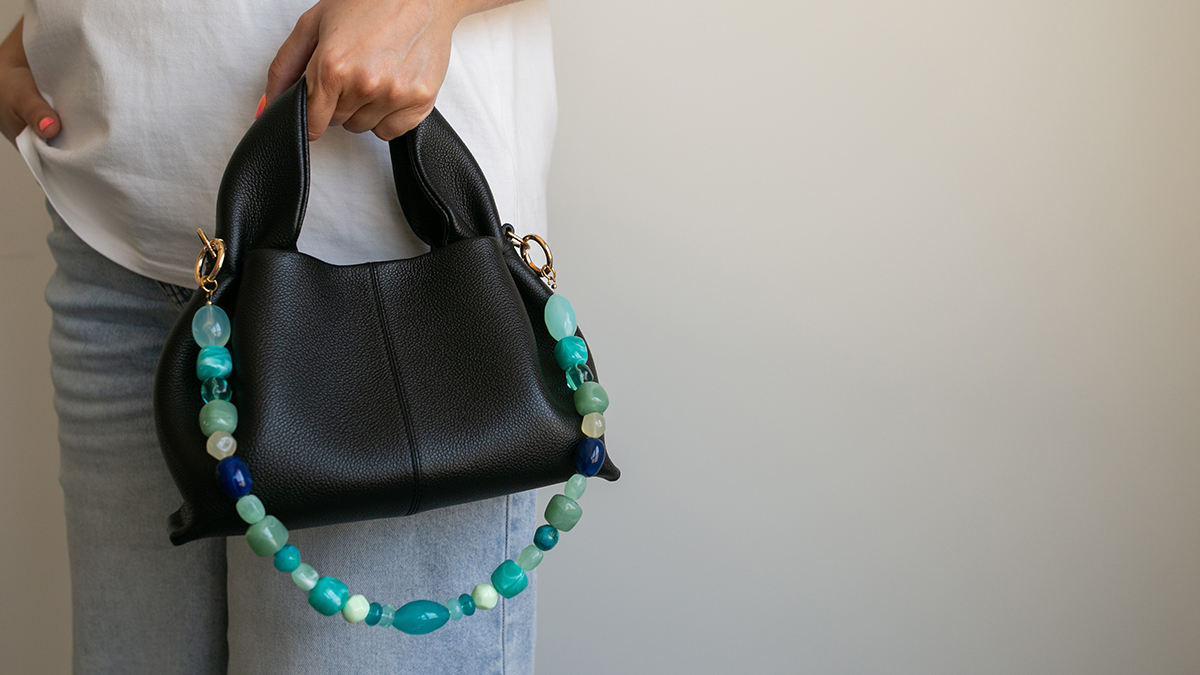
Want to personalize your bag with a handmade accessory? This DIY bag charm tutorial shows you how to easily make a bag charm featuring a crescent-shaped pendant. It’s a creative and accessible idea, perfect for adding a personal touch to a tote, handbag, or clutch.
In this bag charm, the crescent-shaped pendant is paired with a ribbon and a pre-assembled cord to create volume and play with different textures. As summer gives way to fall, this DIY bag charm is the perfect accessory for the start of the school year. Its colors and materials evoke an Indian summer vibe, ideal for extending the summer season just a little longer while gently transitioning into fall.
You can easily personalize your creation with our wide selection of bag charm pendants and our varietyof paracord colors. You’ll have plenty of options to design a version that matches your style, your bag, or whatever you’re feeling right now.
And if you follow this tutorial, share your creations on Instagram, TikTok, or Facebook by tagging @Perles & Co—we love seeing your customizations and the creative takes from our community!
Start by cutting the ribbon to the desired length. Thread it through the heart-shaped clasp, then tie a pretty bow, letting the ends hang freely. You can adjust their length depending on the look you want.
Since the paracord clasp is already attached, you don't need to do anything special to prepare it. Just attach it directly to the heart-shaped clasp.
Using two jewelry pliers, open a jump ring, slide the teardrop charm onto it, then attach it directly to the center of the knot by closing the jump ring.
If this is your first time assembling this type of piece, this how-to guide can help: How do you open a jump ring to make jewelry?
Attach the ribbon, cord, and crescent-shaped pendant to the heart-shaped clasp. Make sure all the components are securely fastened, and adjust the ribbon if necessary.



You have a question about this tutorial? Ask it to our team and the people who have already tested it. The Perles & Co community is here to help you!
Credits
Perles & Co, Internet & E-Commerce company [29/08/2026] Any reproduction, representation, adaptation, in any form whatsoever, even partial, is prohibited, except for reproduction for private use not intended for collective use, representation in the family circle (art. L 122-5 CPI) and online publishing on condition that the source is mentioned and a link is included to the corresponding page of our site www.perlesandco.com.

