Average Grades
We advise you to start weaving from the center of the weaving grid, so that you can adjust the length of the mask as you go along. It's also difficult to start with the hole where the button will be inserted.
This Miyuki bead mask clip will also enable you to adjust commercial masks that are sometimes too big, and to stop the pain behind your ears caused by the elastic bands.
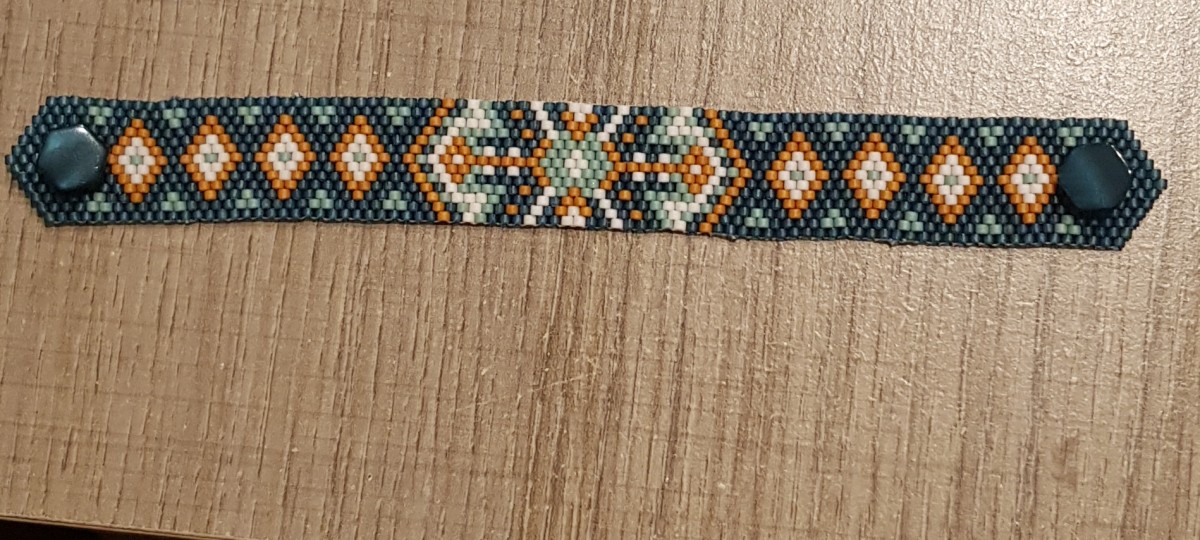
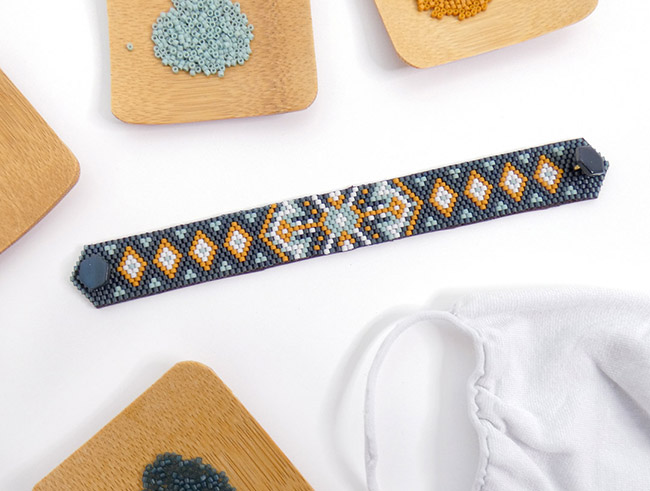
Adapt the colors and length of this mask extension to your needs. The example here is 15.5 cm and the person in the photo has a head size XS (54 cm). Depending on the type of mask you're using and your head size, you'll need to lengthen the pattern by repeating the diamonds on either side of the central pattern.
This weaving grid for mask extension in Miyuki delicas 11/0 beads can also be used to make a bracelet. Its width is compatible with Perles and Co's exclusive weaving tips.
The techniques used are odd Peyote weave, even Peyote weave and Brick Stitch at the hole. This is an intermediate-level tutorial. We advise you to be familiar with these weaves as the part with the hole mixes these three weaves and can be difficult for a beginner to understand.
We advise you to start weaving from the center of the weaving grid, so that you can adjust the length of the mask as you go along. It's also difficult to start with the hole where the button will be inserted.
Weave the entire bracelet, adding diamonds on either side if necessary. At the hole, start weaving the top of the bracelet, then decrease. Then go back and weave the lower part below the hole. Once both parts are woven. Join them at the end of the bracelet, at the tip, by making a Brick Stitch increase, and connect the two parts by passing the thread through both sides of the bracelet.
Add two more beads in a row on the same line to fill the hole, which should only be 3 beads wide.
Attach the buttons to the weave by threading the beads around the hole and through the button hole several times. Do this a minimum of 4 times or more. Then wedge the thread into the weave and cut.
Trace the shape of the bracelet onto a piece of leather, imitation leather, suede or felt and cut it out.
Glue the bracelet to the cut-out backing and wait 24 hours before using it.


You have a question about this tutorial? Ask it to our team and the people who have already tested it. The Perles & Co community is here to help you!
Credits
Perles & Co, Internet & E-Commerce company [19/10/2020] Any reproduction, representation, adaptation, in any form whatsoever, even partial, is prohibited, except for reproduction for private use not intended for collective use, representation in the family circle (art. L 122-5 CPI) and online publishing on condition that the source is mentioned and a link is included to the corresponding page of our site www.perlesandco.com.