Average Grades

Start by cutting the chain into two equal-length pieces using wire cutters.


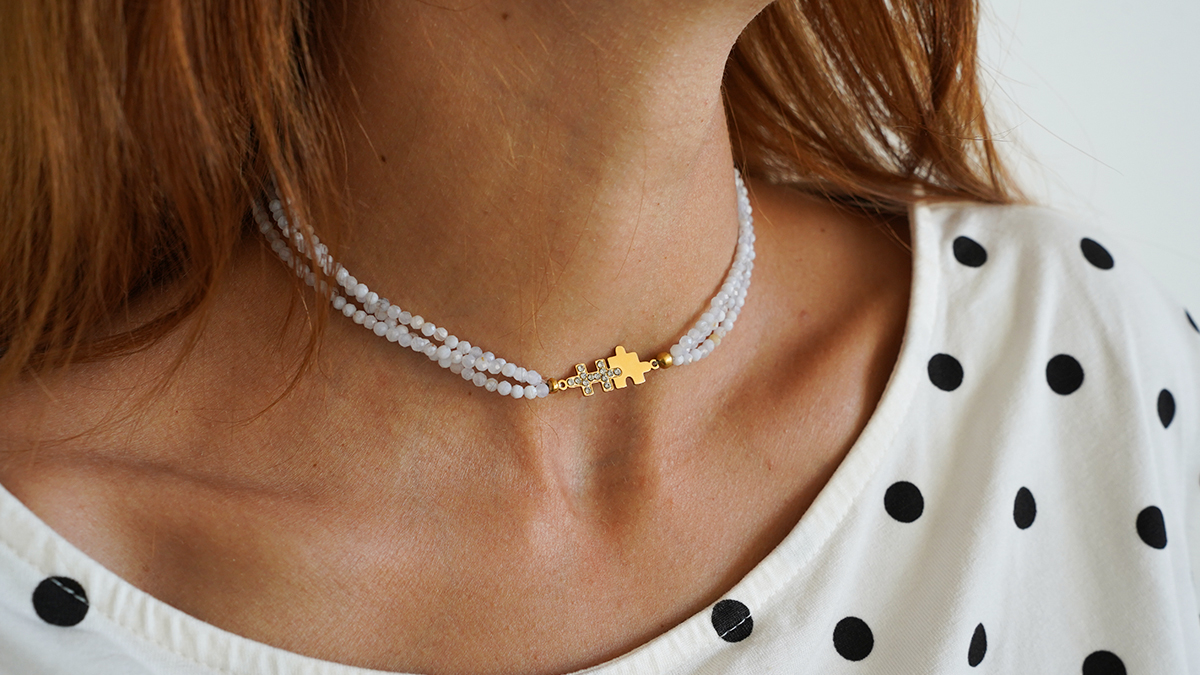
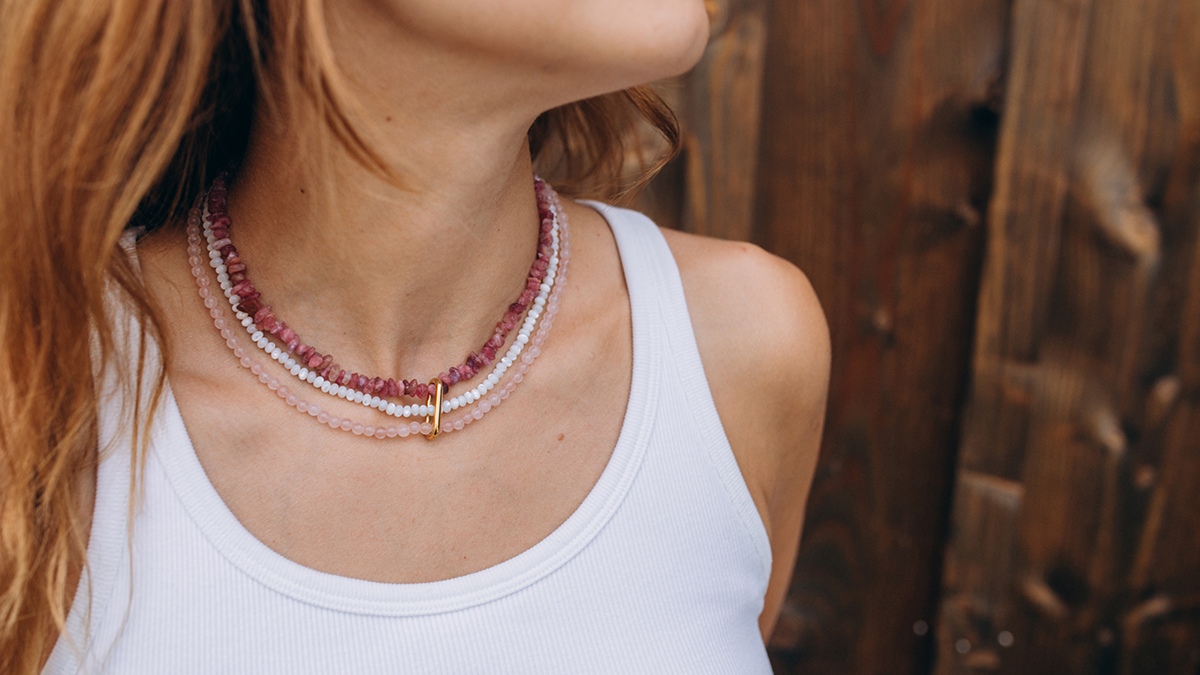
Rediscover this year our Perles & Pop collection, a concentrate of DIY jewelry in vitamin-rich colors. For this part of the collection, we've put the spotlight on spring and its soft, pastel hues. In this tutorial, I'll show you how to make a choker necklace in just 20 minutes, using two chains and natural stone clover beads. Original and soft, this necklace will add style to your looks: a white shirt, jeans and this necklace. Hot!
This tutorial is accessible to beginners and presents no particular difficulties. Only three tools are needed to make the jewel: wire cutters, flat nose pliers and round nose pliers. As for the materials, a lobster clasp and extension chain, open rings and round-headed nails, an oval mesh chain to be cut in half, and five natural stone clover beads, 4 of which are different so that you can alternate colors. We have a wide choice of natural stone beads if you'd like to opt for a different shape. You can also choose from our range of synthetic beads, with their many colors and shapes. As you can see, this necklace can be customized to your heart's content!
Start by cutting the chain into two equal-length pieces using wire cutters.

Slide a round-head pin through the clover-shaped bead of your choice. Using wire cutters, cut the pin so that you are left with 2 cm of wire. Then use round-nose pliers to form a loop.
You can refer to our technical guide:Making a Loop on a Pin or Jewelry Wire.

Place your bead wherever you like on both chains, then close the loops of the clasp around it.

Follow the same steps to place the other 4 clover beads as follows.

Finish assembling your piece by opening two jump rings with a pair of pliers and sliding them onto the clasp. Then attach the chains. Repeat the same process at the other end with the other part of the clasp.




You have a question about this tutorial? Ask it to our team and the people who have already tested it. The Perles & Co community is here to help you!
Credits
Perles & Co, Internet & E-Commerce company [08/04/2026] Any reproduction, representation, adaptation, in any form whatsoever, even partial, is prohibited, except for reproduction for private use not intended for collective use, representation in the family circle (art. L 122-5 CPI) and online publishing on condition that the source is mentioned and a link is included to the corresponding page of our site www.perlesandco.com.