What lightweight beads should I use to make large pieces of jewelry?
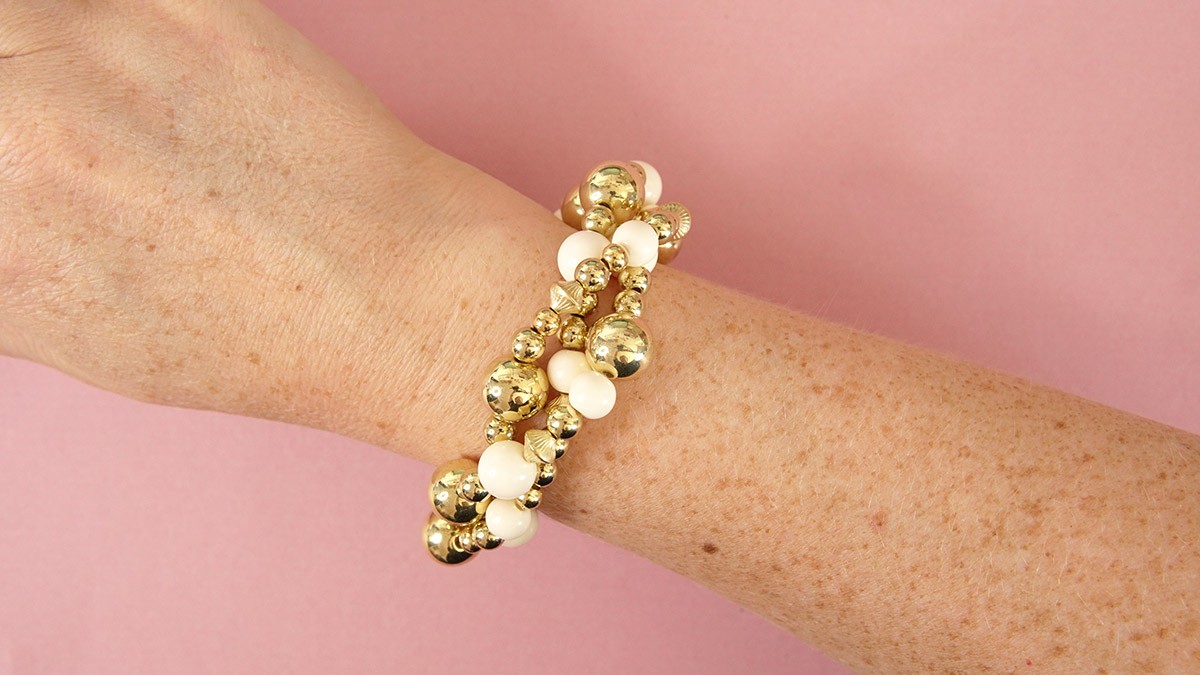
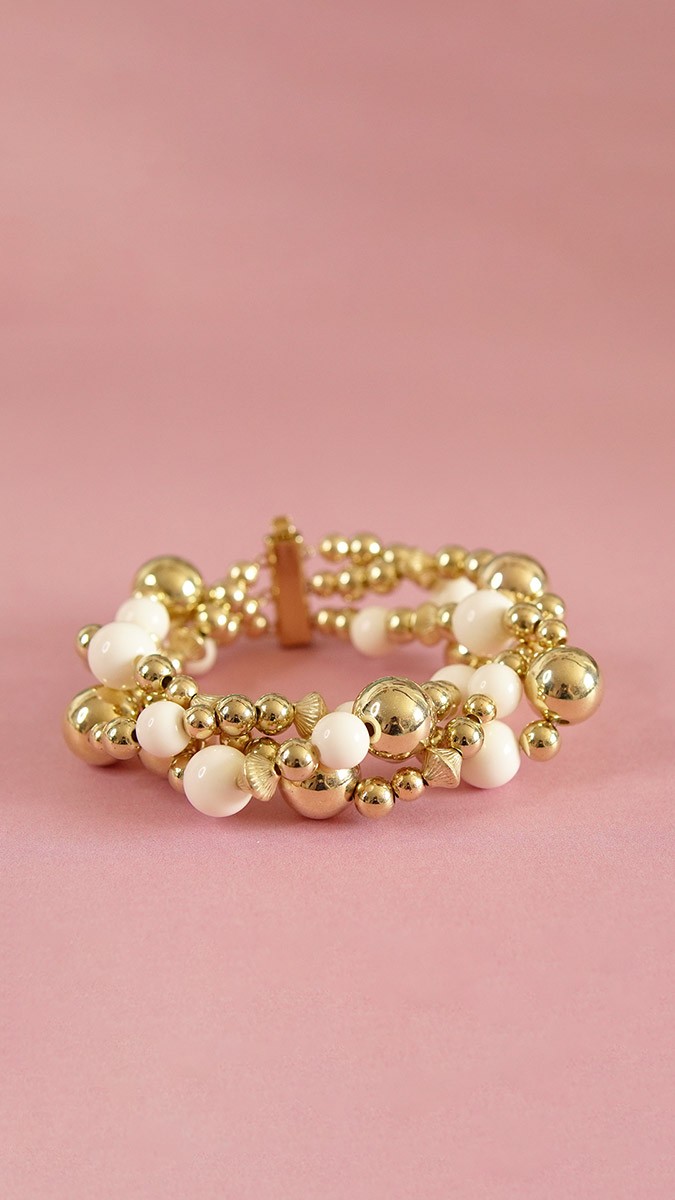
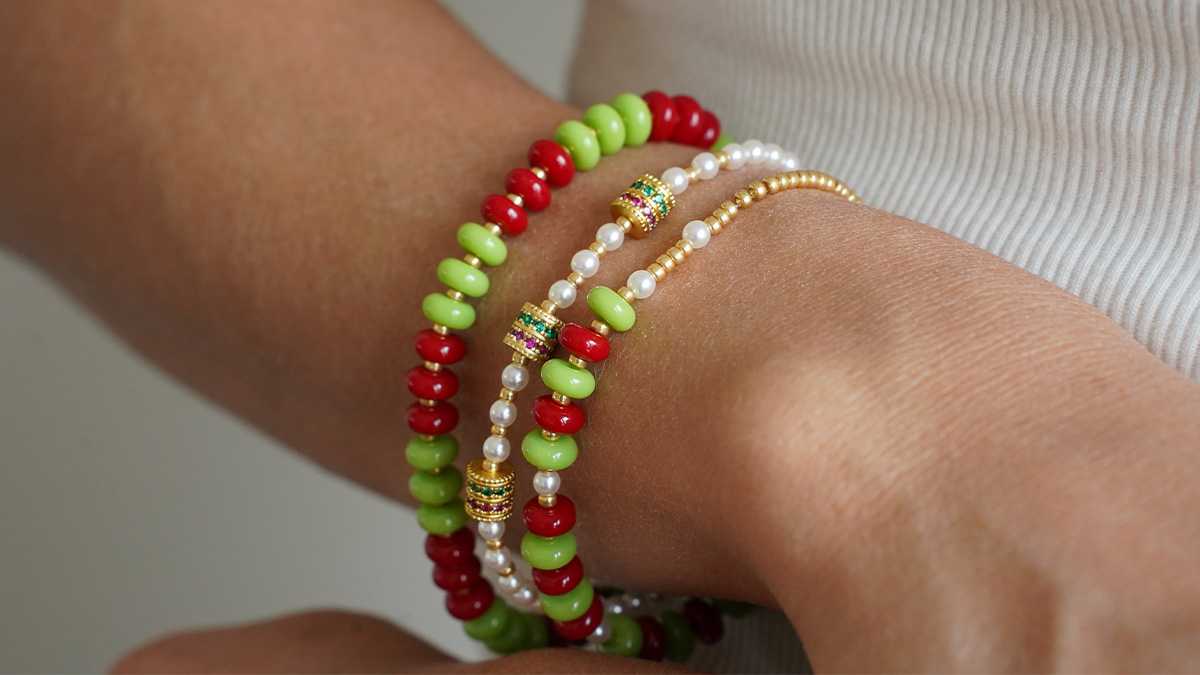
Create a chunky women's bracelet with our large, lightweight gold and cream beads. With this tutorial, you'll be able to create a bold, imposing cuff that's still elegant. Gold pearls mixed with cream pearls create a contrast that reinforces the luxurious feel, yet these pearls are very affordable. In fact, contrary to what you might think, they're made from CCB acrylic plastic. CCB stands for "Copper Coated beads". It's a technique that involves coating the beads with a layer of copper before plating them with another metallic color. So they have the lightness of plastic beads with the shine of metal beads. We also have pearl-effect ABS beads, which are very pretty and light. The multirang clasp is slim and elegant. It's a high-quality clasp, made in Germany. It lasts very well over time. The gold of the clasp is very similar to the gold of the pearls, so it blends in well with the bracelet.
To make this multi-row bracelet, you'll need thread and crushable pearls. I've chosen 0.5 mm fishing line and 2 mm crushable pearls to introduce you to the special "One Step Climper" pliers, which enable you to achieve a perfect finish with crushable pearls very quickly. These pliers are very practical, but can only be used with 2 mm crushable pearls and tubes and fairly thick wire. If you don't use the pliers, you can use thinner wire, such as 0.35 mm fishing line or 0.30 or 0.35 mm cabled wire if you have it in stock, and finer crushable beads. I've added crushable bead covers to the material list to hide the crushable beads.
The quantity of beads listed is suitable for a wrist of about 15 cm. For a larger wrist, I recommend adding a few more bags of beads. For example, 1 bag of 6 mm pearls and 1 bag of spinning tops. You can also complete your cuff with CCB acrylic flower rings.
Whether you wear it for a special event or to brighten up an ordinary day, this bracelet is sure to make a splash.