How to make gemstone elastic bracelets?
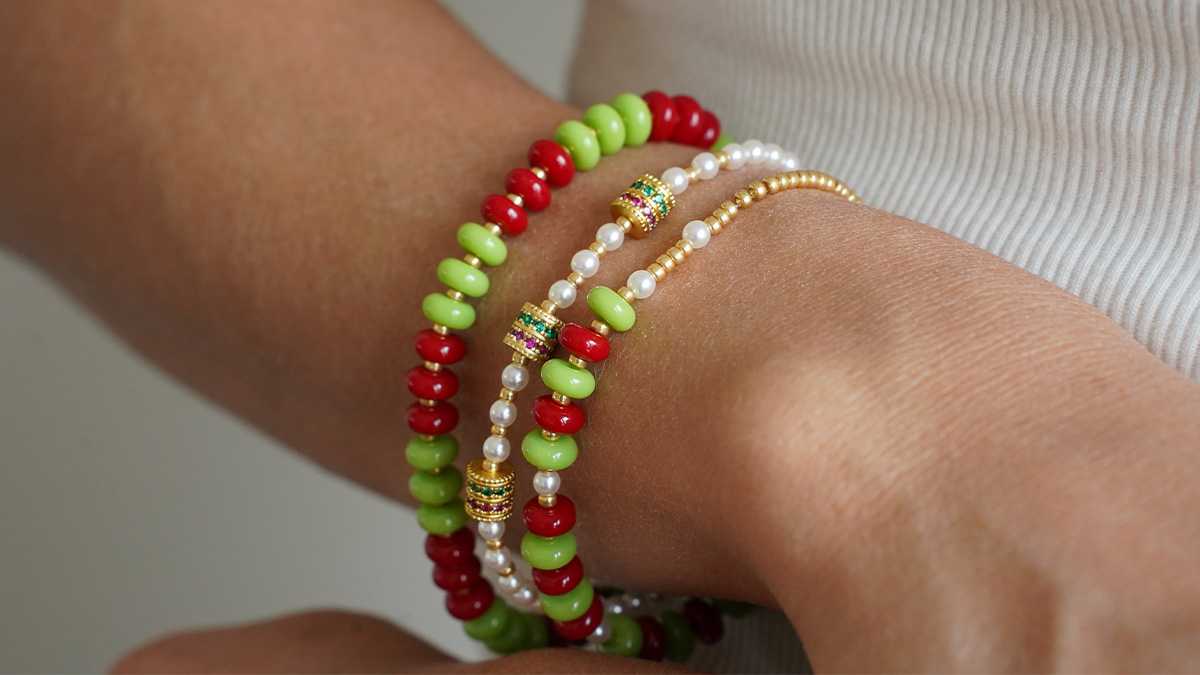
I suggest you create a multitude of small elastic bracelets with fine natural stones: Garnet, Chrysocolla and Pink Tourmaline beads. In the photos, there are only 3 bracelets, but with the materials listed, you can make a total of 7 to 9 bracelets measuring around 16 cm. Of course, we also offer a wide choice of small gemstone beads. Feel free to adapt the colors. I chose Elonga 0.30 mm elastic wire, because it's a very fine elastic wire. Indeed, the pearls have a hole of approximately 0.5 mm, and you need to be able to pass the thread twice through the pearls with the needle. It's a very stretchy thread, but it's not at all suitable for larger, heavier beads. So if you change the beads in the tutorial, keep the same bead sizes. If you're ever interested in making elastic bracelets with larger gemstone beads, I recommend you take our beginner's jewelry course for natural stone jewelry.
These elastic bracelets are discreet, elegant and pleasant to wear. What's more, elastic bracelets are quick and easy to put on your wrist. However, avoid leaving them in the car in summer, storing them in direct sunlight or swimming with them on, as elastic threads are sensitive to heat, UVs, solvents, salt and chlorine. Take good care of them, and you'll be able to keep them for several years. If ever the elastic thread starts to get damaged, you can always start again, keeping the natural stone beads.
Once you've cut your wire, before stringing the beads, pull on the wire to loosen it and check that there's no brittleness on the cut end. Then string your beads, starting with a large-hole bead, in our case a tube or Miyuki Delica bead. You'll hide the knot inside at the end.