Average Grades
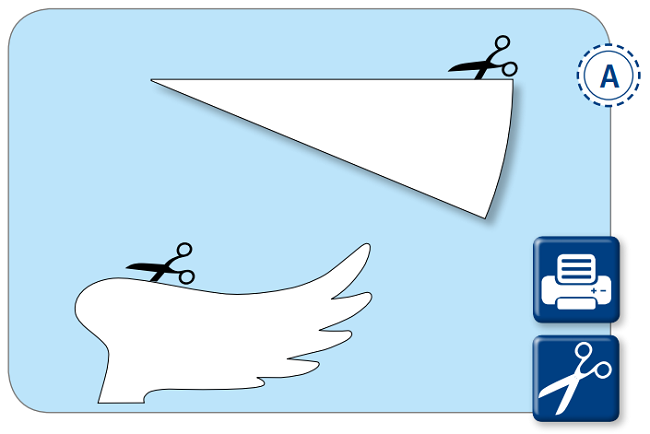
First, print out the paper templates for the angel's body and wings. Then cut them out.


For Fimo clay and modelling addicts, here's a decorating tutorial ideal for the end of the year, to decorate your home and give it a festive air. This activity can be done with children aged 8 and over. This tutorial is suitable for beginners. Have fun creating your own Christmas decorations with Fimo Air clay. This modeling clay hardens in air. No need to bake! What's more, it's 95% natural substances. Its final appearance is similar to that of clay.
In this DIY, you'll discover how to use a texture plate. Like a stencil, the plate enables you to imprint a pattern on the polymer clay while adding relief to your creations. You'll find a wide choice of texture sheets with a multitude of patterns. These sheets can be molded with all types of polymer clay (Fimo, Cernit, Sculpey, etc.) and Fimo Air clay.
Fimo Air is available in a range of colors and effects, from Terracotta to wood and granite.
We'd love to see your version of these angels, so don't hesitate to send us your photos on Facebook, Instagram or at the bottom of this tutorial.
First, print out the paper templates for the angel's body and wings. Then cut them out.
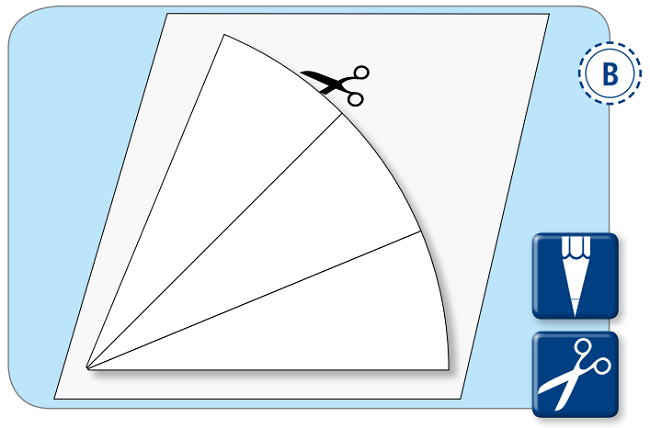
After cutting out the body template, trace it three times side by side onto cardboard, then cut out your design.
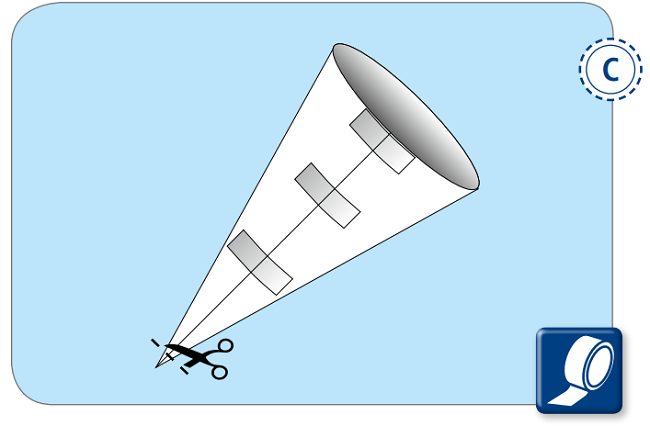
Fold your template, then tape it end to end with adhesive tape. Cut about 1 cm from the top.
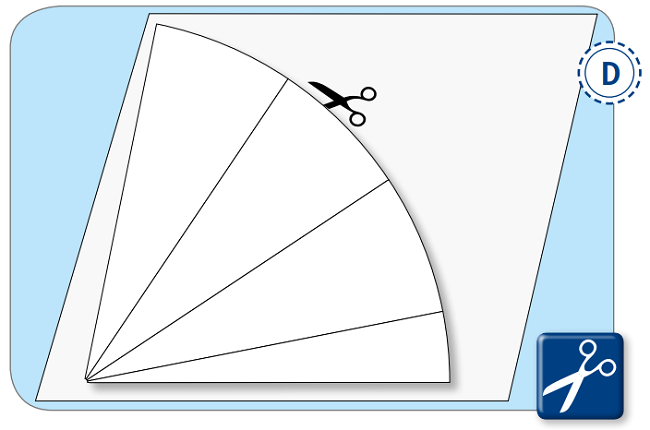
On a sheet of paper, draw the pattern you'll use to cut out your Fimo Air clay. It should be 3 ½ times larger than your base model so that it can cover the angel's entire body. Once you've drawn your pattern, cut it out (the entire shape).
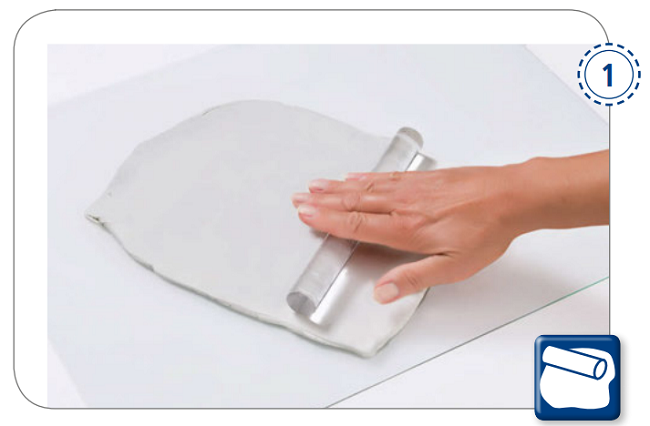
To make the cone, wet your hands slightly and use your hand to gently flatten about two-thirds of the Fimo Air clay.
Then place it on a smooth, flat surface. Use the acrylic rolling pin to roll it out until it’s about 0.5 cm thick.
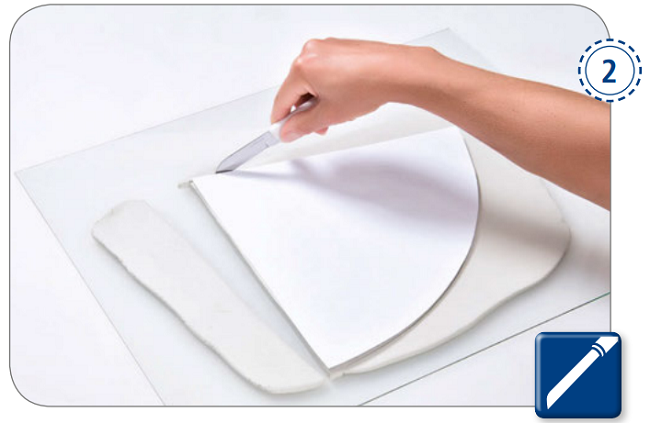
Place the angel body template on the FIMO Air clay and cut along the outline.
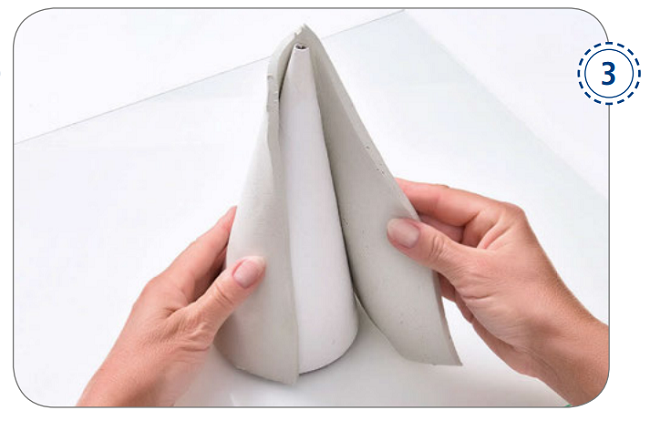
Cover the cardboard cone with Fimo Air clay. It's best to dampen your hands to make the process easier.
If you have any Fimo clay left over, you can store it by wrapping it in plastic wrap. This will keep the clay pliable so you can reuse it.
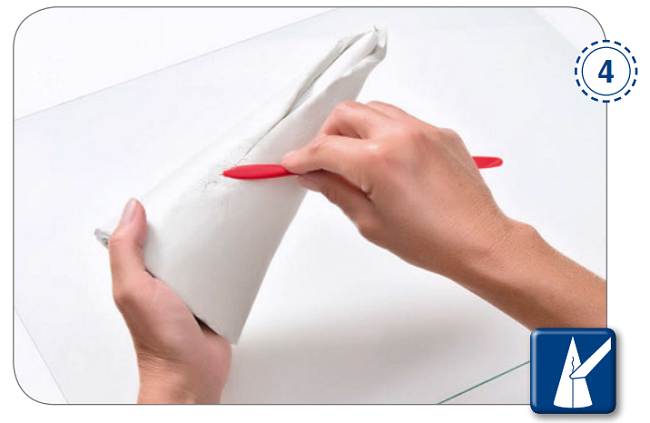
Use a spatula to smooth out and firmly join the two sides.
Using your hands—which you have lightly moistened beforehand—smooth out the surface of the cone. Poke a hole in the top of the cone with a wooden stick. Enlarge the hole by gently rotating the stick.
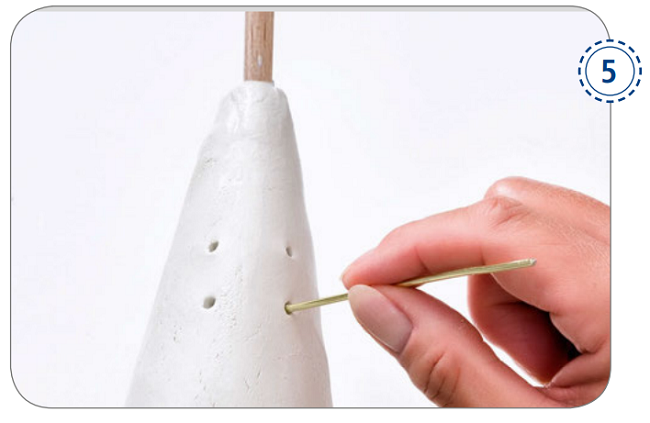
Using the aluminum wire, make 4 holes for your angel's wings.
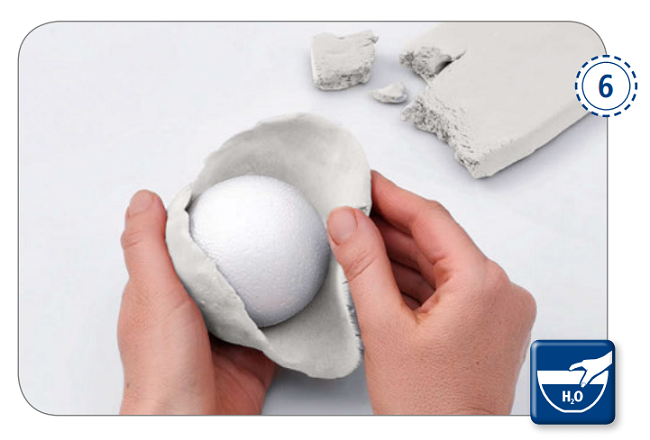
For the head, cover a Styrofoam ball with a layer of Fimo Air clay about 4–5 mm thick. Lightly wet your hands, smooth out the ball, and then glue it to the wooden stick.
Tip: Leave the ball on the wooden stick and place it inside an empty bottle to let it dry.
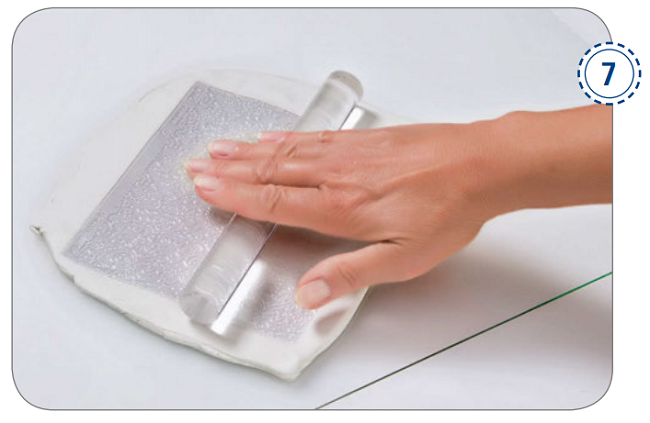
Roll out the remaining white Fimo Air clay, then divide it into two equal parts.
Sprinkle a little talcum powder on your texture plate, then tap off the excess. Next, place the texture plate on top of the clay. Roll over it just once, pressing firmly on the plate. Gently remove the plate.
Repeat the process with your other piece of clay.
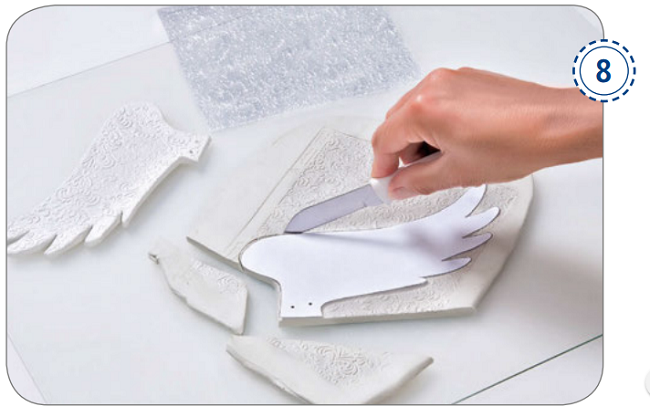
Place the left-wing template on one of the pieces of Fimo Air clay, then cut it out. Do the same for the right wing.
Lightly wet your finger and smooth out the edges of the wings.
Use a piece of aluminum wire to punch holes that will allow you to attach the wings later. Let the wings dry at room temperature.
Note: Drying time will depend on the thickness and size of your pieces. Check them and flip them over from time to time to make sure they’re drying properly. If you notice any cracks, you can repair them once your pieces are dry using a small amount of Fimo Air clay. Please note: Fimo Air clay cannot be baked in an oven or microwaved.
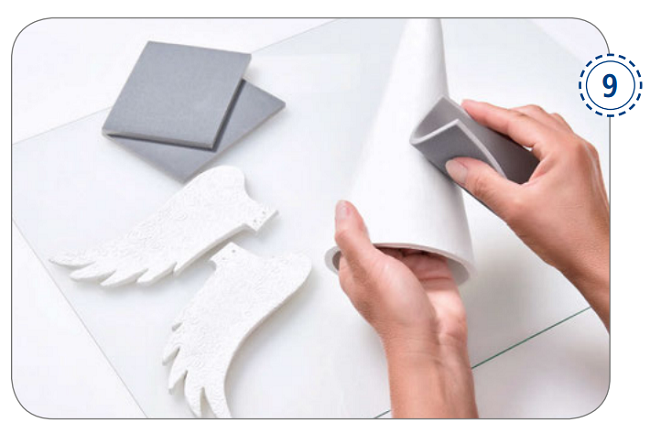
Once dry, remove the cardboard from inside the cone. If you notice any rough spots on the ball (head) or the cone, you can use an abrasive sponge to gently sand the pieces.
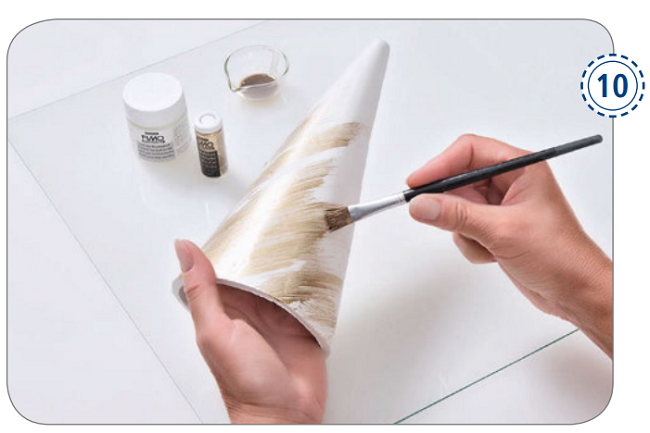
Mix a little varnish with the gold powder in a small bowl.
Using a brush, apply this mixture diagonally to the angel's body.
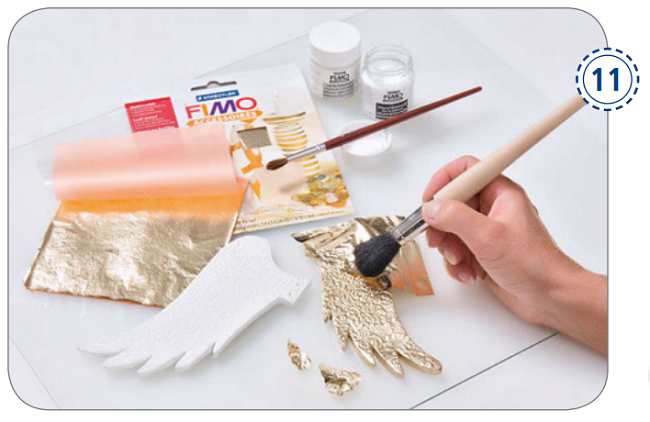
Using a brush, carefully position the metal foil on your FIMO Air clay wing. Tap the brush very lightly to help it adhere.
Finish by applying a coat of metallic foil varnish (you’ll find detailed instructions on the foil packaging).
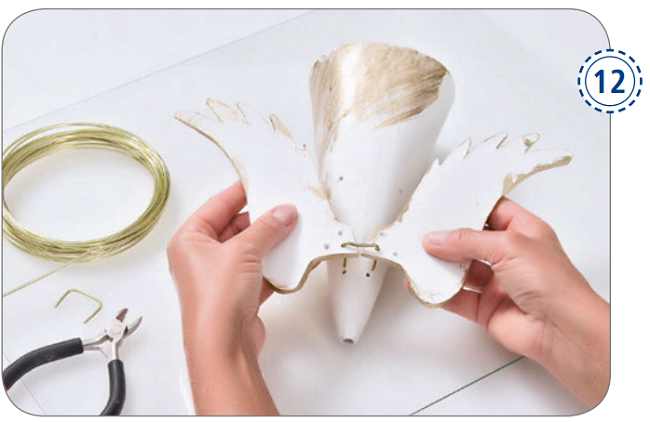
To attach the wings, use the aluminum wire and thread it through the holes provided for that purpose
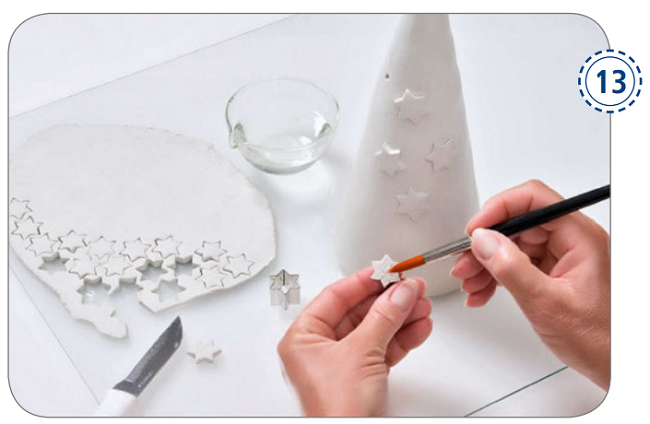
Variation: Angel's body sprinkled with stars
For this version, make the cone as described in steps 5 through 9.
Next, to make the decorative stars, work a piece of FIMO Air clay and roll it out until it’s about 2 mm thick. Cut out small stars using a cookie cutter.
To attach the stars to the angel’s body on the cone, lightly moisten the stars with a brush, then press them firmly onto the angel’s body.
Use the aluminum wire to make a hole on each side of the body so you can attach the wings.
Make the head.
Let all the pieces dry.
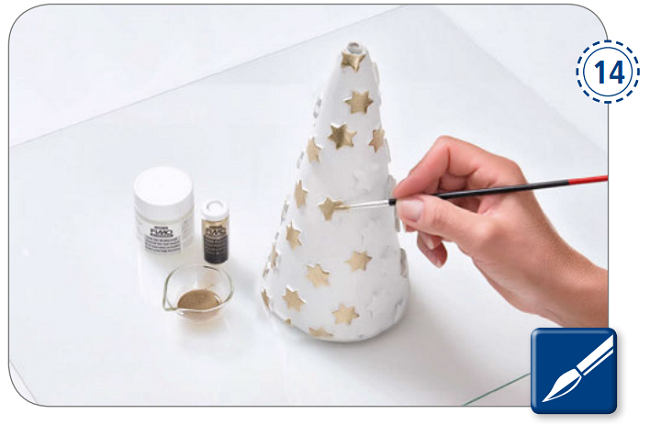
Once your pieces are completely dry, mix a little varnish and gold powder in a small bowl. Use a brush to apply the mixture to the stars.
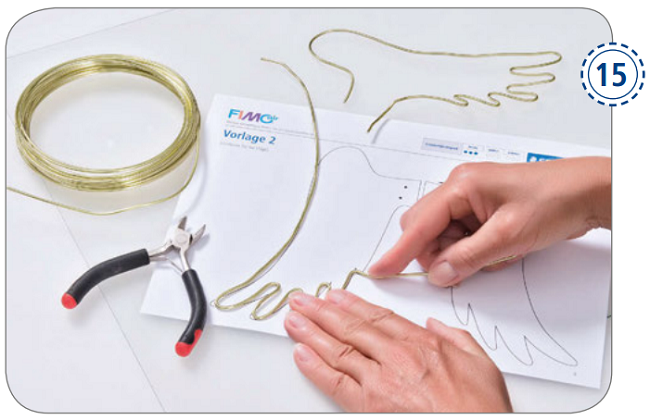
Make the wings by bending the aluminum wire to match the shape of the template (which you printed out beforehand), adding about 2 cm to each end.
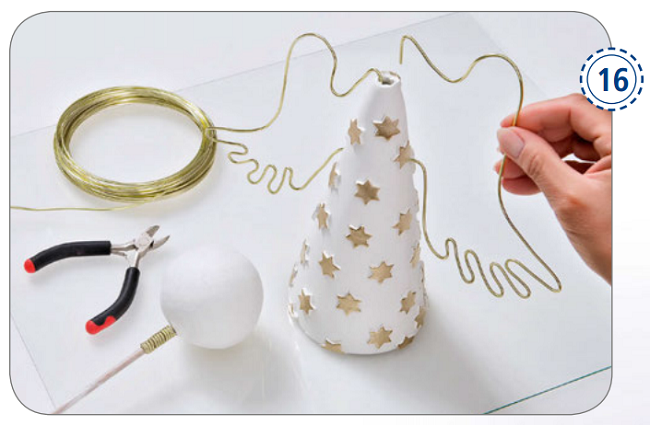
Insert the wings through the hole at the top of the angel's body and into the holes on the side, then bend them inward. For a nice finish on the neck, wrap the aluminum wire around the wooden stick just below the head, and then push the body onto it.
Tip: Aluminum wire is very easy to bend with your fingers. With a pair of round-nose pliers, you can create even more precise small curves. For larger curves, you can bend the wire around thick markers, small bottles, or even glasses.
You have a question about this tutorial? Ask it to our team and the people who have already tested it. The Perles & Co community is here to help you!
Credits
Perles & Co, Internet & E-Commerce company [07/11/2022] Any reproduction, representation, adaptation, in any form whatsoever, even partial, is prohibited, except for reproduction for private use not intended for collective use, representation in the family circle (art. L 122-5 CPI) and online publishing on condition that the source is mentioned and a link is included to the corresponding page of our site www.perlesandco.com.


