Average Grades

Start by cutting about 50 cm of stranded wire. Thread one end of the wire through a stranded wire protector. Next, slide a crimp bead onto the two wires, flatten it with flat-nose pliers, and then add a bead cap.

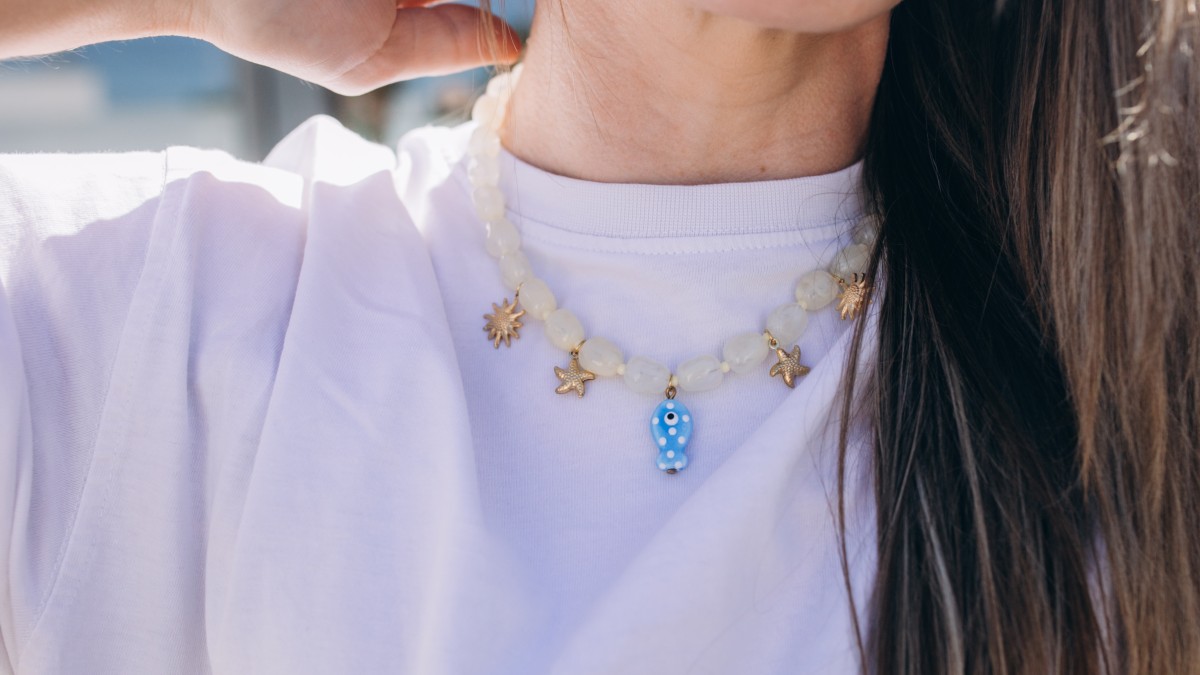
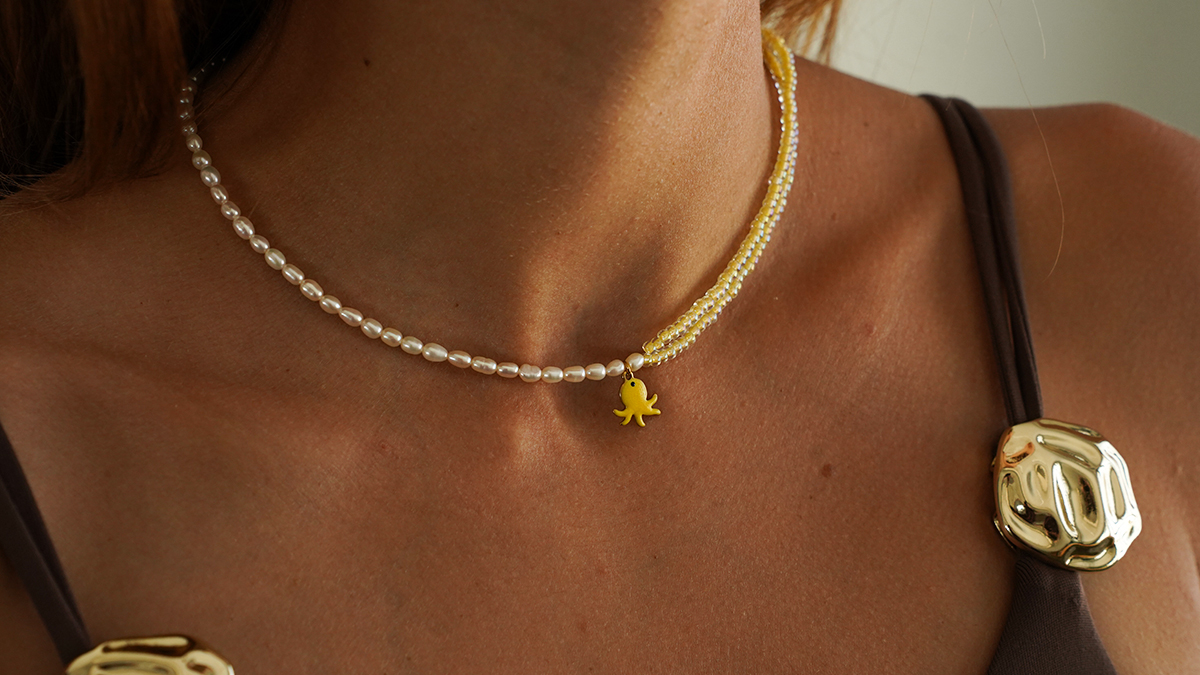
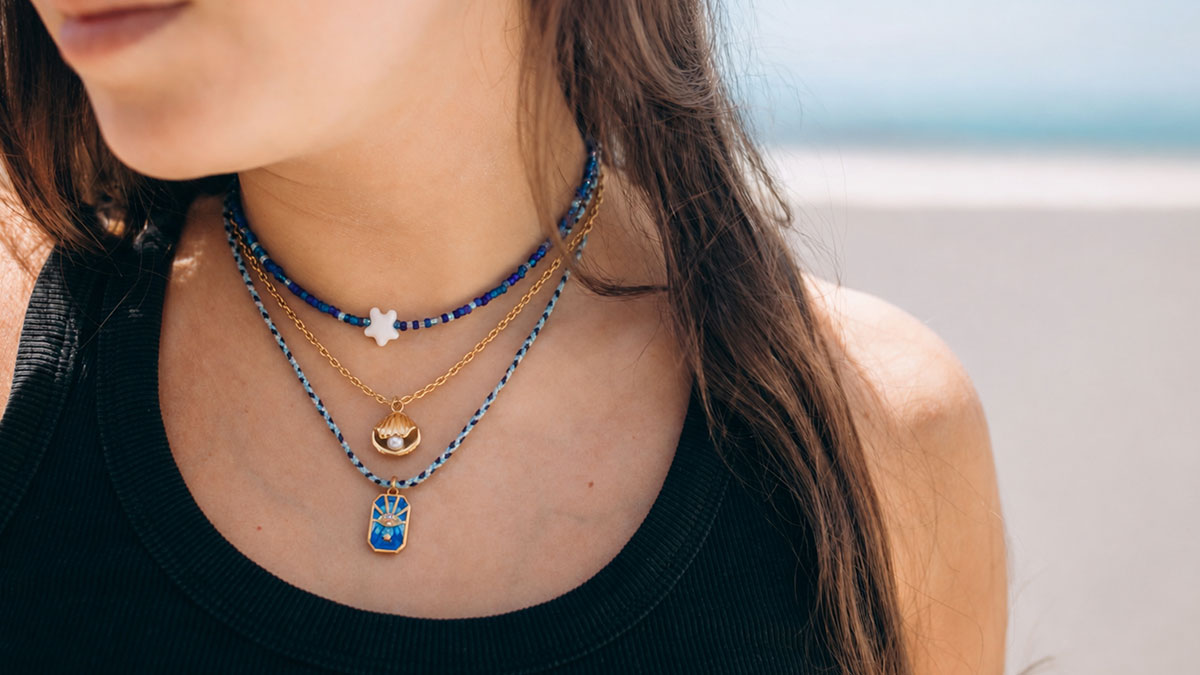
Create a customizable marine-inspired charm's necklace with pearl-effect beads and small gold pendants. A simple and trendy DIY tutorial for summer!
Want to create an easy-to-wear, fully customizable piece of summer jewelry? This marine-inspired charm's necklace tutorial is ideal for imagining a trendy, luminous creation full of delicate details. This model is part of our Odyssée Perl&e acute;e: Bijoux DIY pour l'été collection , a series of creations inspired by the treasures of the sea. Handcrafted ceramic or glass beads, marine charms, seed beads and Seed beads combine to evoke the soft, soothing colors of the ocean.
Featuring pearlized-effect beads, golden star and sun charms and a colorful fish pendant, this necklace instantly adds a summery touch to any outfit. Its seaside-inspired style makes it a perfect accessory for the summer season, as pretty worn everyday as on vacation.
This DIY is accessible even if you're new to jewelry-making. In just a few simple steps, you can assemble your necklace and personalize it as you wish. Like colorful jewelry? Add more stainless steel charms or vary the color or shape of the irregular beads. Prefer a more minimalist look? Opt for soft tones and finer details.
With a white dress, linen shirt or simple tank top, this necklace will dress up any outfit while remaining light and easy to wear. The golden details and beige-toned beads catch the light beautifully, and are particularly good for enhancing a suntan in summer. It's the kind of simple yet elaborate piece of jewelry that immediately adds a trendy, sunny touch.
This customizable necklace is also a lovely idea for a handmade gift. A quick and fun creation, perfect for enjoying a creative moment while imagining a unique piece of jewelry that reflects you.
Share your creations on Instagram, TikTok or Facebook @PerlesAndCo - we can't wait to see them!
Start by cutting about 50 cm of stranded wire. Thread one end of the wire through a stranded wire protector. Next, slide a crimp bead onto the two wires, flatten it with flat-nose pliers, and then add a bead cap.

Add a crimp bead and start stringing the beads in this order if you want the same necklace as ours.

To close the necklace, take an open ring, open it, slide the clasp through it, then thread the ring through a cable wire protector and close the ring.

Do the same thing on the other side using the extension chain.

Next, take a flat-head pin and thread your blue fish onto it. Using jewelry pliers, form a loop at the end of the pin.
If you’re not sure how to do this, check out our technical guide, which explains the method step by step.

Next, attach your charms using open rings. Be sure to center them on your bracelet by counting the links. Their placement will depend on the number of beads you used at the start. You can use all 30 beads, but I chose to use 27.
It’s up to you to adjust it however you like!



You have a question about this tutorial? Ask it to our team and the people who have already tested it. The Perles & Co community is here to help you!
Credits
Perles & Co, Internet & E-Commerce company [08/06/2026] Any reproduction, representation, adaptation, in any form whatsoever, even partial, is prohibited, except for reproduction for private use not intended for collective use, representation in the family circle (art. L 122-5 CPI) and online publishing on condition that the source is mentioned and a link is included to the corresponding page of our site www.perlesandco.com.