Average Grades
Bonsoir pourriez vous donner la liste des produits de bracelets blanc merci.
1 Answer
Show answers

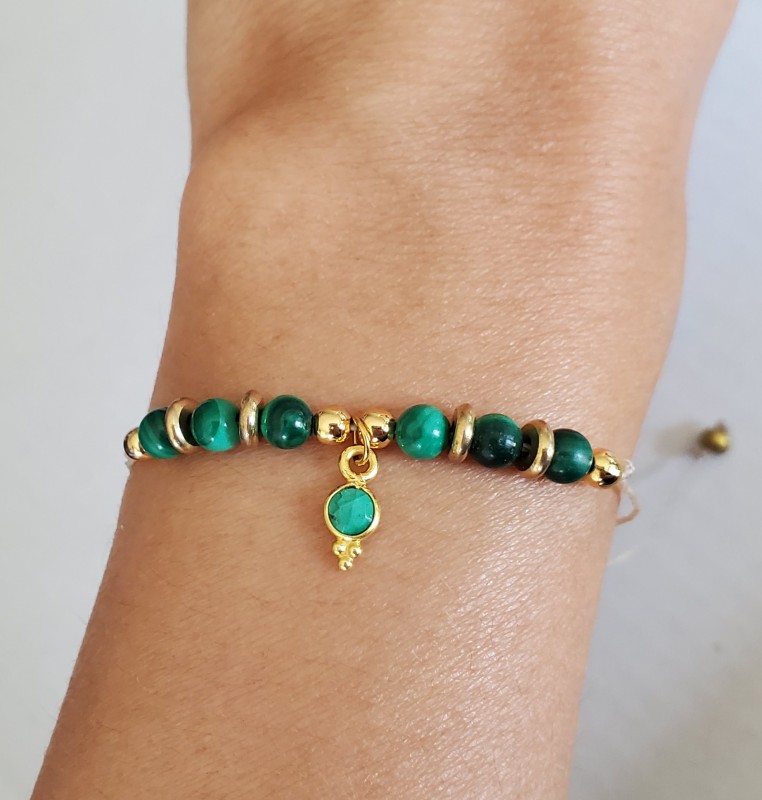
Tutorial: heishi bracelet in gemstones
They all make you crack and that's normal because they are once again THE pearls of summer: the famous heishis . Around the neck, wrists or ankles they are all the rage and adapt easily to all styles.
We wanted to go even further and offer some nice novelties in this area: heishis pearls in gemstones . Awesome isn't it?
So we come back this time with a tutorial to make an adjustable heishis pearl bracelet with gemstones and gold filled pearls .
To personalize your jewelry with the colors of your choice, find all our mother-of-pearl sequins , our heishis pearls in gemstones and our Linhasita 0.5mm waxed threads .
Very quick and very easy to make, this tutorial is a great way to get started in jewelry creation. Get a pair of jewelry pliers , a chisel and you're good to go.
Tip: If the thread tends to fray when threading the beads, do not hesitate to cut it several times (without cutting too much length)
The stages :
Step 1 : Cut about 50 cm of Linhasita waxed thread.
Step 2 : Thread your pearls as you wish, alternating metallic heishis and faceted gemstone heishis. Insert where you want to insert the charm two 3mm gold filled ball beads.

Step 3 : Continue to thread your gemstones as in step 2 to reproduce the first part of the bracelet. Insert a 3mm gold filled ball beads on each side of the bracelet and fix the set of beads in the middle of the wire with two knots.
Step 4: Using a ring and your jewelry clips, place the charm of your choice in the center of your bracelet between the two gold filled ball beads.

Step 5 : Cross the two threads and make a sliding macrame knot using a new piece of waxed thread of about 25cm. To learn how to tie a macrame knot, go to our technical sheet: Learn to tie a macrame knot .
Cut the ends of the thread used to make the knot. Insert a gold filled ball bead at each end of the wires making up the bracelet and tie a knot to prevent them from escaping. Burn the ends of the threads to seal the sliding knot


There you have it, your gemstone heishi bead bracelet is already finished. We love it! What do you think ?

Do not hesitate to show us the result of your creations by sharing a photo with us on our social networks: our Facebook page and our Instagram page


You have a question about this tutorial? Ask it to our team and the people who have already tested it. The Perles & Co community is here to help you!
Credits
Perles & Co, Internet & E-Commerce company [18/08/2020] Any reproduction, representation, adaptation, in any form whatsoever, even partial, is prohibited, except for reproduction for private use not intended for collective use, representation in the family circle (art. L 122-5 CPI) and online publishing on condition that the source is mentioned and a link is included to the corresponding page of our site www.perlesandco.com.