Average Grades
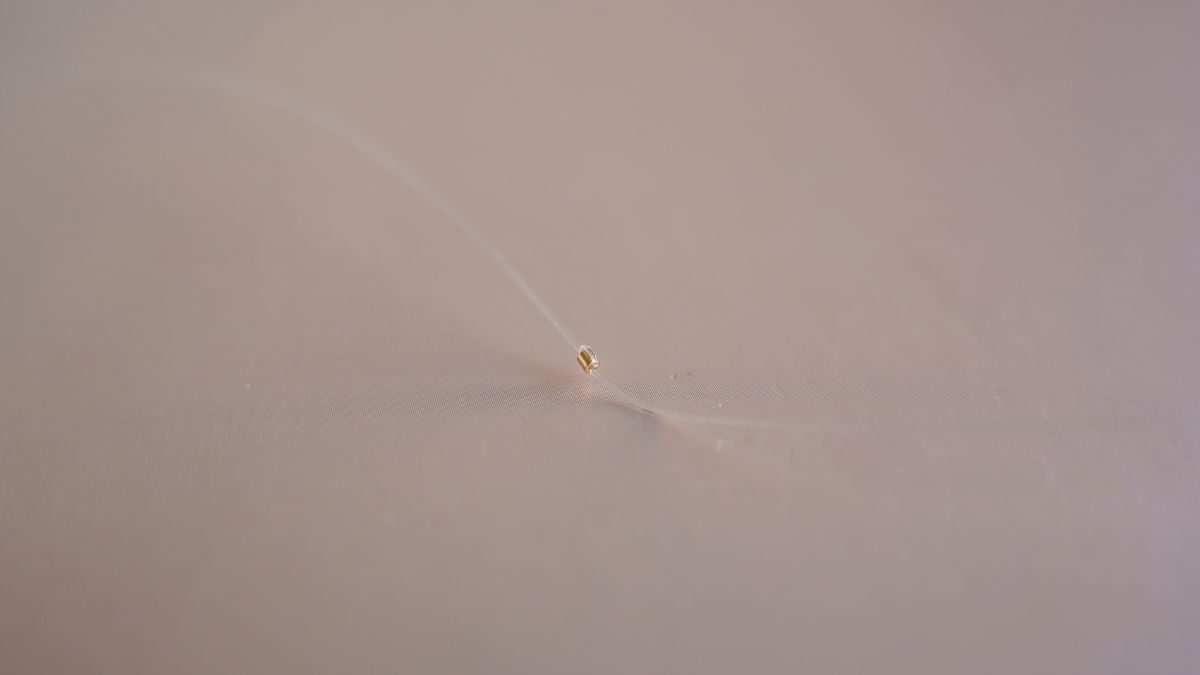
Start by cutting a piece of wire about 10 cm long. Thread on a gold crimp bead, then thread one end of the wire back through the bead to form a small loop. Using pliers, squeeze the crimp bead to secure the wire in place.


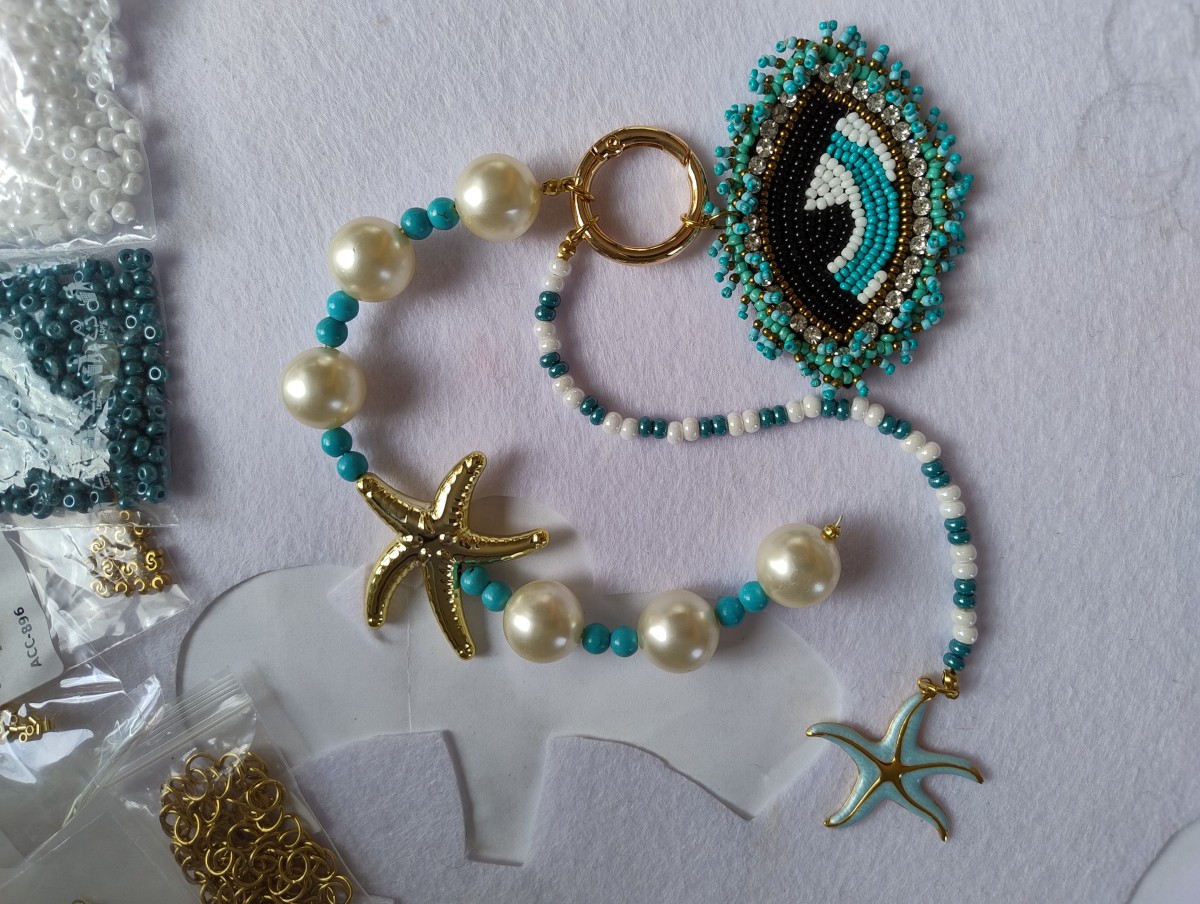
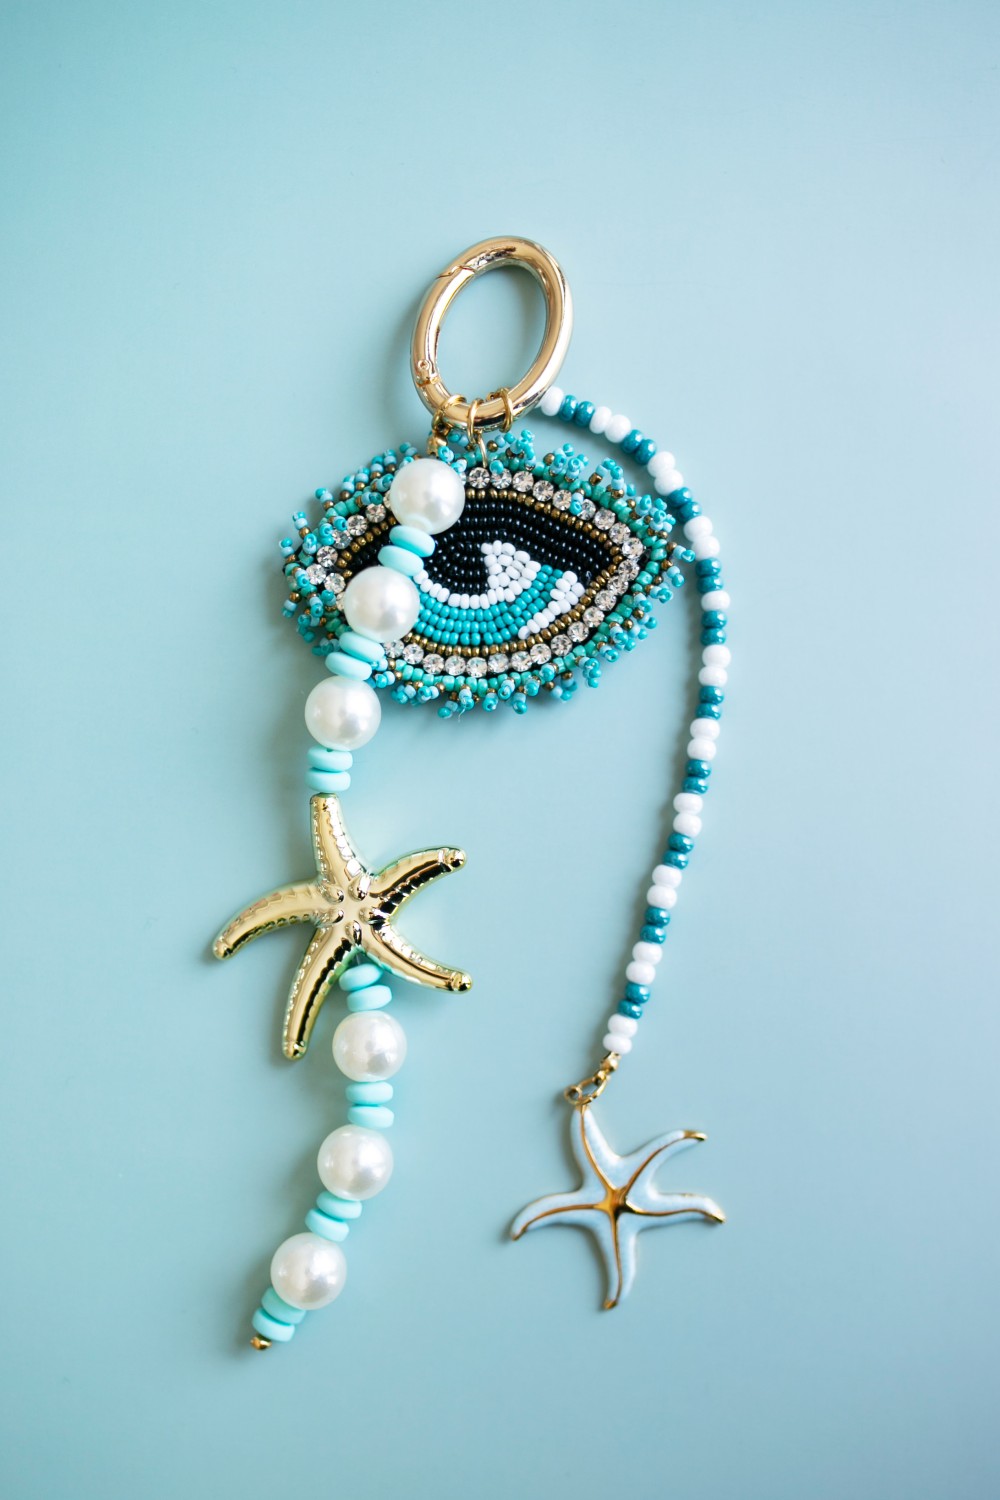
Looking for a unique accessory that screams “summer”? Check out our new DIY tutorial and learn how to make a beautiful keychain inspired bythe ocean. With its embroidered eye-shaped pendant, shades of turquoise and white, and delicate star charms, this creation will add a fresh touch to your keys, bag, or pencil case.
Accessible to everyone, this tutorial celebrates handmade crafts and creative hobbies. Step by step, you’ll learn how to combine different materials to create a personalized, trendy, and easy-to-make keychain. Whether you’re a beginner or a DIY jewelry-making enthusiast, this project is perfect for discovering beading techniques while giving free rein to your creativity.
To make this keychain, you’ll use polymer clay Heishi beads, Preciosa 5/0 and 6/0 seed beads, and a stainless steel charm that will give your creation an elegant and durable finish. The embroidered pendant is the centerpiece of the project and gives it a trendy, bohemian, summery style.
One of the great things about this tutorial is that it’s fully customizable. You can change the colors of the beads, swap out the charms, or even choose a different pendant to create a keychain that reflects your personality. Let your imagination run wild and adapt this design to your style or the season.
Follow our detailed tutorial and create an original DIY keychain—perfect for treating yourself or giving a handmade gift to a loved one. It’s a creative, accessible, and customizable project that will appeal to all fans of handmade jewelry and accessories.
If you try this tutorial, feel free to share your creations on Instagram, TikTok, or Facebook and tag Perles & Co. We love seeing your projects and all your customizations!
Start by cutting a piece of wire about 10 cm long. Thread on a gold crimp bead, then thread one end of the wire back through the bead to form a small loop. Using pliers, squeeze the crimp bead to secure the wire in place.
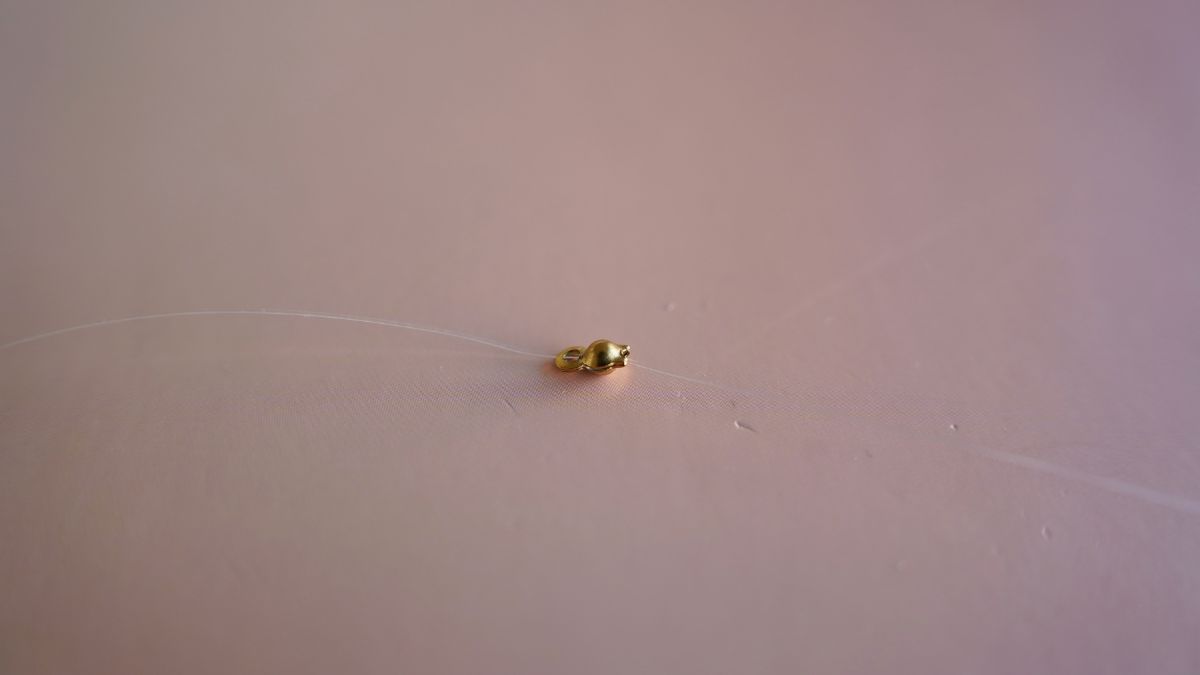
Next, add a knot cover by inserting the crimp bead into it. Also slide the shorter end of the wire inside the knot cover, then gently close it using pliers to completely conceal the crimp bead.
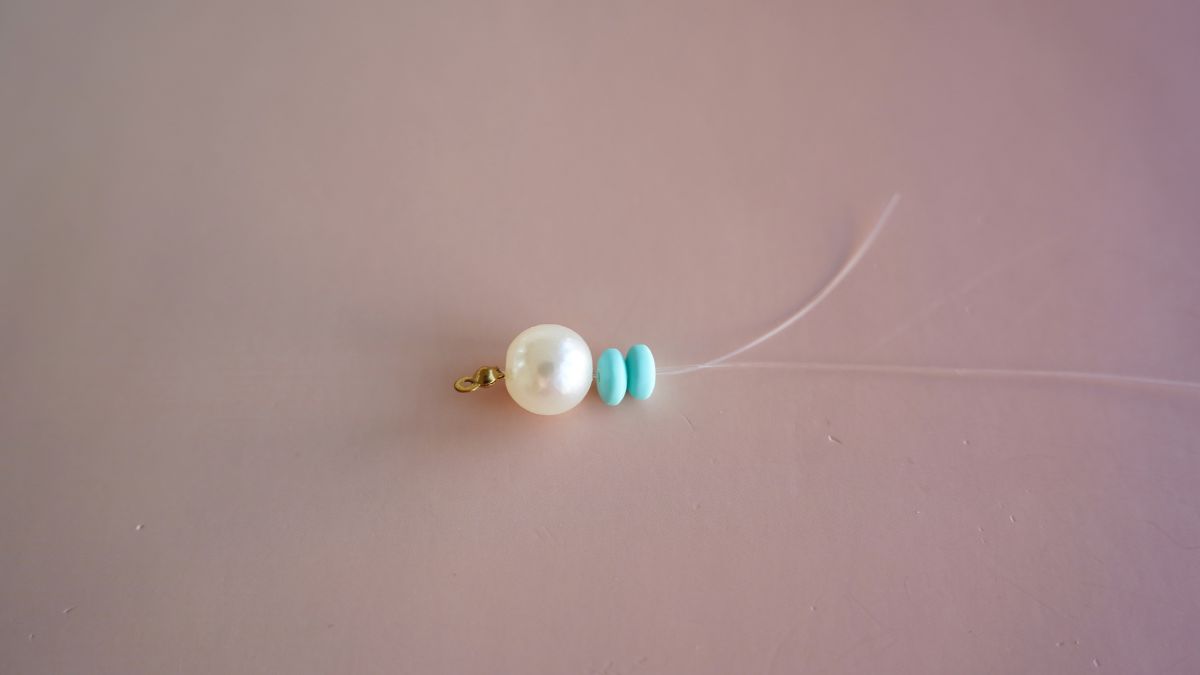
You can now begin stringing. String one imitation freshwater bead, followed by two turquoise Heishi beads. Repeat this sequence three times.
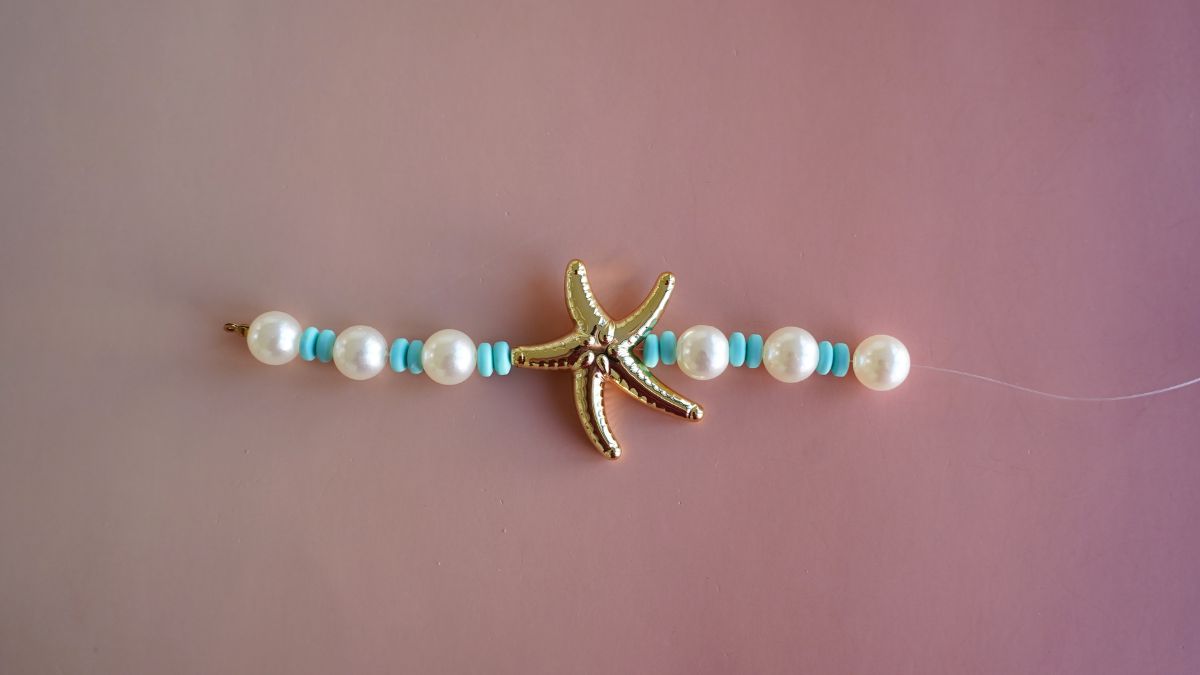
Now insert the gold star charm, then repeat step 3 to continue stringing.
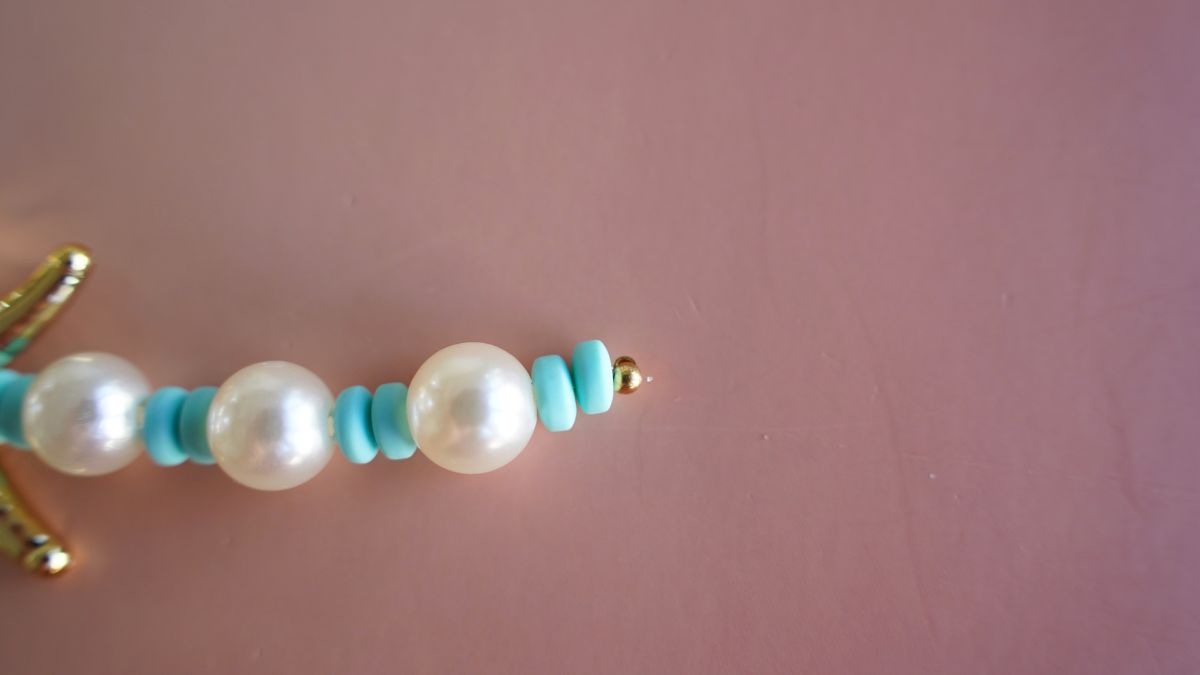
To finish stringing, add another crimp bead, followed by a crimp bead cap. Thread the end of the wire back through the crimp bead to form a small loop, then crimp the bead using pliers. Next, slide the crimp bead inside the crimp cap and gently close the cap to achieve a clean, neat finish.
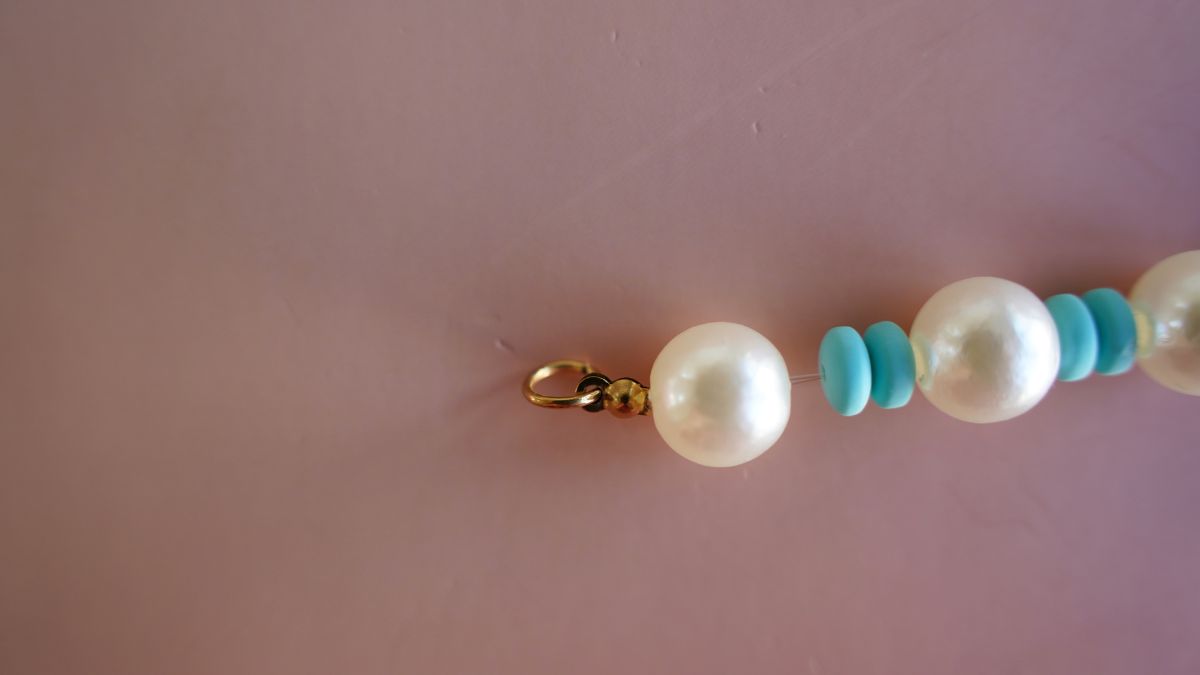
Finally, thread a ring through the loop of the knot cover, then attach it to the carabiner to assemble your creation. You have now completed your first stringing project.
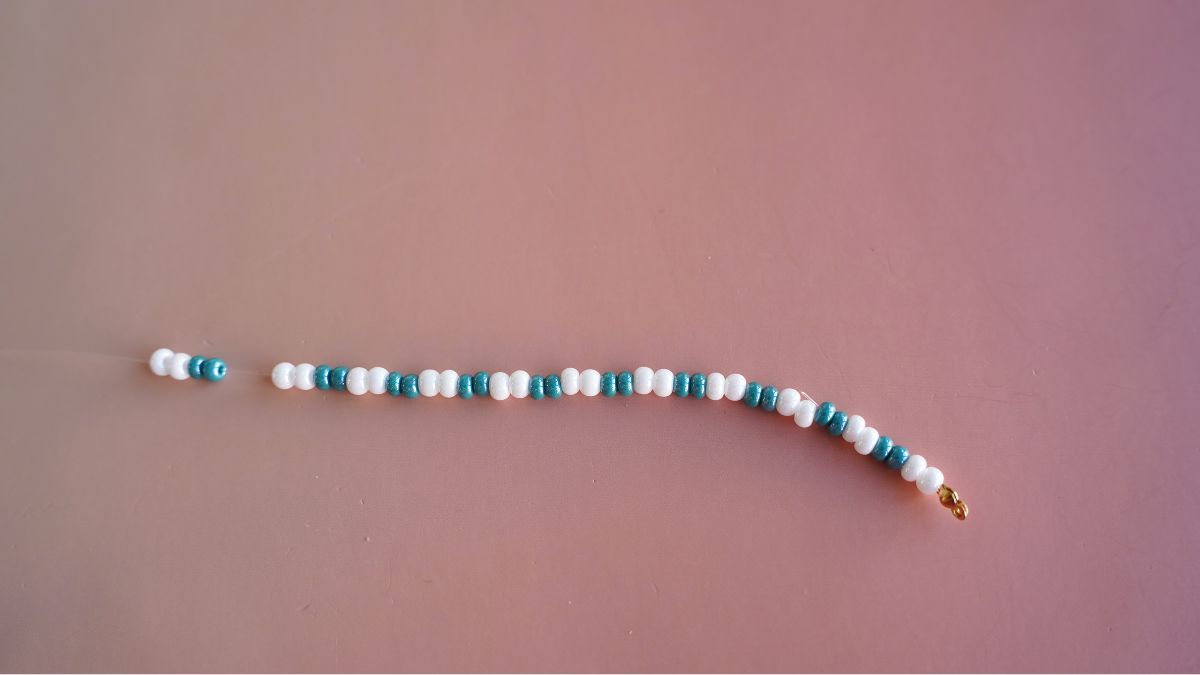
To complete the second strand, start by repeating steps 1 and 2. Next, alternate stringing two white seed beads followed by two blue beads. Repeat this sequence until you reach the desired length. To finish stringing, repeat steps 1 and 2 in reverse order: start by threading the knot cover, then the crimp bead. Next, form a small loop, crimp the bead using pliers, then gently close the knot cover to achieve a neat finish.
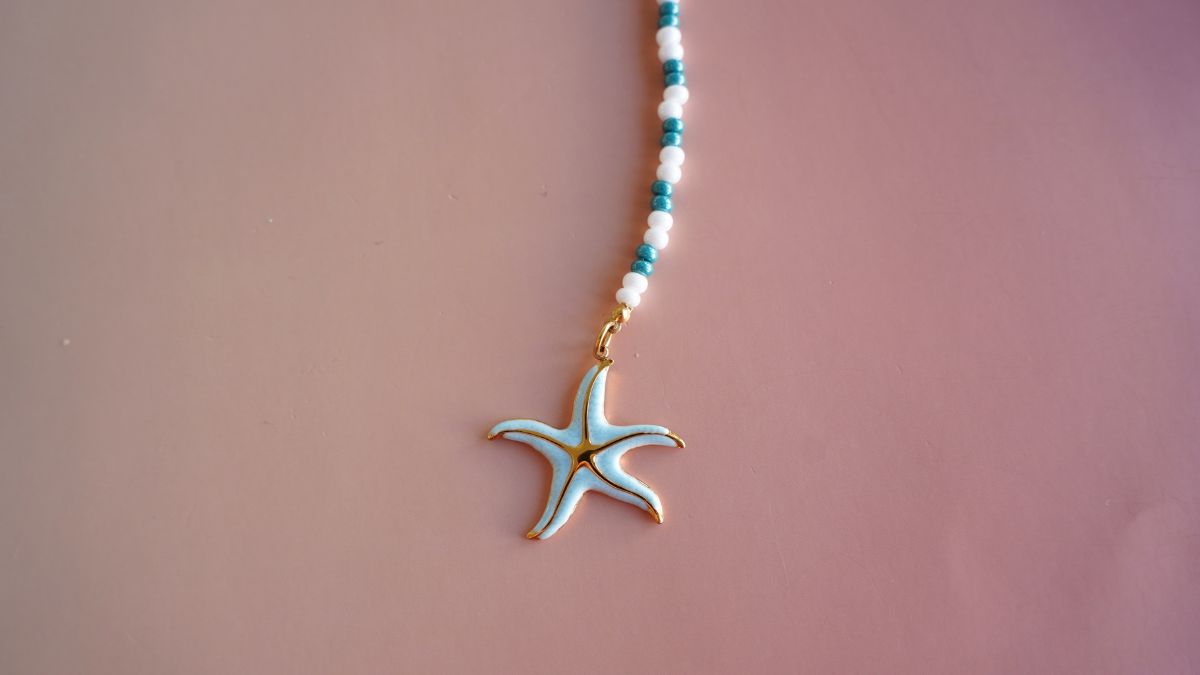
Add a jump ring to the blue star charm, then attach it to the strand of seed beads. Next, close the jump ring with pliers to secure the assembly.
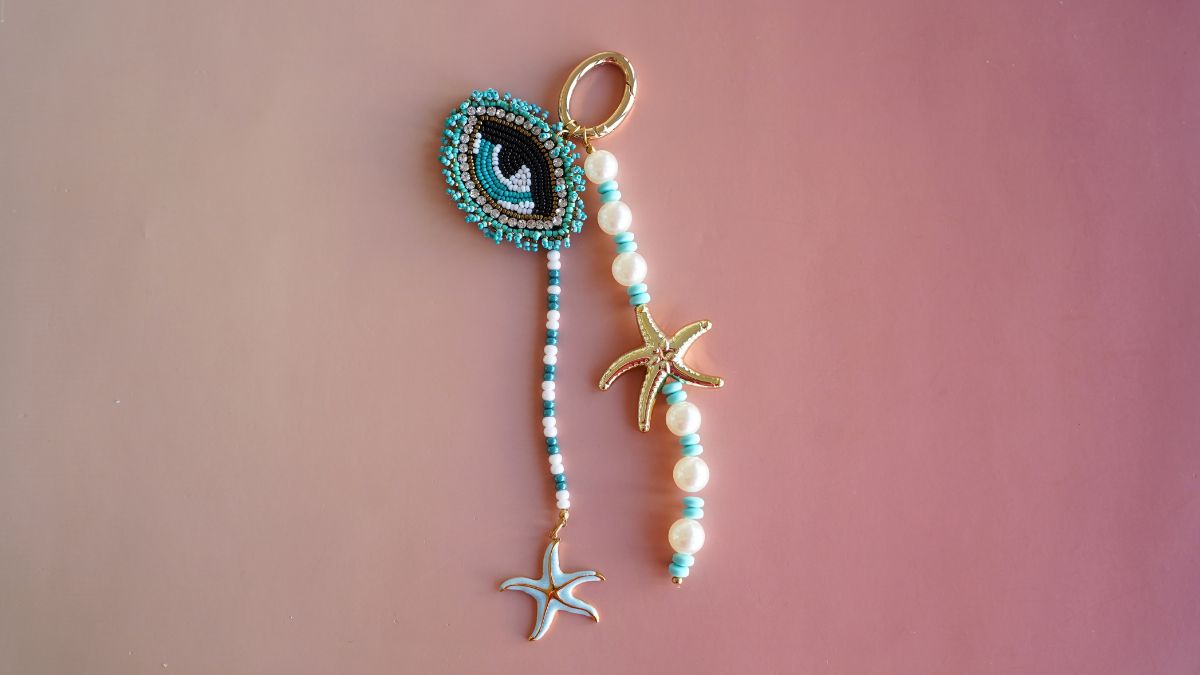
Finally, add a ring to the embroidered pendant, then attach it to the carabiner. You can now thread the three pieces together to finish your keychain.











You have a question about this tutorial? Ask it to our team and the people who have already tested it. The Perles & Co community is here to help you!
Credits
Perles & Co, Internet & E-Commerce company [27/07/2026] Any reproduction, representation, adaptation, in any form whatsoever, even partial, is prohibited, except for reproduction for private use not intended for collective use, representation in the family circle (art. L 122-5 CPI) and online publishing on condition that the source is mentioned and a link is included to the corresponding page of our site www.perlesandco.com.