Average Grades
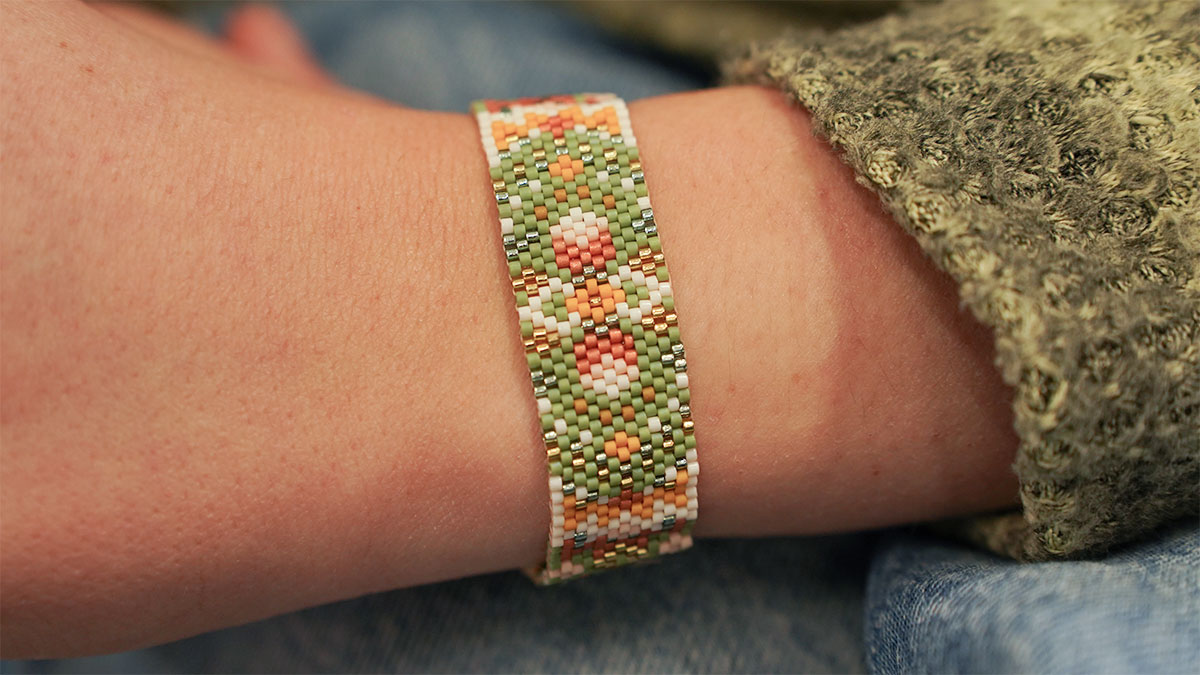
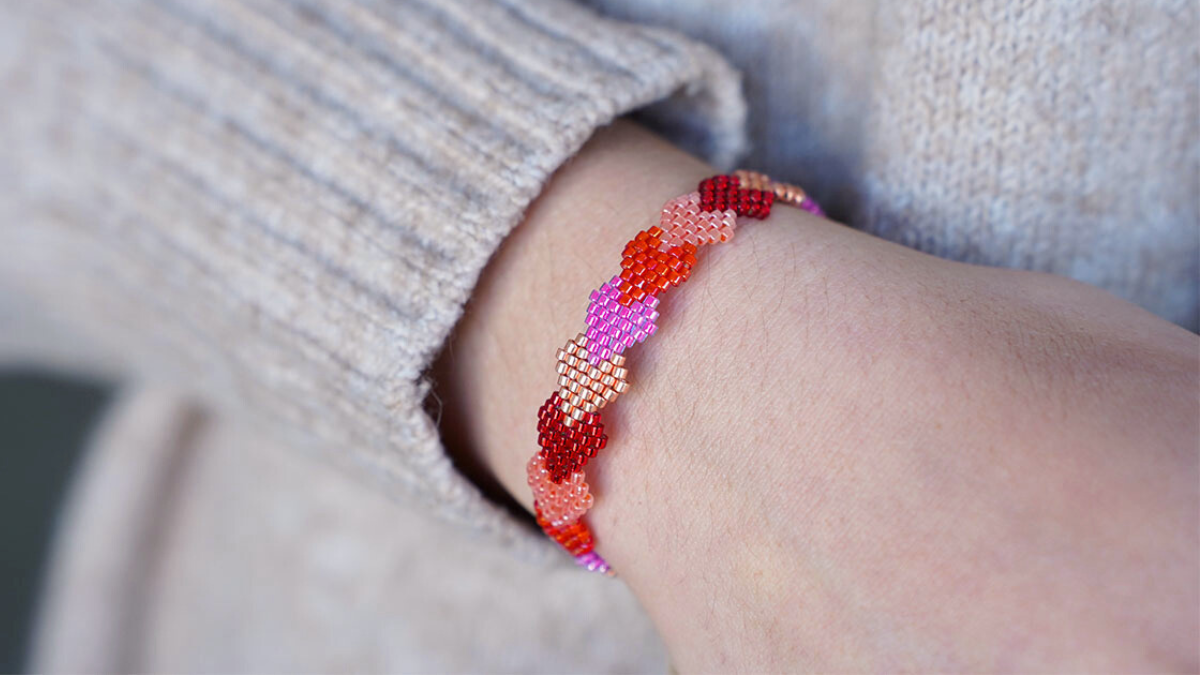
Bonjour, La colle fait-elle tenir suffisamment le tissage sur le bracelet ? Ou faut-il poncer le bracelet?
1 Answer
Show answers

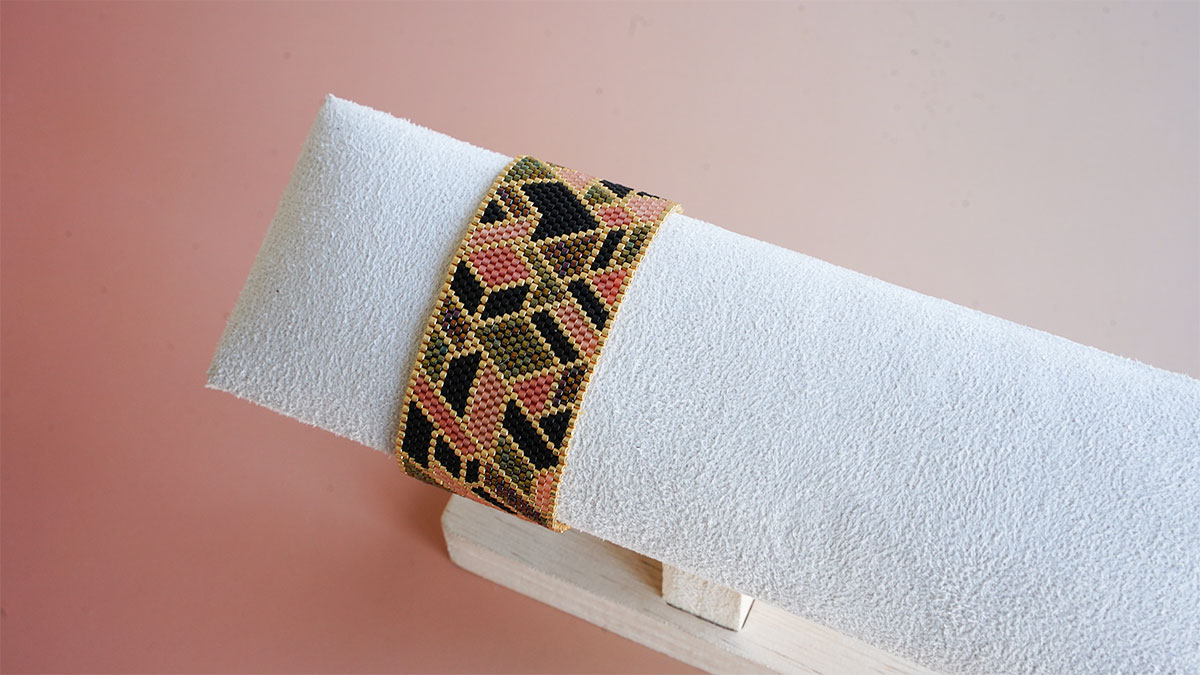
Video - Gold and black Miyuki bangle bracelet with Peyote Odd weaving
How to make a Miyuki bangle bracelet ?
If you do not yet know the Miyuki Delicas, these are small glass seed beads , cylindrical in shape and perfectly regular. Miyuki is the manufacturer of these small pearls called Delicas. The most used size is the Delicas 11/0 size. It is in particular the size of pearls used in this tutorial of woven bracelet. But be aware that you can also create bracelets and earrings with the smallest size, the Miyuki delicas 15/0 . The larger the number, the smaller the pearls.
Different types of finishes exist for woven bracelets , including some using tips for weaving as presented in the tutorials below.
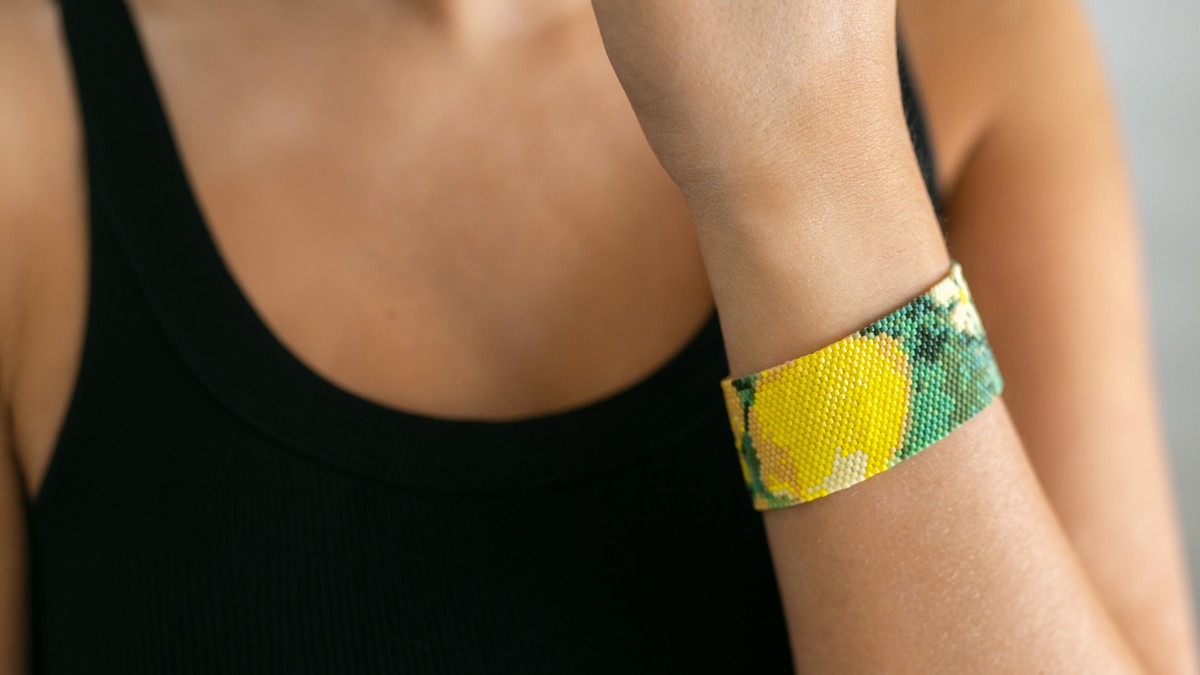
In this tutorial we will stick the weaving on a cuff in golden brass but you can very well mount it as a flexible bracelet by fixing at each end a closed ring and then adding a clasp and open rings just like the last tutorial on the list . Be careful to check the size of the bracelet as you weave it. Shorten or lengthen it by changing the number of repetitions of similar parts of the diagram.

Enlarge or shrink the brass band before sticking the weaving on it because the adjustments of the bracelet afterwards risk loosening the bracelet or breaking the pearls.


Do not hesitate to show your creations on our Facebook page, in the Super club group of Perles & Co customers or on Instagram by quoting us with @perlesandco or with #perlesandco.


You have a question about this tutorial? Ask it to our team and the people who have already tested it. The Perles & Co community is here to help you!
Credits
Perles & Co, Internet & E-Commerce company [04/03/2020] Any reproduction, representation, adaptation, in any form whatsoever, even partial, is prohibited, except for reproduction for private use not intended for collective use, representation in the family circle (art. L 122-5 CPI) and online publishing on condition that the source is mentioned and a link is included to the corresponding page of our site www.perlesandco.com.