Free shipping on orders over 50€ up to 500g
French Online shop for beads and accessories for the creation of DIY jewellery and other creative hobbies

Log-in

DIY Necklace Beads Rondelles Heishi White and Gold and Gold Plated Pendant

Made by :Charlotte Perles Co
Published on the :12/05/2019
Time :30 minutes
Level :Easy
Prices :40,75€
DIY Necklace Beads Rondelles Heishi White and Gold and Gold Plated Pendant

How to make a necklace with Heishi round beads?

How to make a necklace with Heishi washers?

Heishi washers are back on the scene this summer! We see them on all the influencers on social networks, and that for our greatest happiness.

A necklace or bracelet Heishi white and gold or on the contrary multicolor, you choose your camp (or wear both in accumulation ...), have a look at all our colors Heishi washers.

This jewelry will immediately give a little air of holiday to your outfits, from our side we love the combo Heishi collar and white linen shirt with a bun raised for a look 100% trend and 100% relaxation (the best?)

To you then to personalize your necklace with our pendants and charms in gold plated , the hardest attention will be to choose ... find them and make your choice.

Steps:

  • Step 1: For a heishi round pearl necklace a little bigger than the crew neck, take a length of 50 cm when looking wide (then attach the clasp etc).
  • Step 2 : Put on your pendant and work in mirror, that is, put the same number of Heishi washers on each side of your pendant.
  • Step 3 : Thread your Heishi beads this way:
    • 1 golden spacer
    • 3 Heishi washers
    • 2 golden inserts
    • 16 Heishi washers
    • 2 golden inserts
    • 16 Heishi washers
    • 3 golden spacers
    • 37 Heihi washers
    • 1 golden spacer
    • 20 Heishi washers
    • 1 golden spacer
    • 20 Heishi washers
    • 1 golden spacer
    • 1 Heishi washer
    • 1 golden spacer
    • 33 Heishi washers
    • 1 golden spacer
    • 1 Heishi washer
    • 1 golden spacer
    • 22 Heishi washers
    • 1 golden spacer
    • 12 Heishi washers
  • Step 4 : On one side thread a bead to crush then form a loop with the thread and iron the end of the thread in the bead to crush. Crush the bead with a pair of pliers to form the second part of the clasp.
  • Step 5 : Do the same on the other side and then hook the carabiner clasp with chain end (you can refer to the product sheet for the complete clasp instruction manual ).

Your necklace is ready! Feel free to share the result and share it with us via our social networks: Facebook or our Instagram account .

Heishi white and gold rondelle beaded necklace and heart pendant in gold plate

Result
Schema  DIY Necklace Beads Rondelles Heishi White and Gold and Gold Plated Pendant
Charlotte Perles Co
 Charlotte Perles Co - Les tutoriels de Charlotte
Hello, je suis Charlotte ! Je suis alternante chargée des partenariats chez Perles & Co. Passionnée par les réseaux sociaux, j’aime découvrir de nouvelles tendances. Je pratique les loisirs créatifs depuis mon arrivée chez Perles & Co, notamment le montage de bijoux. J’aime les créations simples, mais avec ce petit détail qui fait toute la différence et rend le bijou tendance et unique.
Associated keywords
Evènements
Matières
Couleurs / Effets
Niveau de réalisation
Saisons
Pour qui ?
Share with my friends
Which material to use ?
Please note that the quantities of the suggested equivalents are not necessarily exact. You can adjust them in your basket.
Supplies
Tortue Nylon thread Transparent 0.50mm x100m
6,20€
Metal spacer beads 5 mmfine Gold plated x10
6,30€
Crimp beads 2 mm - European-made - fine Gold plated x50
4,80€
Heishi beads in polymer clay 5x1 mm White x38 cm
3,60€
Oval charm decorated with a ball 14x8.3 mm Gold plated 3 microns x1
10,50€
Subtotal : 29,40€
Equivalent product
Oval charm cross pattern 14x8.5 mm Fine Gold plated x1
2,20€
Your questions (1)

You have a question about this tutorial? Ask it to our team and the people who have already tested it. The Perles & Co community is here to help you!

By Virginie Collignon (25/07/2021 17:50:52)
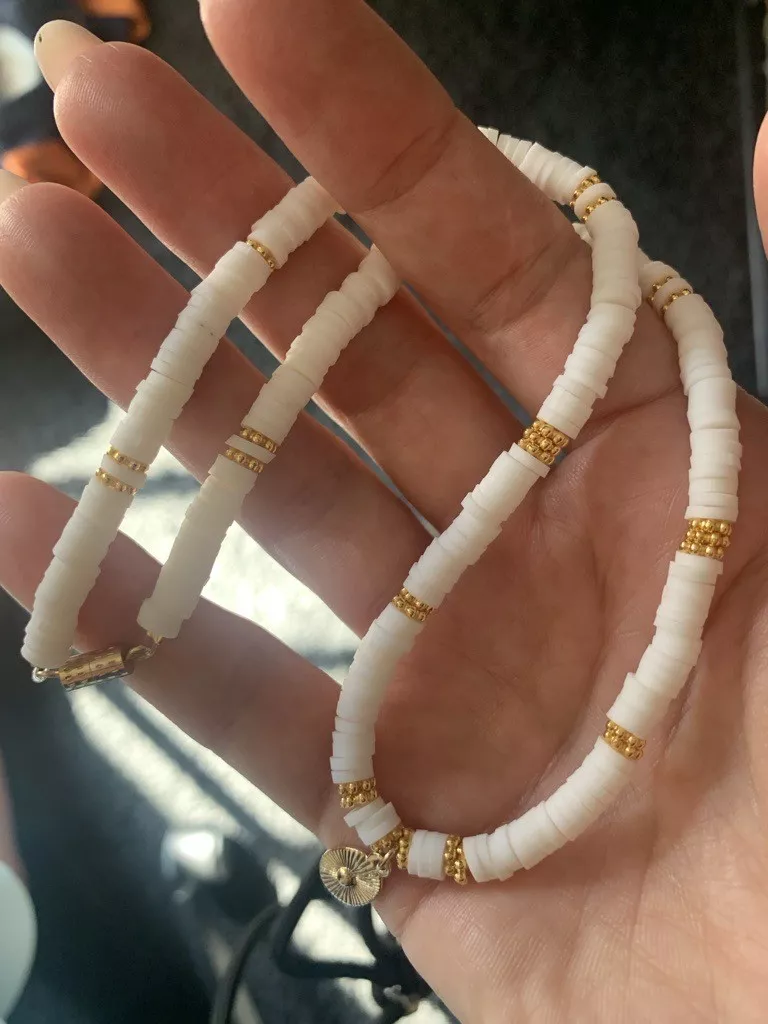
Bonjour, sur ce tutoriel j'ai l'impression que le fermoir que vous recommandez est destiné à une chaine et pas à du fil nylon. Quel fermoir serait le plus adapté pour du fil nylon ? Merci d'avance pour votre réponse.
Translate the question
Please log in to use this feature
Our Lucie L. expert answers you (29/07/2021 14:24:19)
Bonjour Virginie,

Nous venons d'ajuster la liste du matériel pour proposer un fermoir mousqueton plus classique. Vous n'avez donc qu'à insérer votre fil dans les anneaux fermés du fermoir lorsque vous formez votre boucle. Bonne création

Translate the answer
Your reviews (1)
Notices subject to control
5/5
Average Grades
Please log in to use this feature
By Morgane (posted on : 26/08/2024 )
Petite demi-heure pour le fabriquer et l'adapter à mon goût. La liste de fourniture n'est pas adapté au tuto car il manque des rondelles Heishi. Mais le tuto propose un tour de cou plus grand, donc j'ai adapté et c'est parfait pour moi. J'ai rajouté plus d'intercalaire doré. Je suis très satisfaire. Très simple, le tuto est là juste pour donner envi :).
Translate the notice
Our Aurore B. expert answers you (26/08/2024 14:47:07)
Bonjour Morgane, Merci pour votre retour détaillé ! Nous sommes ravis que vous ayez pu adapter le tuto à votre goût. Nous prenons note pour les rondelles Heishi et sommes heureux que le résultat vous plaise ! L'Équipe Perles & Co 
Translate the answer

Credits

Perles & Co, Internet & E-Commerce company [12/05/2019] Any reproduction, representation, adaptation, in any form whatsoever, even partial, is prohibited, except for reproduction for private use not intended for collective use, representation in the family circle (art. L 122-5 CPI) and online publishing on condition that the source is mentioned and a link is included to the corresponding page of our site www.perlesandco.com.