Free shipping on orders over 50€ up to 500g
French Online shop for beads and accessories for the creation of DIY jewellery and other creative hobbiesLog-in
0
Shopping cart
Shopping cart
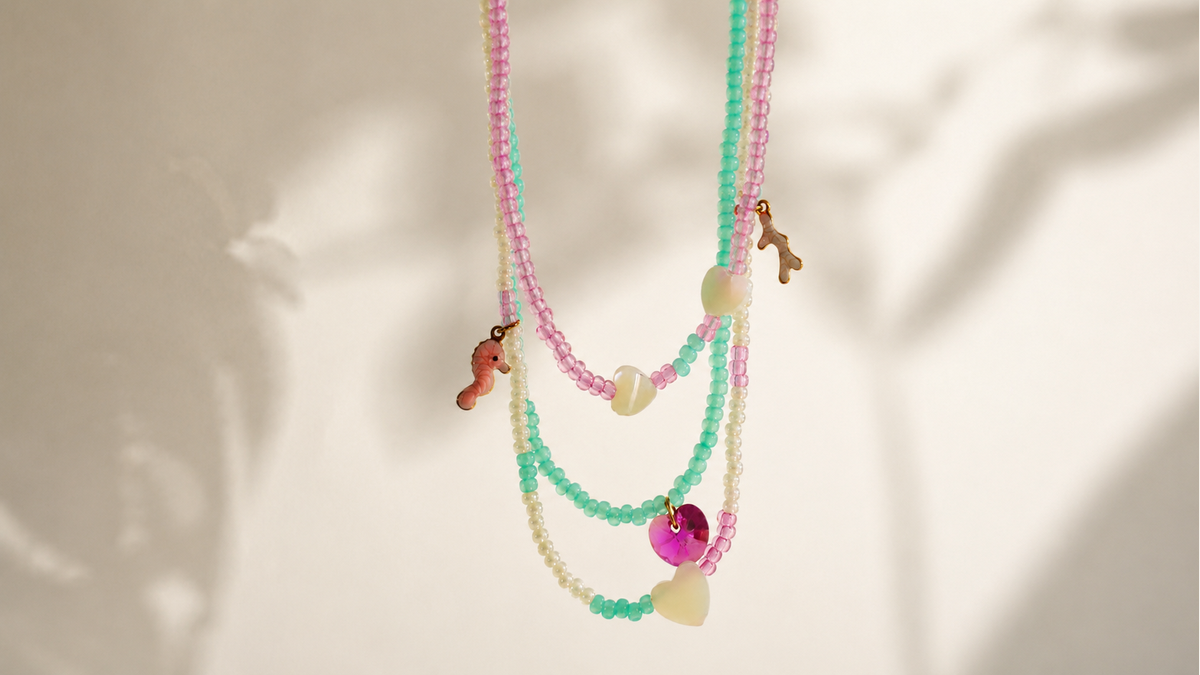
Beads and Pop is a collection of DIY jewelry tutorials inspired by the 70s. With colorful resin beads in a variety of shapes, this collection is sure to impress. Discover our new Vintage beads in original shapes: pebbles (or nuggets), olives, rounded or rectangular tubes, large round beads or coffee bean spacers, these beads are an inexhaustible source of inspiration for your handmade jewelry.
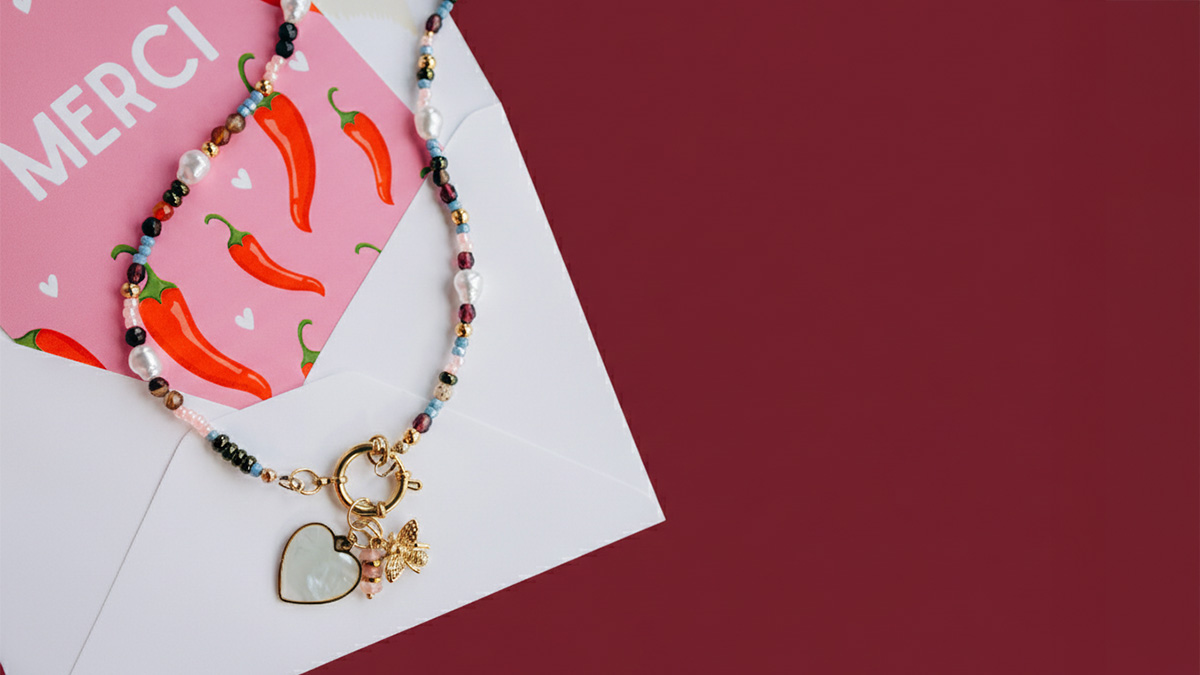
The colors of the collection are warm and reminiscent of the seventies: khaki, terracotta and dark red. These earthy hues are also very trendy this year. In fact, the color of the year 2025 is Mocha Mousse, according to color specialist Pantone. It's a set of soft, brown hues. These comforting colors harmonize perfectly with professional outfits such as blouses and blazers. For the more daring, an extravagant necklace tutorial mixes different bead shapes and brighter colors for an original, arty look.


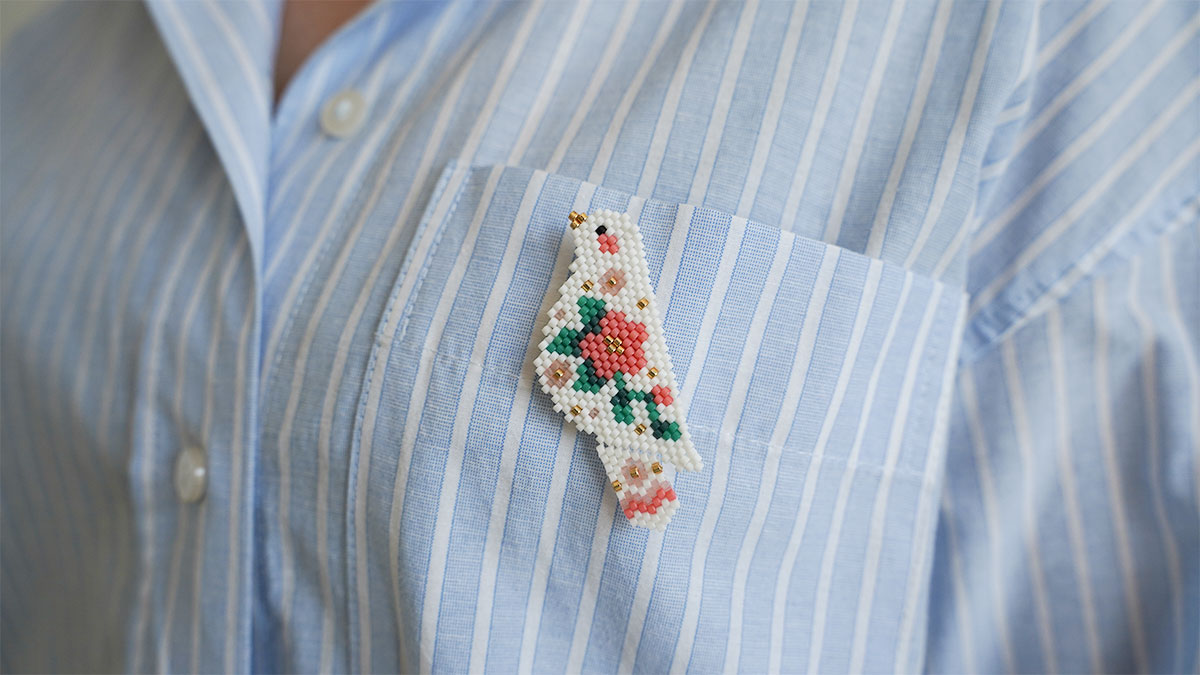
How to make jewellery with the bead weaving technique? Bead weaving is a technique for creating costume jewellery. It consists of weaving beads together to form patterns and create jewellery. There are two ways to weave beads: with a needle or on a loom. There are also several bead weaving techniques: Peyote, Brick Stitch and Herringbone.
Which pearls should I use? We advise you to choose seed beads and more precisely Miyuki Delicas 11/0 beads. Take a look at all our references and let yourself be seduced by the wide choice of colours.
Whether you're a beginner or an experienced designer, looking for the perfect gift or new ideas, our free tutorials are designed to guide you through each of your projects from A to Z. Each tutorial details the creation process step by step, including videos, clear explanations, pretty photos and a complete list of the materials needed. Our aim? To inspire you with trendy and original DIY creations.
Select a material (stainless steel, gold filled, freshwater pearls, seed beads, crystal...), a project, a technique, an event, a style and let us guide you!
And to inspire you even further, we've come up with a range of DIY jewellery collections. Visit us every month to discover a new collection based on a trendy and inspiring theme. These collections are enriched by a series of exclusive tutorials, carefully designed and accessible to all, to help you create magnificent DIY costume jewellery.
From making a woman's necklace to designing a man's bracelet, or creating unique earrings and personalised rings, you're bound to find the tutorial you need!
To take things a step further, we've prepared technical sheets on a range of themes to help you get started or perfect your skills.
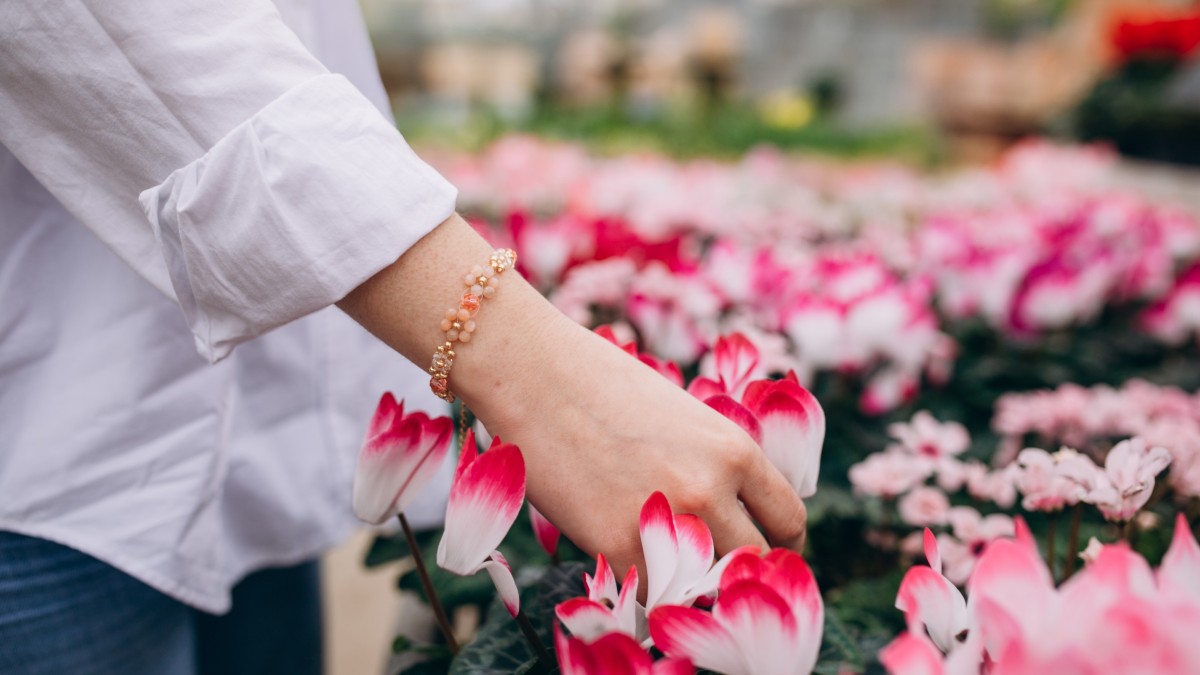
And for novices, a beginner's jewellery course makes learning even more accessible. It's an invaluable aid for learning the techniques you need to make your own jewellery easily, such as a pearl bracelet or a natural stone necklace.


