Average Grades

For these earrings, I chose to use open hoops as chain. They come already linked together as a chain, which is very practical for this project. Simply detach the required number of rings, then use them to make your earrings.


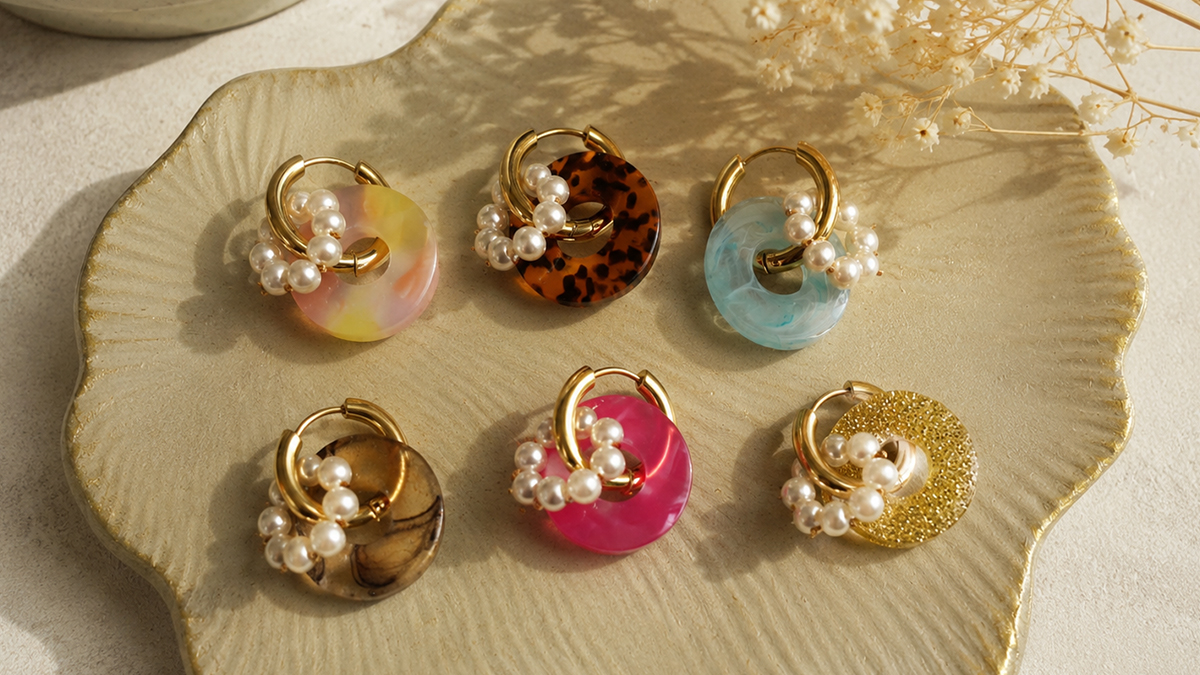
Looking for a piece of jewelry that truly reflects who you are? Let yourself be charmed by these DIY earrings from our L’Atelier Charms collection. A design full of freedom and sparkle, to be customized according to your desires, your symbols, and your favorites. Designed as an invitation to play, assemble, and create, this piece showcases open rings and gold charms, resulting in a piece of jewelry that’s as delicate as it is personal.
Here, there’s no chain: the rings become the central element of the design. Everything rests on a set of stainless steel rings that delicately intertwine, forming the perfect base for hanging your favorite charms. They freely accommodate a selection of sparkling charms, small pendants, and spacers. Have fun combining them, layering them, and varying lengths and textures to create a sparkling, airy, and dynamic cascading effect.
Every loop is unique; every arrangement is up to you. That’s what makes this piece of jewelry so vibrant: it evolves with you, your moods, and your desires. It’s an ideal project for those who love mixing styles and the little details that make all the difference. You’ll find a wide selection of mini stainless steel charms on our website to customize this project to your liking.
Perfect for beginners, this piece can be made in just a few steps with minimal supplies but plenty of imagination. You’ll love the light, fluid look of these earrings that catch the light with every movement.
A simple project, perfect for discovering the joy of making your own jewelry by hand.
Want to make more DIY earrings? Check out all our stainless steel earring tutorials! It’s a goldmine for finding inspiration and expanding your collection.
For these earrings, I chose to use open hoops as chain. They come already linked together as a chain, which is very practical for this project. Simply detach the required number of rings, then use them to make your earrings.

These earstuds are very practical: under each zirconium oxide, there's an open ring. In the second ring, slip 8 rings and the bar pendant.

Take 3 rings, add the mini spacer, then hang 3 rings again. On the last ring, hang a star, and on the very first ring, attach the small round charm with the little balls. Hang this charm on the last zirconium oxide of the earring.

Take 4 rings, add the long rectangle spacer, then add an extra ring and suspend the round charm from it with the 6 mm oxide. Hang it under the 3? zirconium oxide of the earring.

Take 3 rings, add the mini spacer, then hang 2 rings again. At the very bottom, hang the charm with the 6 mm oxide, then the shell charm. Hang under the earring's 1st oxide.

For the second buckle, let's get fancy! Don't look for a carbon copy, but rather play with volumes to create an asymmetrical duo. You can swap the rows of charms, dangling the shell at the bottom for an inverted waterfall effect. It's the perfect opportunity to try out different combinations and give your jewelry even more character.





You have a question about this tutorial? Ask it to our team and the people who have already tested it. The Perles & Co community is here to help you!
Credits
Perles & Co, Internet & E-Commerce company [12/01/2026] Any reproduction, representation, adaptation, in any form whatsoever, even partial, is prohibited, except for reproduction for private use not intended for collective use, representation in the family circle (art. L 122-5 CPI) and online publishing on condition that the source is mentioned and a link is included to the corresponding page of our site www.perlesandco.com.