Average Grades

Measure a length of chain so that you can choose between 3 or 4 turns of the finger on which you want to wear your ring. Leave a small margin so that you can roll the chain on when you put it on.


As you know, gold is all the rage! And with the holidays just around the corner, we have a wonderful surprise in store for you!
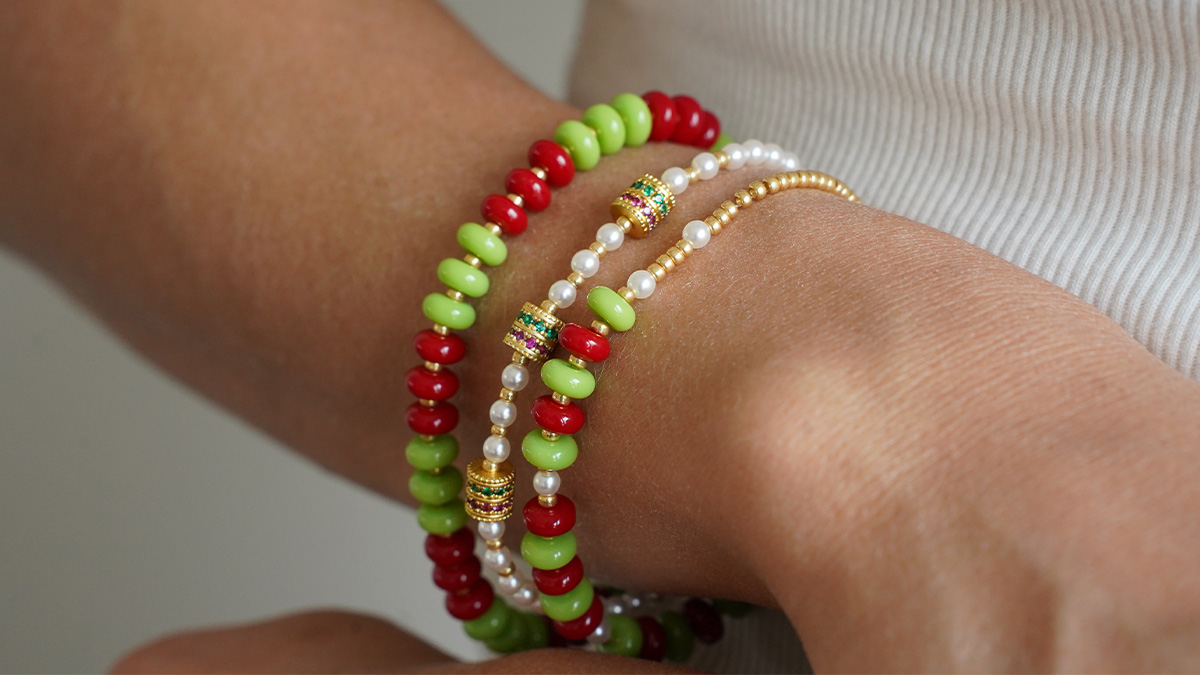
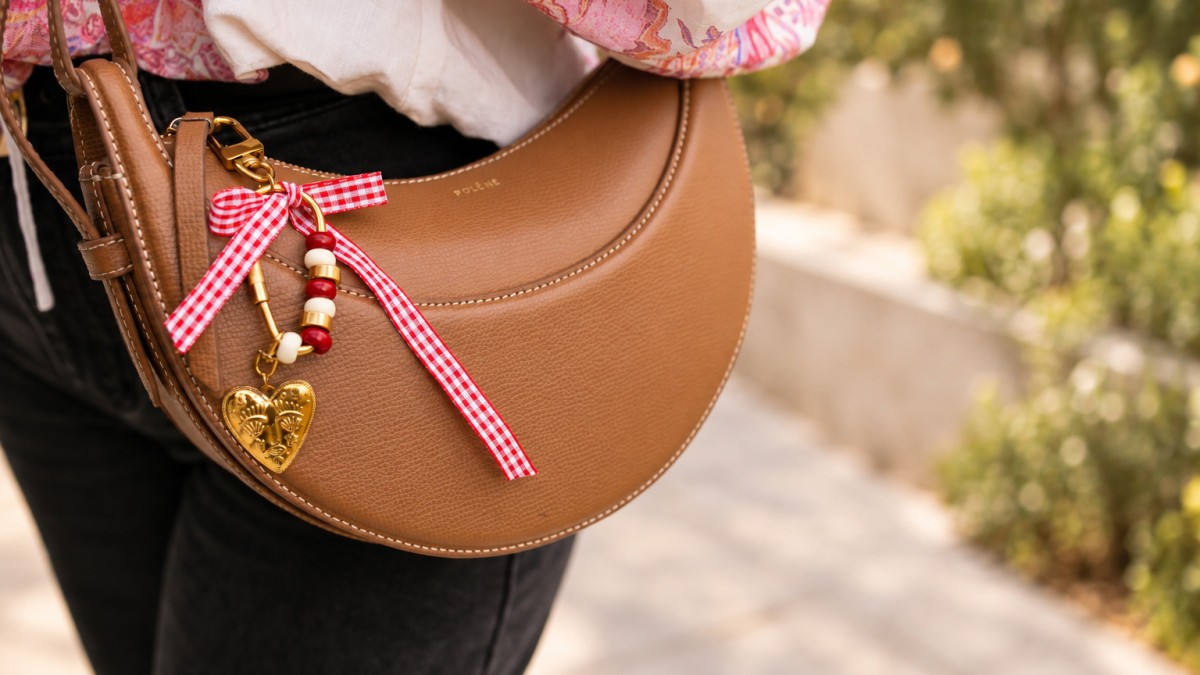
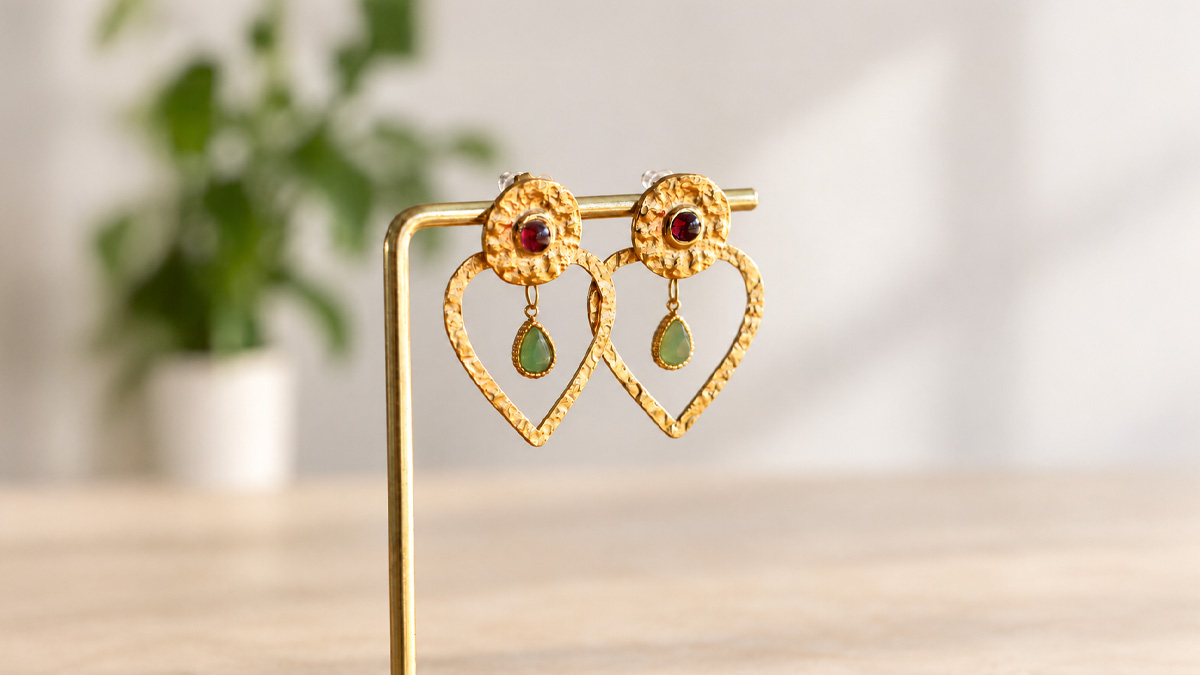
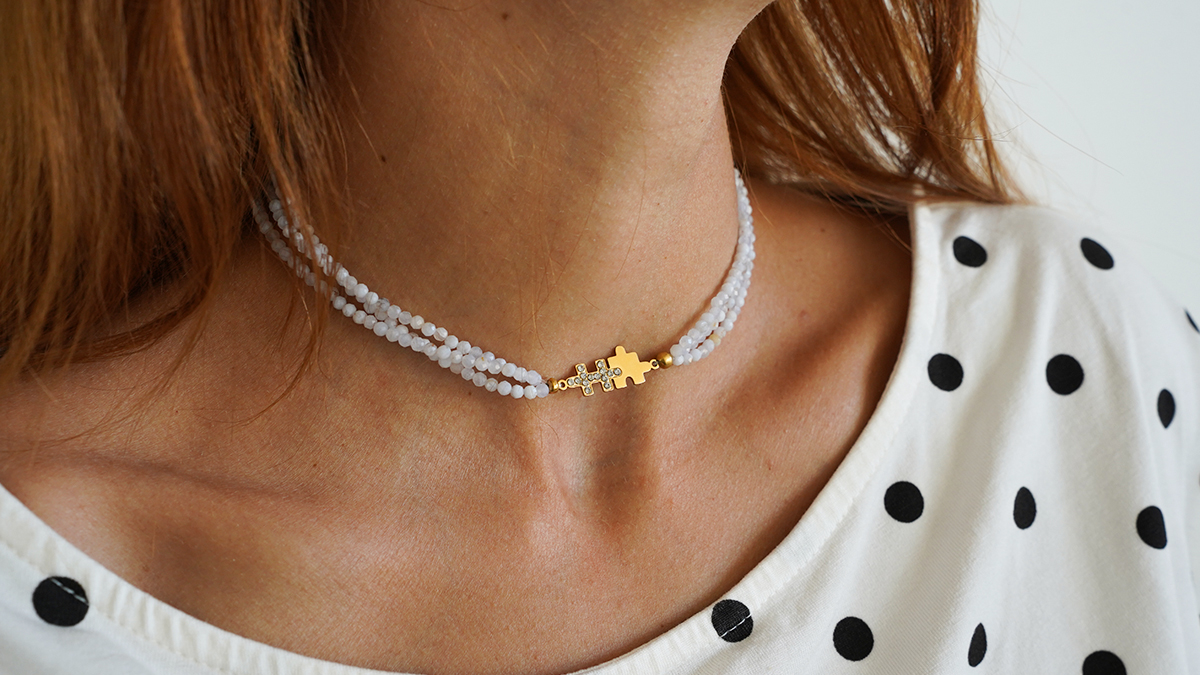
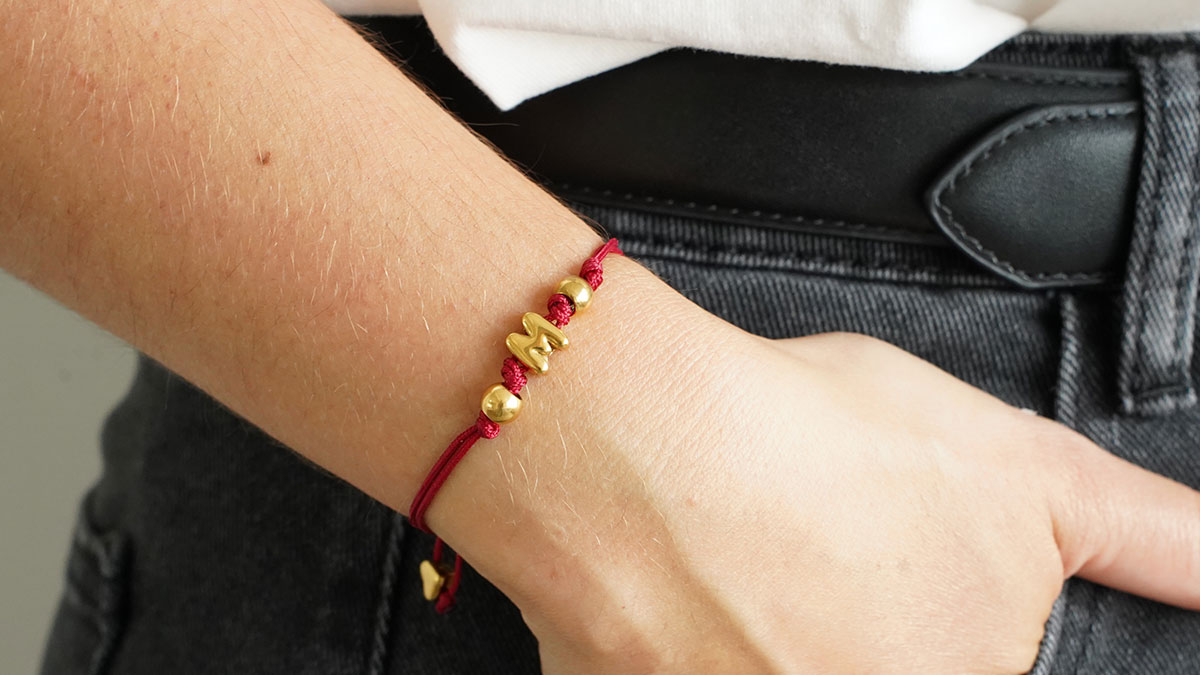
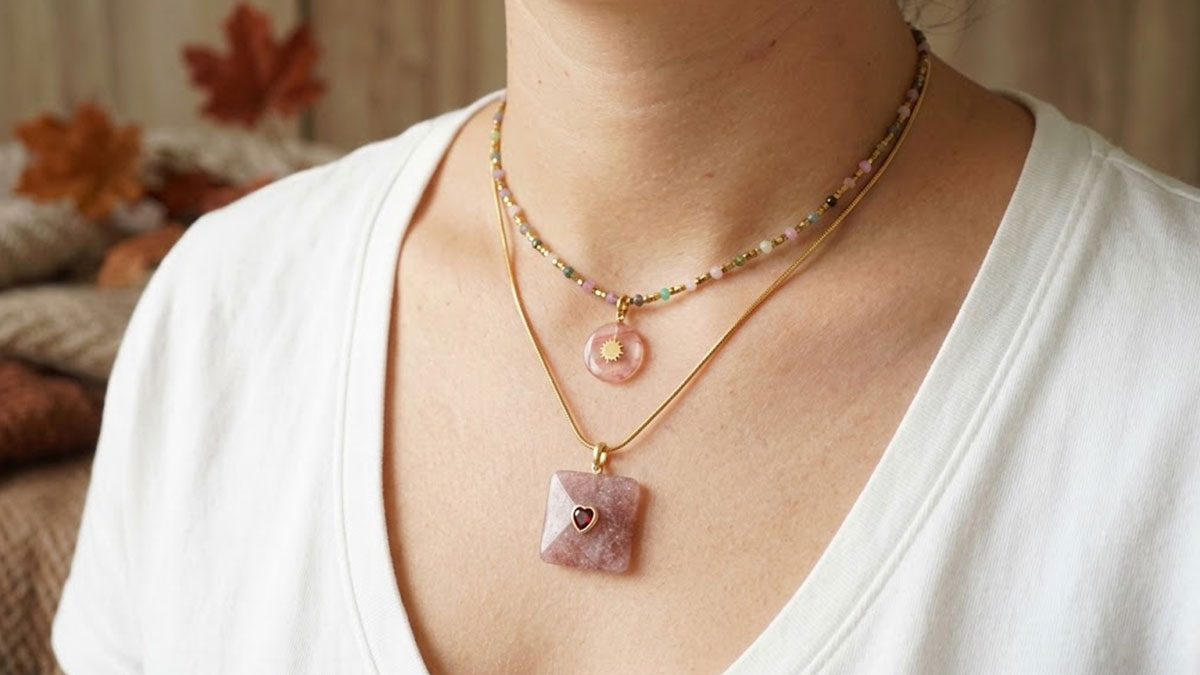
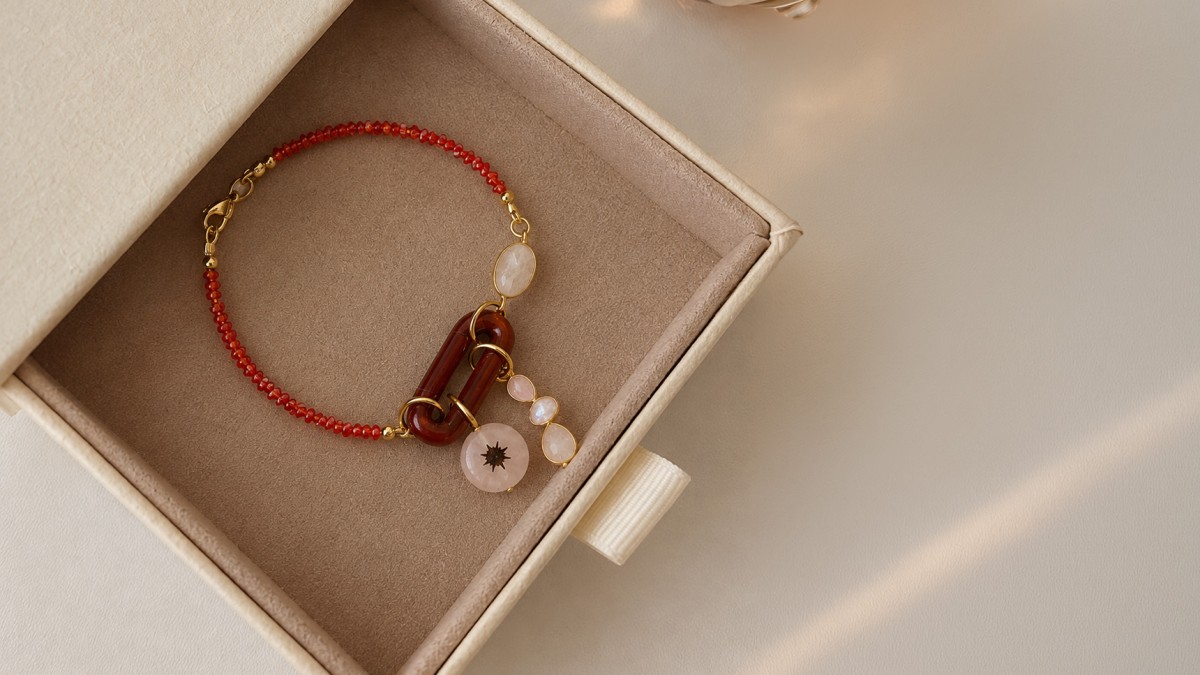
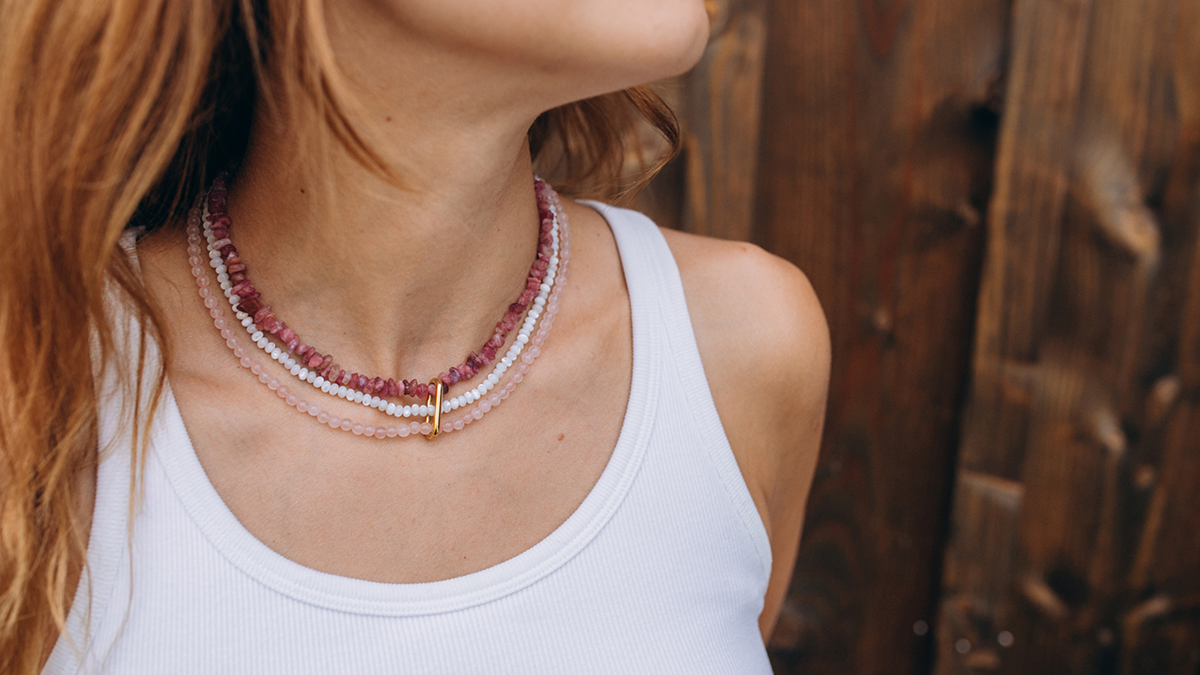
That surprise is our gold jewelry collection called “The Formula for Happiness.” Gold jewelry that will pair perfectly with every one of your outfits! In this collection, you’ll find a selection of delicate, on-trend pieces to accessorize your wrists, neckline, or hands—whatever you prefer.
And without further ado, we invite you to check out December’s first tutorial on how to make a multi-strand chain ring with charms. It’s very easy to make—even beginners will enjoy crafting this stainless steel medallion ring. All you’ll need to know is how to attach a clasp to a ball chain and open a jump ring.
Stainless steel is a great material to use in your DIY projects. In fact, stainless steel jewelry is sturdy, hypoallergenic, durable, and rust-resistant!
This stainless steel ring is fully customizable. For example, you can engrave an initial or a pattern on the charm.
Keep in mind that you can, of course, choose other charm designs from our wide selection of charms, beads, and gold sequins. For those who’d like to adapt this tutorial into a bracelet, that’s also possible by adjusting the chain’s length.
Now it’s your turn!
You can also expand your collection by following our other DIY stainless steel ring tutorials.
Measure a length of chain so that you can choose between 3 or 4 turns of the finger on which you want to wear your ring. Leave a small margin so that you can roll the chain on when you put it on.

Place your sprocket for ball end chain. Insert one side first so that the chain engages in the sprocket and then the other side.

Prepare your different charms by inserting them on flat-headed nails.

Use round-nose pliers to form the buckle that will allow these charms to be attached to the ring.

Open your ring with pliers. Insert the charms on the ring and connect it to the ring.

You can of course decide to make this creation into a bracelet. All you have to do is adjust the length of the chain at the beginning of the tutorial.



You have a question about this tutorial? Ask it to our team and the people who have already tested it. The Perles & Co community is here to help you!
Credits
Perles & Co, Internet & E-Commerce company [23/11/2020] Any reproduction, representation, adaptation, in any form whatsoever, even partial, is prohibited, except for reproduction for private use not intended for collective use, representation in the family circle (art. L 122-5 CPI) and online publishing on condition that the source is mentioned and a link is included to the corresponding page of our site www.perlesandco.com.

