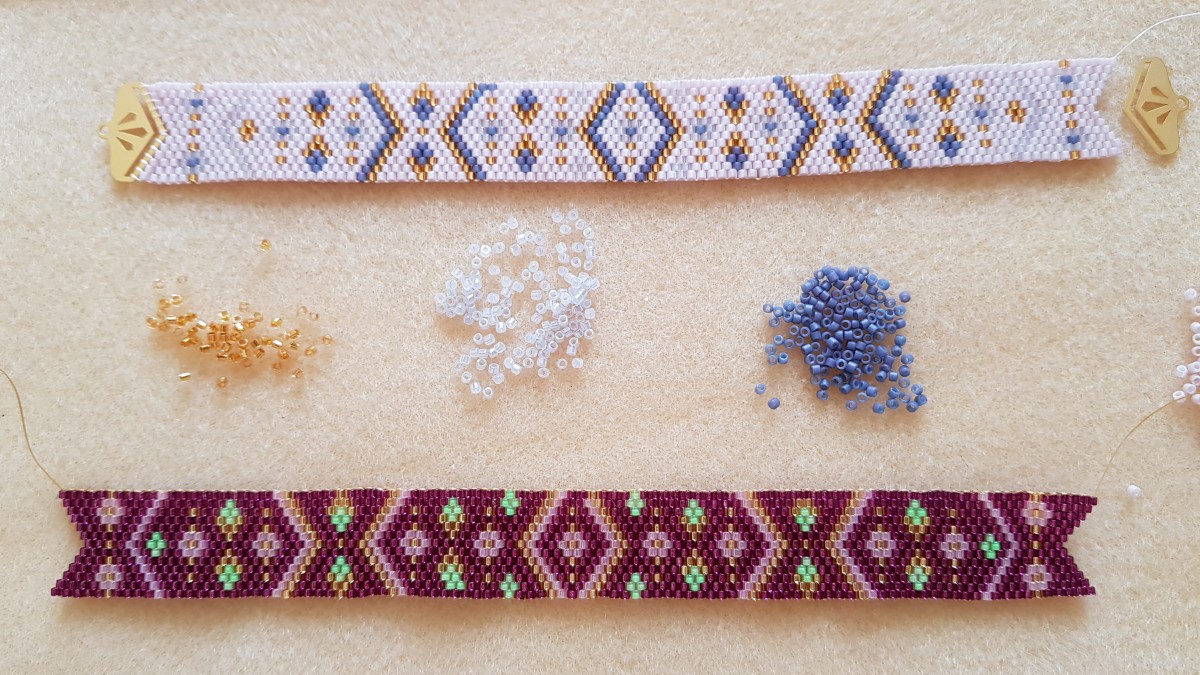
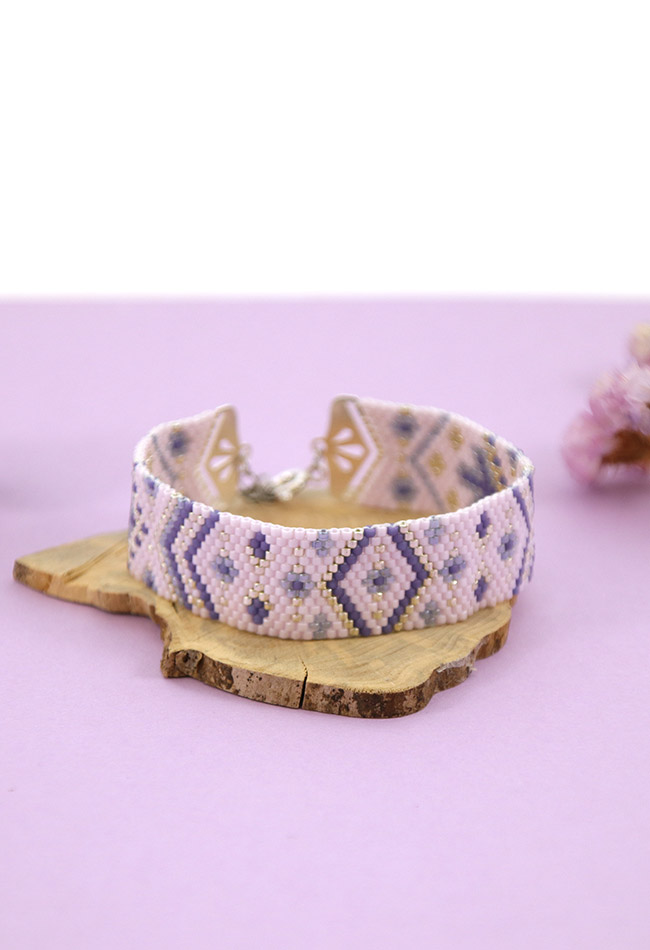
This bracelet was made with an assortment of Miyuki pearls in an exclusive limited edition Perles and Co. This is the assortment of unicorn pearls which mixes pastel and purple colors. It is woven in odd Peyote. If you do not know the needle weaving and in particular the odd Peyote weaving here is a list of technical sheets and tutorials to see more clearly:
Starting with the Peyote pair will be easier. Needle bead weaving is different from weaving on a loom. On the loom, the beads are aligned in both directions, while for needle weaving, and more specifically Peyote and Brick Stitch, the beads are aligned in one direction and staggered in the other. The bracelet models may appear similar but the weaving grids are not compatible from one technique to another.
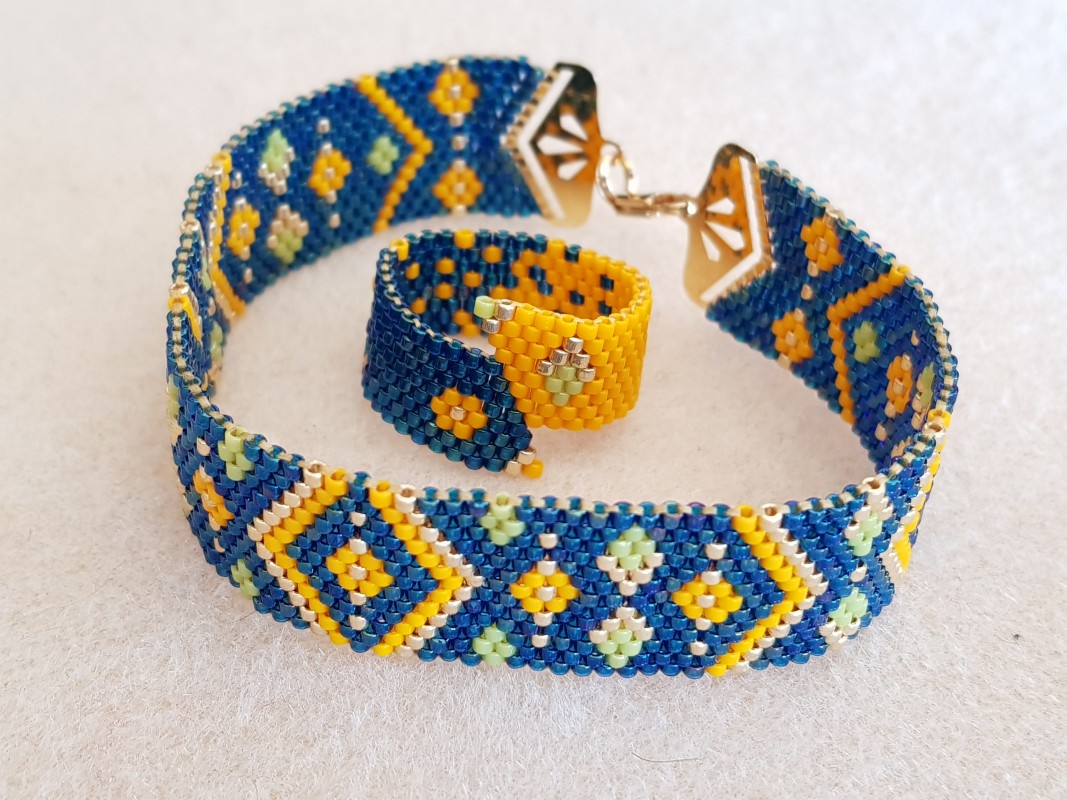
Peyote weaving is a very good technique for making flexible pearl bracelets. This bracelet model is 13 beads wide and suitable for special weaving end caps created internally at Perles and Co. These end caps are exclusive and exist in gold, silver and rose gold. The silver version is available in 925 silver or in a silver brass base weaving tip . Find the whole list of equipment at the bottom of the page.

Step 1 :
Cut about 1.5 m of thread and start weaving the bracelet from the center, this will allow you to no longer have to look at the diagram to weave the second part of the bracelet.
2nd step :
Once the bracelet is woven, hang the weaving on the end piece. Start by fixing the 3 pearls in the center: Take out the thread of the pearl from the point, pass the needle through the hollowed out part of the tip and return in the pearl by the same side as where your thread comes out . Attach the pearl of the point on both sides and the 2 other pearls juxtaposed to it only on the side in contact with the tip.
Step 3:
After having fixed the 3 pearls in the center, fix the pearls of one of the diagonals of the point then come back on the other side and fix the other part. You have to tighten the wire each time but be careful not to break it.
Step 4:
Wedge the thread in the weaving and repeat the operation for the other end of the bracelet. Attach the clasp, the rings and the charm.

Do not hesitate to show your creations on our Facebook page, in the Super club group of Perles & Co customers or on Instagram by quoting us with @perlesandco or with #perlesandco.