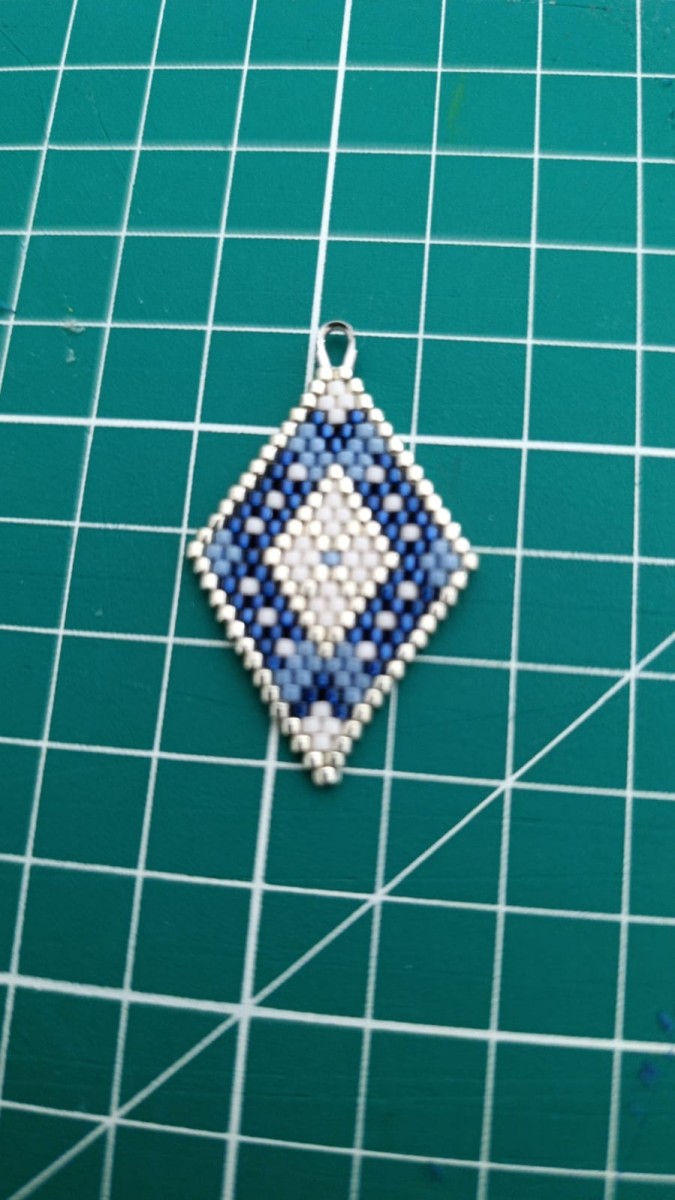
How to make Brick Stitch diamond earrings?
We’re offering this free Miyuki beading pattern for making diamond-shaped earrings. The design for these earrings comes from the very first beading kit published on Perles&Co, “Survival Kit for Compulsive Beaders,” which was a limited edition and is no longer available for purchase. However, we regularly release new limited-edition Miyuki beading kits, so feel free to check back often.
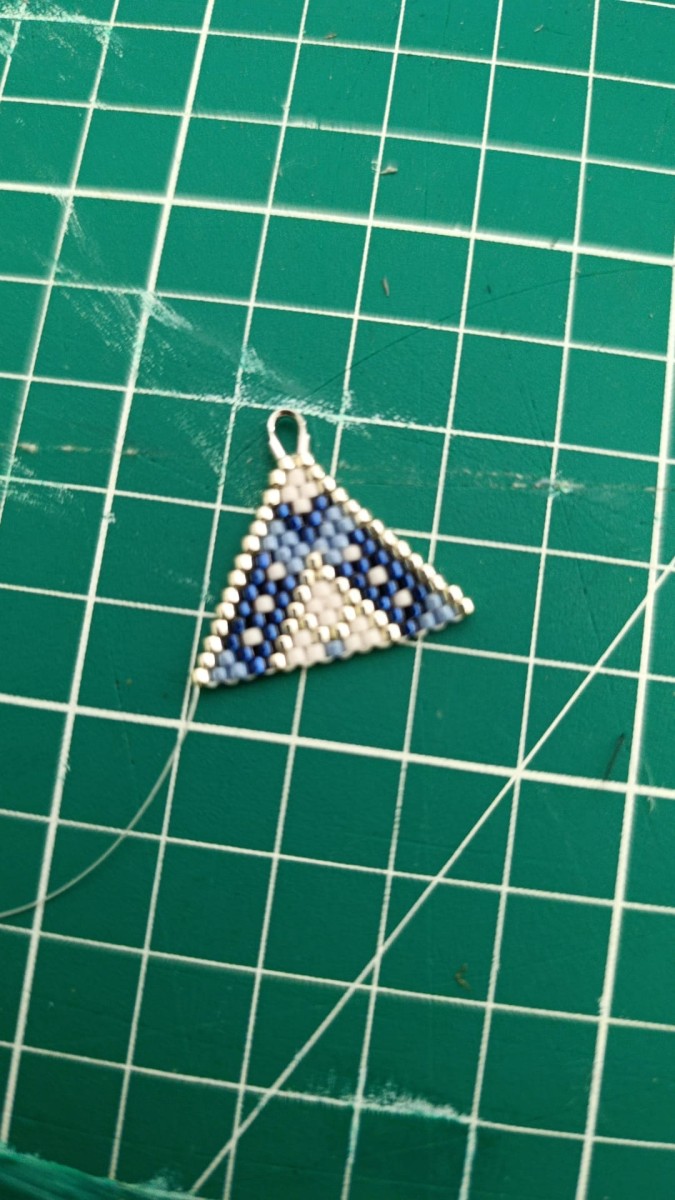
In this tutorial, we’re showing you three versions of these earrings. One features bright, vibrant Miyuki colors; another uses more classic, understated colors that you can wear with silver earstuds, for example; and finally, the turquoise bead earrings shown in the video. The beads for the earrings in the video are listed in the shopping cart at the bottom of the page. The other color options are in the “Variations” section, a little further down. You can also find the list of beads used below the photo corresponding to each design.
The video shows the latest version of these earrings. In this version, we’ve added cable wire protectors —which are normally used for cable wire—but in this case, they’ll also protect the weaving thread from friction. This is especially important since the thread tends to slip out of the open rings of the earrings. This will also prevent that issue.
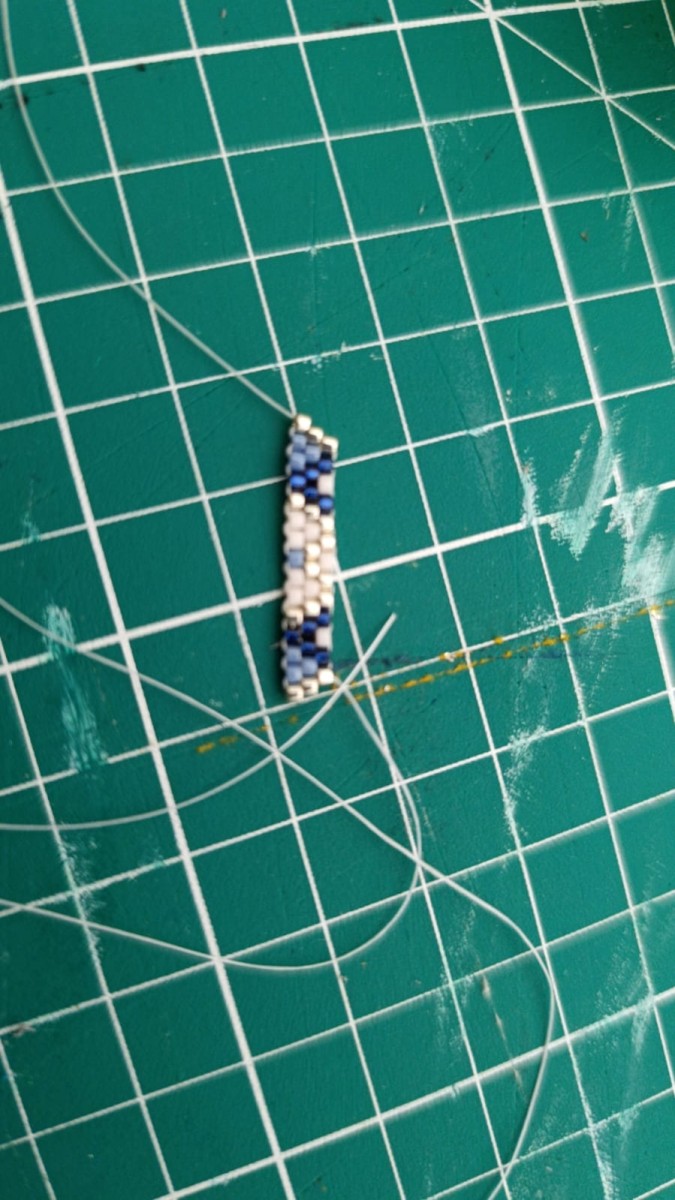
The technique used is the Brick Stitch, which involves creating a base row of beads and then weaving the beads over it in a staggered pattern, much like building a brick wall. Follow the diagrams to learn the basics of the Brick Stitch while making these earrings.