Cut 1.7 m of thread, pass it through a size 10 weaving needle and thread the 13 beads shown in the video. They correspond to the first two rows of beads in the weave. Here we have started from the centre of the bracelet but you can also start from the beginning, only you can't start the weaving from the tip. If you have trouble holding the beads in place on the wire without dropping them, there is a tool called the Quick Start Peyote that makes it easier to start weaving.
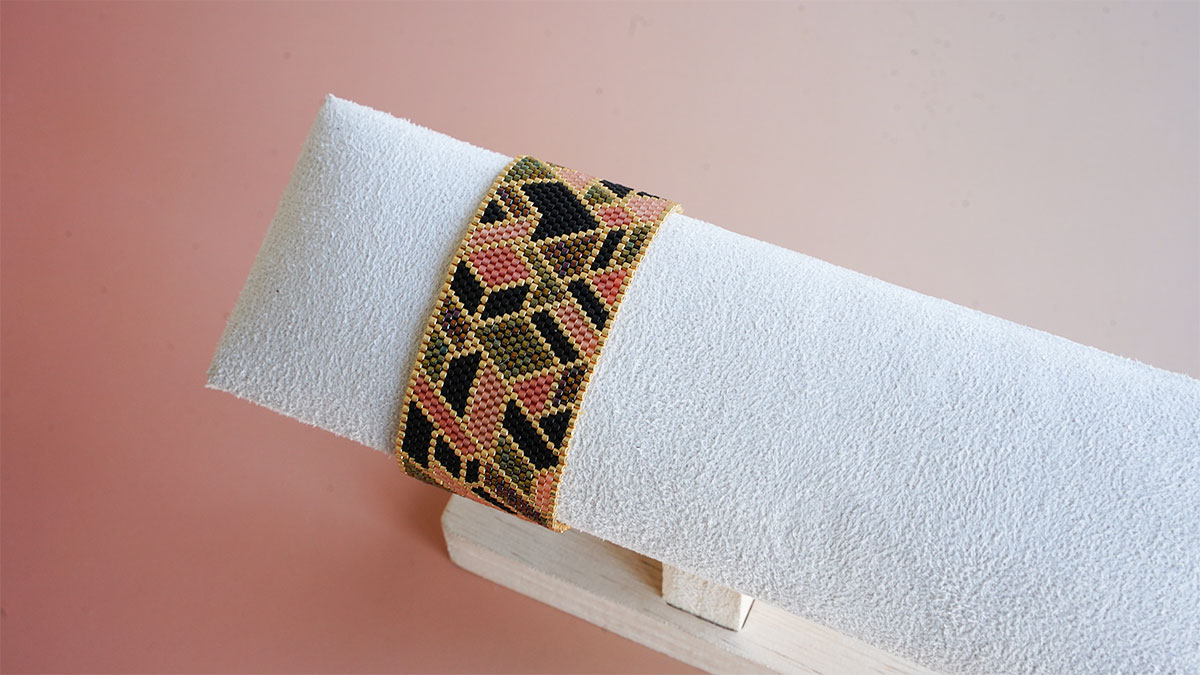
Peyote Impair bracelet in Miyuki delicas and PureCrystal spinning tops with star clasp
How to put crystals on a miyuki weave?
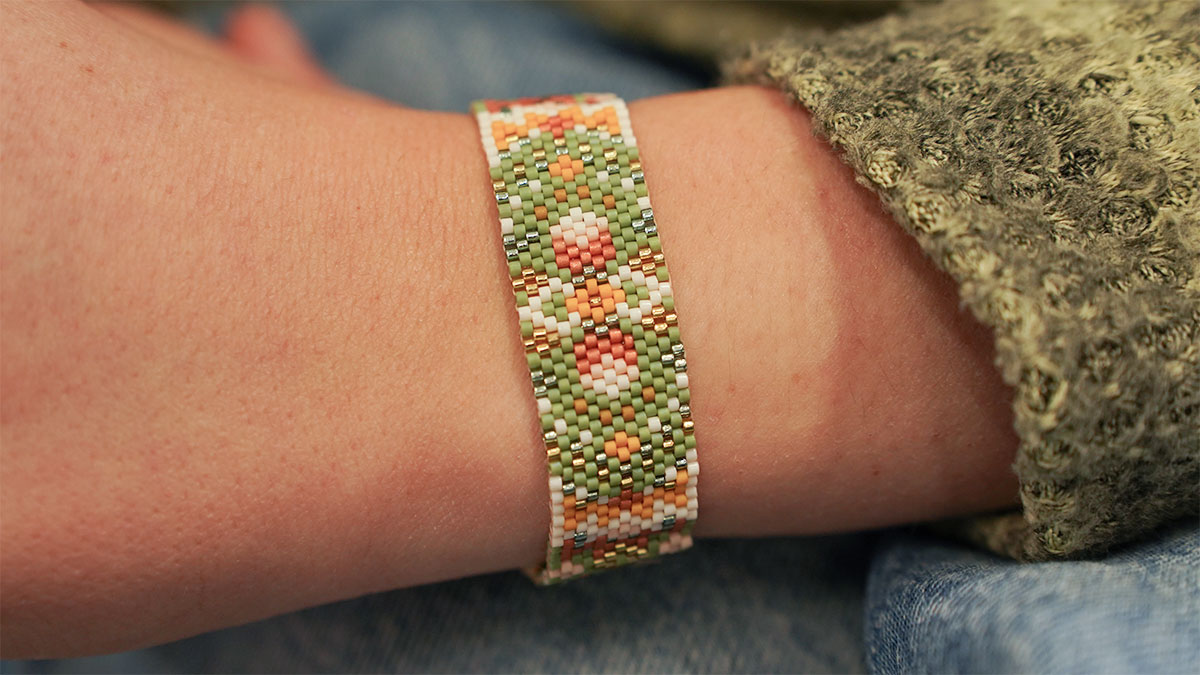
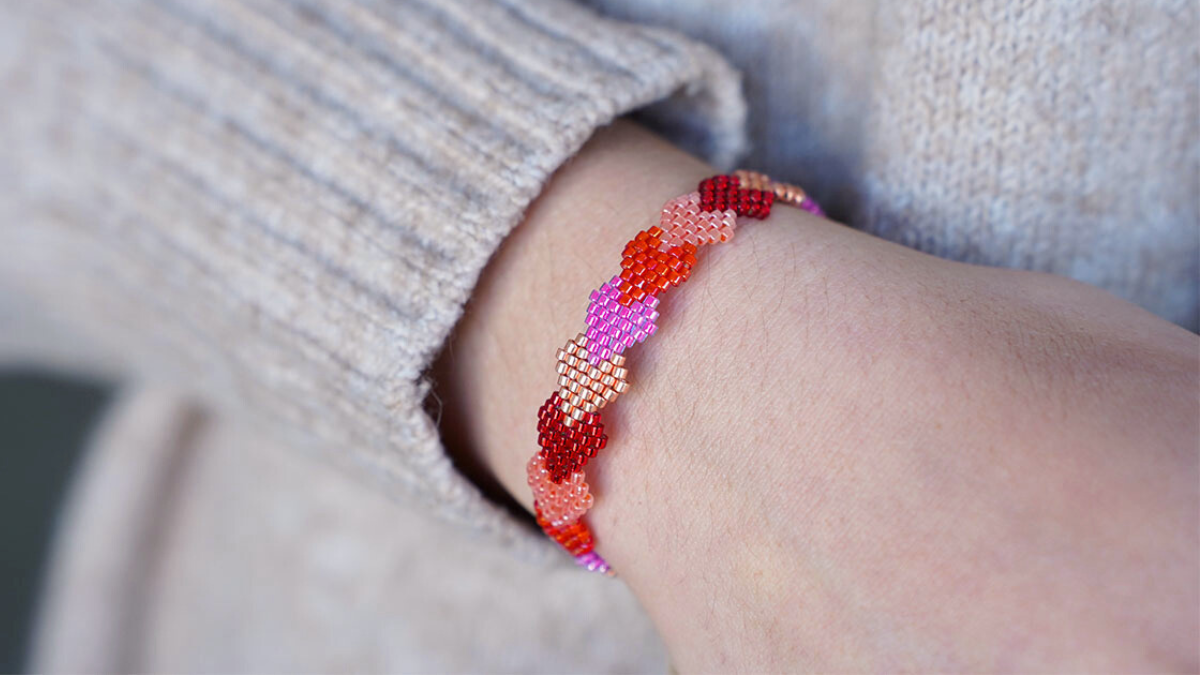
Here is a new Miyuki bead bracelet design to make using the Odd Peyote stitch technique. Odd Peyote is a needle-weaving technique, so it doesn’t require a loom. This technique makes it easy to move your work around, since all you need are beads, thread, and a fine needle for weaving. The bracelet’s appearance is slightly different from that of a loom-woven piece. In fact, when using a loom, the beads are aligned both across the width and along the length of the bracelet, whereas in Peyote weaving, the beads are aligned in one direction and staggered in the other.
The beads used here are 11/0 Delicas from the Japanese brand Miyuki. These are tubular-shaped beads, not round like traditional seed beads. These beads are particularly well-suited to this technique because they need to interlock. You can also use seed beads, but the result will look very different.
In this beading tutorial, we’ve added a touch of originality by weaving PureCrystal bicones onto the bracelet at the end. This step isn’t essential—you don’t have to add them. By the way, they were secured with weaving thread, but if you have Fireline or fishing line on hand, it’s better to use that for this final step—it will be stronger.
The end caps used in this tutorial are metal caps specifically designed for odd-row peyote weaving. They were designed by Perles and Co and are available exclusively on our website. They come in two other sizes for 7-row and 21-row weaves using 11/0 Delica beads. They’re also available in silver, Rose Gold, 925 Sterling Silver, and gold-plated.
Tutorial steps
Thread the first bead of the third row and pass the needle through the second-to-last bead threaded in step 1. Tighten gently without causing the beads to fall off. Keep 15 cm of the thread end.
Continue threading the beads in the third row according to the pattern. Only pass the needle through every other bead. For the last bead to be added, thread through the very first bead in step 1 from the side the thread exits.
Complete the gaps created by following the diagram carefully. Be careful, the weaving turns, so make sure you go through the right beads.
Once the last bead of the fourth row has been threaded, pass through the first bead of the third row threaded in step 2. Fill in the gaps again.
After the last bead in the row, thread the first bead in the next row and pass through the bead you just threaded. Complete the row.
Once you've reached the end, we'll use a little trick that allows you to turn around because, as you'll see, the needle is not positioned in the right direction. Thread the last bead of the current row, pass the needle under the thread connecting the two beads next to it, on the outside of the bracelet, then return to the bead by the same side from which the thread comes out. Your bead is now fixed and you can start the new row. This tip should be repeated every other row. Continue weaving by completing the holes.
When you have only 15 cm of thread left, pass it through the weave, making diagonals of several beads 3 to 4 times. This will trap the thread in the weave. Be careful that your thread does not show over the weave. Then cut the excess thread. Take a 1,7 m thread and wedge it in the same way in the weaving. Take up where you left off.
Measure the bracelet as you go. Multiply this value by 2 to get the approximate length of your bracelet. Your bracelet should be the same length as your wrist. Repeat the pattern as many times as necessary to get the right length. To make the flag point, watch the video carefully, because you will have to make several decreases in Peyote.
Once the first side of the bracelet is woven, do not cut your thread, as you will use it to attach the ends later. Take a new thread, wedge it in the weaving and weave the second part of the bracelet.
To fix the tips, watch the video. Slow it down with the video settings if needed. The goal is to get the wire around the bar of the tip and back into the bead where your wire exits from the same side. You can also do this step with a fireline for more resistance over time. Once this is done, if you have enough thread left, move it through the beads to the first red diamond.
The wire must be positioned in the bead of the point towards the center. Thread 1 gold 15/0 seed bead, 1 PureCrystal 3mm spinner, 1 15/0 seed bead and pass through the bead on the opposite top from the inside of the diamond. Then move the wire to the next red diamond and so on. Do the same thing with the center diamond. Change the thread if necessary.


You have a question about this tutorial? Ask it to our team and the people who have already tested it. The Perles & Co community is here to help you!
Merci pour tutoriel très bien expliqué
Credits
Perles & Co, Internet & E-Commerce company [12/12/2021] Any reproduction, representation, adaptation, in any form whatsoever, even partial, is prohibited, except for reproduction for private use not intended for collective use, representation in the family circle (art. L 122-5 CPI) and online publishing on condition that the source is mentioned and a link is included to the corresponding page of our site www.perlesandco.com.