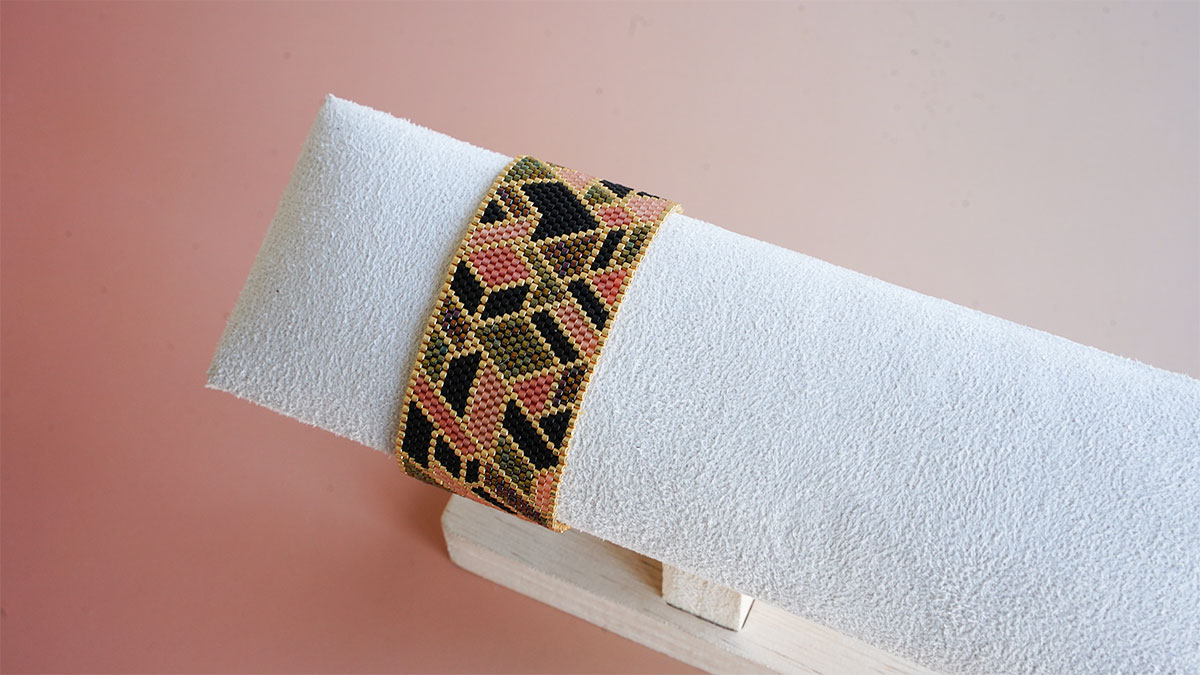
Tie 8 thin threads in the center of the loom without cutting the thread on the spool and making a loop around each nail. Then add the gold thread on each side making 2 loops around the nail. Cut 1.5 m of weaving thread and tie it on an end thread of the loom, keeping 10 cm of thread end. String the first row of beads and pass the thread with the beads under the loom thread. Place each bead between 2 threads, centering them on the loom. Iron the thread through the beads, also taking the threads from the edges that do not have beads. When you iron in the beads with the needle be careful to go over the threads of the loom otherwise your beads will be a bit sunken on the weaving.
Video - Miyuki loom bracelet with gold thread
How to make increases and decreases on a bead loom?
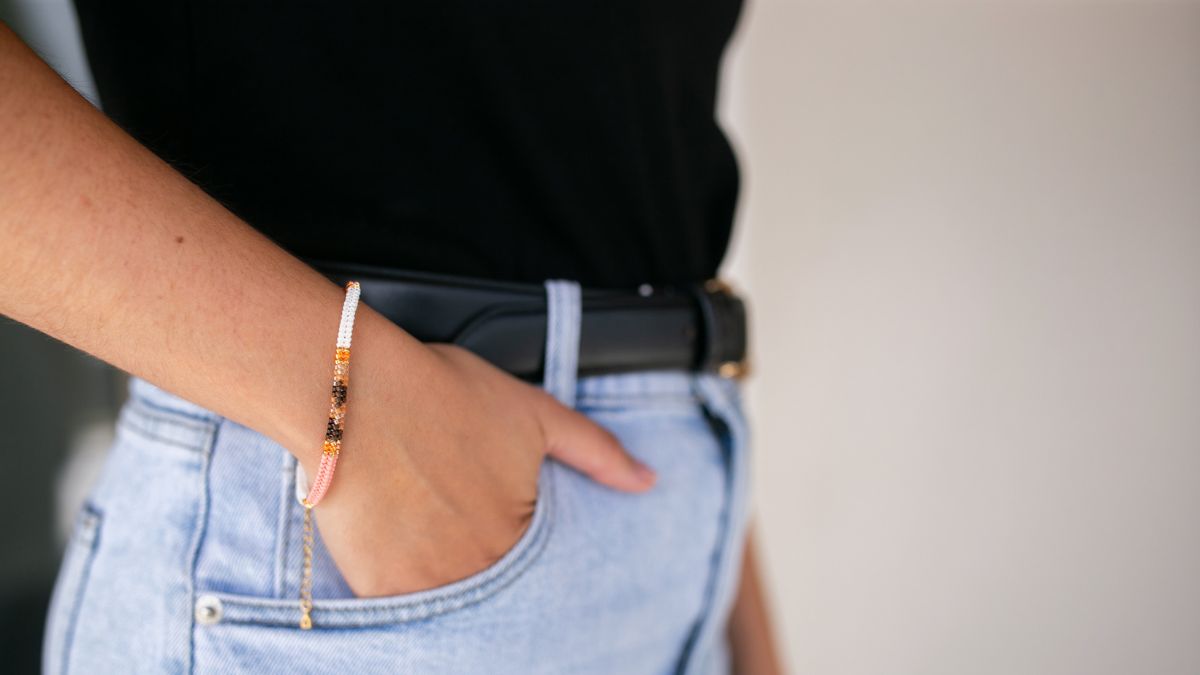
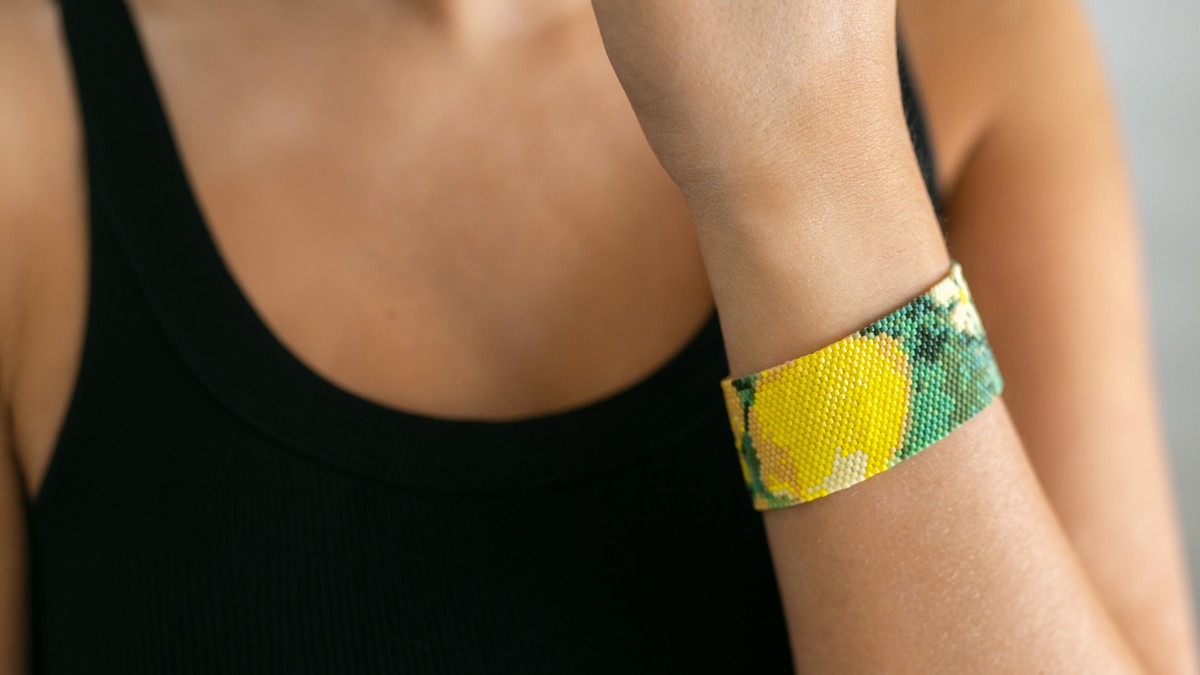
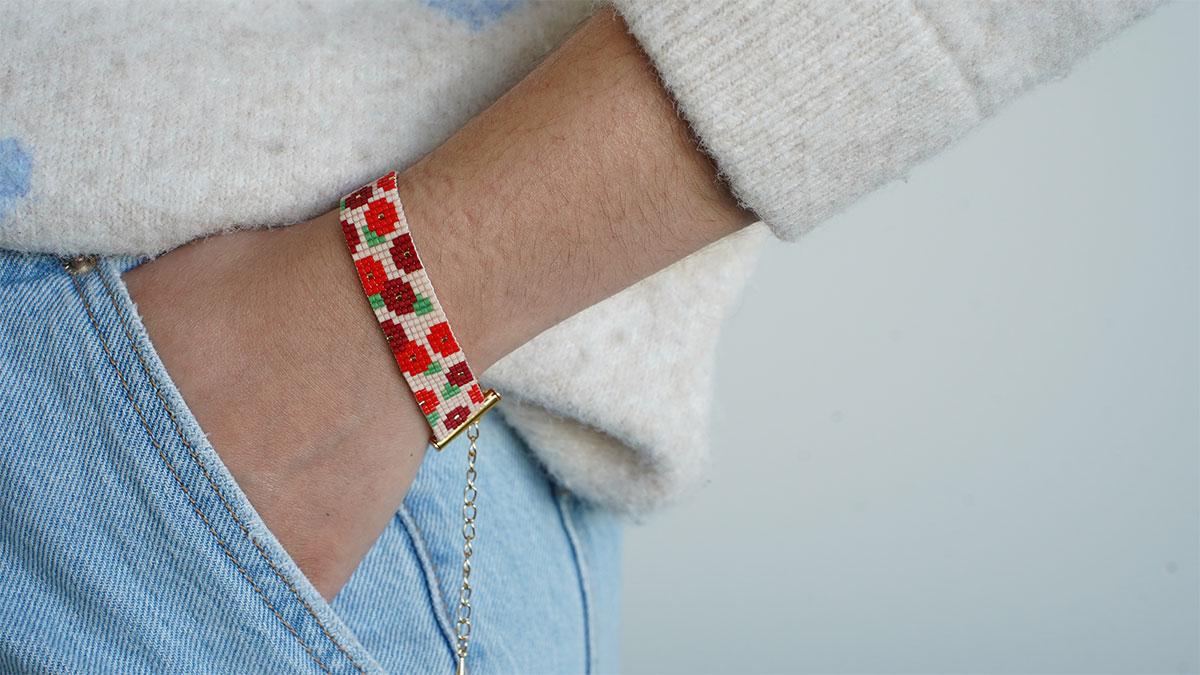
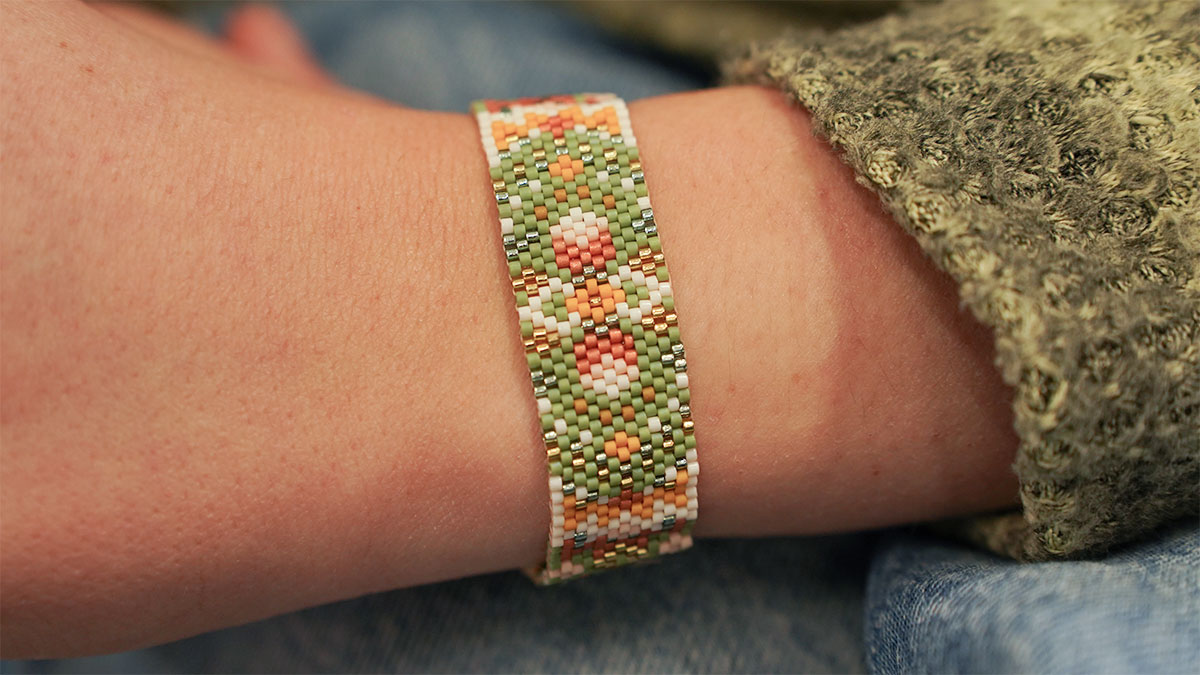
5 years ago, I presented you this technique for the first time with this video: Miyuki mosaic bracelet on a loom. Today I propose you a new model a little bit different. The increases and decreases of the weaving are done on the whole length of the bracelet, but on less distance so that you don't have to put threads in the weaving at the end. The addition of a gold wire at the edge also adds an extra touch and the magnetic clasp will finish your creation nicely.
The gold thread is a size 16 silkworm thread. It comes in dozens of different metallic colours. You can also use this thread for micro-macramé creations by mixing it with Linhasita thread.
This technique allows you to create spikes on a beaded bracelet on the loom, but it makes the weaving a little more irregular because of the tension of the thread. This is quite normal. You can improve this by loosening the gold thread as you go along so that it is not too tight.
This tutorial is for people who have already made several classic bracelets on a loom and not for beginners.
Tutorial steps
Repeat this string of beads 3 times before continuing with the bracelet design. These 4 rows of beads will be glued into the clasp. The clasp adds 2 cm to the length of the bracelet, the 6 bead patterns are 1 cm wide and your bracelet needs to be 1 cm to 1.5 cm larger than your wrist size. A little calculation is needed to know how many times you will have to repeat the pattern.
When decreasing and increasing, always be careful to center the beads on the loom. For the increase, spread the threads of the loom to place the beads between them and be careful not to get the wrong threads. For the decrease, pass 4 times in the beads, that is to say 2 round trips, to stick well the threads of the edges against the beads.
To finish, tie the wires in pairs with tight double knots. Apply glue to the knots and beads and insert the bracelet into the clasp slot using a toothpick. Remove any excess glue before it dries. Also a note: Hasulith glue tends to dissolve nail polish which then stains the clasp. So avoid using it for this step... You can also use weaving tips to slide on the beads (tube tips) instead of a magnetic clasp. Do not use alligator clips!


You have a question about this tutorial? Ask it to our team and the people who have already tested it. The Perles & Co community is here to help you!
Quelle est la taille de ce bracelet svp?
Pouvons nous finir avec un noeux coulissant ?
Merci
Credits
Perles & Co, Internet & E-Commerce company [14/03/2021] Any reproduction, representation, adaptation, in any form whatsoever, even partial, is prohibited, except for reproduction for private use not intended for collective use, representation in the family circle (art. L 122-5 CPI) and online publishing on condition that the source is mentioned and a link is included to the corresponding page of our site www.perlesandco.com.