Average Grades
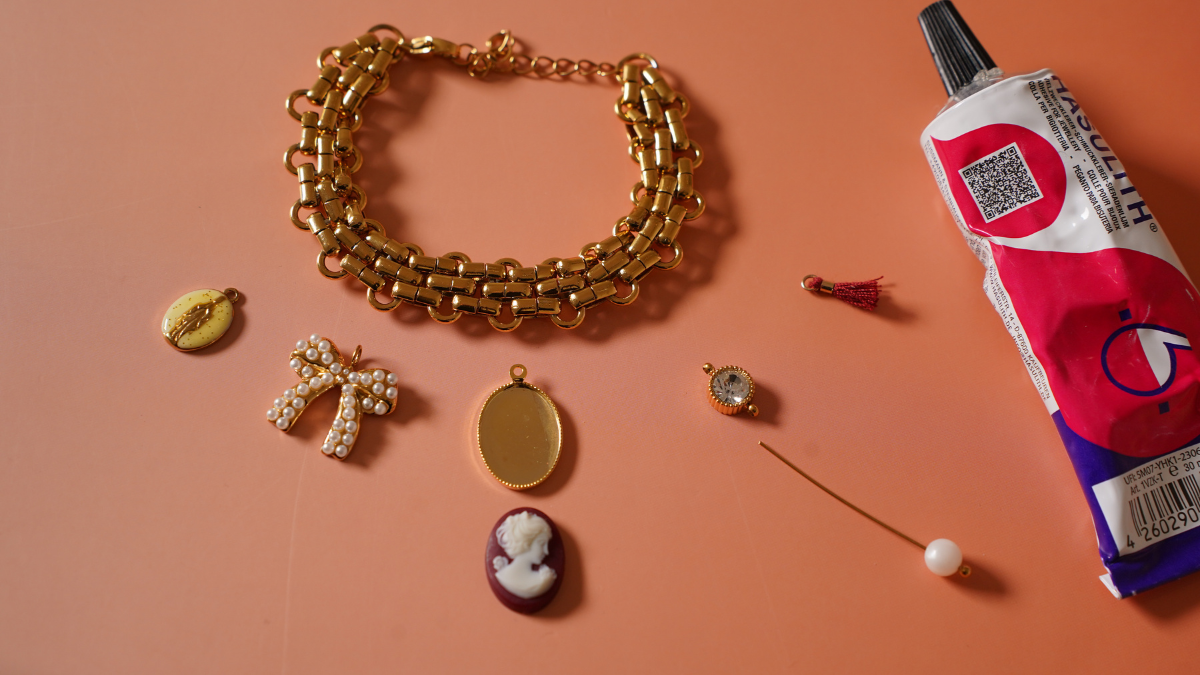
Apply a small amount of Hasulith glue to the base, then place your resin caméo on top. Let it dry.

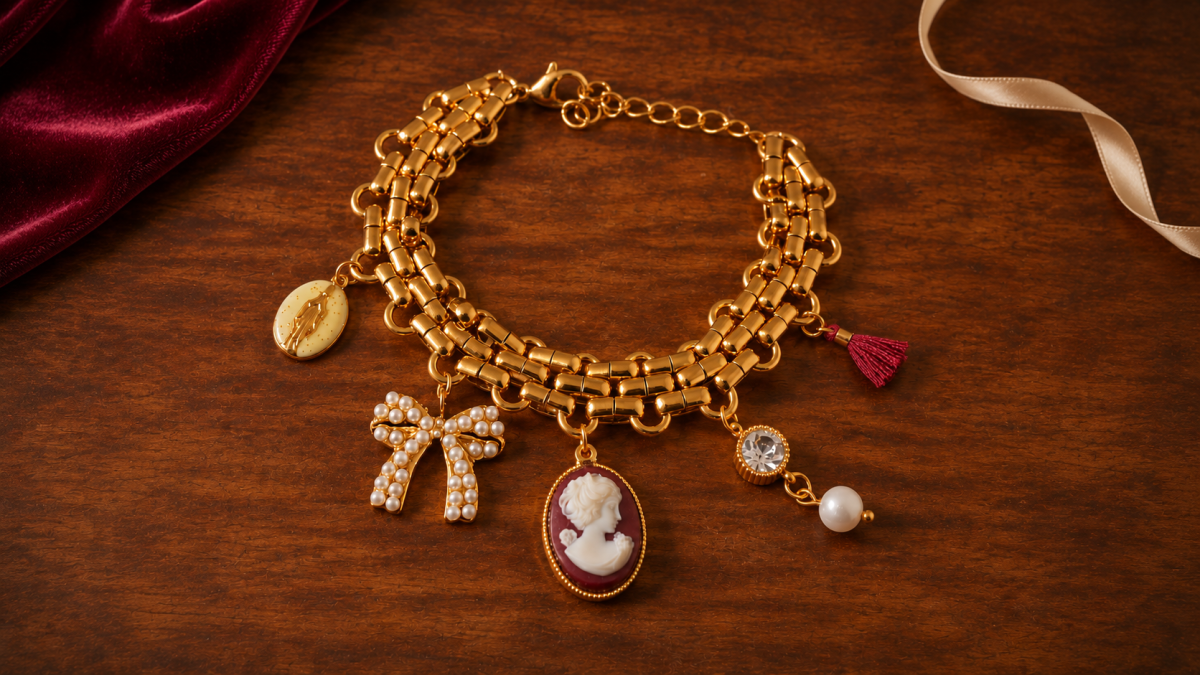
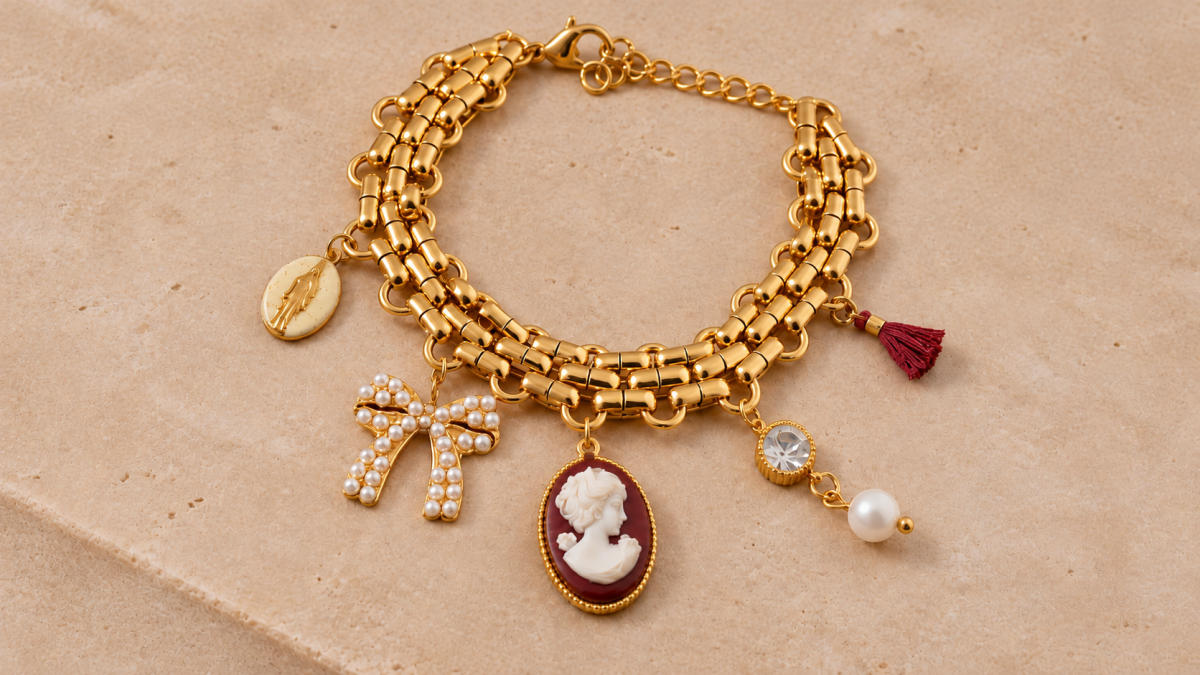
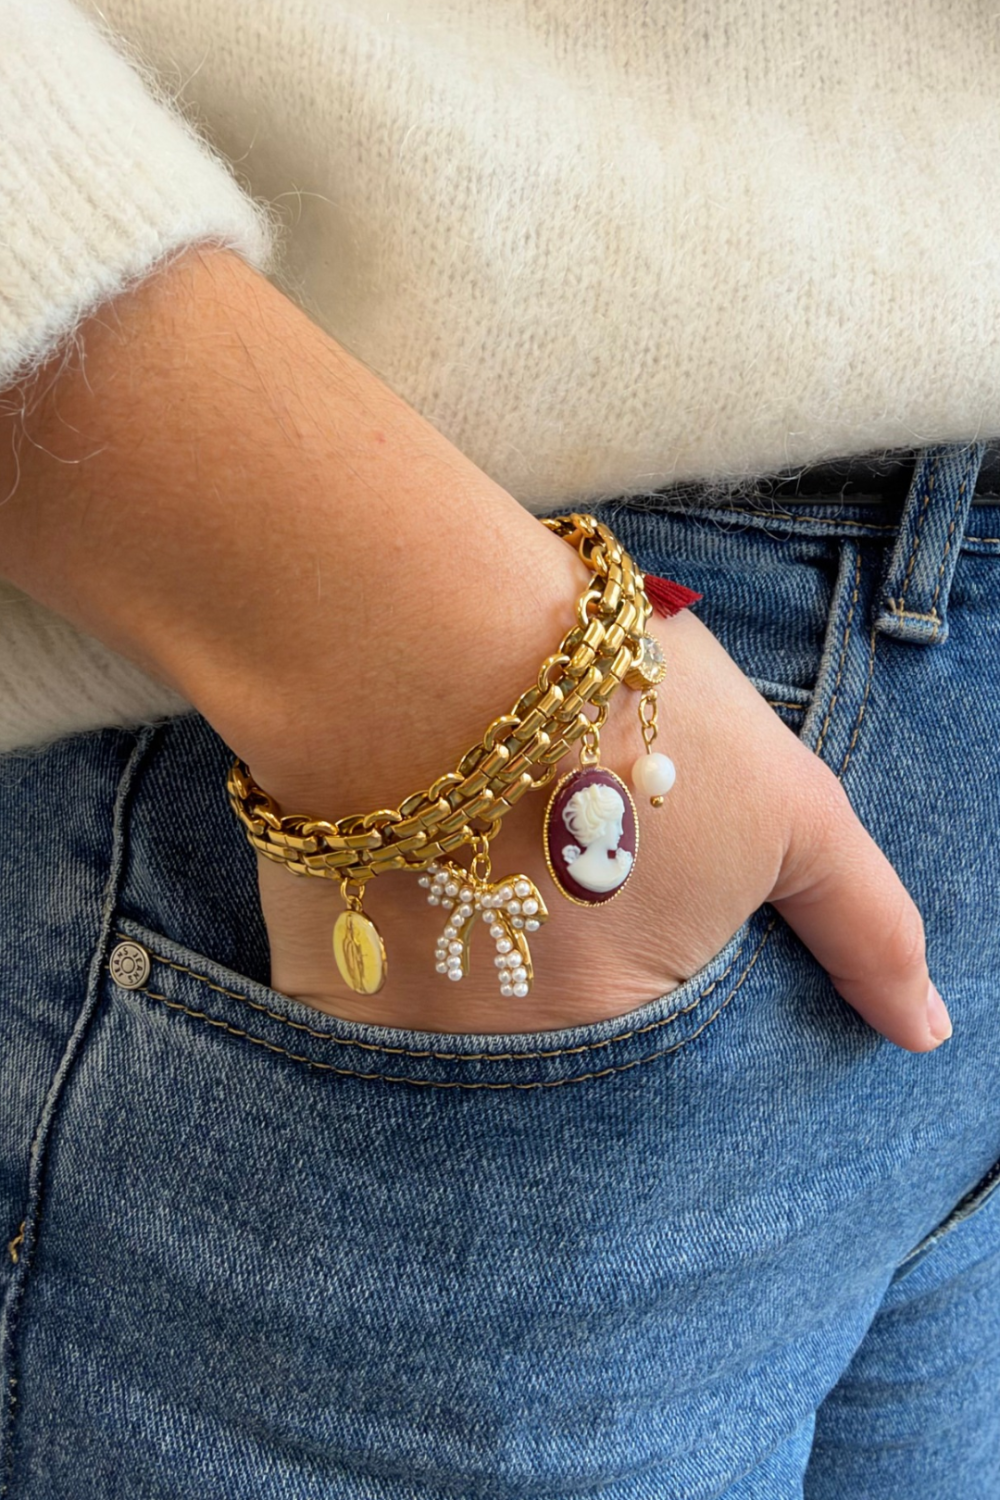
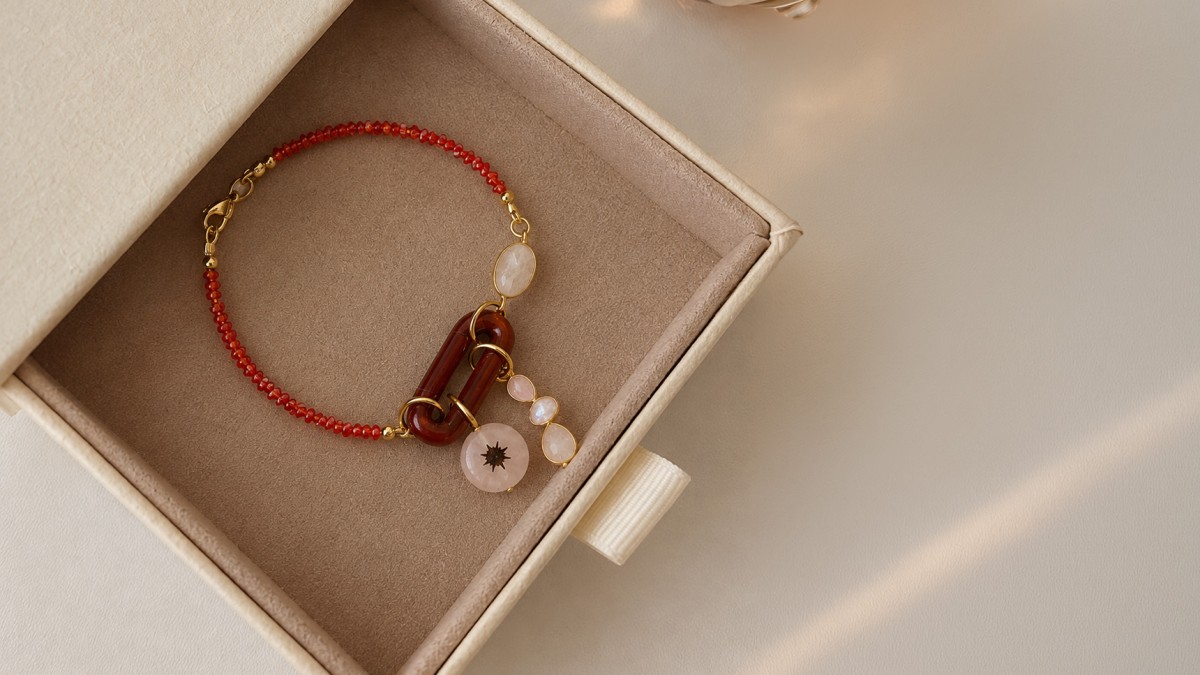
This vintage caméo bracelet features a gold-plated stainless steel chain, a wine-red resin caméo, and several charms attached with rings. It’s made in four steps, using three pliers and a little glue, with no prior experience required. Its gold color, accented with burgundy and pearly white, is perfect for holiday outfits.
This vintage caméo bracelet features a triple-link gold chain, a wine-red resin caméo with a gold setting, and several charms spaced at regular intervals. The burgundy of the caméo, the pearly white of the beads, and the glittery yellow of the oval charm stand out against the gold background. The result is a handmade piece with a vintage look that’s easy to coordinate.
The project consists of four steps and is suitable for a beginner’s charm bracelet. First, glue the caméo into its setting using Hasulith jewelry glue, then let it dry. Next, thread a 6-mm round bead onto a ball-head pin and form a loop using round-nose pliers. You don’t need any special pliers—just two pairs will do. All that’s left is to connect each element to the chain using jump rings. The jewelry pliers kit (flat-nose, round-nose, and cutting pliers ) covers all these steps, and the entire project takes less than an hour to complete, not counting the time it takes for the glue to dry.
The materials are chosen for everyday wear. The chain, charms, glass cabochon spacer, and studs are made of gold-plated stainless steel, which does not tarnish, does not rust, and is resistant to both water and sweat. It is therefore also suitable for sensitive skin. The caméo setting and the open rings are made of fine gold plated metal, which ensures a consistent color throughout the piece. The round, pearly-white resin beads add a soft sheen, and the burgundy tassel adds a touch of fabric.
This design is easily customizable. You can replace the resin caméo with one in a different color, swap out the setting for another style, or choose stainless steel charms in a different design. With over 70,000 options, simply browse the categories to change the color, shape, or length of the chain. You can choose any number of charms: here, a ring is left open between each one.
The vintage style makes a regular appearance in charm jewelry designs, featuring warm tones like burgundy and gold. This bracelet pairs well with a festive velvet or satin outfit. It can also complement a simple sweater for a family dinner. Handmade, it makes a customizable holiday gift.
Once your bracelet is finished, you can share a photo on Instagram @perlesandco or on the Perles & Co. Facebook page. The team loves seeing what the community has created.
Apply a small amount of Hasulith glue to the base, then place your resin caméo on top. Let it dry.
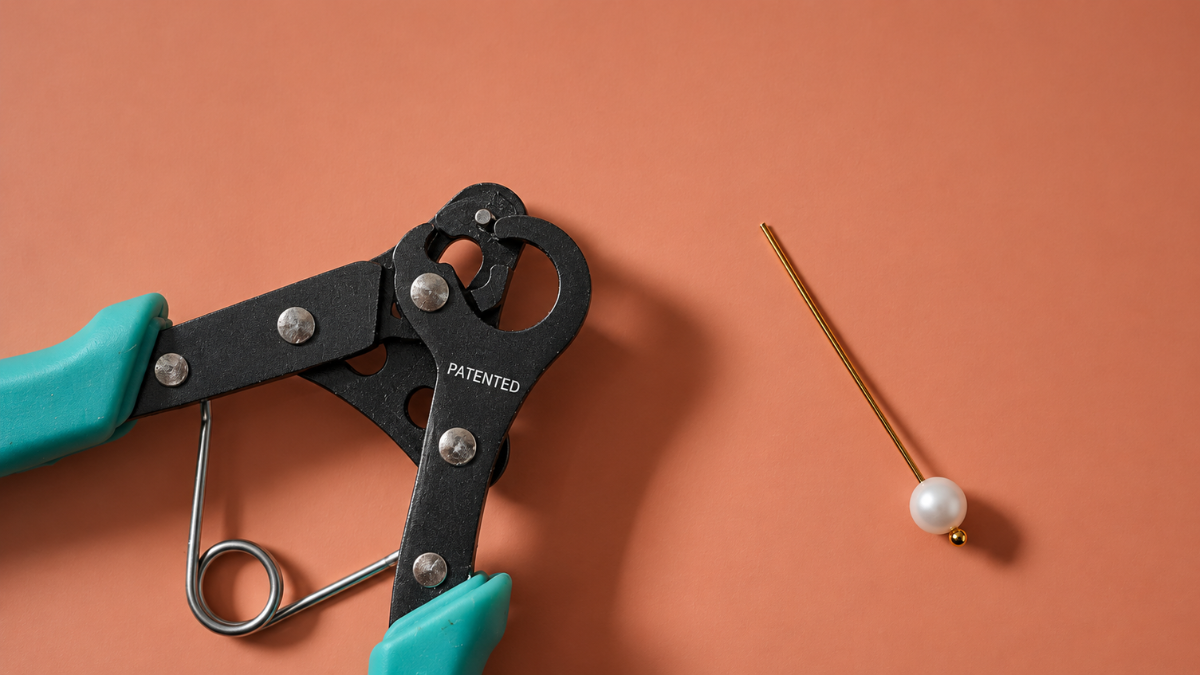
Take the ball-head pin and thread your round bead onto it. Then use a looping pliers to form a loop.
If you don’t have a pair, you can also complete this step using two pliers by following our technique here.
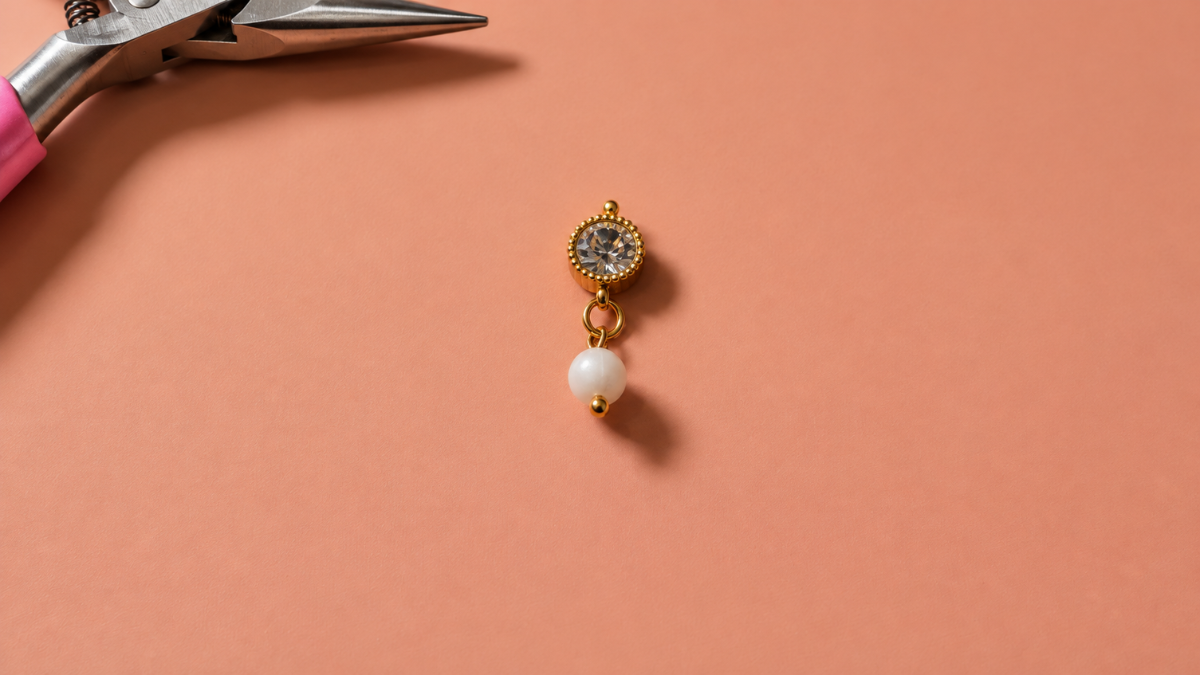
Using a jump ring, attach your spacer to the round bead you just prepared.
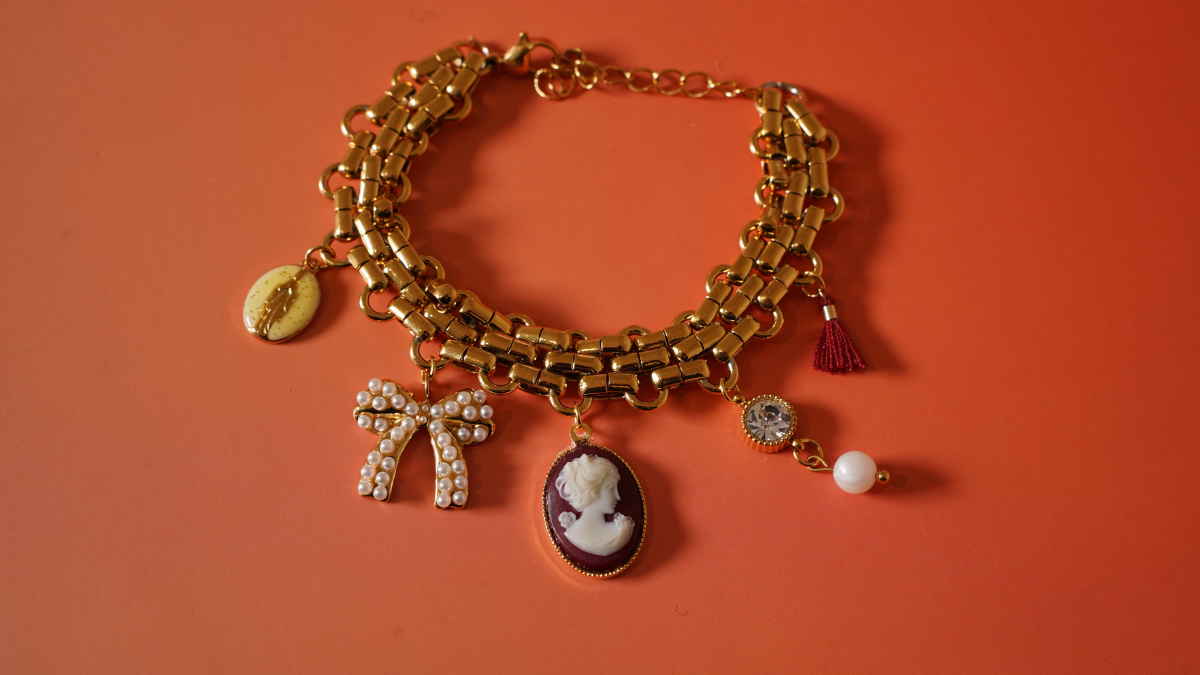
Finally, take a jump ring for each charm and attach them to the protruding parts of the bracelet. Personally, I chose to space them evenly, leaving one jump ring free between each charm.


You have a question about this tutorial? Ask it to our team and the people who have already tested it. The Perles & Co community is here to help you!
Credits
Perles & Co, Internet & E-Commerce company [06/11/2026] Any reproduction, representation, adaptation, in any form whatsoever, even partial, is prohibited, except for reproduction for private use not intended for collective use, representation in the family circle (art. L 122-5 CPI) and online publishing on condition that the source is mentioned and a link is included to the corresponding page of our site www.perlesandco.com.