Average Grades
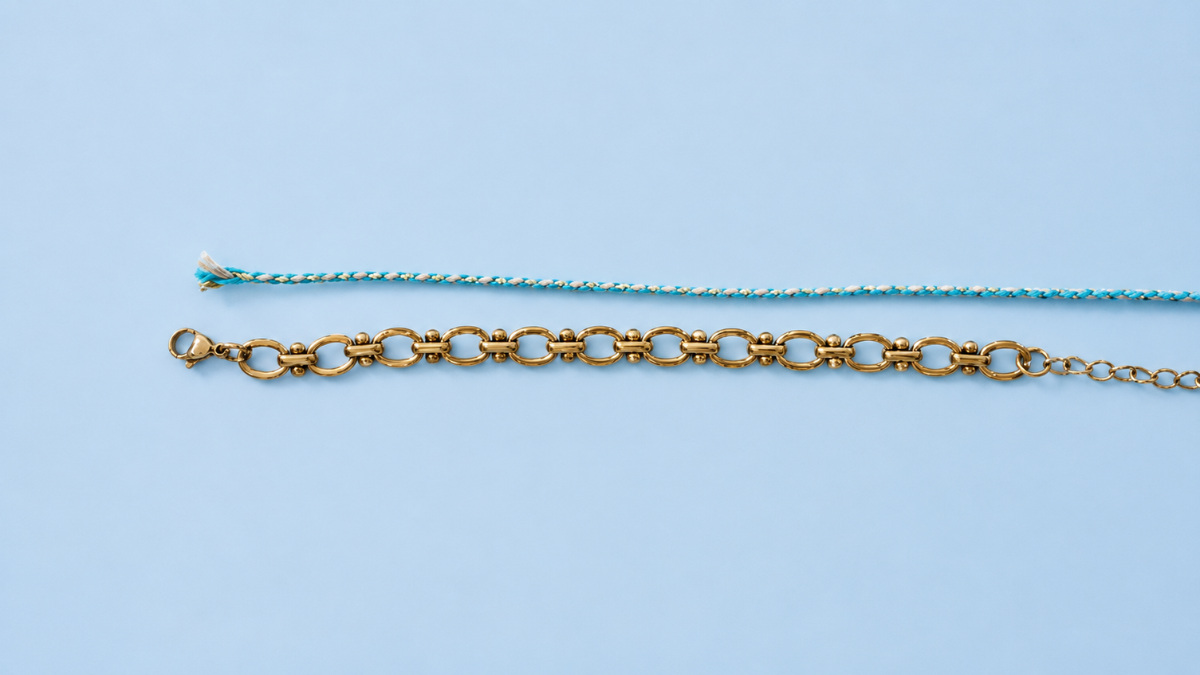
Place your cord next to your bracelet.


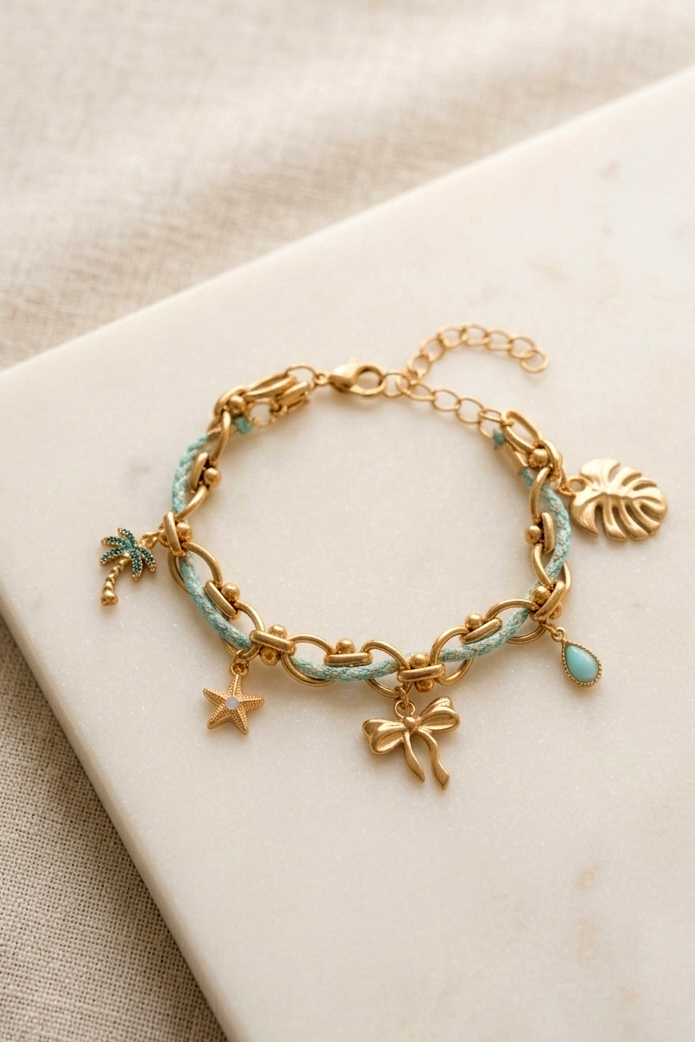
This tutorial provides step-by-step instructions for creating a summer bracelet that combines a gold chain, braided cord, and customizable charms. Suitable for beginners, it requires few materials and takes just 25 minutes to complete. It’s the perfect project for learning the basics of jewelry making and creating a colorful accessory to give as a gift or wear yourself.
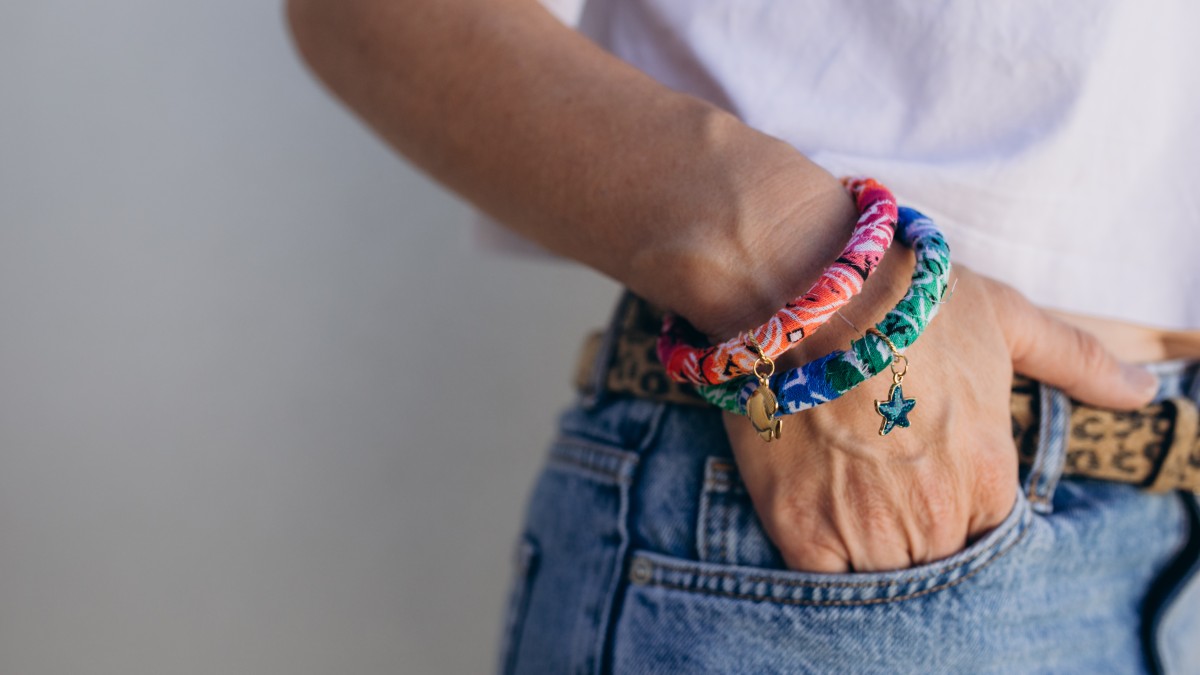
Want to make a colorful bracelet to wear all summer long?
This tutorial walks you through, step by step, how to make a piece of jewelry featuring a gold chain, a braided cord, and several charms. It’s easy to customize to your own taste.
Perfect for beginners, this project requires very few materials: a few pliers, open jump rings, a Lobster Clasp, an extension chain, and a cord. You’ll learn how to secure the cord with crimp ends, then thread it through the links of the chain to create a braided look.
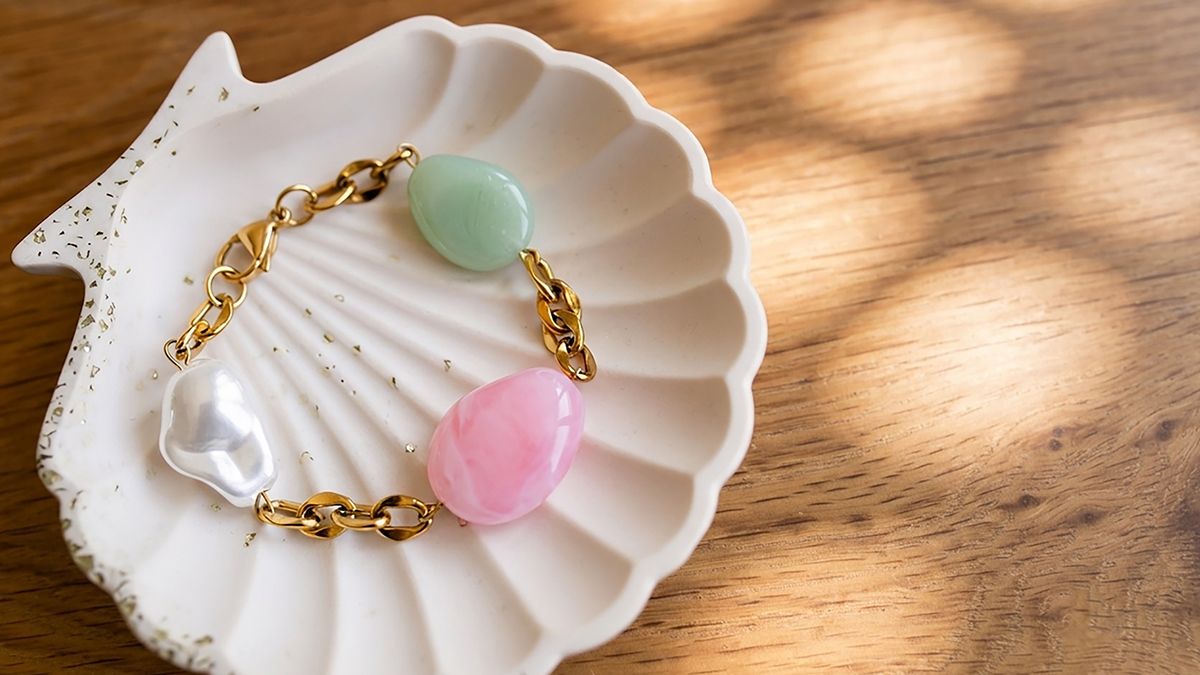
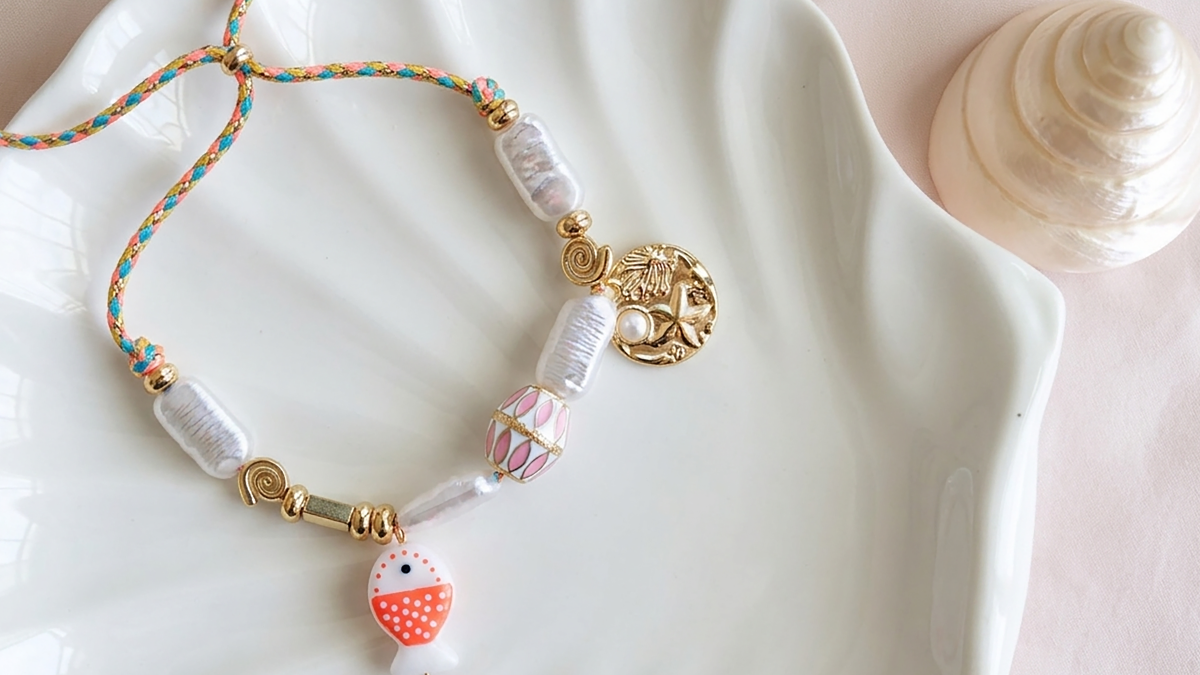
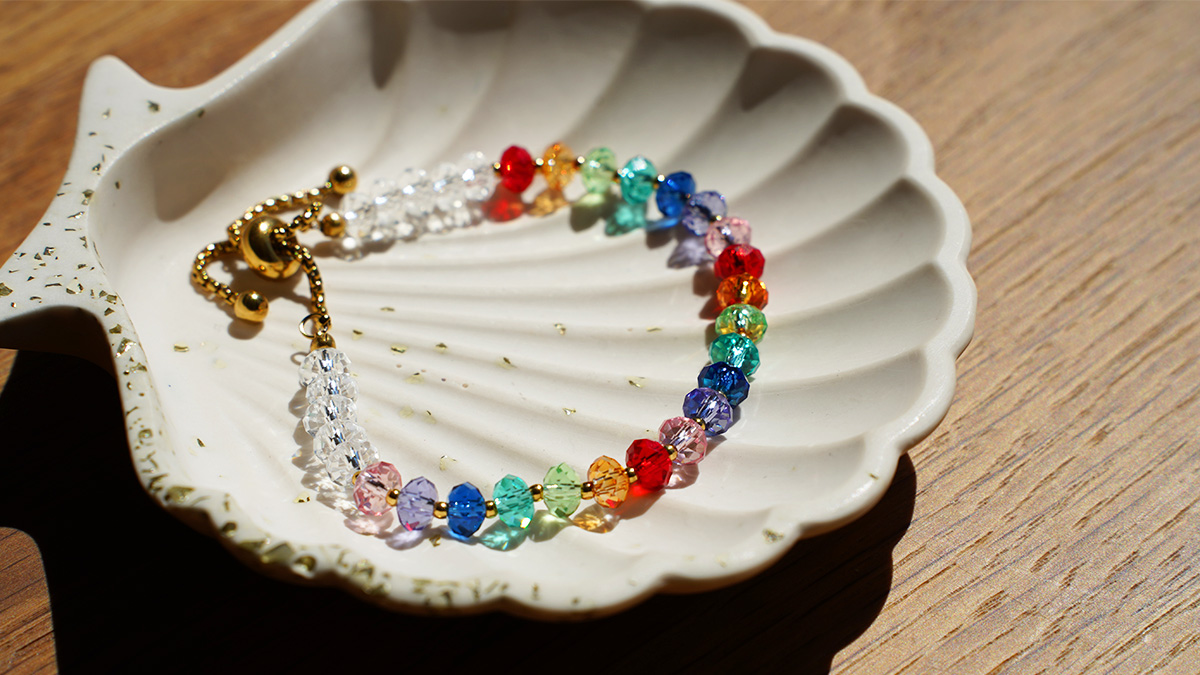
Once the bracelet is assembled, it’s time to personalize it! Add charms using open jump rings and arrange them however you like. Fruit-shaped charms, flowers, seashells, or small colorful patterns: explore our selection of charms to create a bracelet that reflects your style.
You can choose a cord in soft tones, go for bright colors, or mix several shades for an even more summery look. The charms can also be tailored to your theme or to the person you’d like to give the bracelet to.
In just 25 minutes, you’ll have a personalized piece of jewelry, perfect for complementing your summer outfits or as a handmade gift. A simple project to learn the basics of jewelry making while playing with colors and small details.
Place your cord next to your bracelet.
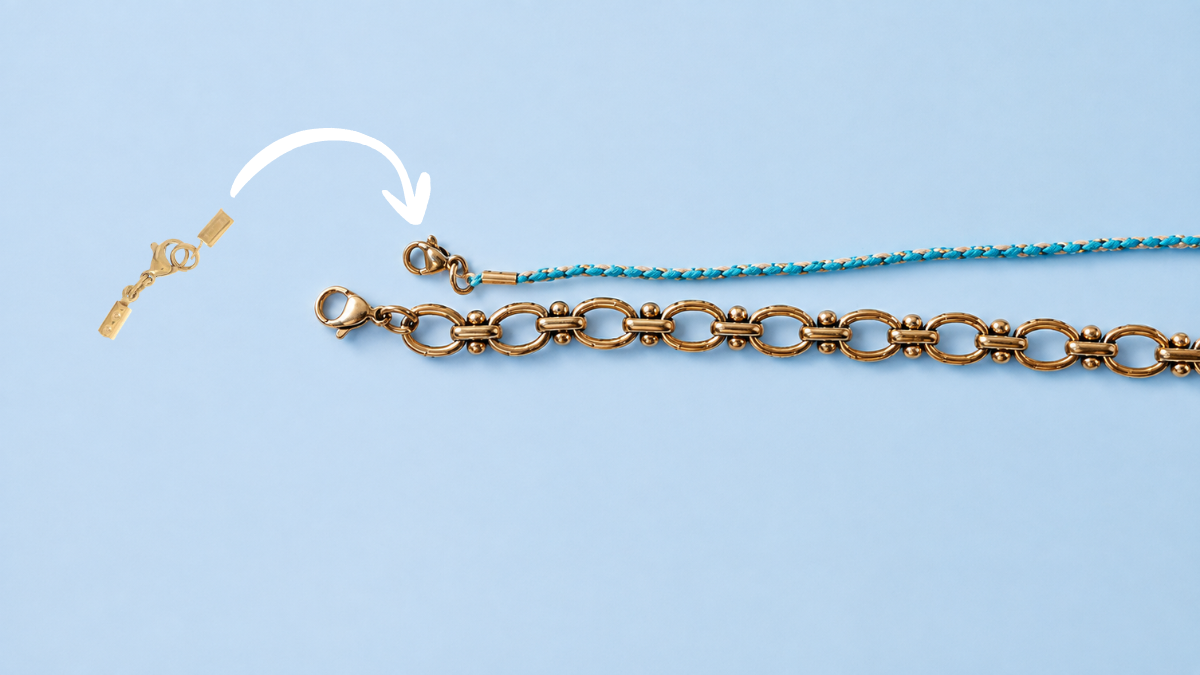
Take your Lobster Clasp, slide the cord inside, and then, using flat-nose pliers, fold back both sides of each end cap to secure the cord in place.
If you’re not sure how to do this, check out our dedicated how-to guide: How to Use Crimp Ends
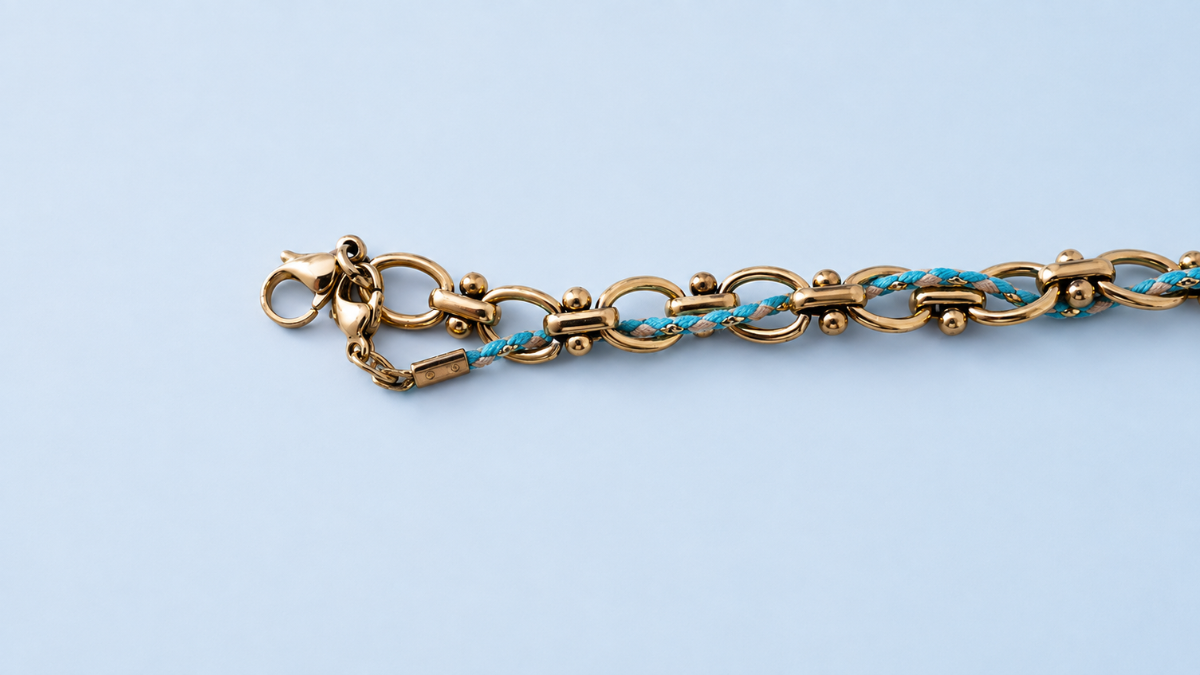
Next, attach the clasp to the bracelet's ring, then thread the cord through each of the holes.
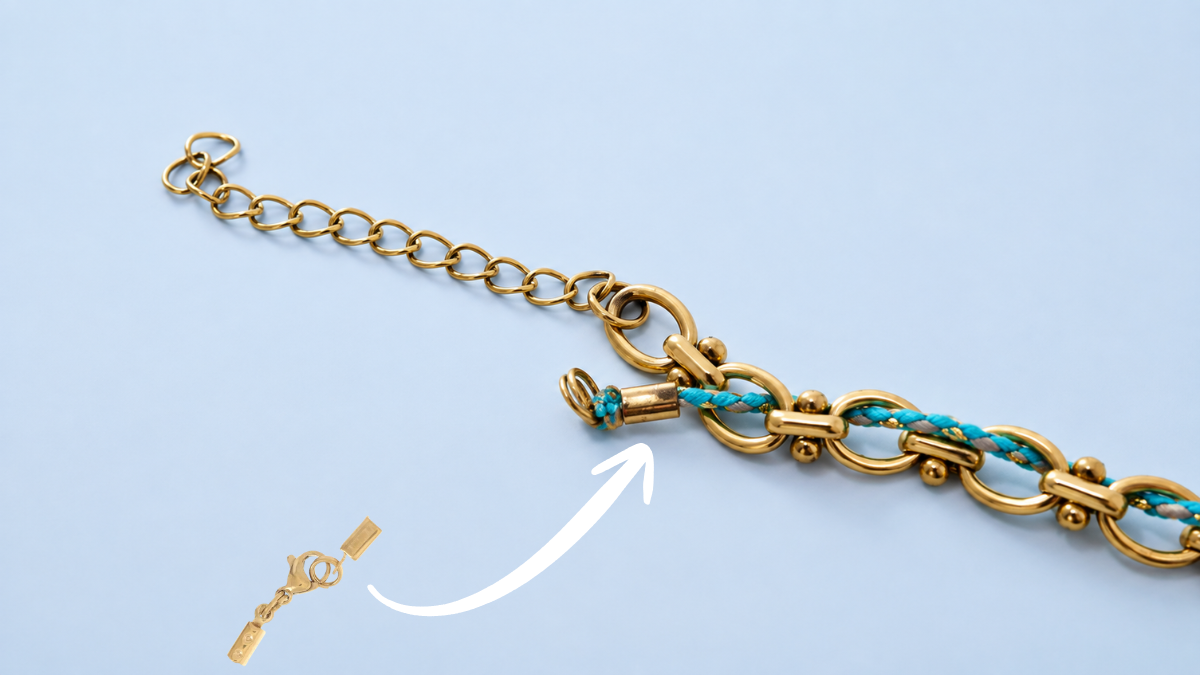
When you reach the end, attach the second clasp in the same way: thread the cord through the crimp end, close it using flat-nose pliers, and then cut off the excess cord.
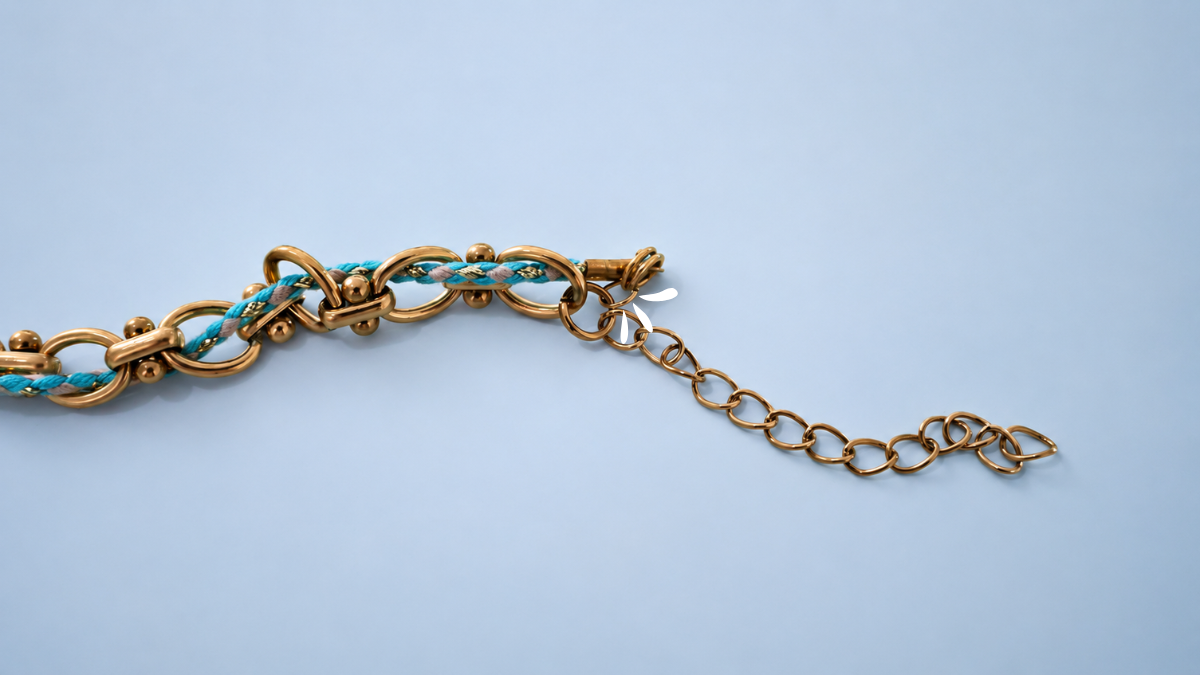
Use a ring to attach the clasp to the extension chain.
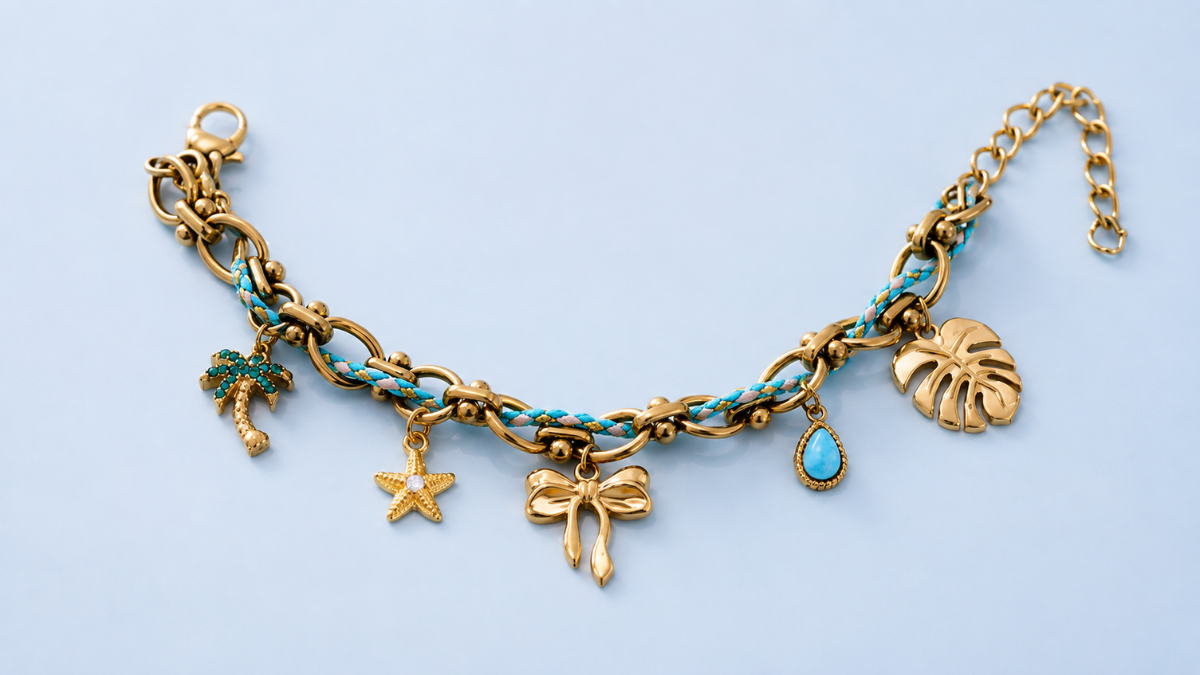
Next, attach the charms using open rings.




You have a question about this tutorial? Ask it to our team and the people who have already tested it. The Perles & Co community is here to help you!
Credits
Perles & Co, Internet & E-Commerce company [19/08/2026] Any reproduction, representation, adaptation, in any form whatsoever, even partial, is prohibited, except for reproduction for private use not intended for collective use, representation in the family circle (art. L 122-5 CPI) and online publishing on condition that the source is mentioned and a link is included to the corresponding page of our site www.perlesandco.com.

